
Horizon Hobby ParkZone Artizan
Greg Gimlick [email protected]
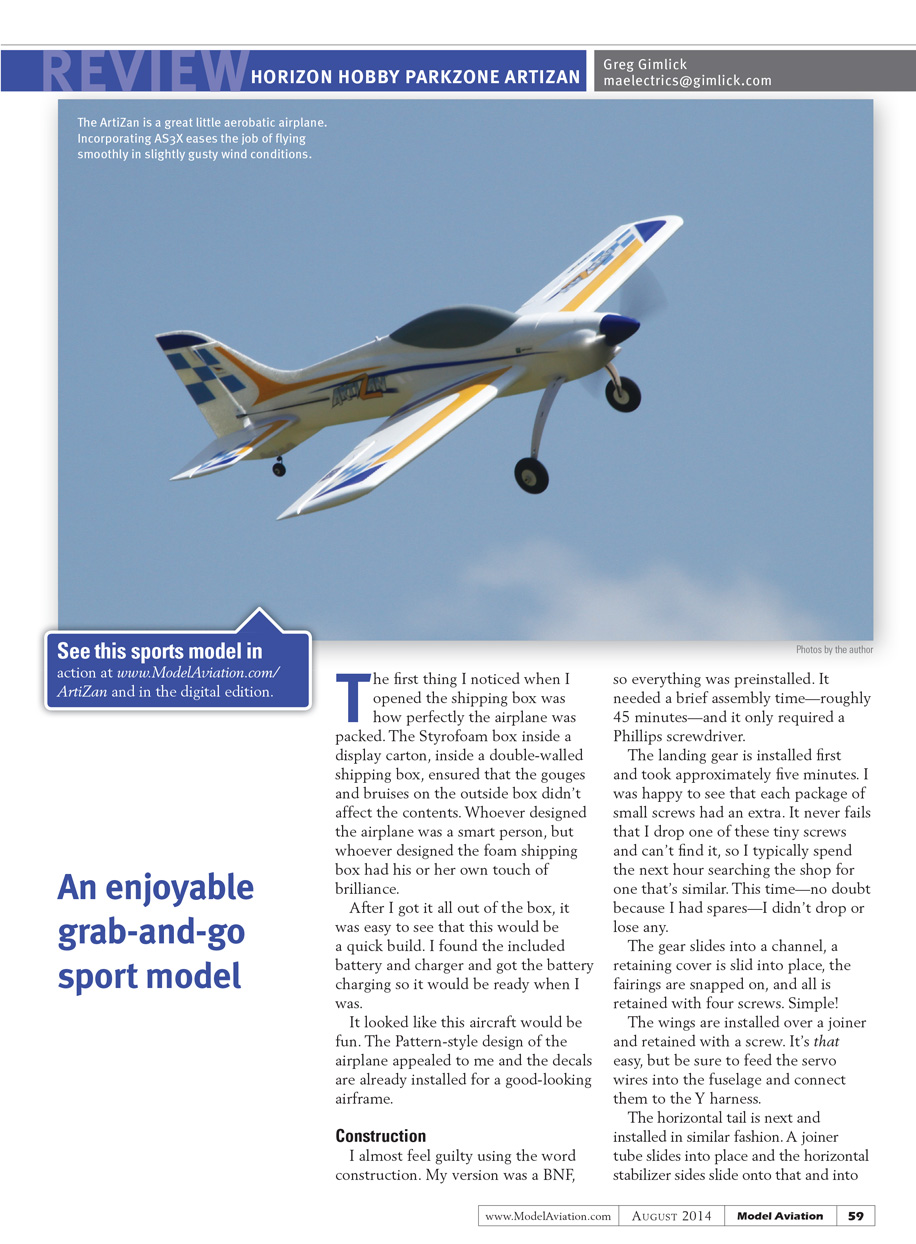
An enjoyable grab-and-go sport model
The first thing I noticed when I opened the shipping box was how perfectly the airplane was packed. The Styrofoam box inside a display carton, inside a double-walled shipping box ensured that the gouges and bruises on the outside box didn't affect the contents. Whoever designed the airplane was a smart person, but whoever designed the foam shipping box had his or her own touch of brilliance.
After I got it all out of the box, it was easy to see that this would be a quick build. I found the included battery and charger and got the battery charging so it would be ready when I was.
It looked like this aircraft would be fun. The pattern-style design appealed to me and the decals are already installed for a good-looking airframe.
Construction
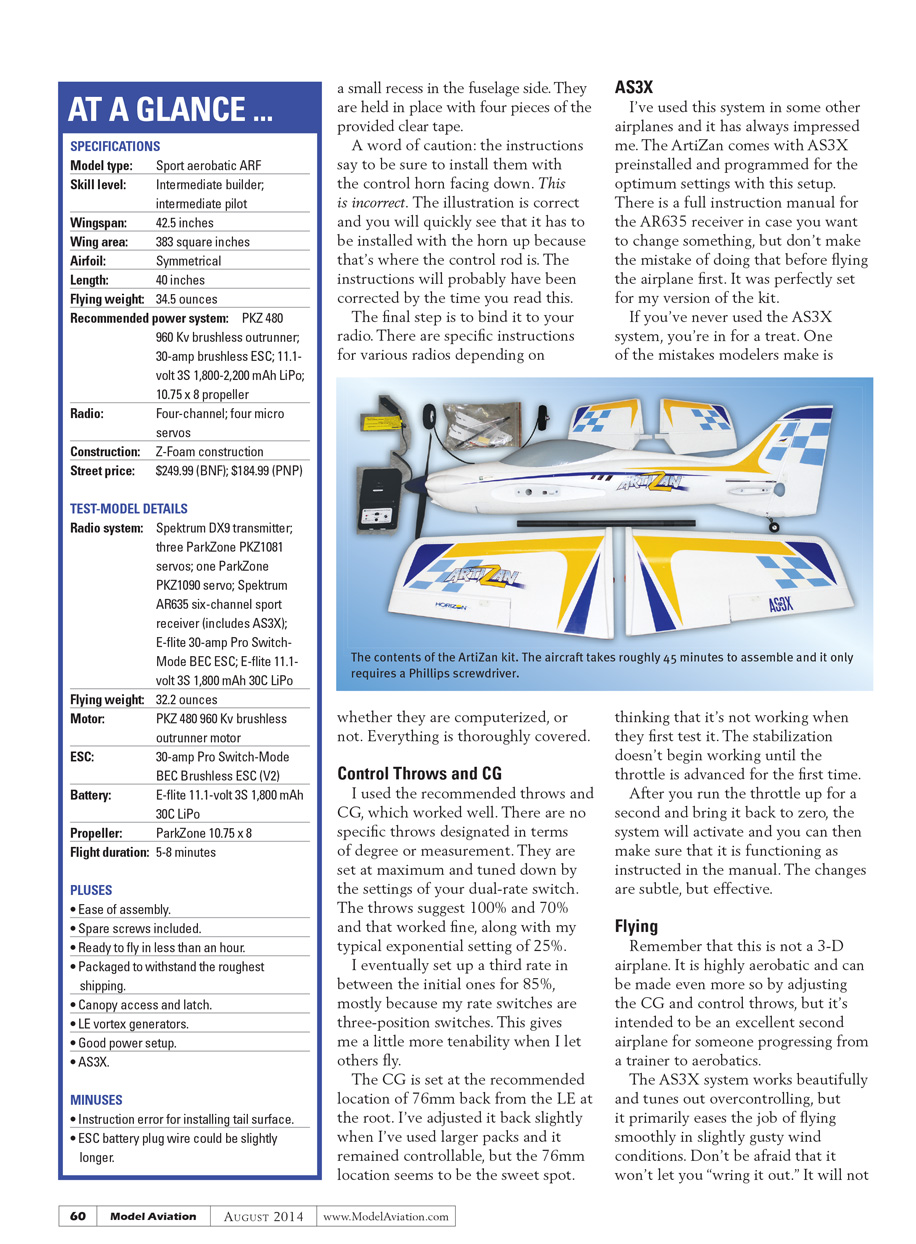
I almost feel guilty using the word construction. My version was a BNF (bind‑and‑fly), so everything was preinstalled. It needed a brief assembly time—roughly 45 minutes—and it only required a Phillips screwdriver.
Assembly steps:
- Install the landing gear (about five minutes). Each package of small screws included a spare, which is helpful if you drop one.
- Slide the gear into the channel, slide the retaining cover into place, snap on the fairings, and secure everything with four screws.
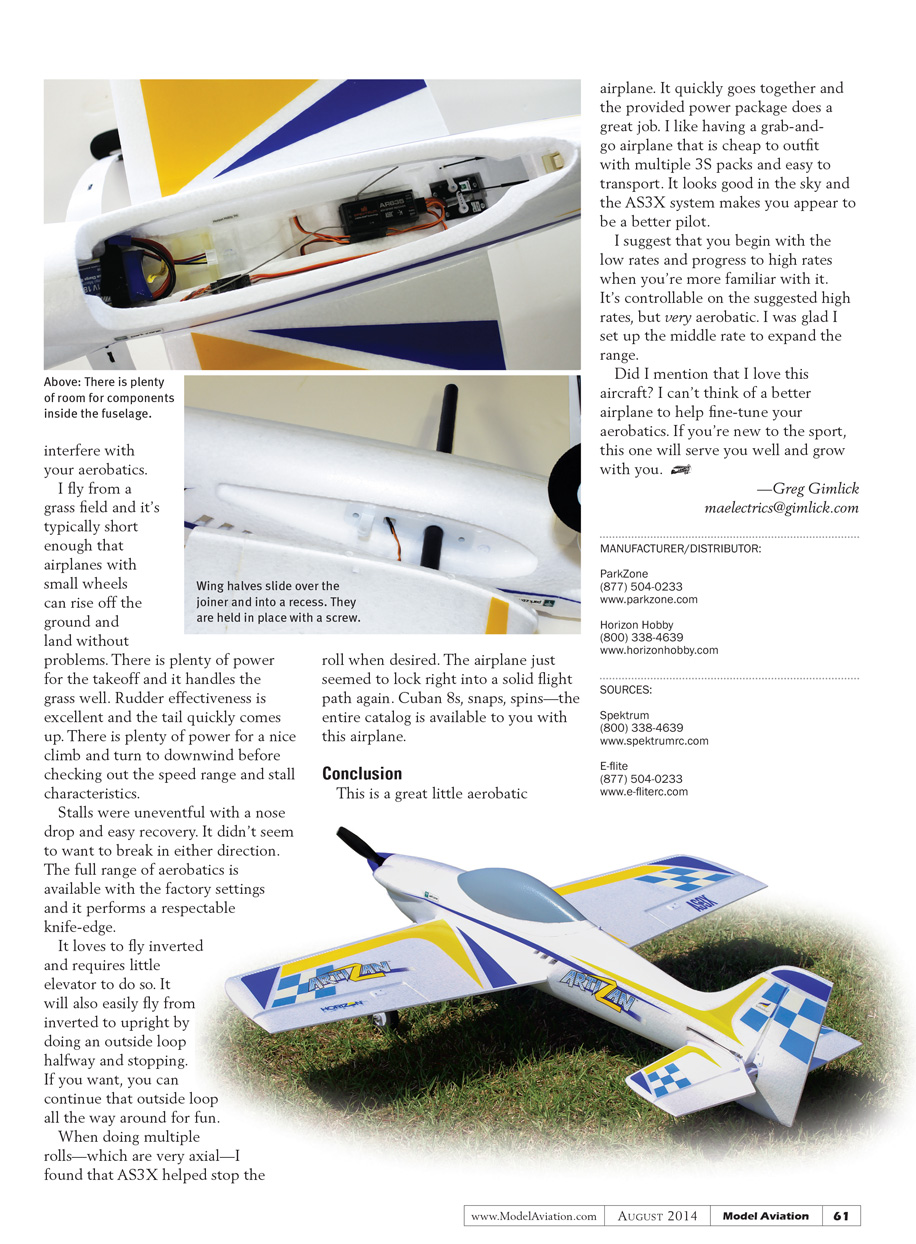
- Install the wings over a joiner and retain them with a single screw. Be sure to feed the servo wires into the fuselage and connect them to the Y-harness.
- Install the horizontal tail: a joiner tube slides into place, the horizontal stabilizer halves slide onto the tube and into a small recess in the fuselage sides, and they are held in place with the four pieces of clear tape provided.
A word of caution: the instructions say to install the horizontal stabilizer with the control horn facing down. That is incorrect. The illustration is correct—you must install it with the horn up because that is where the control rod is. The instructions will probably be corrected by the time you read this.
The final step is to bind the airplane to your radio. There are specific instructions for various radios depending on whether they are computerized or not. Everything is thoroughly covered.
AS3X
I've used the AS3X system in other airplanes and it has always impressed me. The Artizan comes with AS3X preinstalled and programmed with optimum settings for this airframe. There is a full instruction manual for the AR635 receiver in case you want to change settings, but don't make the mistake of changing anything before flying the airplane first—it was perfectly set for my version of the kit.
If you've never used AS3X, you're in for a treat. One common mistake is thinking it's not working when you first power up. The stabilization doesn't begin until the throttle is advanced for the first time. After you run the throttle up for a second and bring it back to zero, the system will activate and you can then verify it is functioning as described in the manual. The changes are subtle but effective.
Control Throws and CG
I used the recommended throws and center of gravity (CG), which worked well. There are no specific throws listed in degrees; the servos are set at maximum and you tune them down with your dual-rate switch.
- Recommended rates: 100% and 70%, which worked fine with my typical exponential setting of 25%.
- I added a third rate at 85% (my rate switches are three-position), which gives more control when I let others fly.
- CG: recommended 76 mm back from the leading edge (LE) at the root. I've adjusted the CG slightly aft when using larger packs and it remained controllable, but 76 mm seems to be the sweet spot.
Flying
Remember this is not a 3-D airplane. It is highly aerobatic and can be made even more so by adjusting the CG and control throws, but it's intended as an excellent second airplane for someone progressing from a trainer to aerobatics.
The AS3X system works beautifully and helps smooth out overcontrolling, primarily easing the task of flying smoothly in slightly gusty conditions. It will not interfere with your aerobatics.
I fly from a grass field that is typically short, but the Artizan handles grass takeoffs and landings well. There is plenty of power for takeoff, rudder effectiveness is excellent, and the tail comes up quickly. There is ample power for a nice climb and to set up for downwind before testing speed range and stall characteristics.
Stalls were uneventful with a mild nose drop and easy recovery; it didn't seem to want to break in either direction. The full range of aerobatics is available with the factory settings, and it performs a respectable knife-edge.
It loves to fly inverted and requires little elevator to hold that attitude. It will also transition from inverted to upright by doing an outside loop halfway and stopping; you can continue the outside loop all the way around if you wish.
During multiple rolls—which are very axial—I found AS3X helped stop the roll when desired. The airplane locks back into a solid flight path quickly. Cuban 8s, snaps, spins—the whole catalog is available with this airplane.
Conclusion
This is a great little aerobatic airplane. It quickly goes together and the provided power package performs very well. It's a convenient grab-and-go airplane that is economical to outfit with multiple 3S packs and easy to transport. It looks good in the sky, and AS3X makes you appear to be a better pilot.
Start on the low rates and progress to high rates as you become familiar with it. It's controllable on the suggested high rates but very aerobatic; I'm glad I set up the middle rate to expand the range.
I love this aircraft. I can't think of a better airplane to help fine-tune your aerobatics. If you're new to the sport, it will serve you well and grow with you.
—Greg Gimlick [email protected]
Manufacturer/Distributor
- ParkZone
(877) 504-0233 www.parkzone.com
- Horizon Hobby
(800) 338-4639 www.horizonhobby.com
Sources
- Spektrum
(800) 338-4639 www.spektrumrc.com
- E-flite
(877) 504-0233 www.e-flite.com
Transcribed from original scans by AI. Minor OCR errors may remain.

