
Introduction to Thermal Soaring
Dave Garwood
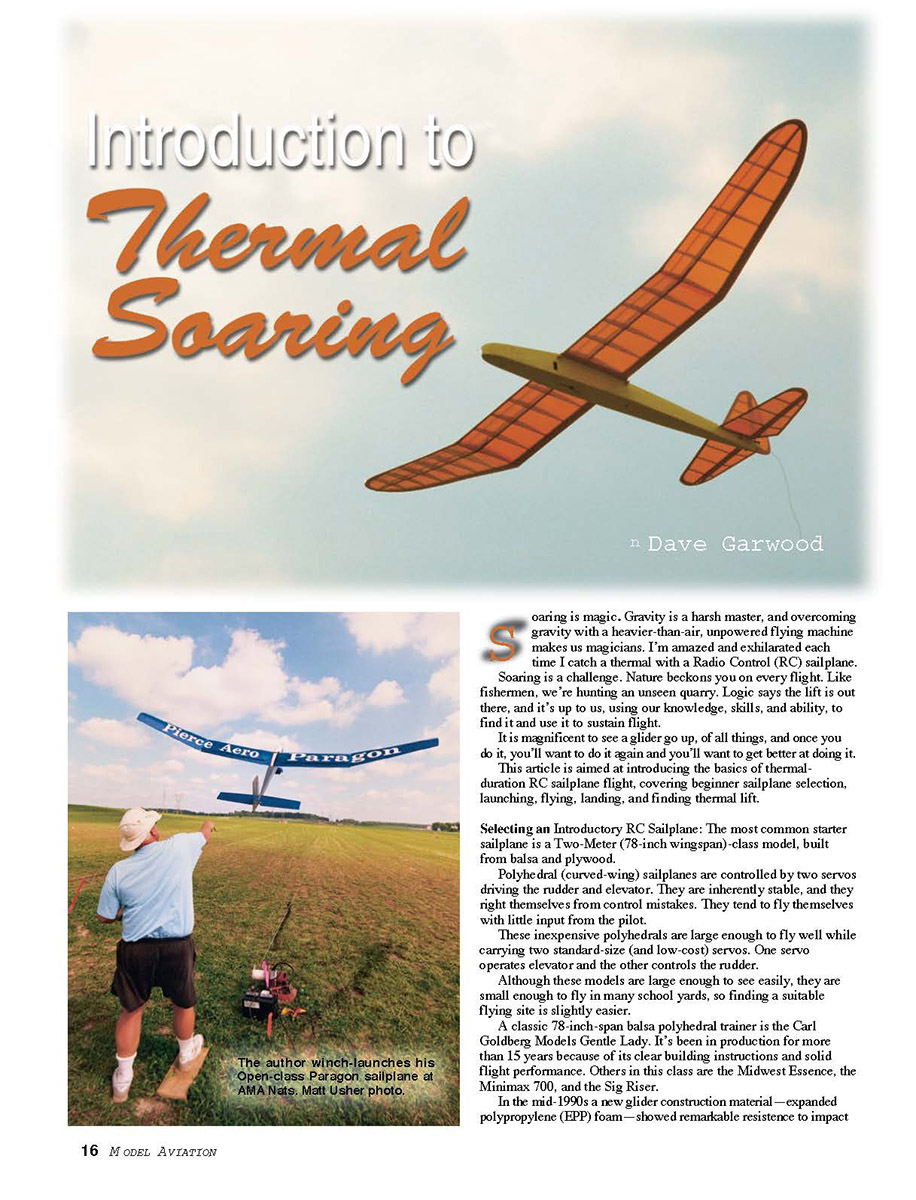
Soaring is magic. Gravity is a harsh master, and overcoming gravity with a heavier-than-air, unpowered flying machine makes us magicians. I'm amazed and exhilarated each time I catch a thermal with a Radio Control (RC) sailplane.
Soaring is a challenge. Nature beckons you on every flight. Like fishermen, we're hunting an unseen quarry. Logic says the lift is out there, and it's up to us, using our knowledge, skills, and ability, to find it and use it to sustain flight.
It is magnificent to see a glider go up, of all things, and once you do it, you'll want to do it again and you'll want to get better at doing it.
This article introduces the basics of thermal-duration RC sailplane flight, covering beginner sailplane selection, launching, flying, landing, and finding thermal lift.
Selecting an Introductory RC Sailplane
The most common starter sailplane is a Two-Meter (78-inch wingspan) class model, built from balsa and plywood.
Polyhedral (curved-wing) sailplanes are usually controlled by two servos driving the rudder and elevator. They are inherently stable and tend to right themselves from control mistakes. They often fly themselves with little input from the pilot.
These inexpensive polyhedrals are large enough to fly well while carrying two standard-size (and low-cost) servos—one for elevator and one for rudder.
Although these models are large enough to see easily, they are small enough to fly in many schoolyards, so finding a suitable flying site is slightly easier.
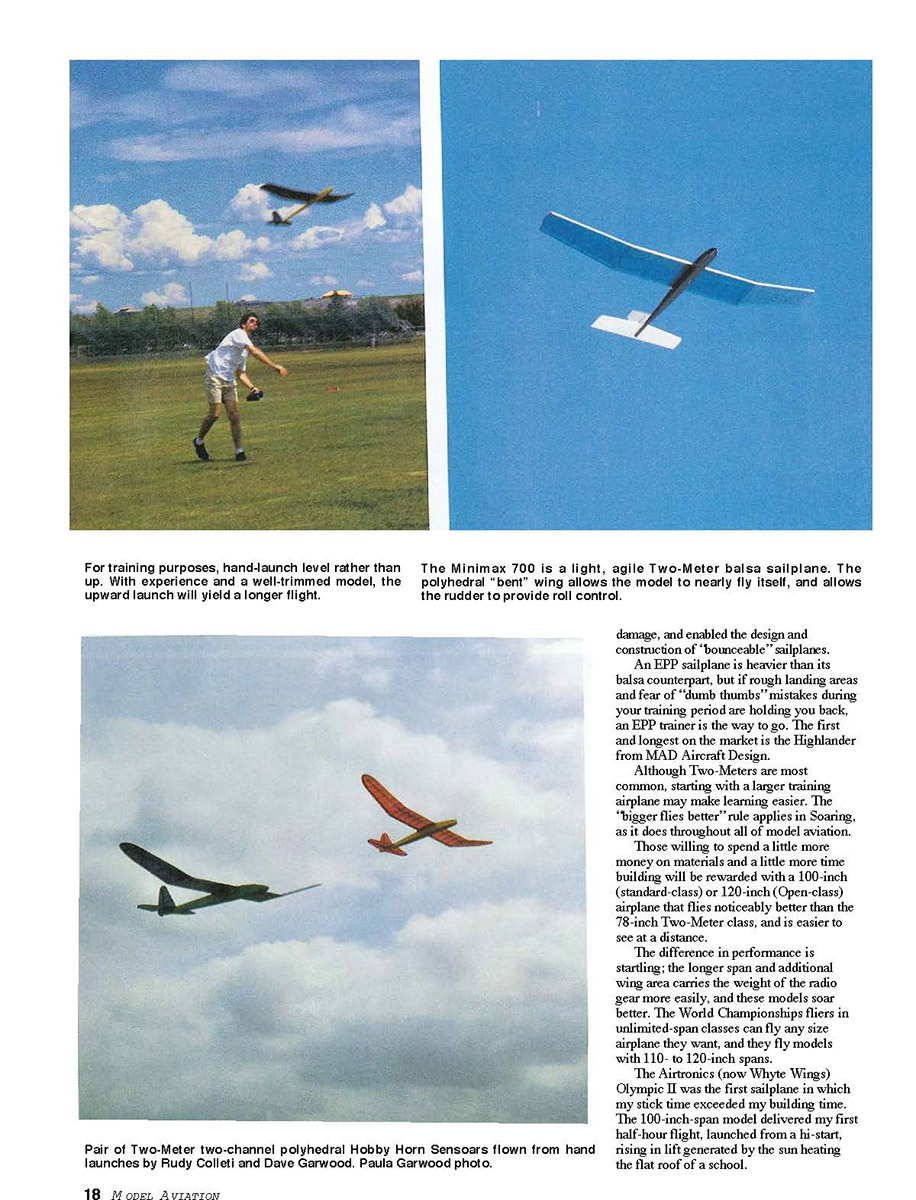
A classic 78-inch-span balsa polyhedral trainer is the Carl Goldberg Models Gentle Lady. It's been in production for more than 15 years because of its clear building instructions and solid flight performance. Others in this class are the Midwest Essence, the Minimax 700, and the Sig Riser.
In the mid-1990s a new glider construction material—expanded polypropylene (EPP) foam—showed remarkable resistance to impact damage and enabled the design and construction of "bounceable" sailplanes.
An EPP sailplane is heavier than its balsa counterpart, but if rough landing areas and fear of "dumb thumbs" mistakes during your training period are holding you back, an EPP trainer is the way to go. The first and longest-running on the market is the Highlander from MAD Aircraft Design.
Although Two-Meters are most common, starting with a larger training airplane may make learning easier. The "bigger flies better" rule applies in Soaring, as it does throughout all of model aviation.
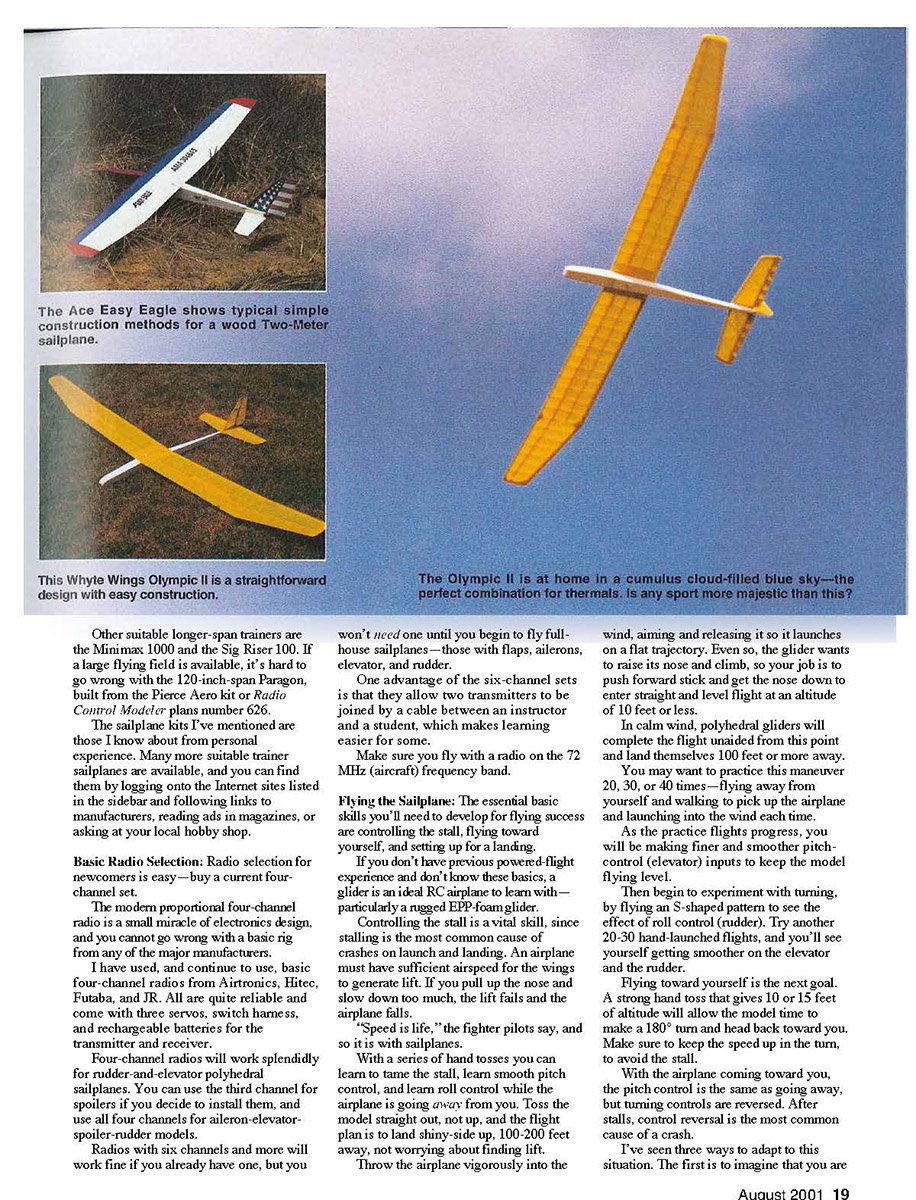
Those willing to spend a little more money on materials and a little more time building will be rewarded with a 100-inch (standard-class) or 120-inch (Open-class) airplane that flies noticeably better than the 78-inch Two-Meter class and is easier to see at a distance.
The difference in performance is startling; the longer span and additional wing area carry the weight of the radio gear more easily, and these models soar better. World Championship flyers in unlimited-span classes fly models with 110- to 120-inch spans.
The Airtronics (now Whyte Wings) Olympic II was the first sailplane in which my stick time exceeded my building time. The 100-inch-span model delivered my first half-hour flight, launched from a hi-start, rising in lift generated by the sun heating the flat roof of a school.
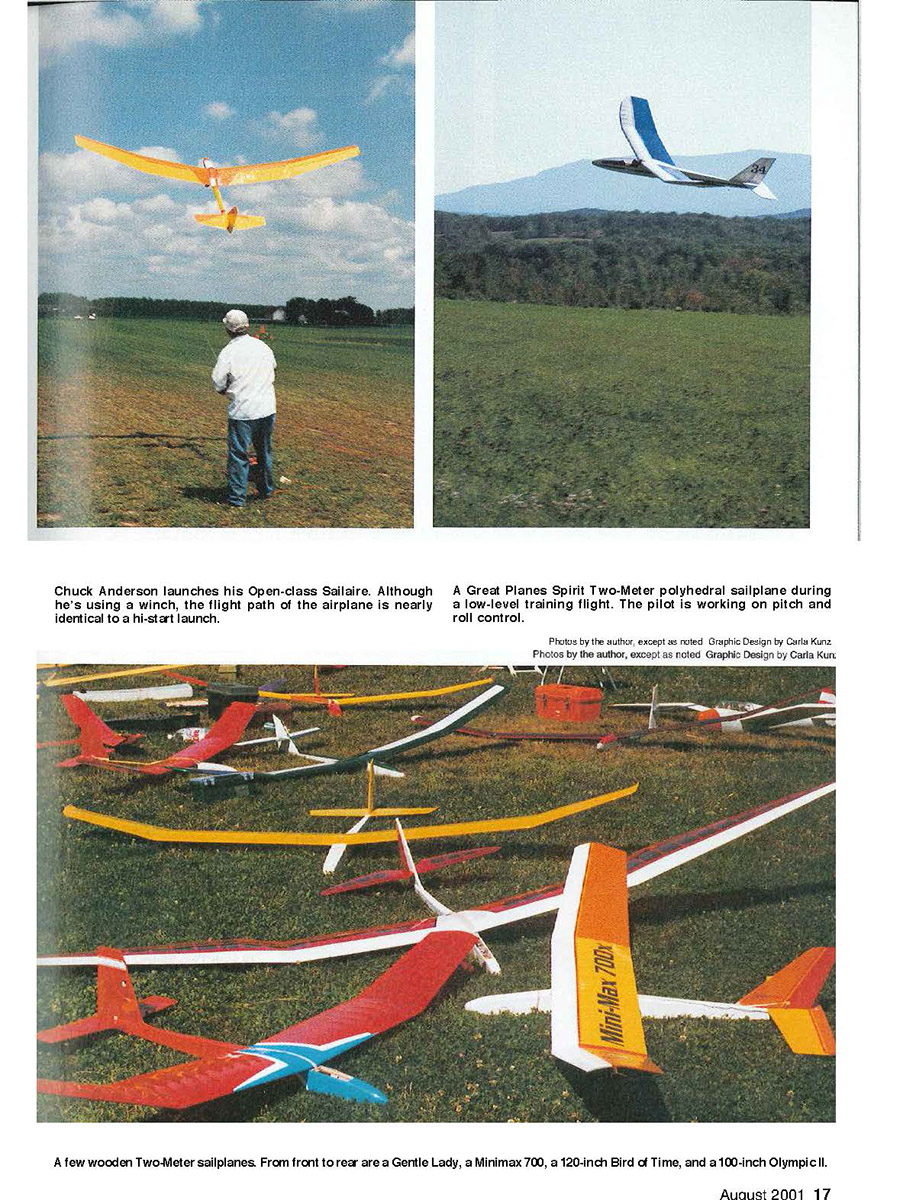
Other suitable longer-span trainers are the Minimax 1000 and the Sig Riser 100. If a large flying field is available, it's hard to go wrong with the 120-inch-span Paragon, built from the Pierce Aero kit or Radio Control Modeler plan number 626.
The sailplane kits mentioned above are those I know about from personal experience. Many more suitable trainer sailplanes are available, and you can find them by logging onto Internet sites, following links to manufacturers, reading ads in magazines, or asking at your local hobby shop.
Basic Radio Selection
Radio selection for newcomers is easy—buy a current four-channel set.
The modern proportional four-channel radio is a small miracle of electronics design, and you cannot go wrong with a basic rig from any of the major manufacturers.
I have used, and continue to use, basic four-channel radios from Airtronics, Hitec, Futaba, and JR. All are quite reliable and come with three servos, switch harness, and rechargeable batteries for the transmitter and receiver.
Four-channel radios work splendidly for rudder-and-elevator polyhedral sailplanes. You can use the third channel for spoilers if you decide to install them, and use all four channels for aileron-elevator-spoiler-rudder models.
Radios with six channels and more will work fine if you already have one, but you won't need one until you begin to fly full-house sailplanes—those with flaps, ailerons, elevator, and rudder.
One advantage of many six-channel sets is that they allow two transmitters to be joined by a cable between an instructor and a student, which makes learning easier for some.
Make sure you fly with a radio on the 72 MHz (aircraft) frequency band.
Flying the Sailplane
The essential basic skills you'll need to develop for flying success are controlling the stall, flying toward yourself, and setting up for a landing.
If you don't have previous powered-flight experience and don't know these basics, a glider is an ideal RC airplane to learn with—particularly a rugged EPP-foam glider.
Controlling the stall is a vital skill, since stalling is the most common cause of crashes on launch and landing. An airplane must have sufficient airspeed for the wings to generate lift. If you pull up the nose and slow down too much, the lift fails and the airplane falls.
"Speed is life," the fighter pilots say, and so it is with sailplanes.
With a series of hand tosses you can learn to tame the stall, learn smooth pitch control, and learn roll control while the airplane is going away from you. Toss the model straight out, not up, and the flight plan is to land shiny-side up, 100–200 feet away, not worrying about finding lift.
Throw the airplane vigorously into the wind, aiming and releasing it so it launches on a flat trajectory. Even so, the glider wants to raise its nose and climb, so your job is to push forward stick and get the nose down to enter straight and level flight at an altitude of 10 feet or less.
In calm wind, polyhedral gliders will complete the flight unaided from this point and land themselves 100 feet or more away.
You may want to practice this maneuver 20, 30, or 40 times—flying away from yourself and walking to pick up the airplane and launching into the wind each time.
As the practice flights progress, you will be making finer and smoother pitch control (elevator) inputs to keep the model flying level.
Then begin to experiment with turning, by flying an S-shaped pattern to see the effect of roll control (ailerons). Try another 20–30 hand-launched flights, and you'll see yourself getting smoother on the elevator and the rudder.
Flying toward yourself is the next goal. A strong hand toss that gives 10 or 15 feet of altitude will allow the model time to make a 180° turn and head back toward you. Make sure to keep the speed up in the turn, to avoid the stall.
With the airplane coming toward you, the pitch control is the same as going away, but turning controls are reversed. After stalls, control reversal is the most common cause of a crash.
Practice these stages patiently until you are comfortable with stall control, orientation when the model is coming toward you, and smooth coordinated turns.
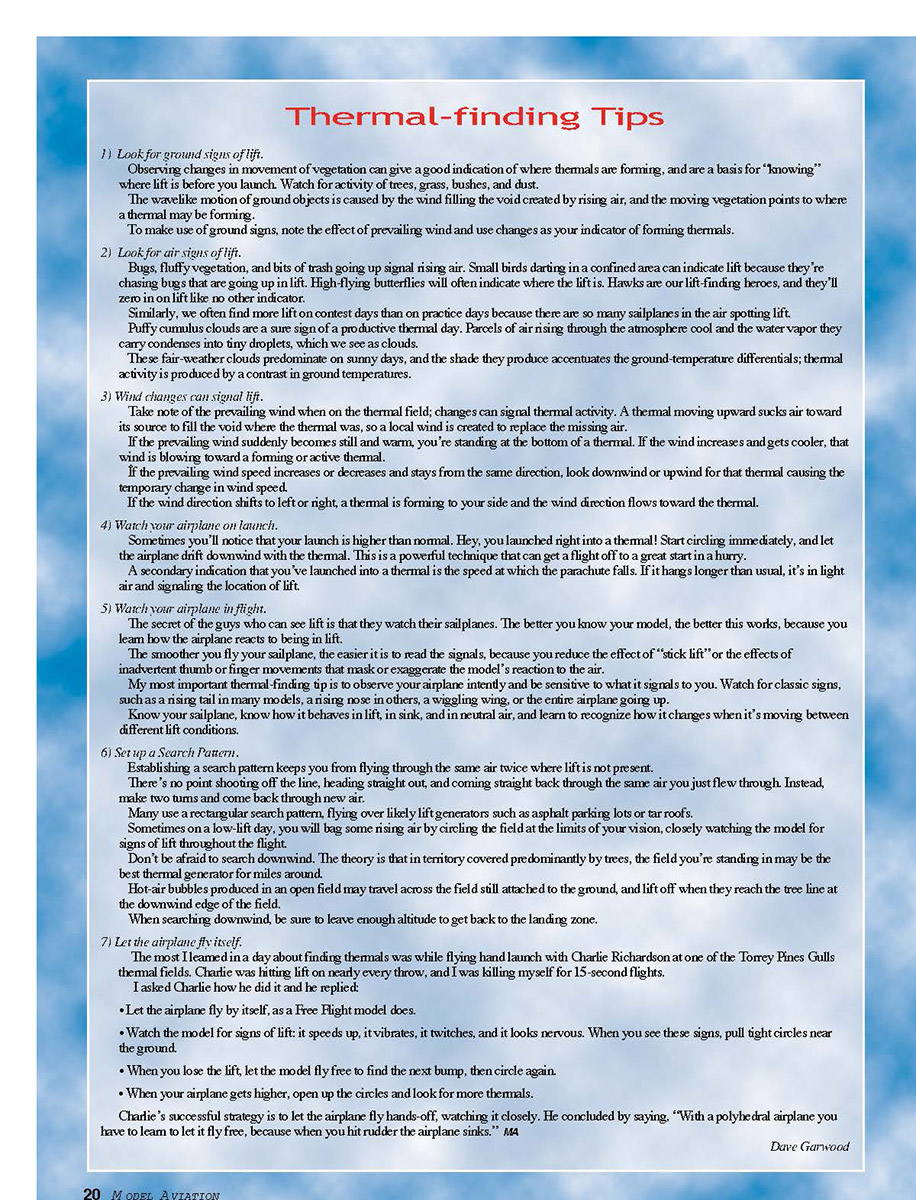
Thermal-finding Tips
- Look for ground signs of lift.
- Observing movement of vegetation can indicate where thermals are forming. Watch trees, grass, bushes, and dust.
- The wavelike motion of ground objects is caused by wind filling the void created by rising air, and the moving vegetation points to where a thermal may be forming.
- Note the effect of prevailing wind and use changes as your indicator of forming thermals.
- Look for air signs of lift.
- Bugs, fluffy vegetation, and bits of trash going up signal rising air.
- Small birds darting in a confined area can indicate lift because they're chasing bugs that are going up in lift. High-flying butterflies often indicate where the lift is.
- Hawks are excellent lift indicators; they'll zero in on lift like no other indicator.
- We often find more lift on contest days than on practice days because there are so many sailplanes in the air spotting lift.
- Puffy cumulus clouds are a sure sign of a productive thermal day. Rising air cools and water vapor condenses into these fair-weather clouds; the shade they produce accentuates ground-temperature differentials that generate thermals.
- Wind changes can signal lift.
- Take note of the prevailing wind when on the thermal field; changes can signal thermal activity.
- A thermal moving upward sucks air toward its source to fill the void where the thermal was, creating a local wind toward the thermal.
- If the prevailing wind suddenly becomes still and warm, you're standing at the bottom of a thermal. If the wind increases and gets cooler, that wind is blowing toward a forming or active thermal.
- If wind speed changes and stays from the same direction, look downwind or upwind for the thermal causing the temporary change.
- If the wind direction shifts left or right, a thermal is forming to your side and the wind flows toward it.
- Watch your airplane on launch.
- Sometimes your launch will be higher than normal; you may have launched right into a thermal. Start circling immediately and let the airplane drift downwind with the thermal.
- A secondary indication that you've launched into a thermal is that a parachute (used on some tow rigs) hangs longer than usual—signaling light rising air.
- Watch your airplane in flight.
- The secret of skilled thermal-finders is that they watch their sailplanes closely. The better you know your model, the better you can read its reactions.
- Smooth flying reduces "stick lift" (inadvertent control inputs) that mask or exaggerate the model's reaction to the air.
- Look for classic signs such as a rising tail, a rising nose, a wagging wing, or the entire airplane going up. Know how your sailplane behaves in lift, in sink, and in neutral air.
- Set up a search pattern.
- Establishing a search pattern keeps you from flying through the same air twice where lift is not present.
- Instead of flying straight out and back through the same air, make two turns and come back through new air.
- Many use a rectangular search pattern, flying over likely lift generators such as asphalt parking lots or tar roofs.
- On low-lift days, circle the field at the limits of your vision and watch the model closely for signs of lift.
- Don't be afraid to search downwind. Hot-air bubbles produced in an open field may travel across the field and lift off when they reach a tree line at the downwind edge.
- When searching downwind, leave enough altitude to get back to the landing zone.
- Let the airplane fly itself.
- Let the airplane fly hands-off, as a Free Flight model does, and watch for signs of lift: it may speed up, vibrate, twitch, or look "nervous." When you see these signs, pull tight circles near the ground.
- When the lift is lost, let the model fly free to find the next bump, then circle again.
- As the airplane gets higher, open up the circles and look for more thermals.
- With polyhedral airplanes, learn to let them fly free—too much rudder input can make the airplane sink.
Dave Garwood
Landing the Sailplane
Making the landing defines a successful flight. Hitting a tree or a soccer goal is a common cause of damaged sailplanes, so accurate landing is perhaps the most important part of the flight.
Try to gauge the sink rate of your sailplane, and judge where it will meet the ground from a given altitude. Plan to land near the middle of your available landing area to allow recovery from the effects of flying through lift on final approach and to compensate for downdrafts and misjudgments.
The landing should be made directly into the wind to minimize ground speed. You can slow the airplane by pulling back slightly on the stick, but be careful to avoid a stall.
When the model gets within a few inches of the ground, give a little more back-stick pressure to nose up slightly to "flare" the landing.
Launching With a Hi-start
After you have flying, turning, and landing basics down, you'll want to start flights with a higher launch.
Most common are hi-starts (tow-ropes with a starter), which consist of a ground stake, 30–100 feet of rubber tubing, and 100–400 feet of line, terminating with a parachute and a tow ring. Hi-starts come in different strengths and sizes and are rated for the wingspan of the airplane they're designed to launch. The rubber and line are generally longer for larger airplanes.
Take note of the manufacturer's specifications on the rubber and the line length; it determines the minimum-size field needed to use the hi-start. The Northeast Sailplane Products Pinnacle series of hi-starts have a long service history.
To launch with a hi-start:
- Turn on the transmitter and receiver.
- Slide the tow ring onto the sailplane's tow hook and walk downwind from the stake to stretch the rubber.
- With a last check that control surfaces are moving, throw the airplane up at a 45° angle.
- The model will rise quickly, tracing a curved path up and toward the stake. The tow ring normally slips off the tow hook when the airplane flies over the stake, unless the wind is strong.
To release in strong wind, push the stick forward to dip the nose, then pull up and the tow ring will slip off the tow hook. Hi-starts are usually stored at the upwind side of the field, and the airplane is launched into the wind. More wind gives a higher launch.
The reason for the throw on launch is to get the sailplane up to flying speed as quickly as possible so you'll have control. Follow the manufacturer's recommendation for how far to pull back before launching and for safety measures in case the line breaks.
The path of the sailplane while on tow acts much more like a kite than a slingshot projectile. The sailplane gains most of its altitude in the first third of the launch, and the last third is used to gather airspeed to cover ground in search of lift.
For Further Learning
The best book I've read about basic RC Soaring is The Old Buzzard's Soaring Book by Dave Thornburg. It's available for $16.95, shipping included, from booksellers, sailplane suppliers, or the publisher: Pony X Press, 5 Monticello Dr., Albuquerque, NM 87123.
For the wired among us, the Internet is a magnificent tool for information gathering. There's an abundance of material online about sailplanes, radios, flying sites, and flying techniques.
Many RC Soaring newcomers find fellowship and accelerated learning by joining a sailplane club. Some soaring clubs have a formal training program, and nearly all will help you with your first flights.
To see if there's a club near you, check the Academy of Model Aeronautics Web site at www.modelaircraft.org or ask at your local hobby shop.
RC Soaring is a fascinating sport and hobby; for many, it's engrossing and absorbing. After 13 years of flying more than 60 RC sailplanes, I'd do it all again. Soaring is magic.
Dave Garwood 5 Birch Ln. Scotia NY 12302
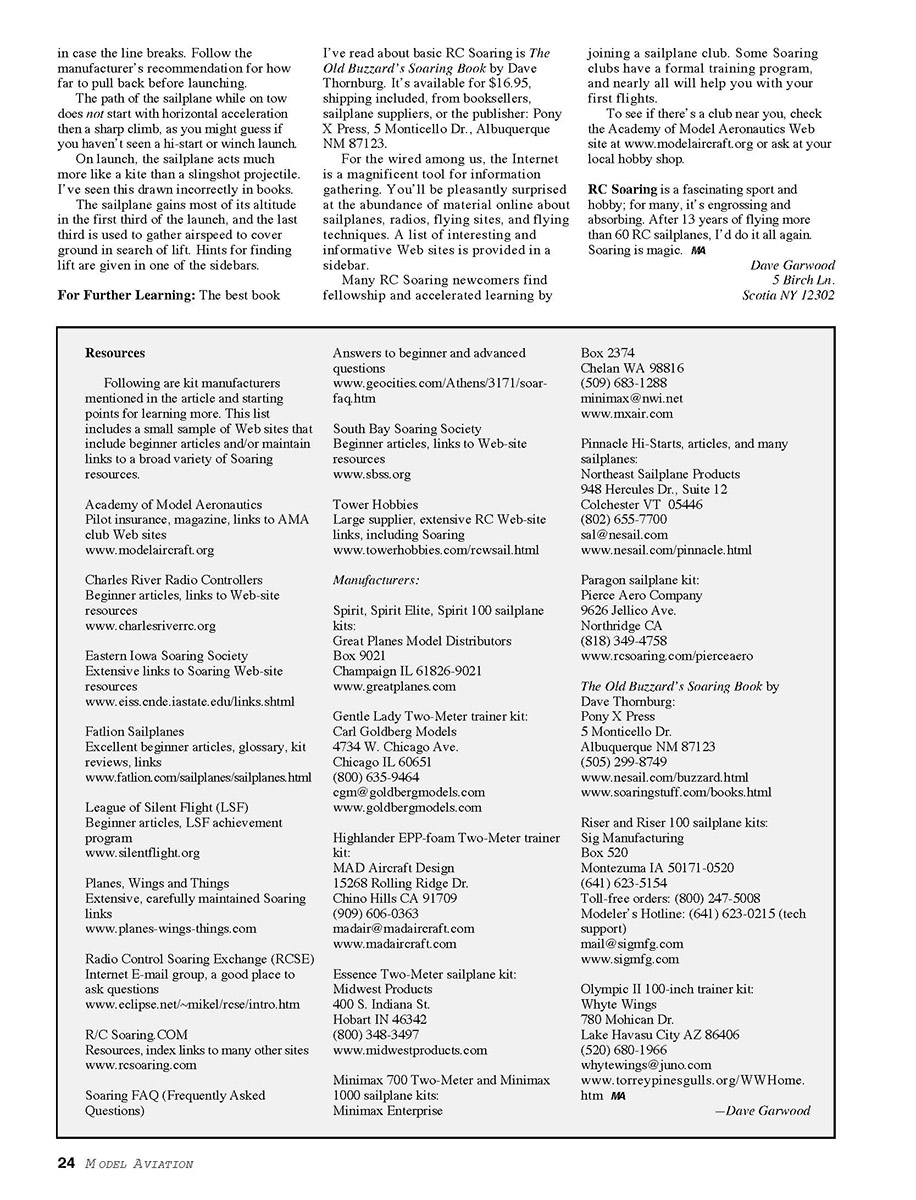
Resources
Following are kit manufacturers mentioned in the article and starting points for learning more. This list includes a small sample of Web sites that include beginner articles and/or maintain links to a broad variety of soaring resources.
- Academy of Model Aeronautics
Pilot insurance, magazine, links to AMA club Web sites www.modelaircraft.org
- Charles River Radio Controllers
Beginner articles, links to Web-site resources www.charlesriverrc.org
- Eastern Iowa Soaring Society
Extensive links to soaring Web-site resources www.eiss.cnde.iastate.edu/links.shtml
- Falion Sailplanes
Beginner articles, glossary, kit reviews, links www.falion.com/sailplanes/sailplanes.html
- League of Silent Flight (LSF)
Beginner articles, LSF achievement program www.silentflight.org
- Planes, Wings and Things
Extensive, carefully maintained soaring links www.planes-wings-things.com
- Radio Control Soaring Exchange (RCSE)
Internet E-mail group, a good place to ask questions www.eclipse.net/~mikel/rcse/intro.htm
- R/C Soaring.COM
Resources, index links to many other sites www.rcsoaring.com
- Soaring FAQ (Frequently Asked Questions)
Answers to beginner and advanced questions www.geocities.com/Athens/3171/soar-faq.htm
- South Bay Soaring Society
Beginner articles, links to Web-site resources www.sbss.org
- Tower Hobbies
Large supplier, extensive RC Web-site links, including soaring www.towerhobbies.com/rcwsail.html
Manufacturers and Contacts
- Spirit, Spirit Elite, Spirit 100 sailplane kits:
Great Planes Model Distributors Box 9021, Champaign IL 61826-9021 www.greatplanes.com
- Gentle Lady Two-Meter trainer kit:
Carl Goldberg Models 4734 W. Chicago Ave., Chicago IL 60651 (800) 635-9464 [email protected] www.goldbergmodels.com
- Highlander EPP-foam Two-Meter trainer kit:
MAD Aircraft Design 15268 Rolling Ridge Dr., Chino Hills CA 91709 (909) 606-0363 [email protected] www.madaircraft.com
- Essence Two-Meter sailplane kit:
Midwest Products 400 S. Indiana St., Hobart IN 46342 (800) 348-3497 www.midwestproducts.com
- Minimax 700 Two-Meter and Minimax 1000 sailplane kits:
Minimax Enterprise Box 2374, Chelan WA 98816 (509) 682-1288 [email protected] www.mxiar.com
- Pinnacle Hi-Starts, articles, and many sailplanes:
Northeast Sailplane Products 948 Hercules Dr., Suite 12, Colchester VT 05446 (802) 655-7700 [email protected] www.nseail.com/pinnacle.html
- Paragon sailplane kit:
Pierce Aero Company 9626 Jellico Ave., Northridge CA (818) 349-4758 www.rcsoaring.com/pierceaero
- The Old Buzzard's Soaring Book by Dave Thornburg:
Pony X Press 5 Monticello Dr., Albuquerque NM 87123 (505) 299-8749 www.nesail.com/buzzard.html www.soaringsurff.com/books.html
- Riser and Riser 100 sailplane kits:
Sig Manufacturing Box 520, Montezuma IA 50171-0520 (641) 623-5154 Toll-free orders: (800) 247-5008 Modeler's Hotline (tech support): (641) 623-0215 [email protected] www.sigmfg.com
- Olympic II 100-inch trainer kit:
Whyte Wings 780 Mohican Dr., Lake Havasu City AZ 86406 (520) 680-1966 [email protected] www.torrey-pines-gulls.org/WWHome.htm
Transcribed from original scans by AI. Minor OCR errors may remain.

