


The Joy of KITBASHING
Turn your model into a unique creation by Terry Dunn
I enjoy making unique—and often unusual—airplanes. Occasionally roaming away from the herd sustains my interest in this hobby. Often, a project will evolve in my head as a generic concept rather than a well-defined end product.
I may wake up in the middle of the night with the sudden urge to build a trimotor airplane, perhaps an autogyro, or maybe even a three-engine autogyro. To give my visions a jump start and ensure that they are built, I attempt to find off-the-shelf components to use—aka kitbashing. Whether it's the fuselage from a model I pranged three years ago, or a spare wing from the clearance bin at the hobby shop, it's all fair game if I think it will expedite the project.
Sometimes a good deal on airframe parts encourages me to stock up for future projects. Having those parts and thinking, "what if?" becomes the catalyst for a new endeavor.
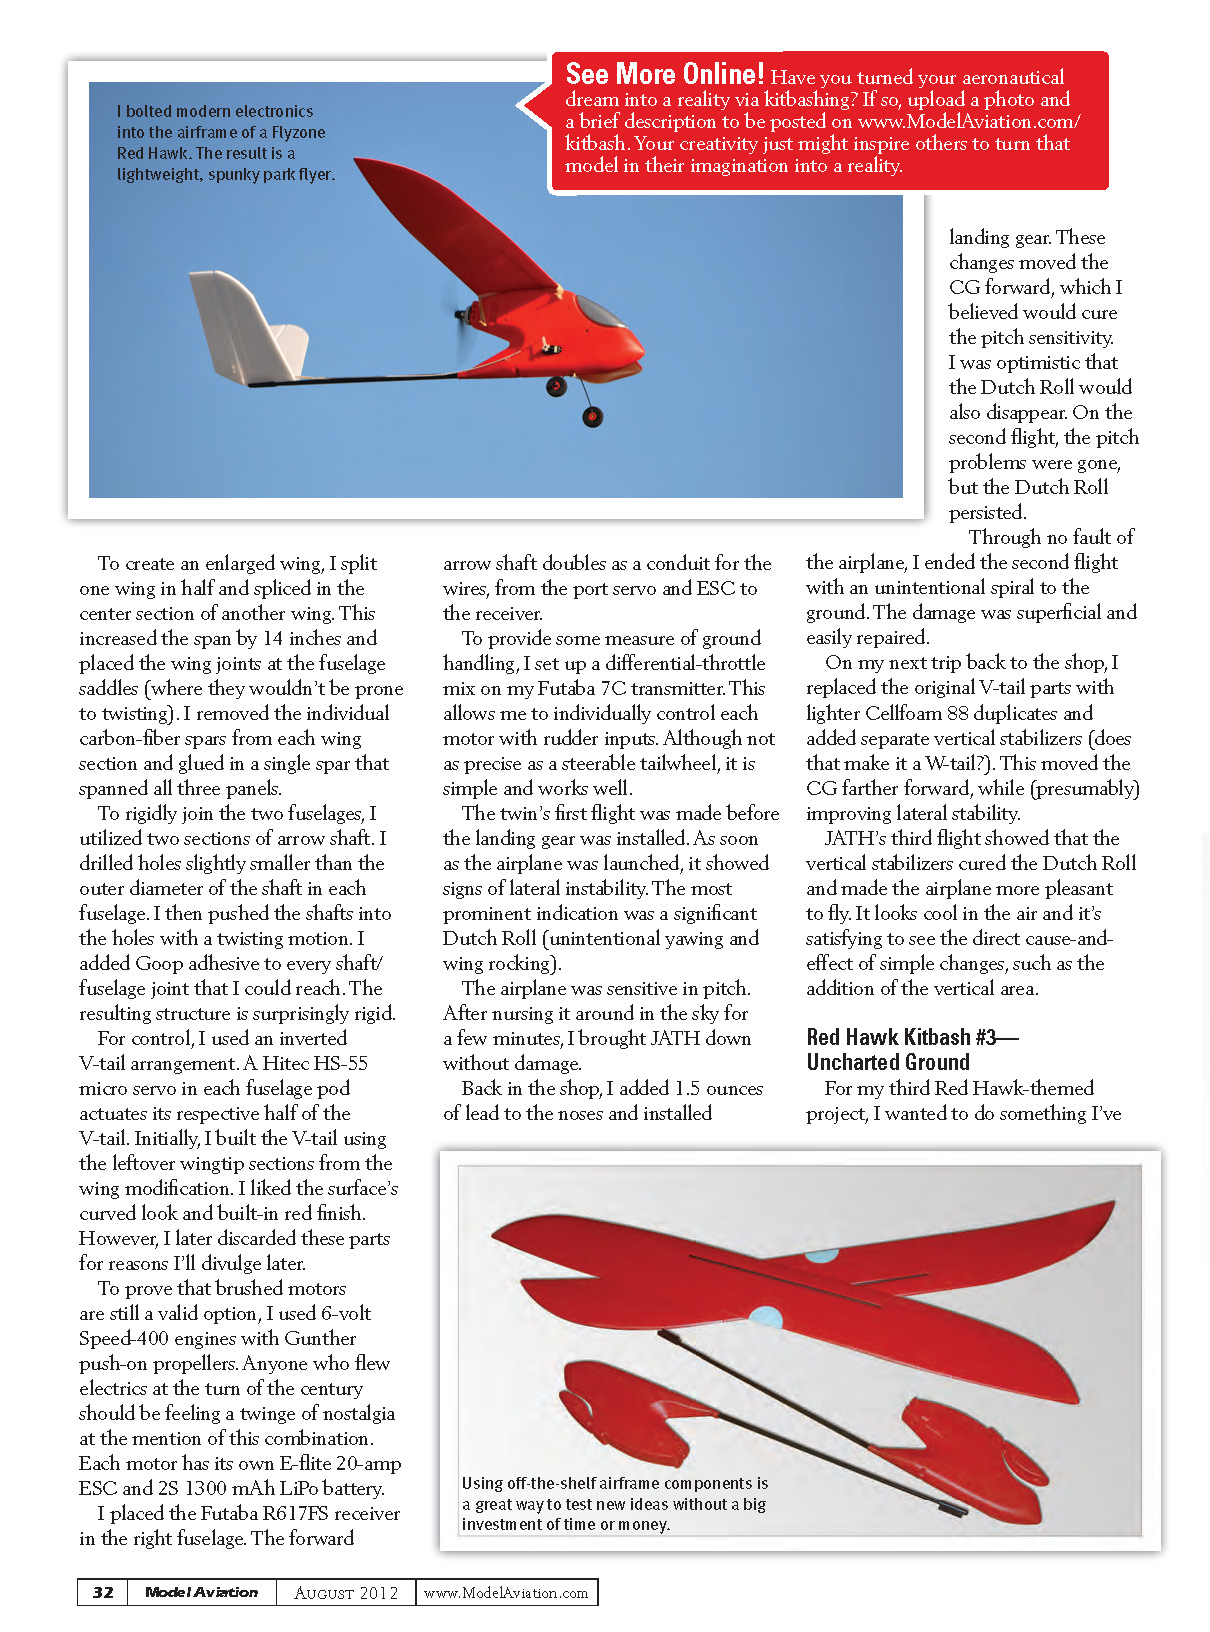
I recently discovered a good deal on airframe parts for the Flyzone Red Hawk, a discontinued beginner's airplane. In stock form, the Red Hawk uses a 380-size brushed motor, Ni-Cd batteries, and a simplified V-tail control arrangement.
From a kitbashing standpoint, this left me with plenty of latitude for alternate power systems and control methods. A flood of ideas with varying levels of practicality and sanity began pouring from my brain, so I purchased an armful of wings and fuselages with which to tinker.
Red Hawk Kitbash #1—The Modernization
Because I had never flown a stock Red Hawk, I wanted my first project to provide a baseline of the airplane's performance envelope. This knowledge would help me determine how and when to use Red Hawk parts for subsequent projects. Although my Red Hawk would cast a virtually identical shadow as a stock version, I decided to equip it with a modern power system and high-quality radio gear.
The pod-and-boom fuselage comes with an integrated mount for V-tail control surfaces. I didn't have any of the stock V-tail parts, so I cut new ones from 5 mm Midwest Products Cellfoam 88 sheet foam, allowing me to make the control surfaces as large as I wanted. I used a low-temperature glue gun to secure the surfaces to the mount. To actuate the V-tail, I installed a Futaba S3114 microservo on each side of the fuselage pod. I found that the soft plastic fuselage easily cuts with a few strokes of a hobby knife. The servos are connected to the control surfaces with flexible pushrods. Hot glue holds the pushrod sleeves to the airframe.
For power, I used an ElectriFly Rimfire 250 outrunner motor. I attached it directly to the existing plastic firewall using three 2 x 3/8-inch screws. The Rimfire motor is nearly 2 ounces lighter and more efficient than the can motor it replaces. An ElectriFly 8-amp ESC, a GWS 6 x 3 propeller, and 3S 800 mAh LiPo batteries from various manufacturers round out the power system. My completed model weighs 11.3 ounces ready to fly—a full 33% lighter than the advertised 16.9 ounces. After you factor in the power increase from the brushless motor system and the oversized control surfaces, the numbers indicate that this tame trainer just got sportier.
Takeoffs happen in mere inches, and the Red Hawk will easily sustain a vertical climbout. If you throttle back, the airplane will slow to a crawl. I usually use half throttle or less. This allows me to do waist-high figure eights with a touch-and-go between turnarounds. Loops are no problem, but inverted flight is tricky. What surprised me most about the Red Hawk was its superb glide performance. My modernized Red Hawk is as much fun as I've ever had without ailerons.
Red Hawk Kitbash #2—Seeing Double
After I had proven the soundness of the Red Hawk's basic design with my first project, I decided to get more exotic. My second Red Hawk iteration is a twin created by joining two fuselages and an extended wing. I thought this version strayed too far to keep its Red Hawk moniker, so I renamed it JATH (Joined at the Hip).
To create an enlarged wing, I split one wing in half and spliced in the center section of another wing. This increased the span by 14 inches and placed the wing joints at the fuselage saddles (where they wouldn't be prone to twisting). I removed the individual carbon-fiber spars from each wing section and glued in a single spar that spanned all three panels.
To rigidly join the two fuselages, I utilized two sections of arrow shaft. I drilled holes slightly smaller than the outer diameter of the shaft in each fuselage, then pushed the shafts into the holes with a twisting motion. I added Goop adhesive to every shaft/fuselage joint that I could reach. The resulting structure is surprisingly rigid.
For control, I used an inverted V-tail arrangement. A Hitec HS-55 microservo in each fuselage pod actuates its respective half of the V-tail. Initially, I built the V-tail using the leftover wingtip sections from the wing modification. I liked the surface's curved look and built-in red finish. However, I later discarded these parts for reasons I'll divulge later.
To prove that brushed motors are still a valid option, I used 6-volt Speed 400 motors with Gunther push-on propellers. Anyone who flew electrics at the turn of the century should feel a twinge of nostalgia at the mention of this combination. Each motor has its own E-flite 20-amp ESC and 2S 1300 mAh LiPo battery.
I placed the Futaba R617FS receiver in the right fuselage. The forward arrow shaft doubles as a conduit for the wires from the port servo and ESC to the receiver.
To provide some measure of ground handling, I set up a differential-throttle mix on my Futaba 7C transmitter. This allows me to individually control each motor with rudder inputs. Although not as precise as a steerable tailwheel, it is simple and works well.
The twin's first flight was made before the landing gear was installed. As soon as the airplane was launched, it showed signs of lateral instability. The most prominent indication was a significant Dutch roll (unintentional yawing and wing rocking).
The airplane was sensitive in pitch. After nursing it around in the sky for a few minutes, I brought JATH down without damage.
Back in the shop, I added 1.5 ounces of lead to the noses and installed landing gear. These changes moved the CG forward, which I believed would cure the pitch sensitivity. I was optimistic that the Dutch roll would also disappear. On the second flight, the pitch problems were gone, but the Dutch roll persisted.
Through no fault of the airplane, I ended the second flight with an unintentional spiral to the ground. The damage was superficial and easily repaired.
On my next trip back to the shop, I replaced the original V-tail parts with lighter Cellfoam 88 duplicates and added separate vertical stabilizers (does that make it a W-tail?). This moved the CG farther forward while (presumably) improving lateral stability.
JATH's third flight showed that the vertical stabilizers cured the Dutch roll and made the airplane more pleasant to fly. It looks cool in the air and it's satisfying to see the direct cause-and-effect of simple changes, such as the addition of vertical area.
Red Hawk Kitbash #3—Uncharted Ground
For my third Red Hawk-themed project, I wanted to do something I've never attempted and that I didn't fully understand: asymmetry.
There are few full-scale asymmetric aircraft to analyze. However, the two prime examples of asymmetry, the Blohm & Voss Bv 141 and the Rutan Model 202 Boomerang, have good handling qualities. There must be some engineering logic behind these abstract-looking aircraft.
I was unable to find any useful information about asymmetric design philosophies in my model design books, online, or even my Stability and Control textbooks. I resorted to studying three-view drawings of the Bv 141 and Boomerang.
As I poured over the drawings, they revealed a few secrets that made these aircraft seem less radical than before. I didn't grasp every aspect of their asymmetry, but I became confident enough to believe that I could create a flyable asymmetric model using Red Hawk parts.
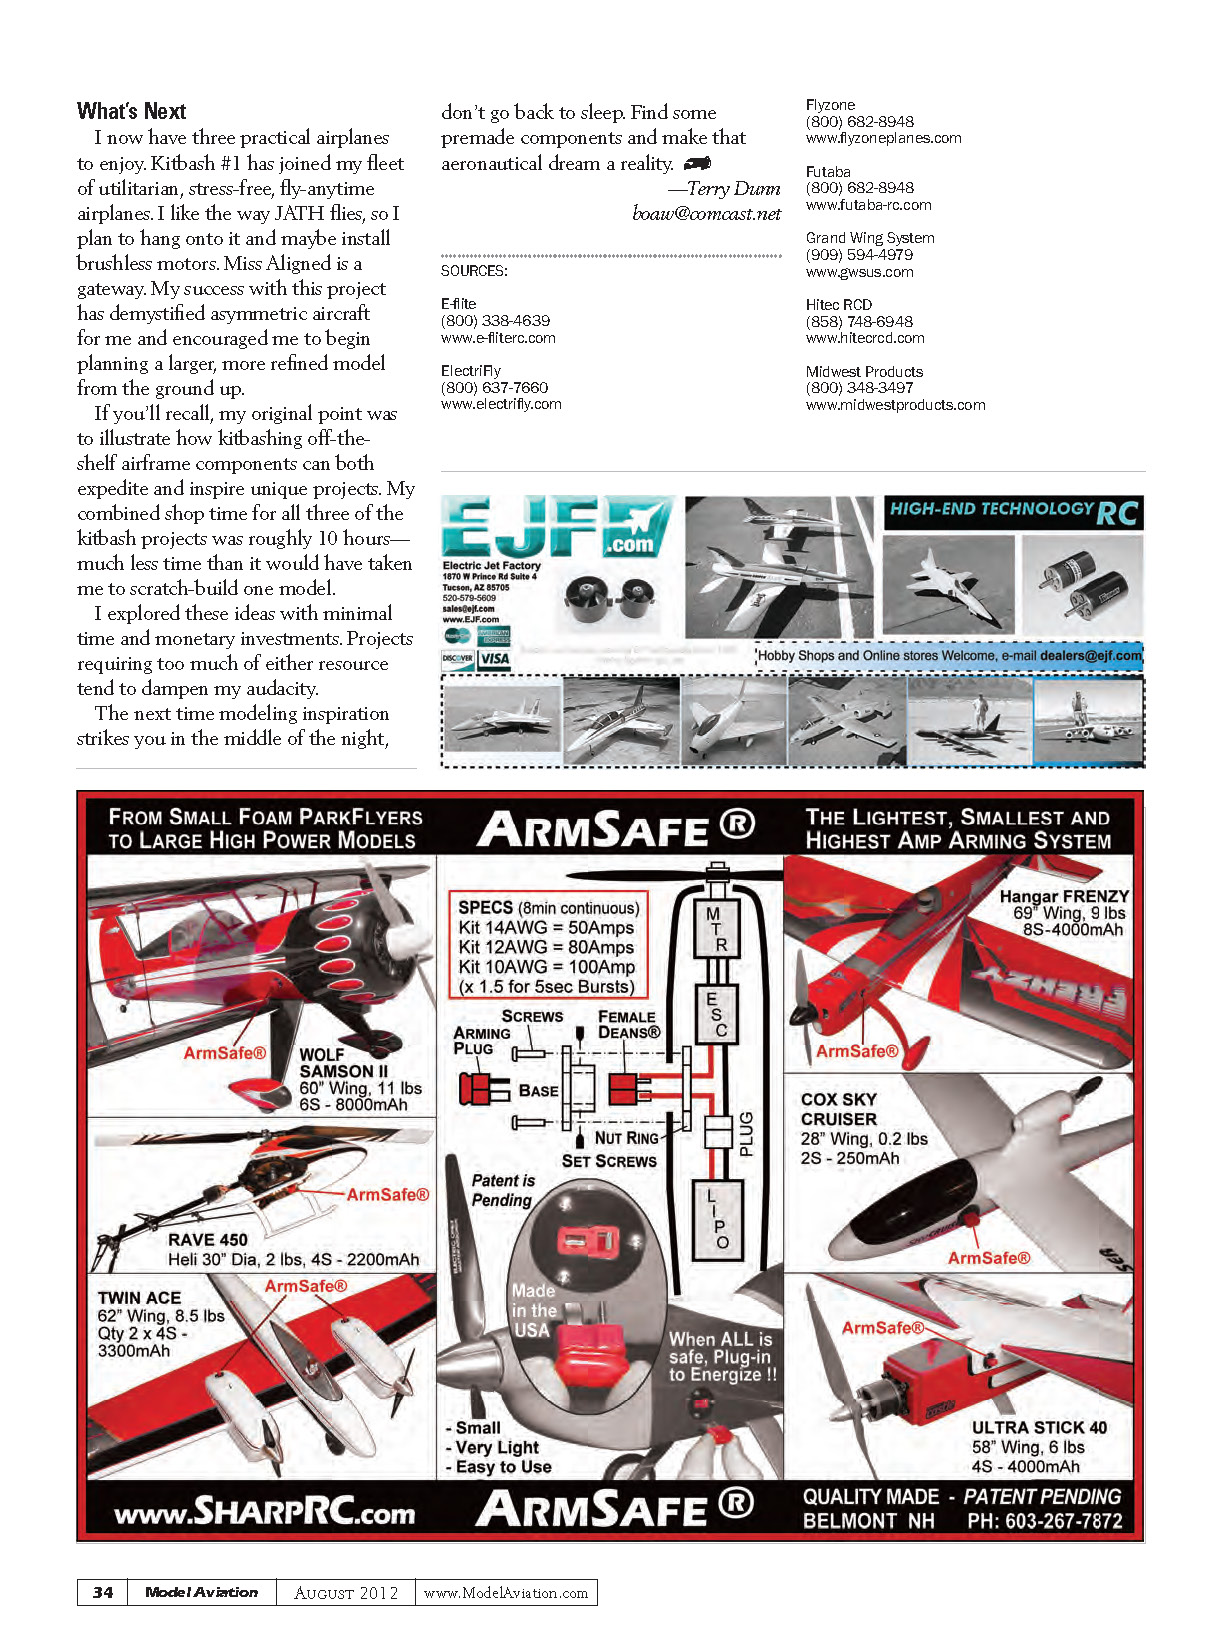
The name for my model was obvious: Miss Aligned. Other than its pusher motor, Miss Aligned resembled the layout of the Bv 141 in many ways.
Like JATH, the pods are joined with arrow shafts. Rather than having two identical cockpit-like pods out front, I reworked the left pod to include a Gatling gun and a huge cannon.
My goal was to get the airplane's lateral balance slightly right of the left pod. This makes the position of the single motor (mounted in the left pod) have the same torque-canceling effect as the right thrust that is incorporated into many conventional airplanes.
The power system is the same as that which I used on Kitbash #1. All of the components, except the battery, were placed in the left pod. The battery is in the right pod with a wire extension running through the forward arrow shaft.
I underestimated the balancing effect of having the battery in the right pod.
To shift the lateral balance closer to the left pod, I added 0.4 ounces of lead to the left wingtip. This placed the lateral balance point 5/8 inch to the right of the left pod, which, by no coincidence, is the same location as the midpoints of the wing and landing gear.
I was mostly sure that Miss Aligned would fly, but I was prepared to deal with unexpected idiosyncrasies. I was amazed when I began the first takeoff roll and needed no rudder input to keep it on a straight path. The airplane lifted off quickly and behaved normally.
The throttle/yaw coupling that I expected never materialized. Neither did the pitch/roll coupling I anticipated from the off-center elevator. In short, Miss Aligned's predictability in flight belies its quirky appearance.
What's Next
I now have three practical airplanes to enjoy. Kitbash #1 has joined my fleet of utilitarian, stress-free, fly-anytime airplanes. I like the way JATH flies, so I plan to hang onto it and maybe install brushless motors. Miss Aligned is a gateway. My success with this project has demystified asymmetric aircraft for me and encouraged me to begin planning a larger, more refined model from the ground up.
If you'll recall, my original point was to illustrate how kitbashing off-the-shelf airframe components can both expedite and inspire unique projects. My combined shop time for all three of the kitbash projects was roughly 10 hours—much less time than it would have taken me to scratch-build one model.
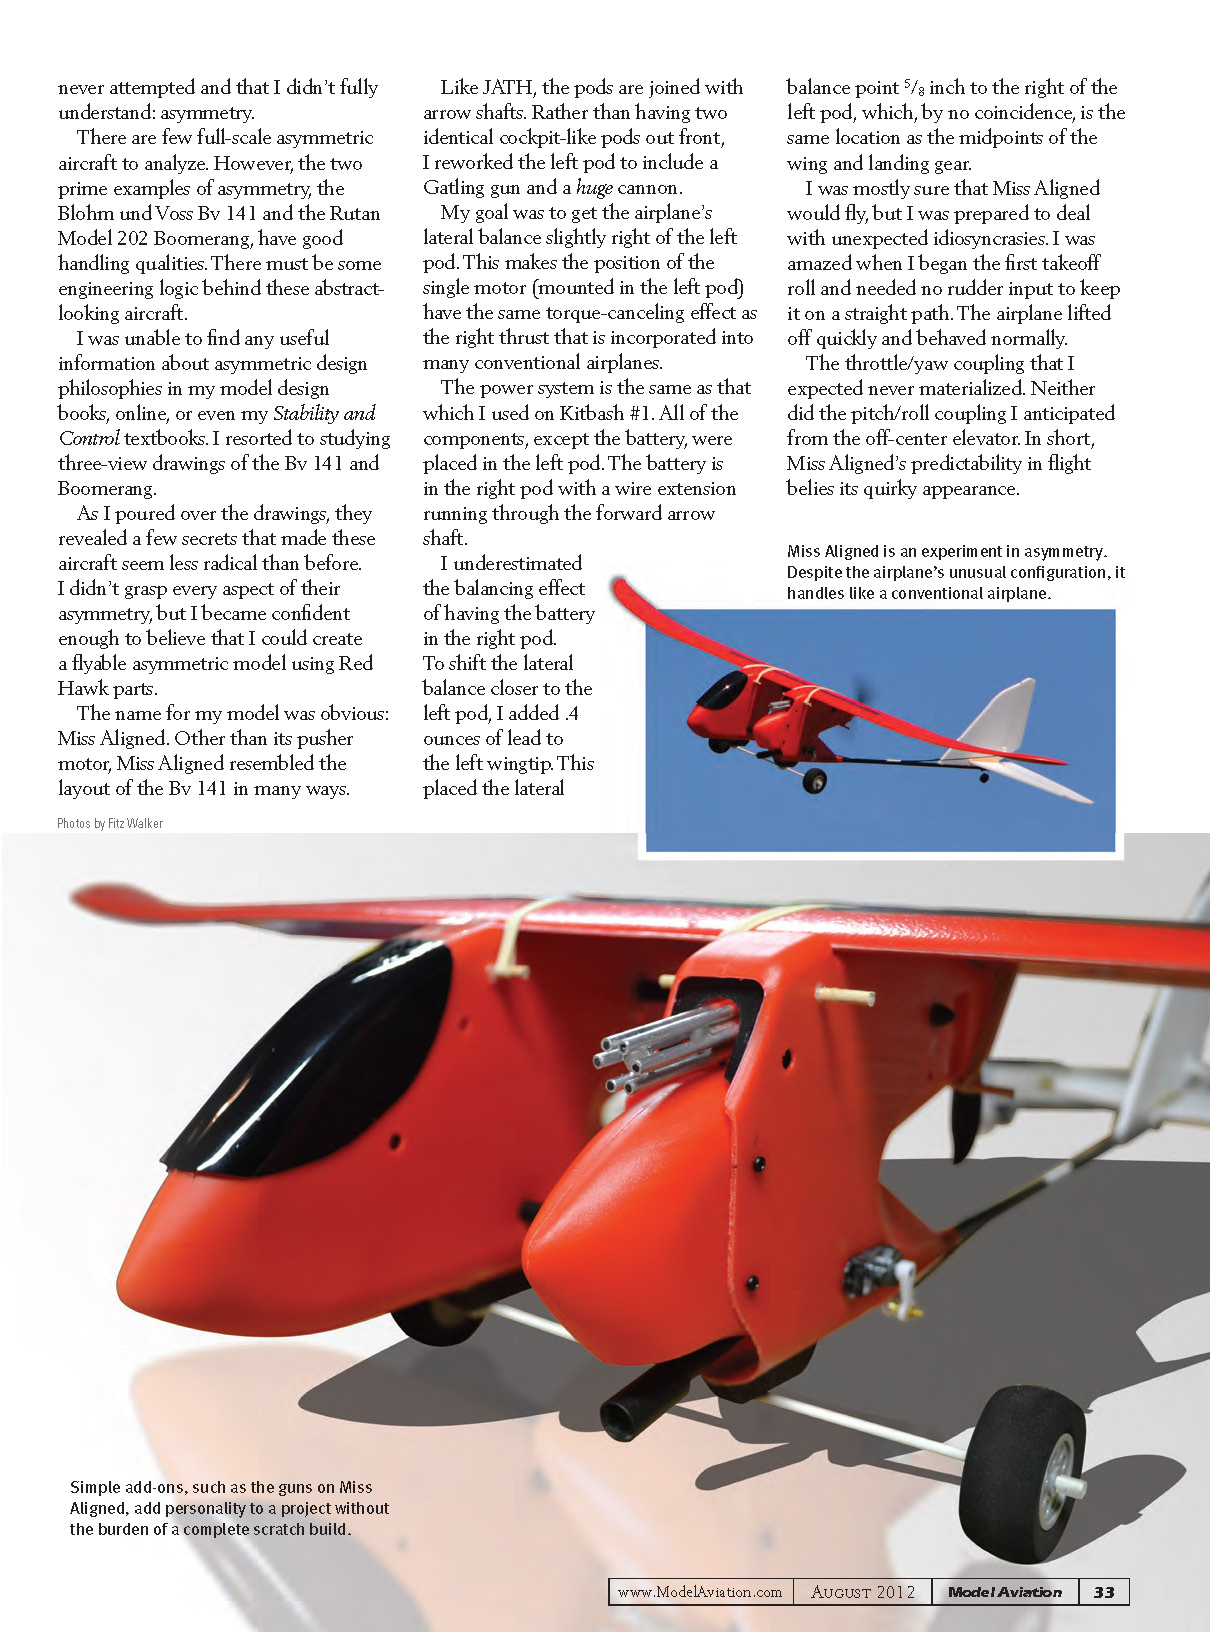
I explored these ideas with minimal time and monetary investments. Projects requiring too much of either resource tend to dampen my audacity.
The next time modeling inspiration strikes you in the middle of the night, don't go back to sleep. Find some premade components and make that aeronautical dream a reality.
—Terry Dunn [email protected]
SOURCES:
- E-flite — (800) 338-4639 — www.e-fliterc.com
- ElectriFly — (800) 637-7660 — www.electrifly.com
- Flyzone — (800) 682-8948 — www.flyzoneplanes.com
- Futaba — (800) 682-8948 — www.futaba-rc.com
- Grand Wing System (GWS) — (909) 594-4979 — www.gwsus.com
- Hitec RCD — (858) 748-6948 — www.hitecrcd.com
- Midwest Products — (800) 348-3497 — www.midwestproducts.com
Transcribed from original scans by AI. Minor OCR errors may remain.

