
JR Forza 450
Charles Anderson
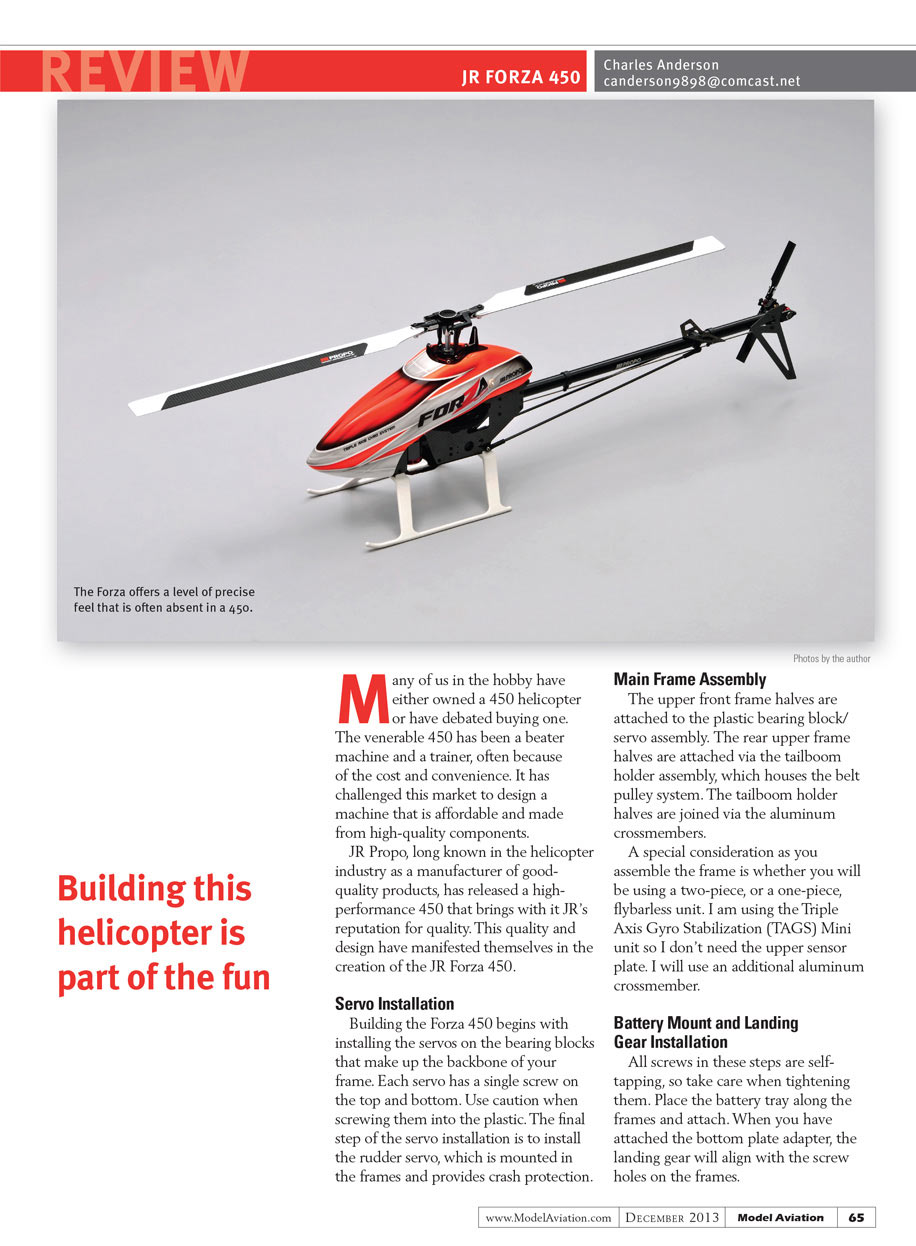
Many of us in the hobby have either owned a 450 helicopter or have debated buying one. The venerable 450 has been a beater machine and a trainer, often because of the cost and convenience. It has challenged this market to design a machine that is affordable and made from high-quality components.
JR Propo, long known in the helicopter industry as a manufacturer of good-quality products, has released a high-performance 450 that brings with it JR's reputation for quality. This quality and design have manifested themselves in the creation of the JR Forza 450.
Servo Installation
Building the Forza 450 begins with installing the servos on the bearing blocks that make up the backbone of your frame. Each servo has a single screw on the top and bottom. Use caution when screwing them into the plastic. The final step of the servo installation is to install the rudder servo, which is mounted in the frames and provides crash protection.
Main Frame Assembly
The upper front frame halves are attached to the plastic bearing block/servo assembly. The rear upper frame halves are attached via the tailboom holder assembly, which houses the belt pulley system. The tailboom holder halves are joined via the aluminum crossmembers.
A special consideration as you assemble the frame is whether you will be using a two-piece, or a one-piece, flybarless unit. I am using the Triple Axis Gyro Stabilization (TAGS) Mini unit so I don't need the upper sensor plate. I will use an additional aluminum crossmember.
Battery Mount and Landing Gear Installation
All screws in these steps are self-tapping, so take care when tightening them. Place the battery tray along the frames and attach. When you have attached the bottom plate adapter, the landing gear will align with the screw holes on the frames.
Swashplate and Main Rotor Head Installation
All three swashplate control rods should be 47mm as measured from the top of each link. Ensuring proper rod length will lessen the use of subtrim in your radio.
Tail Rotor and Tailboom Assembly
JR has taken some design cues from its larger models' tail assembly. The yoke is an upper-lower design that maintains precision during control inputs. The tail comes assembled, ready to insert the belt into the tailboom.
When I inserted the belt into the tailboom, I pushed the end of the belt into the opening of one tailboom support link.
After inserting the tail belt, place all tail control rod guides before inserting the tailboom into the frames. JR has simplified this step by providing setscrews to secure the guides in place.
Final assembly of the tailboom includes inserting it into the main frame and placing the tail belt on the main pulley. After insertion of the tailboom, with the belt twisted (follow the manual diagrams), pull gently to “snug” the belt and then tighten the loose screws on your tailboom holder. Overtightening the belt will place undue drag on the drive system.
The pinion with one-way bearing increases longevity and lowers the cost of main gear.
Motor Assembly and Installation
A unique feature of the motor assembly is the placement of the one-way bearing in the pinion. This allows less stress on the one-way bearing, and provides for a cheaper main gear replacement.
An important consideration when installing the motor is setting the proper gear lash. The directions will assist in setting a gear lash that provides the most drag-free drive system.
TAGS Mini and Transmitter Setup
In my Forza, I will be using the JR TAGS Mini and the JR XG14. The Forza manual provides recommended settings for the XG6 and XG8, which also apply to the XG14.
The JR TAGS Mini is JR's newest three-axis gyro system and integrates seamlessly with all transmitters. It is easy to program and offers individual cyclic and tail-gain settings via your transmitter.
Transmitter setup begins with programming your radio for a standard three-servo CCPM (Cyclic Collective Pitch Mixing) helicopter. After setting up the JR XG14, I will perform a calibration with the TAGS Mini unit that lets it learn the transmitter settings. This feature provides a comfortable transition from a standard flybar system to a flybarless one.
In addition to the high-quality components, by purchasing the package containing the servos and TAGS Mini, you will receive a unit that is already optimized for the Forza.
Typical transmitter settings will be as follows:
- Set your model type to helicopter.
- Swash type will be set to 120° CCPM.
- Set swash mix beginning values of the aileron/elevator to 50% and pitch to 38.
- Set servo reversing to reversed on channels 2/3/6.
- Set travel adjustment to 100/100 for swash and 150/150 for rudder channel.
After you have completed transmitter setup and before your first flight, it is important to verify all control settings. The gyros should always correct against the movement; if you tilt the helicopter right, the swashplate should tilt left. Check all directions, including the tail. Now you can safely enjoy your new helicopter.
Conclusion
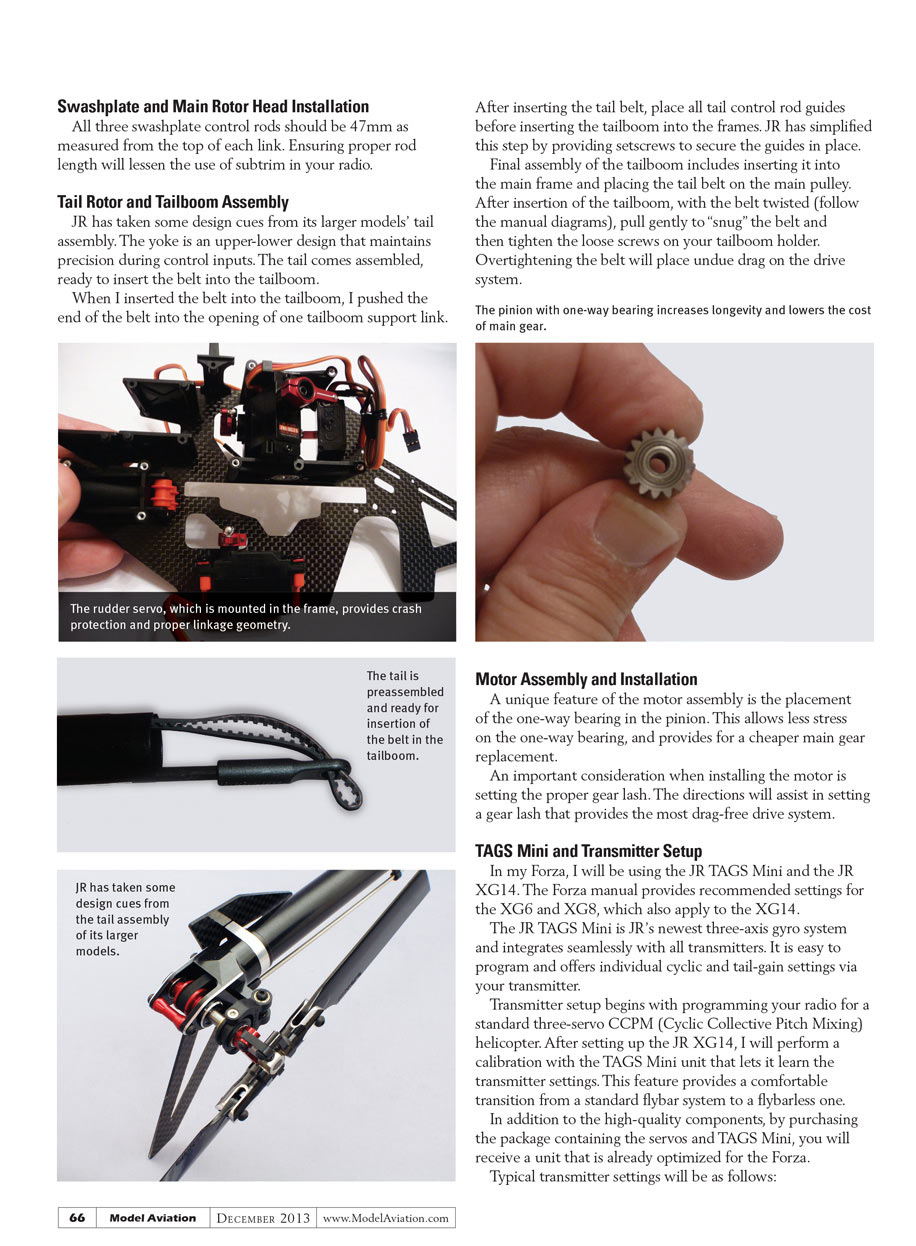
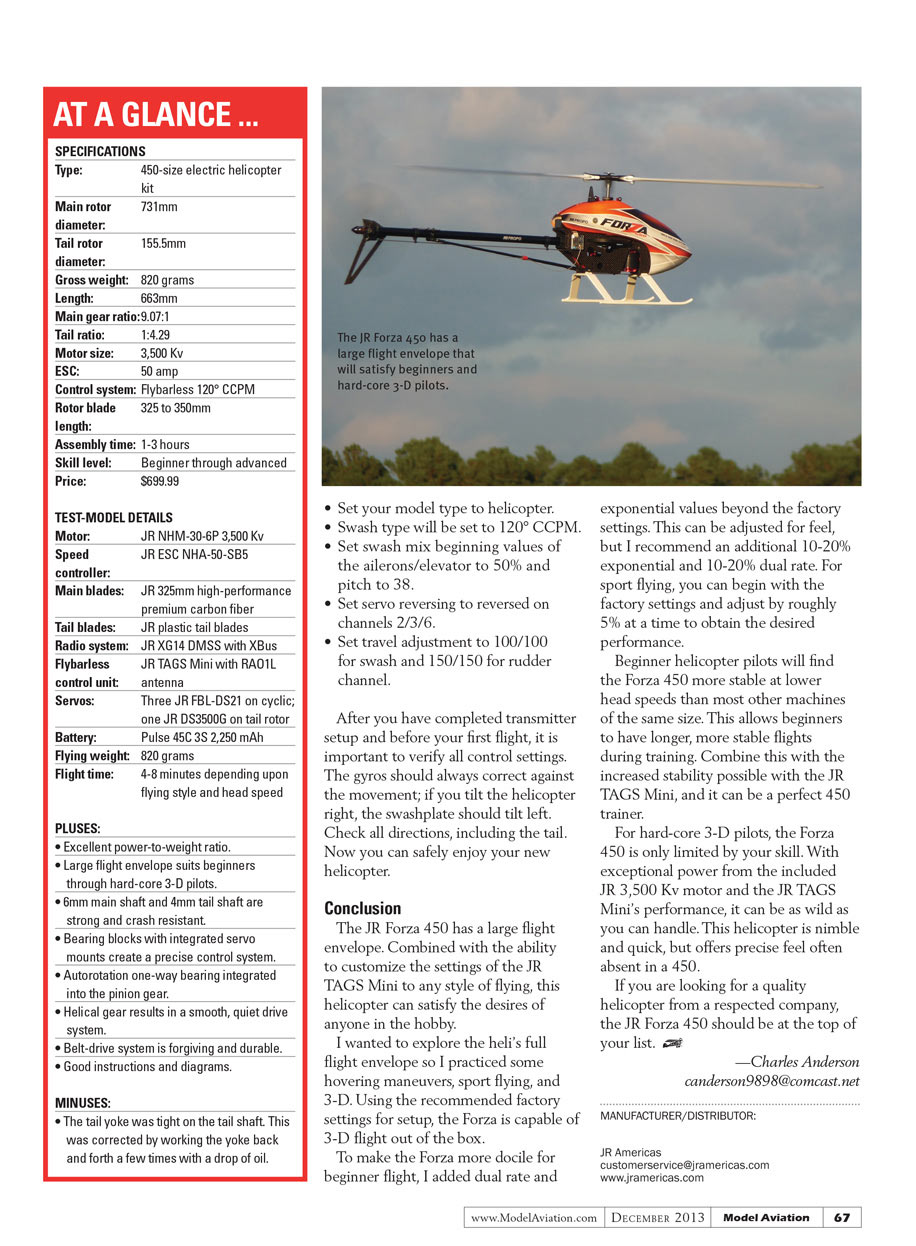
The JR Forza 450 has a large flight envelope. Combined with the ability to customize the settings of the JR TAGS Mini to any style of flying, this helicopter can satisfy the desires of anyone in the hobby.
I wanted to explore the heli’s full flight envelope so I practiced some hovering maneuvers, sport flying, and 3-D. Using the recommended factory settings for setup, the Forza is capable of good 3-D flight out of the box.
To make the Forza more docile for beginner flight, I added dual rate and exponential values beyond the factory settings. This can be adjusted for feel, but I recommend an additional 10-20% exponential and 10-20% dual rate. For sport flying, you can begin with the factory settings and adjust by roughly 5% at a time to obtain the desired performance.
Beginner helicopter pilots will find the Forza 450 more stable at lower head speeds than most other machines of the same size. This allows beginners to have longer, more stable flights during training. Combine this with the increased stability possible with the JR TAGS Mini, and it can be a perfect 450 trainer.
For hard-core 3-D pilots, the Forza 450 is only limited by your skill. With exceptional power from the included JR 3,500 Kv motor and the JR TAGS Mini’s performance, it can be as wild as you can handle. This helicopter is nimble and quick, but offers precise feel often absent in a 450.
If you are looking for a quality helicopter from a respected company, the JR Forza 450 should be at the top of your list.
—Charles Anderson <REDACTED>
MANUFACTURER/DISTRIBUTOR: JR Americas [email protected] www.jramericas.com
Transcribed from original scans by AI. Minor OCR errors may remain.

