
A detailed look at the Micro Bipe kit from Radical RC
Dave Robelen | [email protected]
Micro Bipe (Radical RC)
Kit and construction
HELLO, MICRO FANS. Another opportunity for me to share with you has rolled around. I have several projects to discuss and a unique covering material to look at.
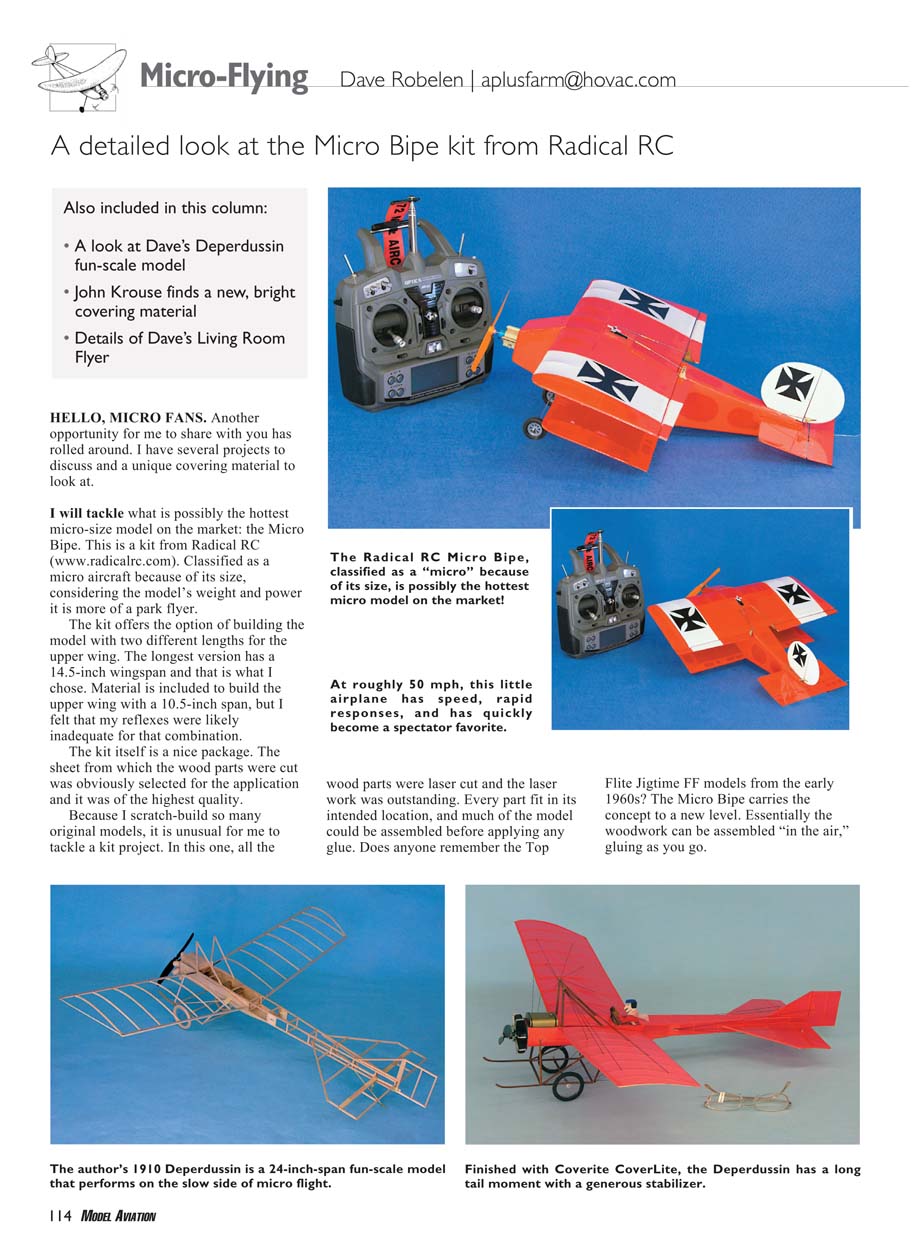
I will tackle what is possibly the hottest micro-size model on the market: the Micro Bipe. This is a kit from Radical RC (www.radicalrc.com). Classified as a micro aircraft because of its size, considering the model’s weight and power it is more of a park flyer.
The kit offers the option of building the model with two different lengths for the upper wing. The longest version has a 14.5-inch wingspan and that is what I chose. Material is included to build the upper wing with a 10.5-inch span, but I felt that my reflexes were likely inadequate for that combination.
The kit itself is a nice package. The sheet from which the wood parts were cut was obviously selected for the application and it was of the highest quality. Because I scratch-build so many original models, it is unusual for me to tackle a kit project. In this one, all the wood parts were laser cut and the laser work was outstanding. Every part fit in its intended location, and much of the model could be assembled before applying any glue. Does anyone remember the Top Flite Jigtime FF models from the early 1960s? The Micro Bipe carries the concept to a new level. Essentially the woodwork can be assembled "in the air," gluing as you go.
I chose Solite film to cover my Micro Bipe because it is respectably light and not too difficult to work with.
Power system and radio gear
For power I used a Medusa 12mm, 4000 kV brushless motor spinning a 4 x 2.5 GWS propeller direct drive. The controller is a Castle Creations Phoenix-10, and the battery is a 700 mAh 2S Li-Poly. Three GWS Pico servos handle the controls, and a Berg Microstamp receiver sends the transmitter’s signals. This whole package has proven to be a good value and reliable in flight.
Flight impressions
How does it fly? Thankfully I took the little Micro Bipe to a field with tall grass for the initial flights! Everything was in good trim except my reflexes. This little baby honks around the sky like a mad hornet and is quick as lightning on the controls. After I got past the initial bloopers, the fun began.
That little direct-drive Medusa sounds wild coming out of a fast Split S, and the roll rate is incredibly rapid, making it possible to perform four or five level rolls without touching the elevator. It can pull up into a huge loop while maintaining speed throughout. On the subject of speed, 50 mph in level flight is a conservative estimate. For all the speed and rapid responses, this little airplane is not the least bit "twitchy" or less than smooth on the controls.
If you are looking for a new challenge with a quality product, try this one. I enjoy taking it to the club fields where the "big" guys are flying and chasing down their projects in flight. The little Micro Bipe has become a favorite with the spectators too.
Slow micro flight — Deperdussin fun-scale (24-inch)
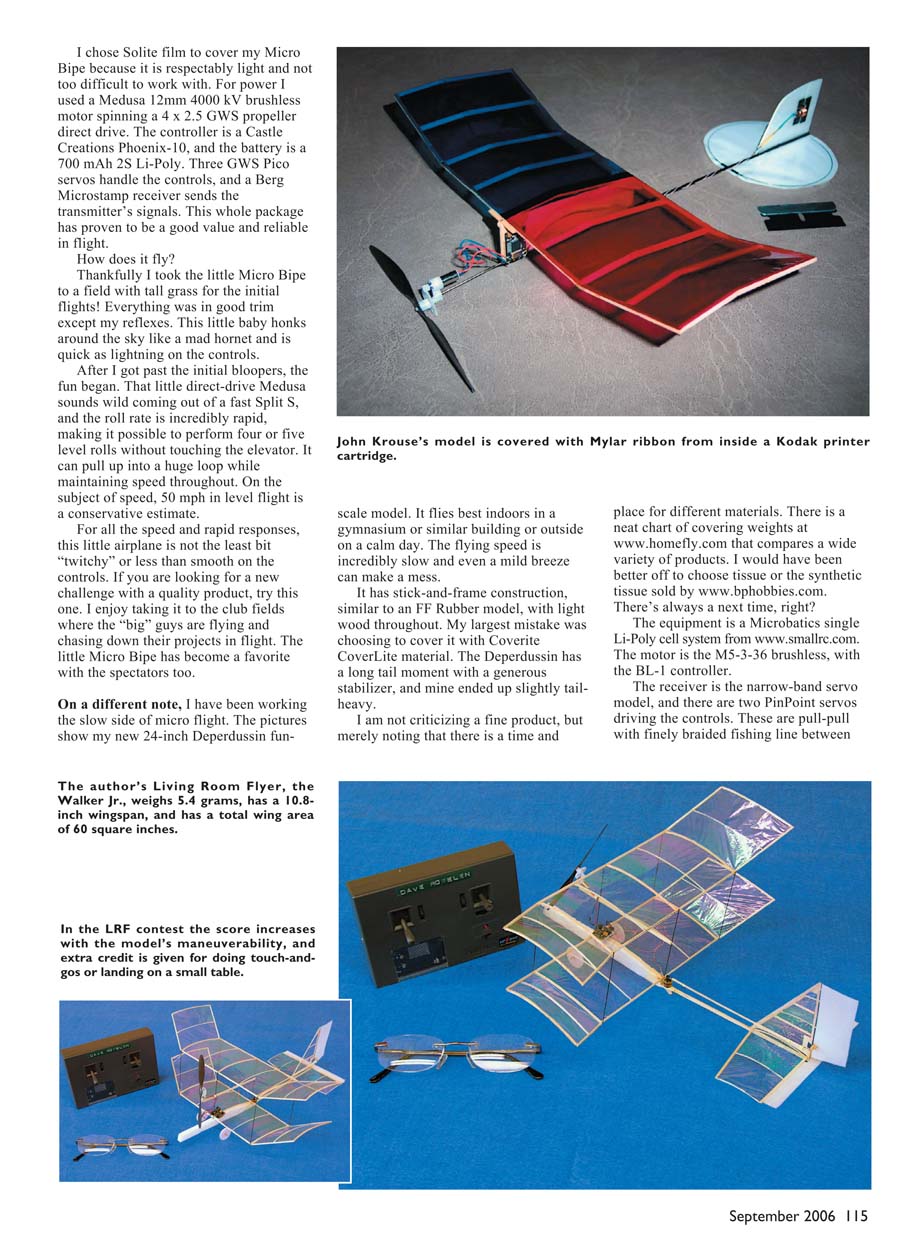
The pictures show my new 24-inch Deperdussin fun-scale model. It flies best indoors in a gymnasium or similar building or outside on a calm day. The flying speed is incredibly slow and even a mild breeze can make a mess.
It has stick-and-frame construction, similar to an FF rubber model, with light wood throughout. My largest mistake was choosing to cover it with Coverite CoverLite material. The Deperdussin has a long tail moment with a generous stabilizer, and mine ended up slightly tail-heavy.
I am not criticizing a fine product, but merely noting that there is a time and place for different materials. There is a neat chart of covering weights at www.homefly.com that compares a wide variety of products. I would have been better off to choose tissue or the synthetic tissue sold by www.bpbhobbies.com. There's always a next time, right?
Equipment and performance
The equipment is a Microbatics single Li-Poly cell system from www.smallrc.com. The motor is the M5-3-36 brushless, with the BL-1 controller. The receiver is the narrow-band servo model, and there are two PinPoint servos driving the controls. These are pull-pull with finely braided fishing line between the servos and the control horns. The battery cell is a 210 mAh Li-Poly, which is good for 10- to 15-minute flights at cruise power.
To say the Deperdussin is not aerobatic is putting it mildly; it is one of the gentlest models I have flown. Except for some of the relatively delicate structure, it would make a fine trainer—especially for that FF enthusiast who is getting tired of the chase.
New covering source — Mylar ribbon (John Krouse)
One of my regular contributors—John Krouse, 1124 Pipestem Pl., Rockville MD 20854—has found what appears to be a new source of brightly colored covering. A picture shows John’s model with the covering applied. I am going to let him describe what he has found.
"The main claim to fame of this indoor microelectric RC model airplane is the digital-age material used for covering the wing—namely Mylar ribbon from the inside of a Kodak photo printer color cartridge. Discovered by accident (like many ideas!), it comes in three brilliant, transparent colors: magenta, blue (shown), and yellow.
"The material has some desirable properties for model-airplane application. It’s lightweight—roughly 50% less than Reynolds Wrap and 25% less than 5-micron RA Microlite or Japanese tissue. It doesn’t shrink, so it is good for building fragile, warp-proof wings. In flight, it seems to glow as the light shines through the open balsa framework.
"The actual model is designed/built around the now-familiar Plantraco Butterfly electronic components. Launch weight is slightly less than 5 grams, supported by a 2.5 x 8-inch wing."
Thanks, John, for bringing this new source of covering to our attention. By the way, the model looks neat too!
Living Room Flyer (LRF) contest and Walker Jr.
John isn’t the only one working with original models based on the ultralight Plantraco flight pack. One of the Internet bulletin boards, www.smallrc.com/forums/, began running a contest for what has become termed a Living Room Flyer, or LRF. Because it is not in my nature to miss a good contest, I decided to join the fun.
Some of the rules are as follows:
- Maximum room size is 20 x 20 feet.
- Flight must be supported by wing(s).
- Use of a variety of materials will be considered.
- Aesthetics will count.
- The score will rise according to the maneuverability of the model.
- Extra credit for the ability to land or do touch-and-goes on a small table.
Although the contest will probably have closed by the time this makes it into print, reviewing the results and modeling techniques could be instructive.
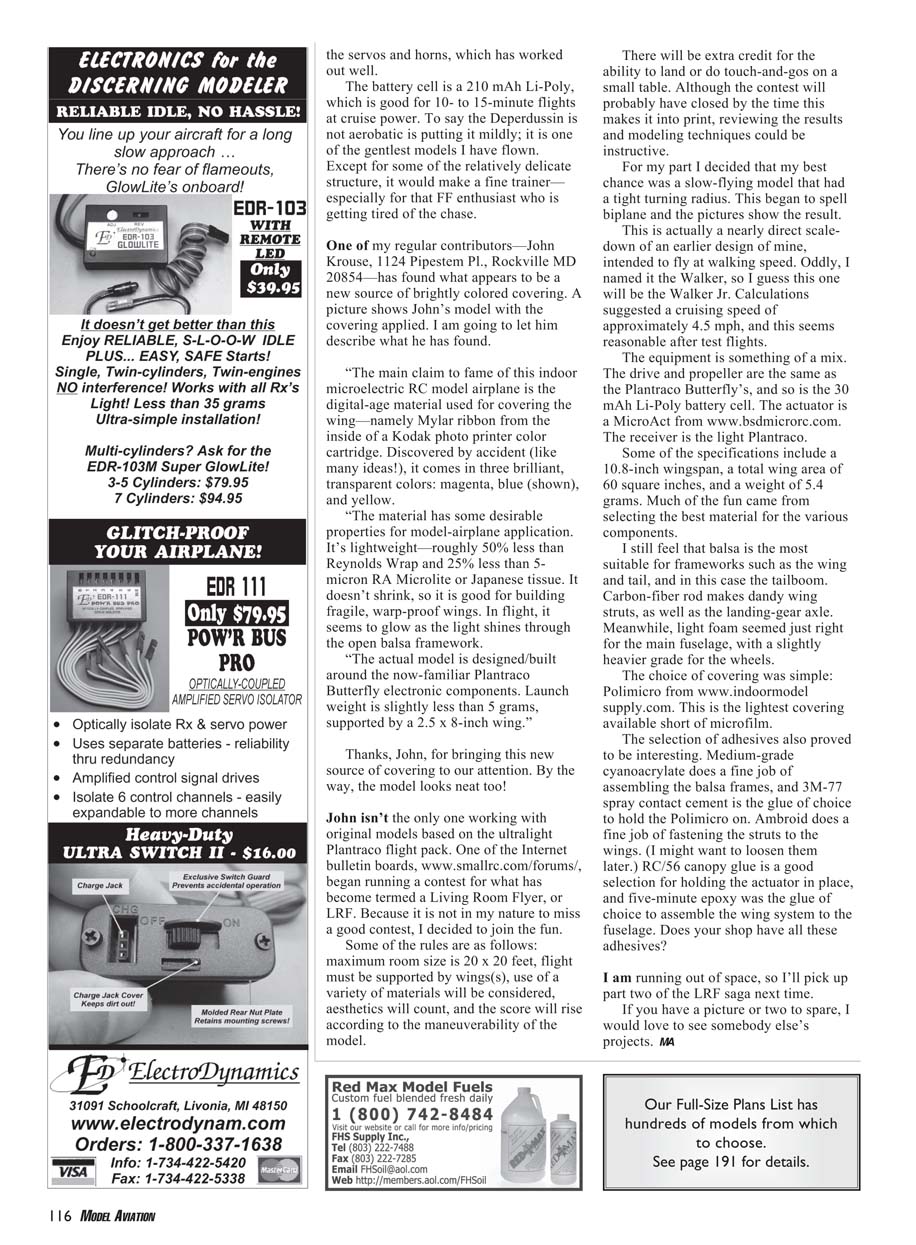
For my part I decided that my best chance was a slow-flying model that had a tight turning radius. This began to spell biplane and the pictures show the result.
This is actually a nearly direct scale-down of an earlier design of mine, intended to fly at walking speed. Oddly, I named it the Walker, so I guess this one will be the Walker Jr. Calculations suggested a cruising speed of approximately 4.5 mph, and this seems reasonable after test flights.
Walker Jr. equipment and specs
- Drive and propeller: same as the Plantraco Butterfly’s.
- Battery: 30 mAh Li-Poly cell.
- Actuator: MicroAct from www.bsdmicrocrc.com.
- Receiver: the light Plantraco unit.
Some specifications include:
- Wingspan: 10.8 inches.
- Total wing area: 60 square inches.
- Weight: 5.4 grams.
Much of the fun came from selecting the best material for the various components. I still feel that balsa is the most suitable for frameworks such as the wing and tail, and in this case the tailboom. Carbon-fiber rod makes dainty wing struts, as well as the landing-gear axle. Light foam seemed just right for the main fuselage, with a slightly heavier grade for the wheels.
The choice of covering was simple: Polimicro from www.indoor-modelsupply.com. This is the lightest covering available short of mylar.
Adhesives used
The selection of adhesives also proved to be interesting:
- Medium-grade cyanoacrylate for assembling the balsa frames.
- 3M-77 spray contact cement to hold the Polimicro on.
- Ambroid for fastening the struts to the wings (I might want to loosen them later).
- RC/56 canopy glue to hold the actuator in place.
- Five-minute epoxy to assemble the wing system into the fuselage.
Does your shop have all these adhesives? I am running out of space, so I’ll pick up part two of the LRF saga next time.
If you have a picture or two to spare, I would love to see somebody else’s projects.
MA
Transcribed from original scans by AI. Minor OCR errors may remain.

