
It's time for some indoor flying fun
Joe Malinchak [email protected]
Flying RC models in the comfort of your living room can be a fun way to enjoy the hobby when the weather is bad or if it is too cold to fly outside. I have flown many different types of RC models inside the house—from airplanes to helicopters—always looking for the ultimate room-flier experience.
For me, this type of model is one that is controllable, durable, and not too fast. Plantraco was the first company to offer a living room flier with a two-channel Butterfly RTF airplane. The 6½-inch wingspan model was groundbreaking at the time of its release, and is still available. A new model, a micro RC blimp called the Nanoblimp, has just been released.
Plantraco Nanoblimp
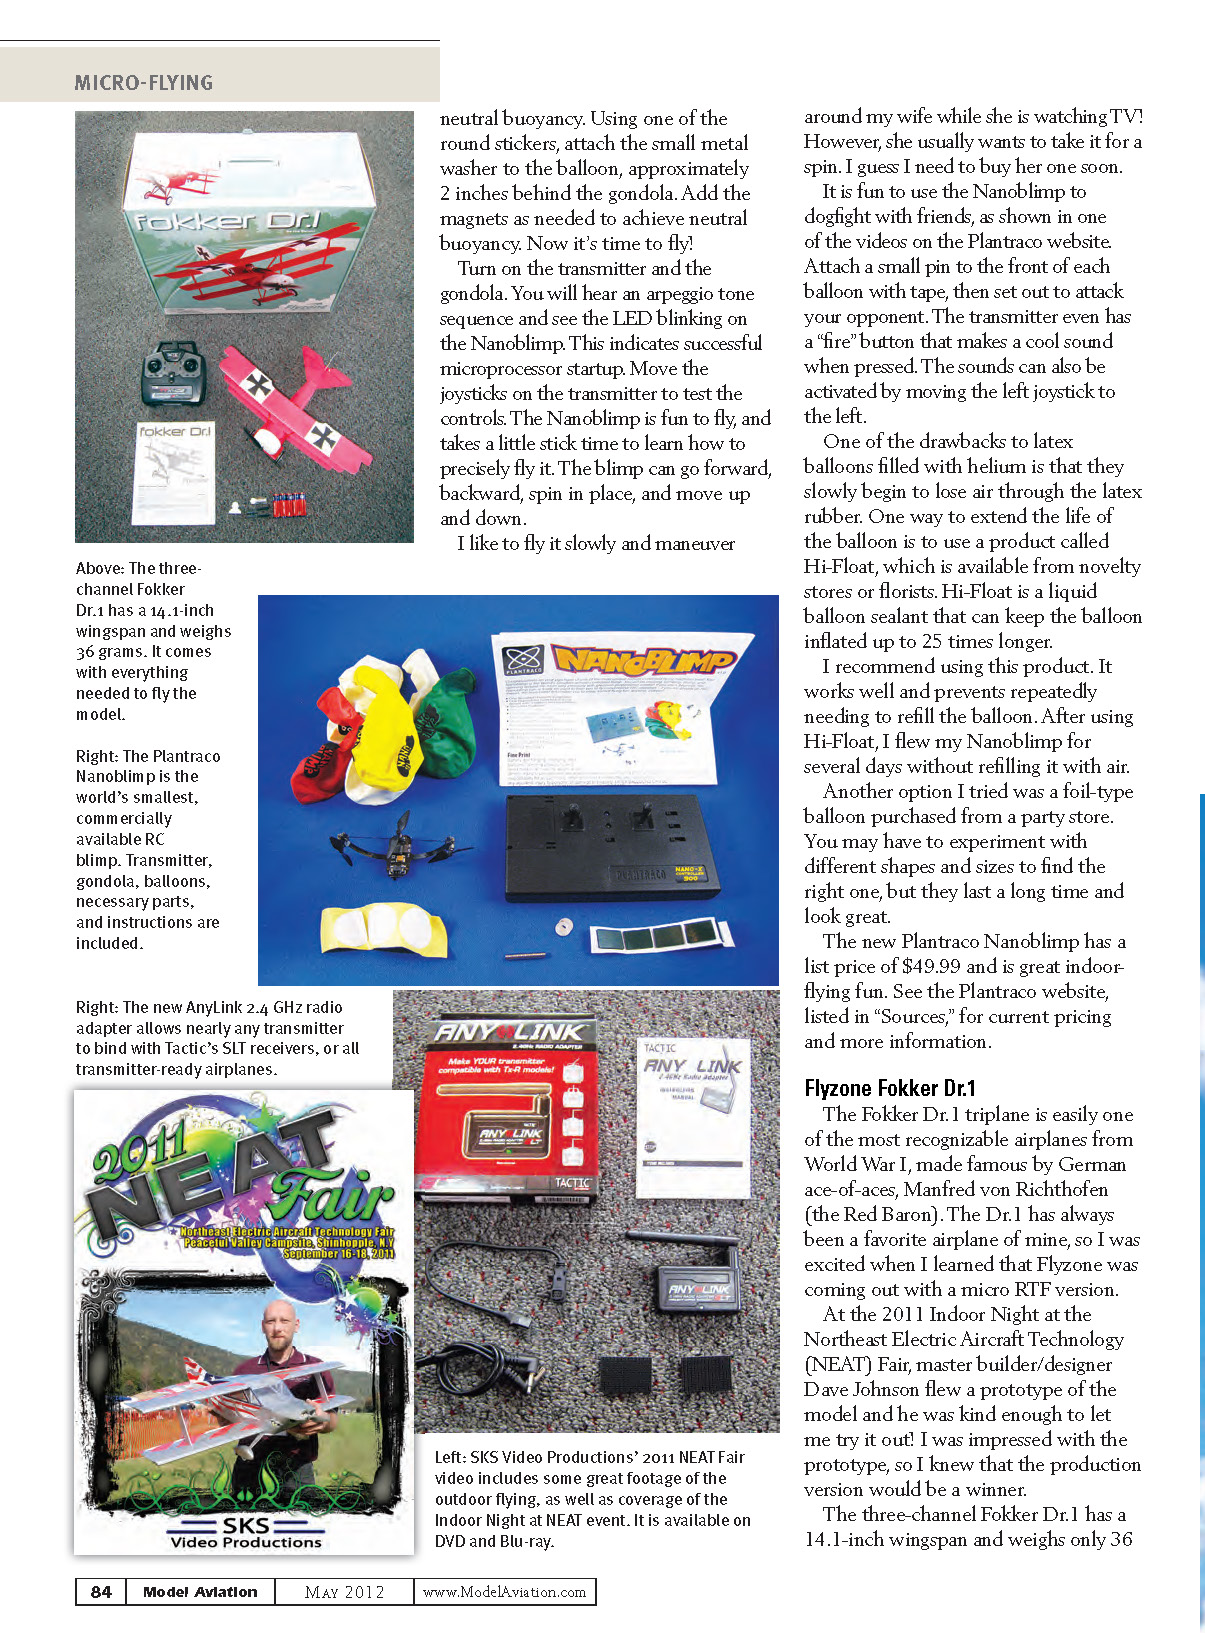
The Nanoblimp is the world's smallest commercially available RC blimp, and features fully proportional control, using standard 10- or 12-inch latex balloons. Included in the small box are the transmitter/charger, gondola with motors and propellers, ballast weights, stickers and foam tape, latex balloons, and instructions.
The new Nano900 transmitter requires four AAA batteries, and also functions as the charger. To charge the blimp's battery, pull the charger plug out of the charger bay door on the transmitter and connect the polarized Molex connector into the socket on the gondola's circuit board. The blue LED light on the transmitter will glow, indicating that the battery is charging. When the charge is complete, the light will go out. If you leave the gondola attached to the charger for an extended time, it will not drain the transmitter's batteries because the unit shuts off and goes to sleep when the charging process is complete.
The Nanoblimp gondola is the heart of the system and features a lightweight receiver with three motors and propellers for precise control. A small piece of double-sided tape holds the gondola to the latex balloon. The balloon is filled with helium from a small tank, available from department stores such as Walmart or Toys "R" Us. After it is filled, attach the gondola to the bottom of the balloon, slightly forward of its center, with the two motors facing the front. Next, attach the ballast weights to obtain neutral buoyancy. Using one of the round stickers, attach the small metal washer to the balloon approximately 2 inches behind the gondola. Add the magnets as needed to achieve neutral buoyancy. Now it's time to fly!
Turn on the transmitter and the gondola. You will hear an arpeggio tone sequence and see the LED blinking on the Nanoblimp. This indicates successful microprocessor startup. Move the joysticks on the transmitter to test the controls. The Nanoblimp is fun to fly, and takes a little stick time to learn how to precisely pilot it. The blimp can go forward, backward, spin in place, and move up and down.
I like to fly it slowly and maneuver around my wife while she is watching TV. However, she usually wants to take it for a spin. I guess I need to buy her one soon.
It is fun to use the Nanoblimp to dogfight with friends, as shown in one of the videos on the Plantraco website. Attach a small pin to the front of each balloon with tape, then set out to attack your opponent. The transmitter even has a "fire" button that makes a cool sound when pressed. The sounds can also be activated by moving the left joystick to the left.
One of the drawbacks to latex balloons filled with helium is that they slowly begin to lose air through the latex rubber. One way to extend the life of the balloon is to use a product called Hi-Float, which is available from novelty stores or florists. Hi-Float is a liquid balloon sealant that can keep the balloon inflated up to 25 times longer.
I recommend using this product. It works well and prevents repeatedly needing to refill the balloon. After using Hi-Float, I flew my Nanoblimp for several days without refilling it.
Another option I tried was a foil-type balloon purchased from a party store. You may have to experiment with different shapes and sizes to find the right one, but they last a long time and look great.
The new Plantraco Nanoblimp has a list price of $49.99 and is great indoor flying fun. See the Plantraco website, listed in "SOURCES," for current pricing and more information.
Flyzone Fokker Dr.1
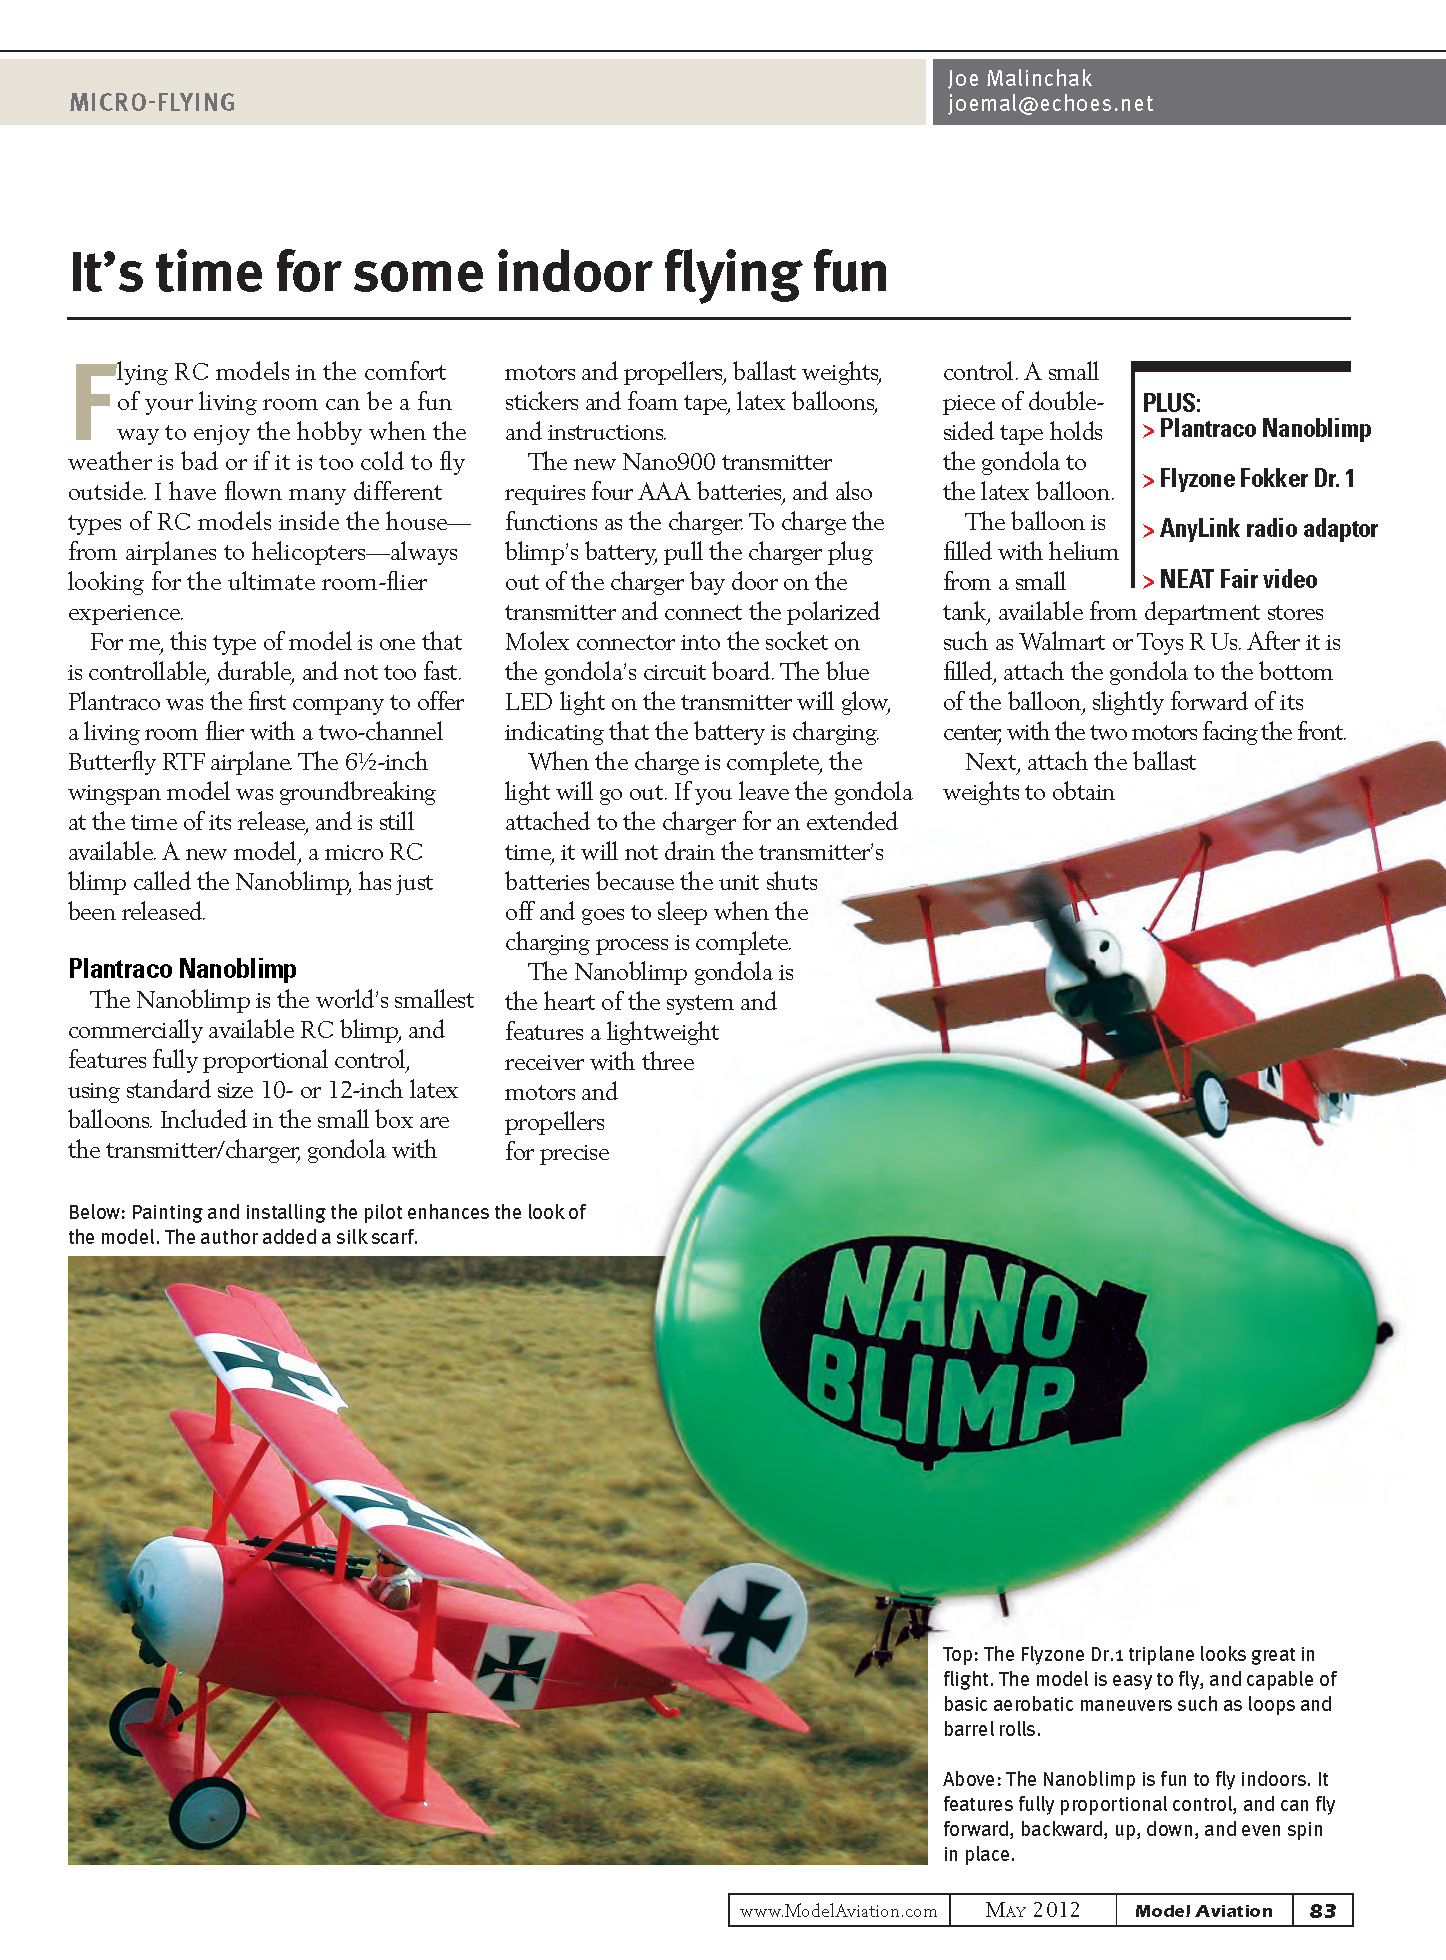
The Fokker Dr.1 triplane is easily one of the most recognizable airplanes from World War I, made famous by German ace-of-aces Manfred von Richthofen (the Red Baron). The Dr.1 has always been a favorite airplane of mine, so I was excited when I learned that Flyzone was coming out with a micro RTF version.
At the 2011 Indoor Night at the Northeast Electric Aircraft Technology (NEAT) Fair, master builder/designer Dave Johnson flew a prototype of the model and he was kind enough to let me try it out. I was impressed with the prototype, so I knew that the production version would be a winner.
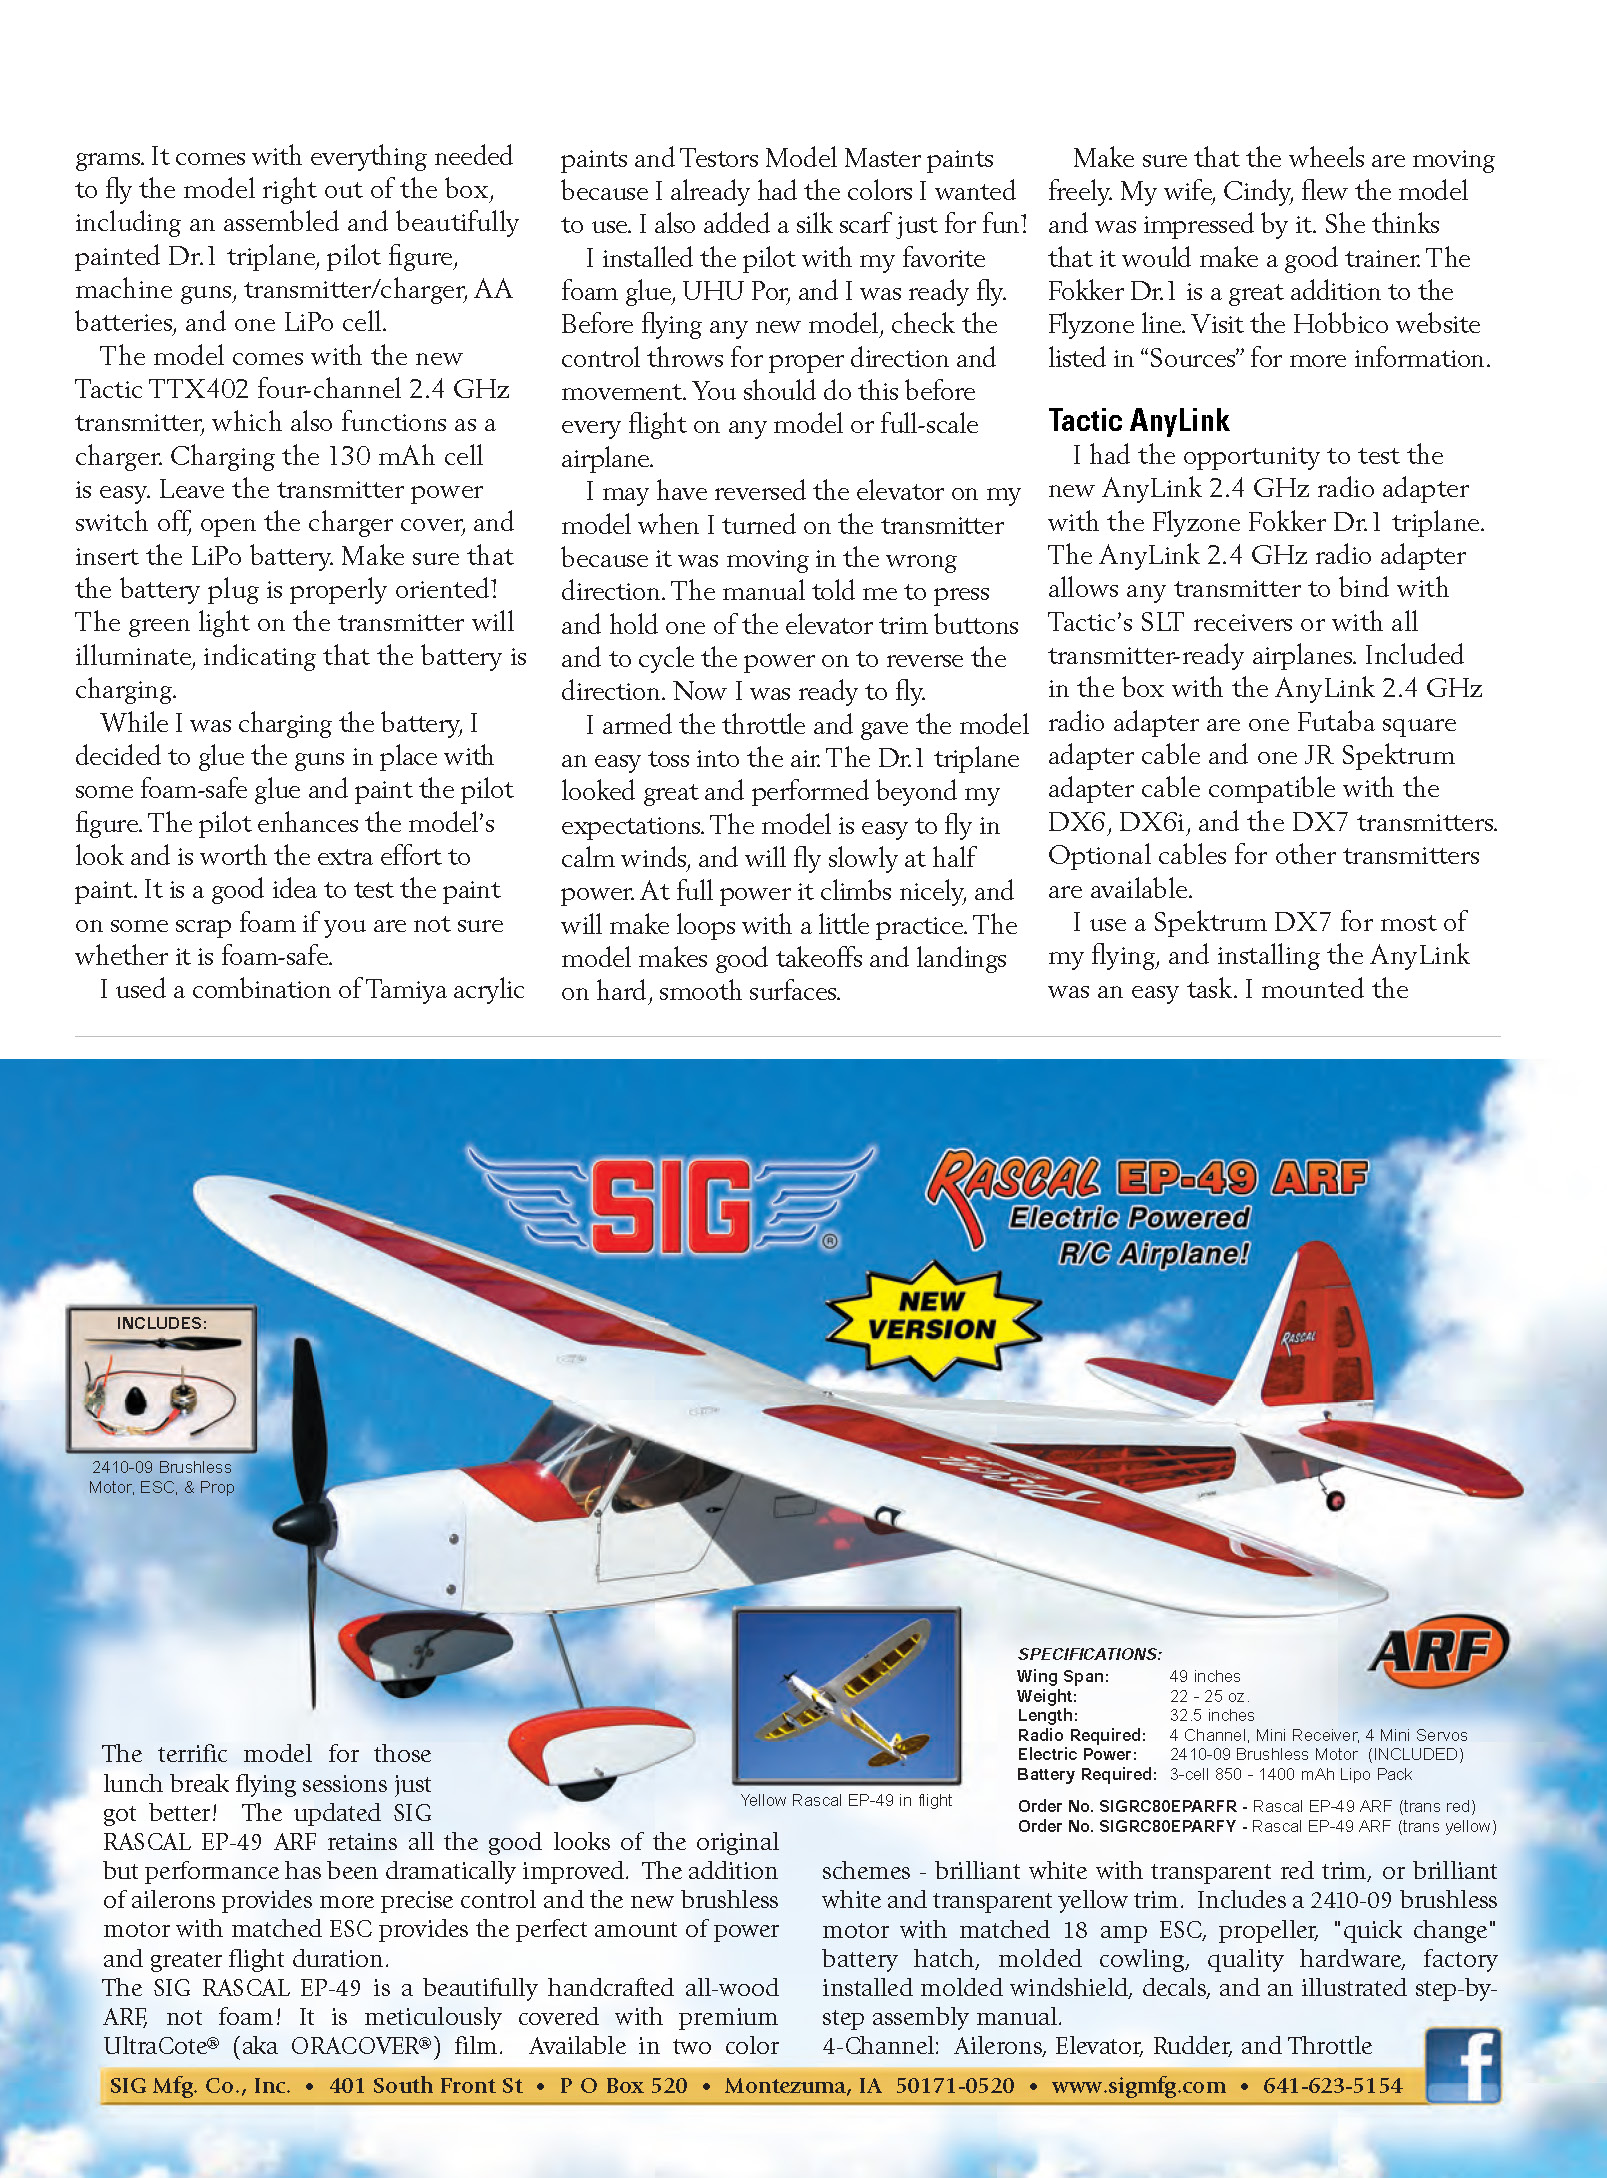
The three-channel Fokker Dr.1 has a 14.1-inch wingspan and weighs only 36 grams. It comes with everything needed to fly the model right out of the box, including an assembled and beautifully painted Dr.1 triplane, pilot figure, machine guns, transmitter/charger, AA batteries, and one LiPo cell.
The model comes with the new Tactic TTX402 four-channel 2.4 GHz transmitter, which also functions as a charger. Charging the 130 mAh cell is easy. Leave the transmitter power switch off, open the charger cover, and insert the LiPo battery. Make sure that the battery plug is properly oriented. The green light on the transmitter will illuminate, indicating that the battery is charging.
While I was charging the battery, I decided to glue the guns in place with some foam-safe glue and paint the pilot figure. The pilot enhances the model's look and is worth the extra effort to paint. It is a good idea to test the paint on some scrap foam if you are not sure whether it is foam-safe.
I used a combination of Tamiya acrylic paints and Testors Model Master paints because I already had the colors I wanted to use. I also added a silk scarf just for fun.
I installed the pilot with my favorite foam glue, UHU Por, and I was ready to fly. Before flying any new model, check the control throws for proper direction and movement. You should do this before every flight on any model or full-scale airplane.
I may have reversed the elevator on my model when I turned on the transmitter because it was moving in the wrong direction. The manual told me to press and hold one of the elevator trim buttons and to cycle the power on to reverse the direction. Now I was ready to fly.
I armed the throttle and gave the model an easy toss into the air. The Dr.1 triplane looked great and performed beyond my expectations. The model is easy to fly in calm winds, and will fly slowly at half power. At full power it climbs nicely, and will make loops with a little practice. The model makes good takeoffs and landings on hard, smooth surfaces.
Make sure that the wheels are moving freely. My wife, Cindy, flew the model and was impressed by it. She thinks that it would make a good trainer. The Fokker Dr.1 is a great addition to the Flyzone line. Visit the Hobbico website listed in "SOURCES" for more information.
Tactic AnyLink
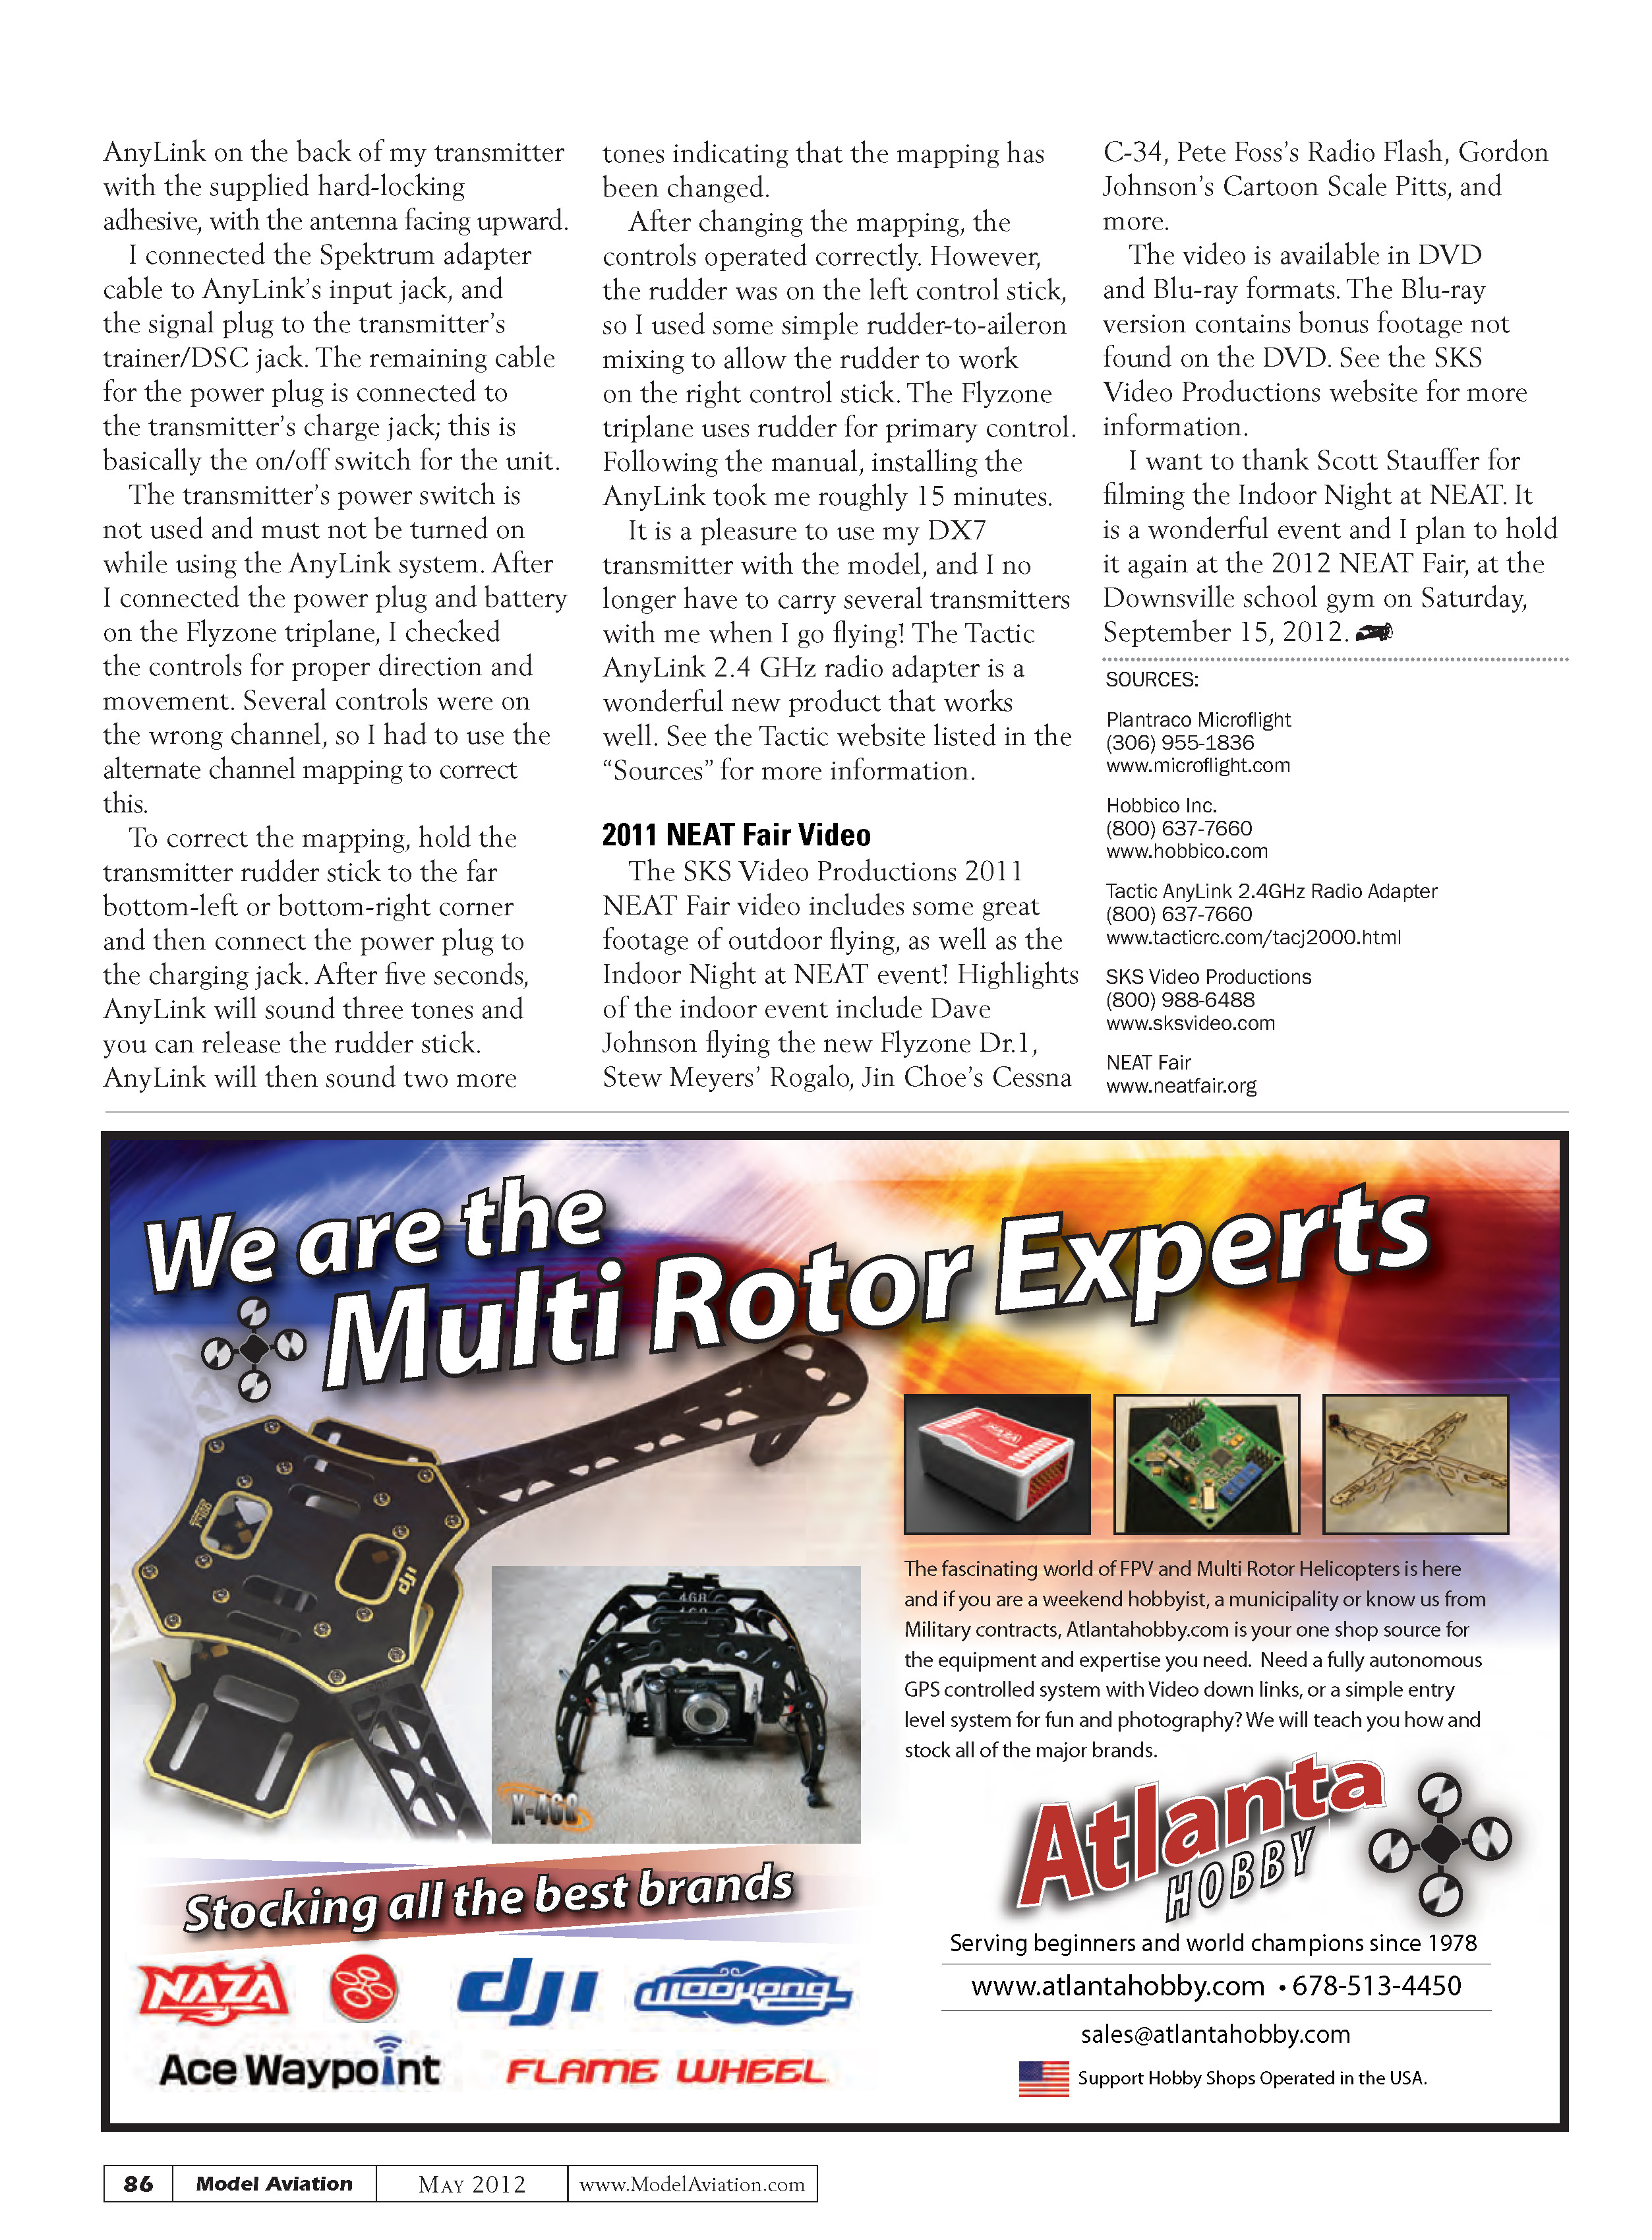
I had the opportunity to test the new AnyLink 2.4 GHz radio adapter with the Flyzone Fokker Dr.1 triplane. The AnyLink 2.4 GHz radio adapter allows any transmitter to bind with Tactic's SLT receivers or with all transmitter-ready airplanes. Included in the box with the AnyLink are one Futaba square adapter cable and one JR/Spektrum adapter cable compatible with the DX6, DX6i, and the DX7 transmitters. Optional cables for other transmitters are available.
I use a Spektrum DX7 for most of my flying, and installing the AnyLink was an easy task. I mounted the AnyLink on the back of my transmitter with the supplied hard-locking adhesive, with the antenna facing upward.
I connected the Spektrum adapter cable to AnyLink's input jack, and the signal plug to the transmitter's trainer/DSC jack. The remaining cable for the power plug is connected to the transmitter's charge jack; this is basically the on/off switch for the unit.
The transmitter's power switch is not used and must not be turned on while using the AnyLink system. After I connected the power plug and battery on the Flyzone triplane, I checked the controls for proper direction and movement. Several controls were on the wrong channel, so I had to use the alternate channel mapping to correct this.
To correct the mapping, hold the transmitter rudder stick to the far bottom-left or bottom-right corner and then connect the power plug to the charging jack. After five seconds, AnyLink will sound three tones and you can release the rudder stick. AnyLink will then sound two more tones indicating that the mapping has been changed.
After changing the mapping, the controls operated correctly. However, the rudder was on the left control stick, so I used some simple rudder-to-aileron mixing to allow the rudder to work on the right control stick. The Flyzone triplane uses rudder for primary control. Following the manual, installing the AnyLink took me roughly 15 minutes.
It is a pleasure to use my DX7 transmitter with the model, and I no longer have to carry several transmitters with me when I go flying. The Tactic AnyLink 2.4 GHz radio adapter is a wonderful new product that works well. See the Tactic website listed in the "SOURCES" for more information.
2011 NEAT Fair Video
The SKS Video Productions 2011 NEAT Fair video includes some great footage of outdoor flying, as well as the Indoor Night at NEAT event. Highlights of the indoor event include Dave Johnson flying the new Flyzone Dr.1, Stew Meyers’ Rogalo, Jin Choe’s Cessna C-34, Pete Foss’s Radio Flash, Gordon Johnson’s Cartoon Scale Pitts, and more.
The video is available in DVD and Blu-ray formats. The Blu-ray version contains bonus footage not found on the DVD. See the SKS Video Productions website for more information.
I want to thank Scott Stauffer for filming the Indoor Night at NEAT. It is a wonderful event and I plan to hold it again at the 2012 NEAT Fair, at the Downsville school gym on Saturday, September 15, 2012.
SOURCES:
- Plantraco Microflight
(306) 955-1836 www.microflight.com
- Hobbico Inc.
(800) 637-7660 www.hobbico.com
- Tactic AnyLink 2.4GHz Radio Adapter
(800) 637-7660 www.tacticrc.com/tacj2000.html
- SKS Video Productions
(800) 988-6488 www.sksvideo.com
- NEAT Fair
Transcribed from original scans by AI. Minor OCR errors may remain.

