
Modeler’s Mall
Manufacturers who wish to have their products considered for inclusion in this department should send information and a photo, if possible, to the editorial office of Model Aviation. These reviews are composed from such information, and do not imply an endorsement of the products.
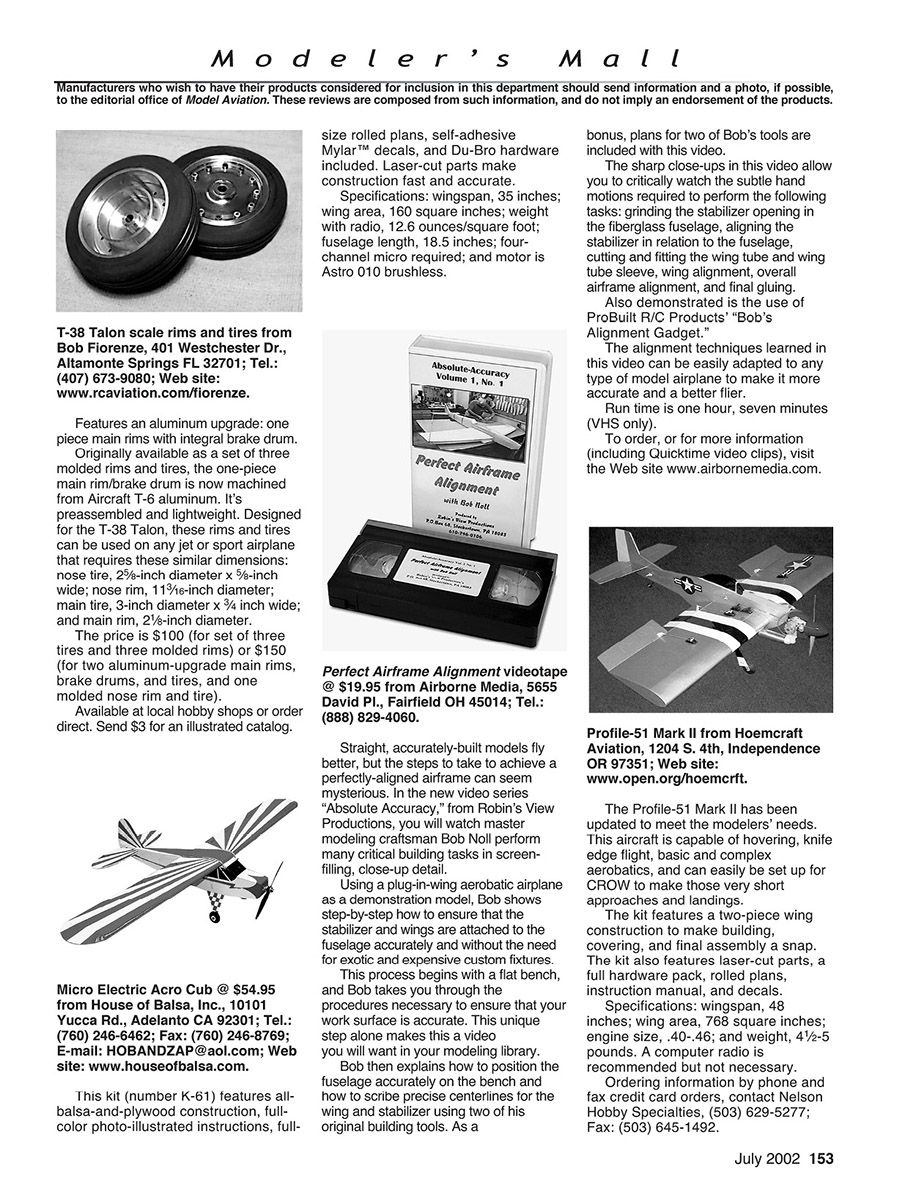
Features an aluminum upgrade: one piece main rims with integral brake drum.
Originally available as a set of three molded rims and tires, the one-piece main rim/brake drum is now machined from Aircraft T-6 aluminum. It’s preassembled and lightweight. Designed for the T-38 Talon, these rims and tires can be used on any jet or sport airplane that requires these similar dimensions: nose tire, 2½-inch diameter x 5⁄8-inch wide; nose rim, 11⅛-inch diameter; main rim, 3-inch diameter x ¾ inch wide; and main rim, 2⅝-inch diameter.
The price is $100 (for set of three tires and three molded rims) or $150 (for two aluminum-upgrade main rims, brake drums, and tires, and one molded nose rim and tire).
Available at local hobby shops or order direct. Send $3 for an illustrated catalog.
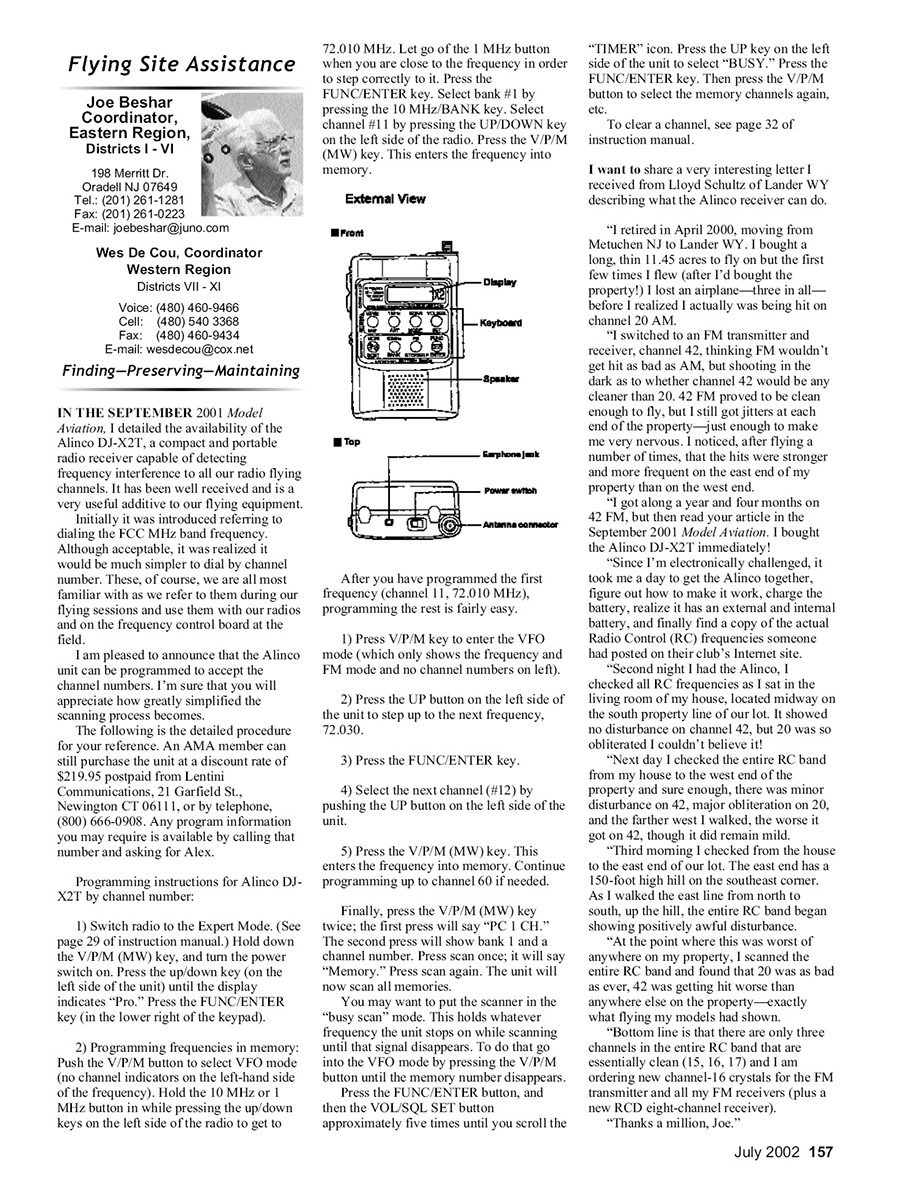
This kit (number K-61) features all-balsa-and-plywood construction, full-color photo-illustrated instructions, full-size rolled plans, self-adhesive Mylar™ decals, and Du-Bro hardware included. Laser-cut parts make construction fast and accurate.
Specifications: wingspan, 35 inches; wing area, 160 square inches; weight with radio, 12.6 ounces/square foot; fuselage length, 18.5 inches; four-channel micro required; and motor is Astro 010 brushless.
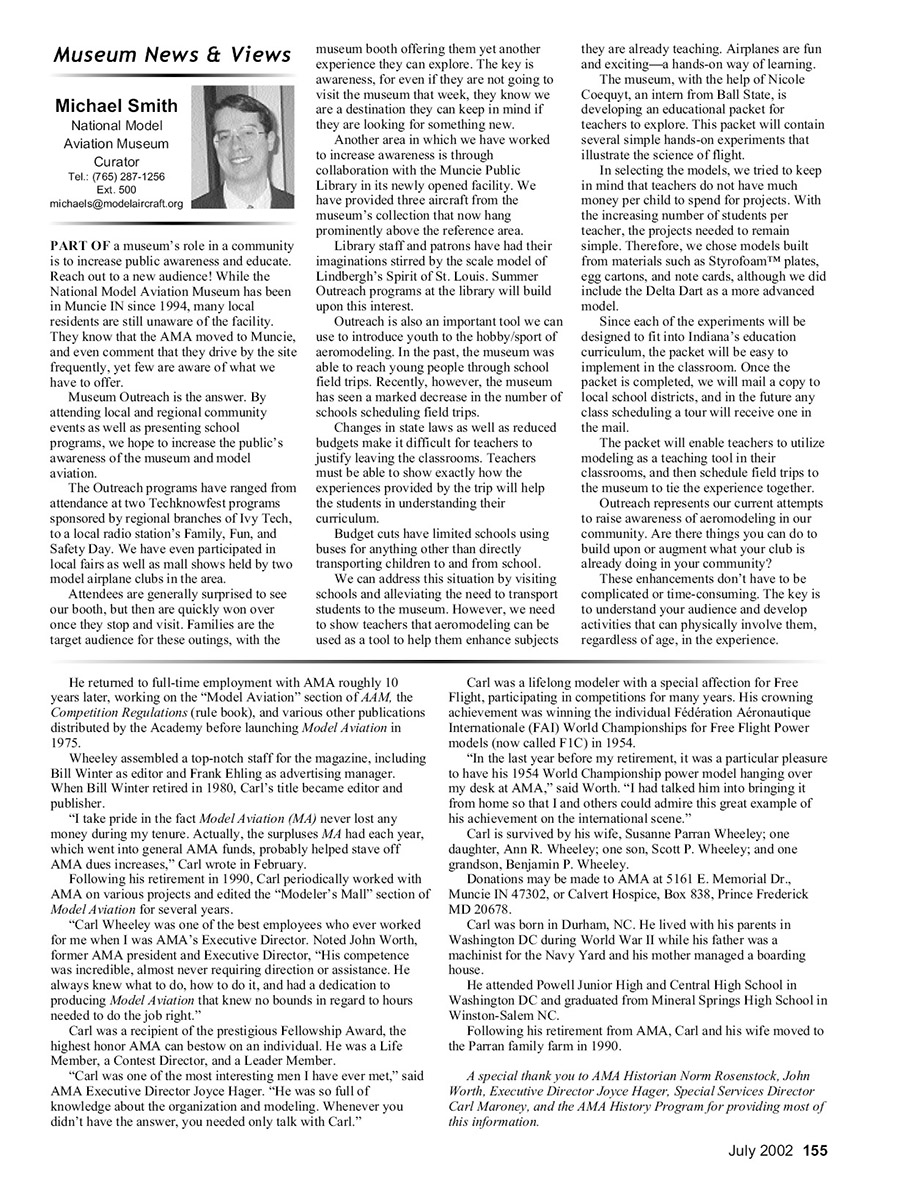
Straight, accurately-built models fly better, but the steps to take to achieve a perfectly-aligned airframe can seem mysterious. In the new video series “Absolute Accuracy,” from Robin’s View Productions, you will watch master modeling craftsman Bob Noll perform many critical building tasks in screen-filling, close-up detail.
Using a plug-in-wing aerobatic airplane as a demonstration model, Bob shows step-by-step how to ensure that the stabilizer and wings are attached to the fuselage accurately and without the need for exotic and expensive custom fixtures.
This process begins with a flat bench, and Bob takes you through the procedures necessary to ensure that your work surface is accurate. This unique setup alone makes this a video you will want in your modeling library.
Bob then explains how to position the fuselage accurately on the bench and how to scribe precise centerlines for the wing and stabilizer using two of his original building tools. As a bonus, plans for two of Bob’s tools are included with this video.
The sharp close-ups in this video allow you to critically watch the subtle hand motions required to perform the following tasks: grinding the stabilizer opening in the fiberglass fuselage, aligning the stabilizer in relation to the fuselage, cutting and fitting the wing tube and wing tube sleeve, wing alignment, overall airframe alignment, and final gluing.
Also demonstrated is the use of ProBuilt R/C Products’ “Bob’s Alignment Gadget.”
The alignment techniques learned in this video can be easily adapted to any type of model airplane to make it more accurate and a better flier.
Run time is one hour, seven minutes (VHS only).
To order, or for more information (including Quicktime video clips), visit the Web site www.airbornemedia.com.
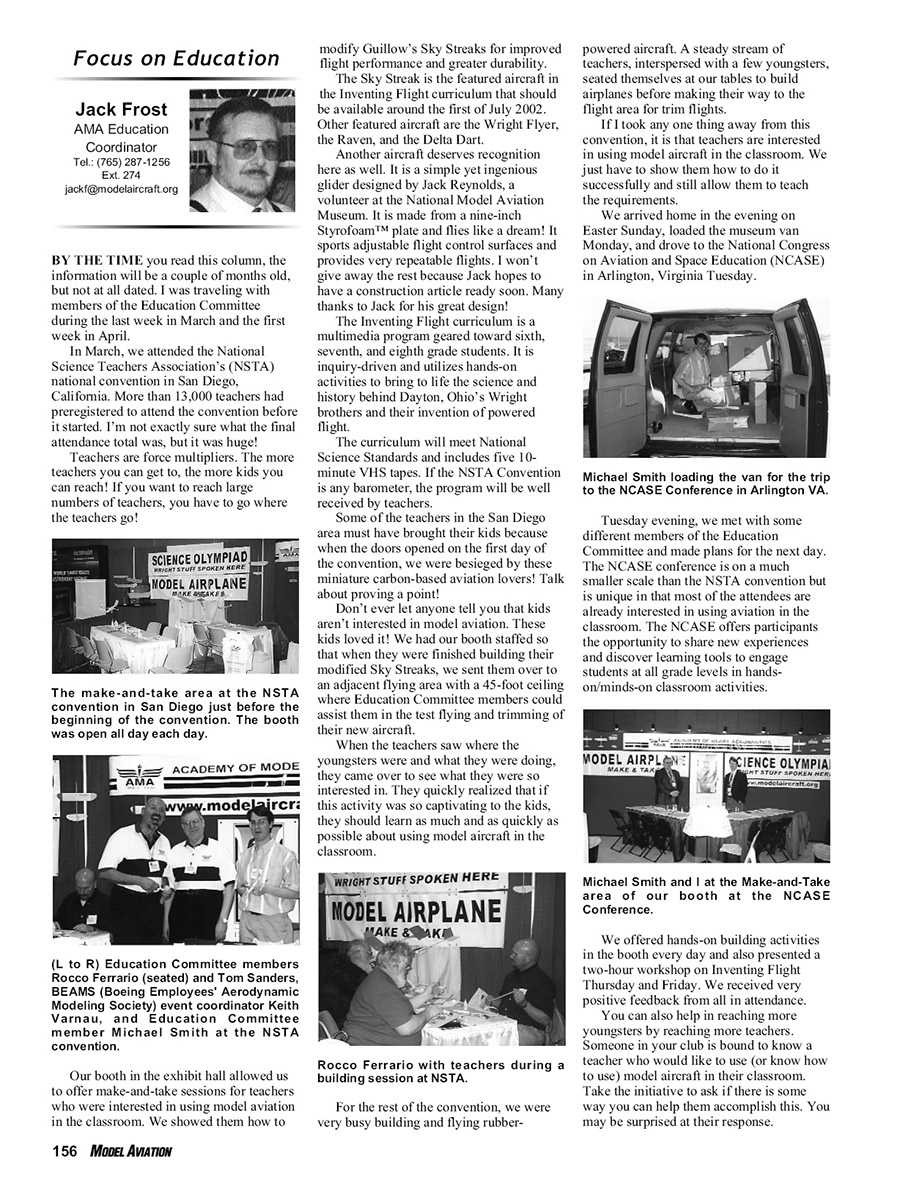
The Profile-51 Mark II has been updated to meet the modelers’ needs. This aircraft is capable of hovering, knife edge flight, basic and complex aerobatics, and can easily be set up for CROW to make those very short approaches and landings.
The kit features a two-piece wing construction to make building, covering, and final assembly a snap. The kit also features laser-cut parts, a full hardware pack, rollerd plans, instruction manual, and decals.
Specifications: wingspan, 48 inches; wing area, 768 square inches; engine size, .40-.46; and weight, 4½-5 pounds. A computer radio is recommended but not necessary.
Ordering information by phone and fax credit card orders, contact Nelson Hobby Specialties, (503) 629-5277; Fax: (503) 645-1492.
He returned to full-time employment with AMA roughly 10 years later, working on the “Model Aviation” section of AAM, the Competition Regulations (rule book), and various other publications distributed by the Academy before launching Model Aviation in 1975.
Wheeley assembled a top-notch staff for the magazine, including Bill Winter as editor and Frank Ehling as advertising manager. When Bill Winter retired in 1980, Carl’s title became editor and publisher.
“I take pride in the fact Model Aviation (MA) never lost any money during my tenure. Actually, the surplus MA had each year, which went into general AMA funds, probably helped stave off AMA dues increases,” Carl wrote in February.
Following his retirement in 1990, Carl periodically worked with AMA on various projects and edited the “Modeler’s Mall” section of Model Aviation for several years.
“Carl Wheeley was one of the best employees who ever worked for me when I was AMA’s Executive Director. Noted John Worth, former AMA president and Executive Director, “His competence was incredible, almost never requiring direction or assistance. He always knew what to do, how to do it, and had a dedication to producing Model Aviation that knew no bounds in regard to hours needed to do the job right.”
Carl was a recipient of the prestigious Fellowship Award, the highest honor AMA can bestow on an individual. He was a Life Member, a Contest Director, and a Leader Member.
“Carl was one of the most interesting men I have ever met,” said AMA Executive Director Joyce Hager. “He was so full of knowledge about the organization and modeling. Whenever you didn’t have the answer, you needed only talk with Carl.”
Carl was a lifelong modeler with a special affection for Free Flight, participating in competitions for many years. His crowning achievement was winning the individual Fédération Aéronautique Internationale (FAI) World Championships for Free Flight Power models (now called F1C) in 1954.
“In the last year before my retirement, it was a particular pleasure to have his 1954 World Championship power model hanging over my desk at AMA,” said Worth. “I had talked him into bringing it from home so that I and others could admire this great example of his achievement on the international scene.”
Carl is survived by his wife, Susanne Parran Wheeley; one daughter, Ann R. Wheeley; one son, Scott P. Wheeley; and one grandson, Benjamin P. Wheeley.
Donations may be made to AMA at 5161 E. Memorial Dr., Muncie IN 47302, or Calvert Hospice, Box 838, Prince Frederick MD 20678.
Carl was born in Durham, NC. He lived with his parents in Washington DC during World War II while his father was a machinist for the Navy Yard and his mother managed a boarding house.
He attended Powell Junior High and Central High School in Washington DC and graduated from Mineral Springs High School in Winston-Salem NC.
Following his retirement from AMA, Carl and his wife moved to the Parran family farm in 1990.
A special thank you to AMA Historian Norm Rosenstock, John Worth, Executive Director Joyce Hager, Special Services Director Carl Maroney, and the AMA History Program for providing most of this information.
modify Guillow's Sky Streaks for improved flight performance and greater durability.
The Sky Streak is the featured aircraft in the Inventing Flight curriculum that should be available around the first of July 2002. Other featured aircraft are the Wright Flyer, the Raven, and the Delta Dart.
Another aircraft deserves recognition here as well. It is a simple yet ingenious glider designed by Jack Reynolds, a volunteer at the National Model Aviation Museum. It is made from a nine-inch Styrofoam™ plate and flies like a dream! It sports adjustable flight control surfaces and provides very repeatable flights. I won't give away the rest because Jack hopes to have a construction article ready soon. Many thanks to Jack for his great design!
The Inventing Flight curriculum is a multimedia program geared toward sixth, seventh, and eighth grade students. It is inquiry-driven and utilizes hands-on activities to bring to life the science and history behind Dayton, Ohio's Wright brothers and their invention of powered flight.
The curriculum will meet National Science Standards and includes five 10-minute VHS tapes. If the NSTA Convention is any barometer, the program will be well received by teachers.
Some of the teachers in the San Diego area must have brought their kids because when the doors opened on the first day of the convention, we were besieged by these miniature carbon-based aviation lovers! Talk about proving a point!
Don't ever let anyone tell you that kids aren't interested in model aviation. These kids loved it! We had our booth staffed so that when they were finished building their modified Sky Streaks, we sent them over to an adjacent flying area with a 45-foot ceiling where Education Committee members could assist them in the test flying and trimming of their aircraft.
When the teachers saw where the youngsters were and what they were doing, they came over to see what they were so interested in. They quickly realized that if this activity was so captivating to the kids, they should learn as much and as quickly as possible about using model aircraft in the classroom.
A steady stream of teachers, interspersed with a few youngsters, seated themselves at our tables to build airplanes before making their way to the flight area for trim flights.
If I took away one thing away from this convention, it is that teachers are interested in using model aircraft in the classroom. We just have to show them how to do it successfully and still allow them to teach the requirements.
We arrived home in the evening on Easter Sunday, loaded the museum van Monday, and drove to the National Congress on Aviation and Space Education (NCASE) in Arlington, Virginia Tuesday.
Michael Smith loading the van for the trip to the NCASE Conference in Arlington VA.
Tuesday evening, we met with some different members of the Education Committee and made plans for the next day. The NCASE conference is on a much smaller scale than the NSTA convention but is unique in that most of the attendees are already interested in using aviation in the classroom. The NCASE conference provides the opportunity to share new experiences and discover learning tools to engage students at all grade levels in hands-on/minds-on classroom activities.
Michael Smith and I at the Make-and-Take area of our booth at the NCASE Conference.
We offered hands-on building activities in the booth every day and also presented a two-hour workshop on Inventing Flight Thursday and Friday. We received very positive feedback from all in attendance.
You can also help in reaching more youngsters by reaching more teachers. Someone in your club is bound to know a teacher who would like to use (or know how to use) model aircraft in their classroom. Take the initiative to ask if there is some way you can help them accomplish this. You may be surprised at their response.
IN THE SEPTEMBER 2001 Model Aviation, I detailed the availability of the Alinco DJ-X2T, a compact and portable radio receiver capable of detecting frequency interference to all our radio flying channels. It has been well received and is a very useful additive to our flying equipment.
Initially it was introduced referring to dialing the FCC MHz band frequency. Although acceptable, it was realized it would be much simpler to dial by channel number. These, of course, we are all most familiar with as we refer to them during our flying sessions and use them with our radios and on the frequency control board at the field.
I am pleased to announce that the Alinco unit can be programmed to accept the channel numbers. I'm sure that you will appreciate how greatly simplified the scanning process becomes.
The following is the detailed procedure for your reference. An AMA member can still purchase the unit at a discount rate of $219.95 postpaid from Lenini Communications, 21 Garfield St., Newington CT 06111, or by telephone, (800) 666-0908. Any program information you may require is available by calling that number and asking for Alex.
Programming instructions for Alinco DJ-X2T by channel number:
- Switch radio to the Expert Mode. (See page 29 of instruction manual.) Hold down the V/P/M (MW) key, and turn the power switch on. Press the up/down key (on the left side of the unit) until the display indicates “Pro.” Press the FUNC/ENTER key (in the lower right of the keypad).
- Programming frequencies in memory: Push the V/P/M button to select VFO mode (no channel indicators on the left-hand side of the frequency). Hold the 10 MHz or 1 MHz button in while pressing the up/down keys on the left side of the radio to get to 72.010 MHz. Let go of the 1 MHz button when you are close to the frequency in order to step correctly to it. Press the FUNC/ENTER key. Select bank #1 by pressing the 10 MHz/BANK key. Select channel #1 by pressing the UP/DOWN key on the left side of the radio. Press the V/P/M (MW) key. This enters the frequency into memory.
After you have programmed the first frequency (channel 11, 72.010 MHz), programming the rest is fairly easy.
- Press V/P/M key to enter the VFO mode (which only shows the frequency and FM mode and no channel numbers on left).
- Press the UP button on the left side of the unit to step up to the next frequency, 72.030.
- Press the FUNC/ENTER key.
- Select the next channel (#12) by pushing the UP button on the left side of the unit.
- Press the V/P/M (MW) key. This enters the frequency into memory. Continue programming up to channel 60 if needed.
Finally, press the V/P/M (MW) key twice; the first press will say “P C1 CH.” The second press will show bank 1 and a channel number. Press scan once; it will say “Memory.” Press scan again. The unit will now scan all memories.
You may want to put the scanner in the “busy scan” mode. This holds whatever frequency the unit stops on while scanning until that signal disappears. To do that go into the VFO mode by pressing the V/P/M button until the memory number disappears. Press the FUNC/ENTER button, and then the V/O/SQ/SET button approximately five times until you scroll the “TIMER” icon. Press the UP key on the left side of the unit to select “BUSY.” Press the FUNC/ENTER key. Then press the V/P/M button to select the memory channels again, etc.
To clear a channel, see page 32 of instruction manual.
I want to share a very interesting letter I received from Lloyd Schultz of Lander WY describing what the Alinco receiver can do.
“I retired in April 2000, moving from Metuchen NJ to Lander WY. I bought a long, thin 11.45 acres to fly on but the first few times I flew (after I’d bought the property!) I lost an airplane—three in all—before I realized I actually was being hit on channel 20 AM.
“I switched to an FM transmitter and receiver, channel 42, thinking FM wouldn’t get hit as bad as AM, but shooting in the dark as to whether channel 42 would be any cleaner than 20. 42 FM proved to be clean enough to fly, but I still got jitters at each end of the property—just enough to make me very nervous. I noticed, after flying a number of times, that the hits were stronger and more frequent on the east end of my property than on the west end.
“I got along a year and four months on 42 FM, but then read your article in the September 2001 Model Aviation. I bought the Alinco DJ-X2T immediately!
“Since I’m electronically challenged, it took me a day to get the Alinco together, figure out how to make it work, charge the battery, realize it has an external and internal battery, and finally find a copy of the local Radio Control (RC) frequencies someone had posted on their club’s Internet site.
“Second night I had the Alinco, I checked all RC frequencies as I sat in the living room of my house, located midway on the south property line of our lot. It showed no disturbance on channel 42, but 20 was so obliterated I couldn’t believe it!
“Next day I checked the entire RC band from my house to the west end of the property and sure enough, there was minor disturbance on 42, major obliteration on 20, and farther west I walked, the worse it got on 42, though it did remain mild.
“Third morning I checked from the house to the east end of our lot. The east end has a 150-foot high hill on the southeast corner. As I walked the east line from north to south, up the hill, the entire RC band began showing positively awful disturbance.
“At the point where this was worst of anywhere on my property, I scanned the entire RC band and found that 20 was as bad as ever, 42 was getting bit worse than anywhere else on the property—exactly what my flying incident had shown.
“Bottom line is that there are only three channels in the entire RC band that are essentially clean (15, 16, 17) and I am ordering new channel-16 crystals for the FM transmitter and all my FM receivers (plus a new RCD eight-channel receiver).
“Thanks a million, Joe.”
Transcribed from original scans by AI. Minor OCR errors may remain.

