
Product Review
Frank Granelli
Frank Granelli 24 Old Middletown Rd., Rockaway NJ 07866
Dave Patrick Models Extra 330L ARF
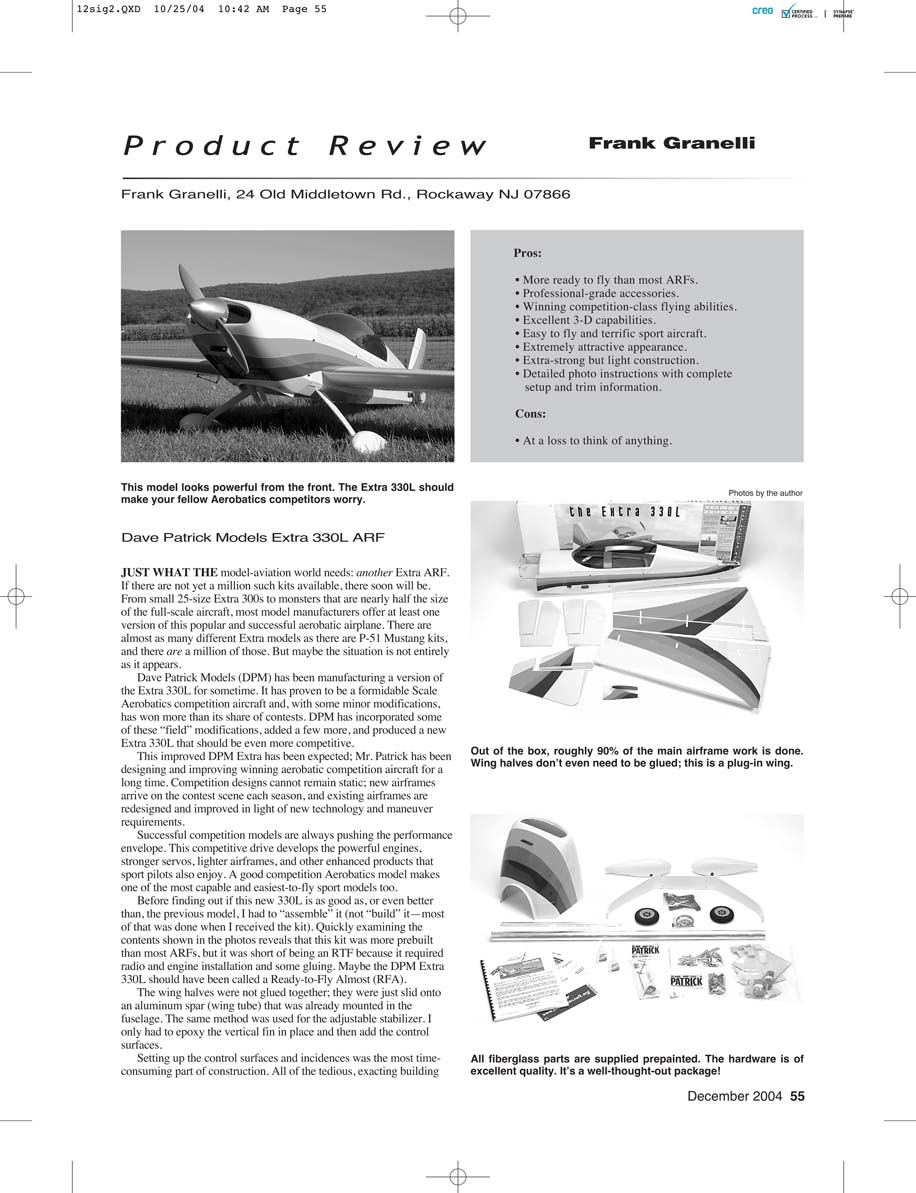
Just what the model-aviation world needs: another Extra ARF. If there are not yet a million such kits available, there soon will be. From small 25-size Extra 300s to monsters nearly half the size of the full-scale aircraft, most model manufacturers offer at least one version of this popular aerobatic airplane. Dave Patrick Models (DPM) has been manufacturing a version of the Extra 330L for some time. It has proven to be a formidable Scale Aerobatics competition aircraft and, with some minor modifications, has won more than its share of contests. DPM has incorporated some of these “field” modifications, added a few more, and produced a new Extra 330L that should be even more competitive.
Mr. Patrick has been designing and improving winning aerobatic competition aircraft for a long time. Competition designs cannot remain static; new airframes arrive on the contest scene each season and existing airframes are redesigned and improved in light of new technology and maneuver requirements. Successful competition models push the performance envelope, and that drive produces powerful engines, stronger servos, lighter airframes, and other enhanced products that sport pilots also enjoy. A good competition Aerobatics model makes one of the most capable and easiest-to-fly sport models too.
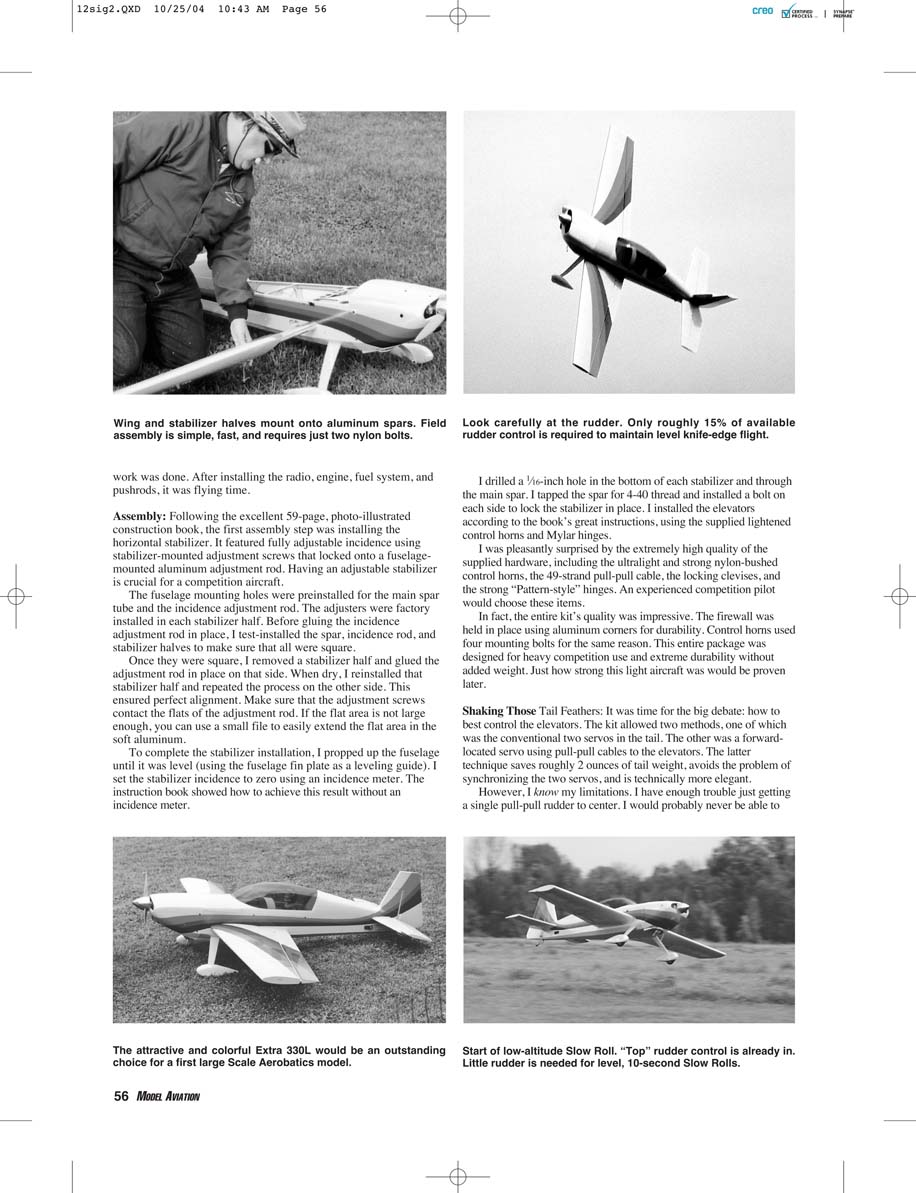
Before finding out if this new 330L was as good as the previous model, I had to assemble it (not build it—most of the work had been done when I received the kit). The kit was more prebuilt than most ARFs yet short of being an RTF because it required radio and engine installation and some gluing. Maybe it should be called a Ready-to-Fly Almost (RFA).
The wing halves were not glued together; they slid onto an aluminum spar (wing tube) already mounted in the fuselage. The same method was used for the adjustable stabilizer. I only had to epoxy the vertical fin in place and then add the control surfaces.
Assembly
- The 59-page, photo-illustrated construction book is excellent. The first assembly step was installing the horizontal stabilizer, which featured fully adjustable incidence using stabilizer-mounted adjustment screws that lock onto a fuselage-mounted aluminum adjustment rod. Having an adjustable stabilizer is crucial for a competition aircraft.
- The fuselage mounting holes were preinstalled for the main spar tube and the incidence adjustment rod; the adjusters were factory installed in each stabilizer half. Before gluing the incidence adjustment rod in place, I test-installed the spar, incidence rod, and stabilizer halves to make sure everything was square. Once square, I removed a stabilizer half, glued the adjustment rod in place on that side, let it dry, then repeated the process on the other side to ensure perfect alignment. Make sure the adjustment screws contact the flats of the adjustment rod; if the flat area is not large enough, use a small file to extend it in the soft aluminum.
- To complete stabilizer installation I propped the fuselage level (using the fuselage fin plate as a leveling guide) and set the stabilizer incidence to zero with an incidence meter. The instruction book also shows how to do this without an incidence meter.
- I drilled a 1/16-inch hole in the bottom of each stabilizer and through the main spar, tapped the spar for 4-40 thread, and installed a bolt on each side to lock the stabilizer in place. I installed the elevators according to the book’s instructions, using the supplied lightened control horns and Mylar hinges.
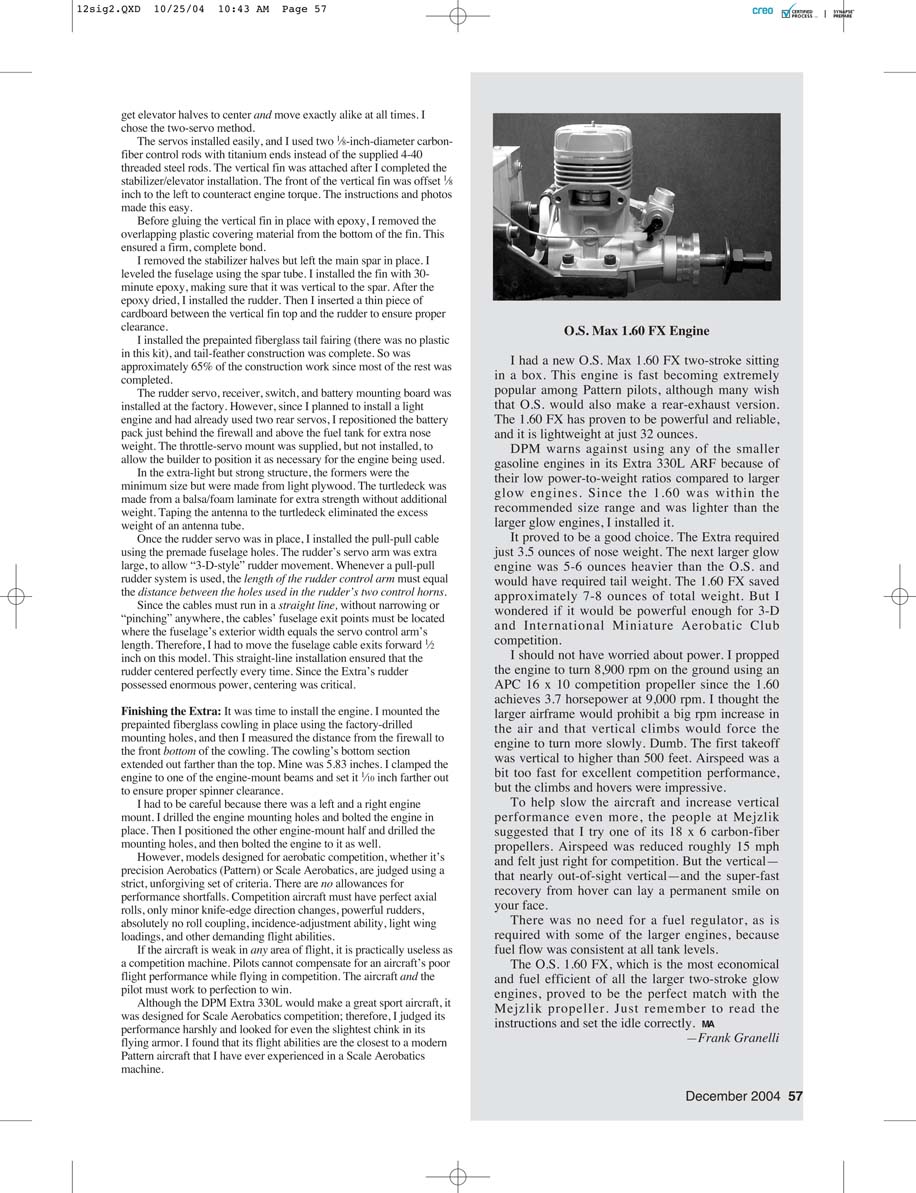
- The quality of the supplied hardware was impressive: ultralight, strong nylon-bushed control horns; a 49-strand pull-pull cable; locking clevises; and strong “Pattern-style” hinges. The firewall was held in place using aluminum corners for durability, and control horns used four mounting bolts for strength. This package is designed for heavy competition use and extreme durability without added weight.
Shaking Those Tail Feathers
- The kit allows two elevator-control methods: conventional twin servos in the tail or a forward-located servo using pull-pull cables to the elevators. The pull-pull method saves roughly 2 ounces of tail weight and avoids servo synchronization, but it requires very precise centering. I chose the conventional twin-servo setup for the positive, powerful elevator response needed for competition and 3-D flying.
- I installed two servos easily and used two 1/8-inch-diameter carbon-fiber control rods with titanium ends instead of the supplied 4-40 threaded steel rods. The vertical fin was attached after completing the stabilizer/elevator installation. The front of the vertical fin was offset 1/8 inch to the left to counteract engine torque; the instructions and photos made this easy.
- Before gluing the vertical fin in place with epoxy, I removed the overlapping plastic covering material from the bottom of the fin to ensure a firm, complete bond. I leveled the fuselage using the spar tube, installed the fin with 30-minute epoxy, made sure it was vertical to the spar, allowed the epoxy to dry, then installed the rudder. I inserted a thin piece of cardboard between the vertical fin top and the rudder to ensure proper clearance. I installed the prepainted fiberglass tail fairing (no plastic in this kit), completing the tail-feather construction.
- The rudder servo, receiver, switch, and battery mounting board were installed at the factory. Since I planned to install a light engine and had used two rear servos, I repositioned the battery pack just behind the firewall and above the fuel tank for extra nose weight. The throttle-servo mount was supplied but not installed to allow positioning for the engine used.
- The structure is extra-light but strong: formers are minimal size plywood; the turtledeck is a balsa/foam laminate for strength without extra weight. Taping the antenna to the turtledeck eliminated the weight of an antenna tube.
- I installed the pull-pull cable for the rudder using the premade fuselage holes. The rudder's servo arm is extra-large to allow 3-D-style rudder movement. When using a pull-pull rudder system, the length of the rudder control arm must equal the distance between the holes used in the rudder's two control horns. Because the cables must run in a straight line without narrowing or pinching, the fuselage exit points must be located where the fuselage's exterior width equals the servo control arm's length. I moved the fuselage cable exits forward 1/2 inch on this model to ensure a straight-line installation and perfect centering every time. The Extra's rudder possesses enormous power, so centering is critical.
Finishing the Extra
- It was time to install the engine. I mounted the prepainted fiberglass cowl using the factory-drilled mounting holes, then measured from the firewall to the front bottom of the cowling. The cowling's bottom section extended out farther than the top; mine was 5.83 inches. I clamped the engine to one engine-mount half and set it 1/16 inch farther out to ensure proper spinner clearance. There is a left and a right engine mount—drill and bolt one half in place, then position and drill the other half before bolting.
- Modern aerobatic pilots—precision Aerobatics (Pattern) or Scale Aerobatics—are judged by strict criteria. Competition aircraft must have perfect axial rolls, minimal knife-edge direction changes, powerful rudders, no roll coupling, incidence-adjustment ability, light wing loading, and other demanding flight abilities. If an aircraft is weak in any area, it is practically useless for competition.
- Although the DPM Extra 330L would make a great sport aircraft, it was designed for Scale Aerobatics competition; therefore I judged its performance harshly and looked for even the slightest chink in its flying armor. I found its flight abilities the closest to a modern Pattern aircraft that I have ever experienced in a Scale Aerobatics machine.
Flight Impressions
- Pointing: This airplane holds a straight line during rolls, down- and up-lines, and straight flight right off the bench with almost no trimming required. The 330L goes exactly where it is pointed and does not vary during a maneuver.
- Slow Rolls: Straight slow rolls required very little rudder and elevator input—so pretty they could be distracting.
- Snap Rolls: No tendency to recover off-line. The Extra stops snap rolling exactly on heading without requiring opposite rudder input before the snap. Snap speed is moderate, making it easier to stop the roll in a wings-level attitude. There is a definite nose pitch-up before entering the snap, which helps judges.
- Point Rolls: The fuselage produces enough knife-edge lift that little rudder is needed. The Extra needed only a very small mix (about 1% up-elevator with left rudder) to fly a straight line during right knife-edge; left knife-edge was fine without that mix.
- Knife-Edge/Turns: The rudder is powerful enough to perform knife-edge loops roughly 200 feet in diameter without roll coupling. Stall turns are nearly impossible to "flop" because of the powerful rudder.
- Rolling Circles & Rolling Loops: Steady, predictable, and in many cases close to round. The aircraft accomplished maneuvers I had previously been unable to complete.
- Vertical Performance: With the O.S. Max 1.60 engine, vertical climbs from level stalled flight extended more than 500 feet. During these maneuvers the Extra required slight right rudder input—roughly 10°—during the second half of the climb to counteract torque, a trait common to other Scale Aerobatics competition aircraft. Before attaching the carbon-fiber propeller, vertical rolls topped out at roughly 300 feet; the carbon prop extended them and seemed to reduce torque effect.
- Braking: Excellent braking in vertical down-lines. Even prolonged vertical dives did not produce very high airspeeds, giving the pilot extra time to plan the next maneuver while maintaining a smooth appearance.
I flew the Extra through the complete Masters Pattern schedule, and it did almost as well as my Pattern aircraft.
Sport-Flying Usability
- The aircraft is also forgiving for the average sport pilot. Before reading the engine instructions I had set the idle as I would for any other two-stroke engine—wrong—so my first 17 landings were power-off. Except for one, each was easy. The Extra's slow-speed handling and great gliding ability made landings straightforward. After setting the idle correctly, the next 101 flights were uneventful.
- The instruction book recommends resealing all UltraCote seams with a modeling iron because seam temperature changes during shipping may cause loosening. I did not reseal the seams. Approximately 10 minutes into the 27th flight the model started to drop the right wing while yawing badly. Despite large control inputs, the Extra glided slowly to the ground. Even with the loose covering’s drag and the airfoil loss on the right side, the Extra remained fully controllable and easy to land. I reattached the covering (UltraCote is strong), and it still looked new after 81 more flights.
Crash Survivability
- During an inverted photo pass 10 feet over tall corn the misadjusted engine quit. There was no time or altitude to do anything but roll level and stall into the corn. A 15-pound (with fuel), 27% Extra does not go quietly into a cornfield. I expected severe damage, but the only damage was a dent (not a hole) in the underside of the left wing where it landed on top of a cornstalk. After 10 seconds with a heat gun, all evidence of the incident was removed. This demonstrates how strong the design is.
3-D Performance
- Sudden cruise-speed stalls (“the Wall”) were done without tip-stalling. Inverted cross-controlled spins (“the Blender”) remained level with a slow descent rate. Torque Rolls and Waterfalls exceeded my usual performance. The aircraft makes the pilot look better than he or she might be; experienced 3-D pilots would have a ball.
Concluding Assessment
- After 108 flights, I still think DPM's Extra 330L is the most excellent Extra I have flown. It is designed for competition but is also accessible to competent sport fliers, helping them improve. Good competition aircraft are the easiest to fly well; the best make the pilot appear more skillful than he or she might be. This Extra is one of the latter.
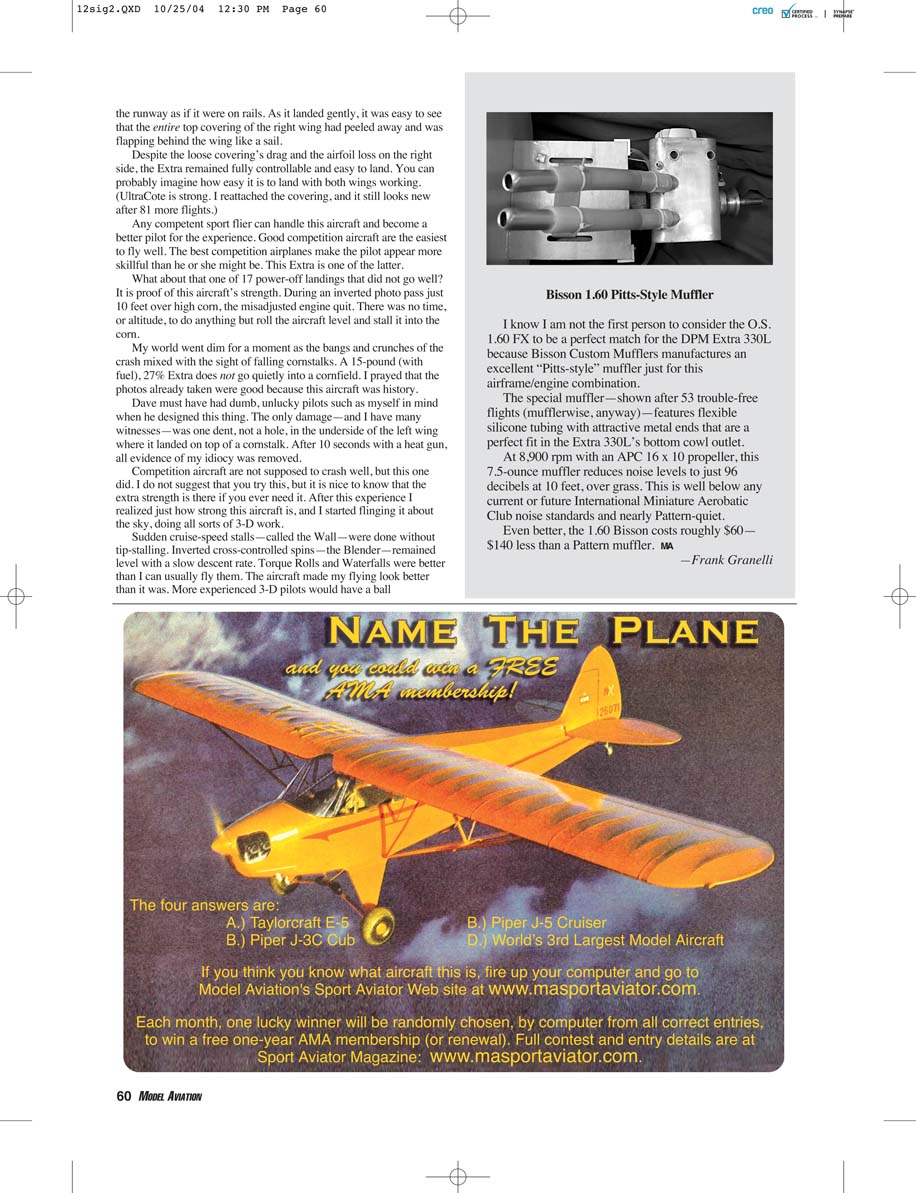
Bisson 1.60 Pitts-Style Muffler
I know I am not the first to consider the O.S. 1.60 FX a perfect match for the DPM Extra 330L. Bisson Custom Mufflers manufactures an excellent “Pitts-style” muffler just for this airframe/engine combination. The special muffler—shown after 53 trouble-free flights—features flexible silicone tubing with attractive metal ends that are a perfect fit in the Extra 330L’s bottom cowl outlet.
At 8,900 rpm with an APC 16 x 10 propeller, this 7.5-ounce muffler reduces noise levels to just 96 decibels at 10 feet over grass. This is well below any current or likely future International Miniature Aerobatic Club noise standards and nearly Pattern-quiet. Better yet, the 1.60 Bisson costs roughly $60—$140 less than a Pattern muffler.
— Frank Granelli
Specifications
- Wingspan: 76 inches
- Length: 74 inches
- Wing area: 1,220 square inches
- Weight: 14.2 pounds
- Engine used: O.S. Max 1.60 FX
- Wing loading: 26.8 ounces/square foot
- Radio used: JR 10SX transmitter / JR PR955 S-PCM receiver
- Servos: JR 4311 (elevator/ailerons); JR DS8611 (rudder); JR 501 (throttle)
- Battery: 2000 mA, six-volt NiMH
Manufacturers
- Advanced Precision Composite Propeller / Landing Products
1222 Harter, Woodland, CA 95776 (530) 661-0399 www.apcprop.com
- Bisson Custom Mufflers
9 Moffat Rd., Parry Sound, Ontario P2A 2W7 (705) 389-1156 www.bissonmufflers.com
- Dave Patrick Models
1811 E. 400 N. Rd., Milford, IL 60953 (815) 457-3128 www.davepatrickmodels.com
- Mejzlik Modellbau
Borova 14, 644 00 Brno, Czech Republic (Europe) 011 420 5 43218888 www.mejzlikmodellbau.com
- Sonic-Tronics, Inc.
7865 Mill Rd., Elkins Park, PA 19027 (215) 635-6520 www.sonictronics.com
- Tru-Turn Spinner / Romco Mfg., Inc.
100 W. 1st St., Deer Park, TX 77536 (281) 479-9600 www.tru-turn.com
Transcribed from original scans by AI. Minor OCR errors may remain.

