

Park View: Green RC Models Gee Bee Model Y Senior Sportster
Bob Aberle
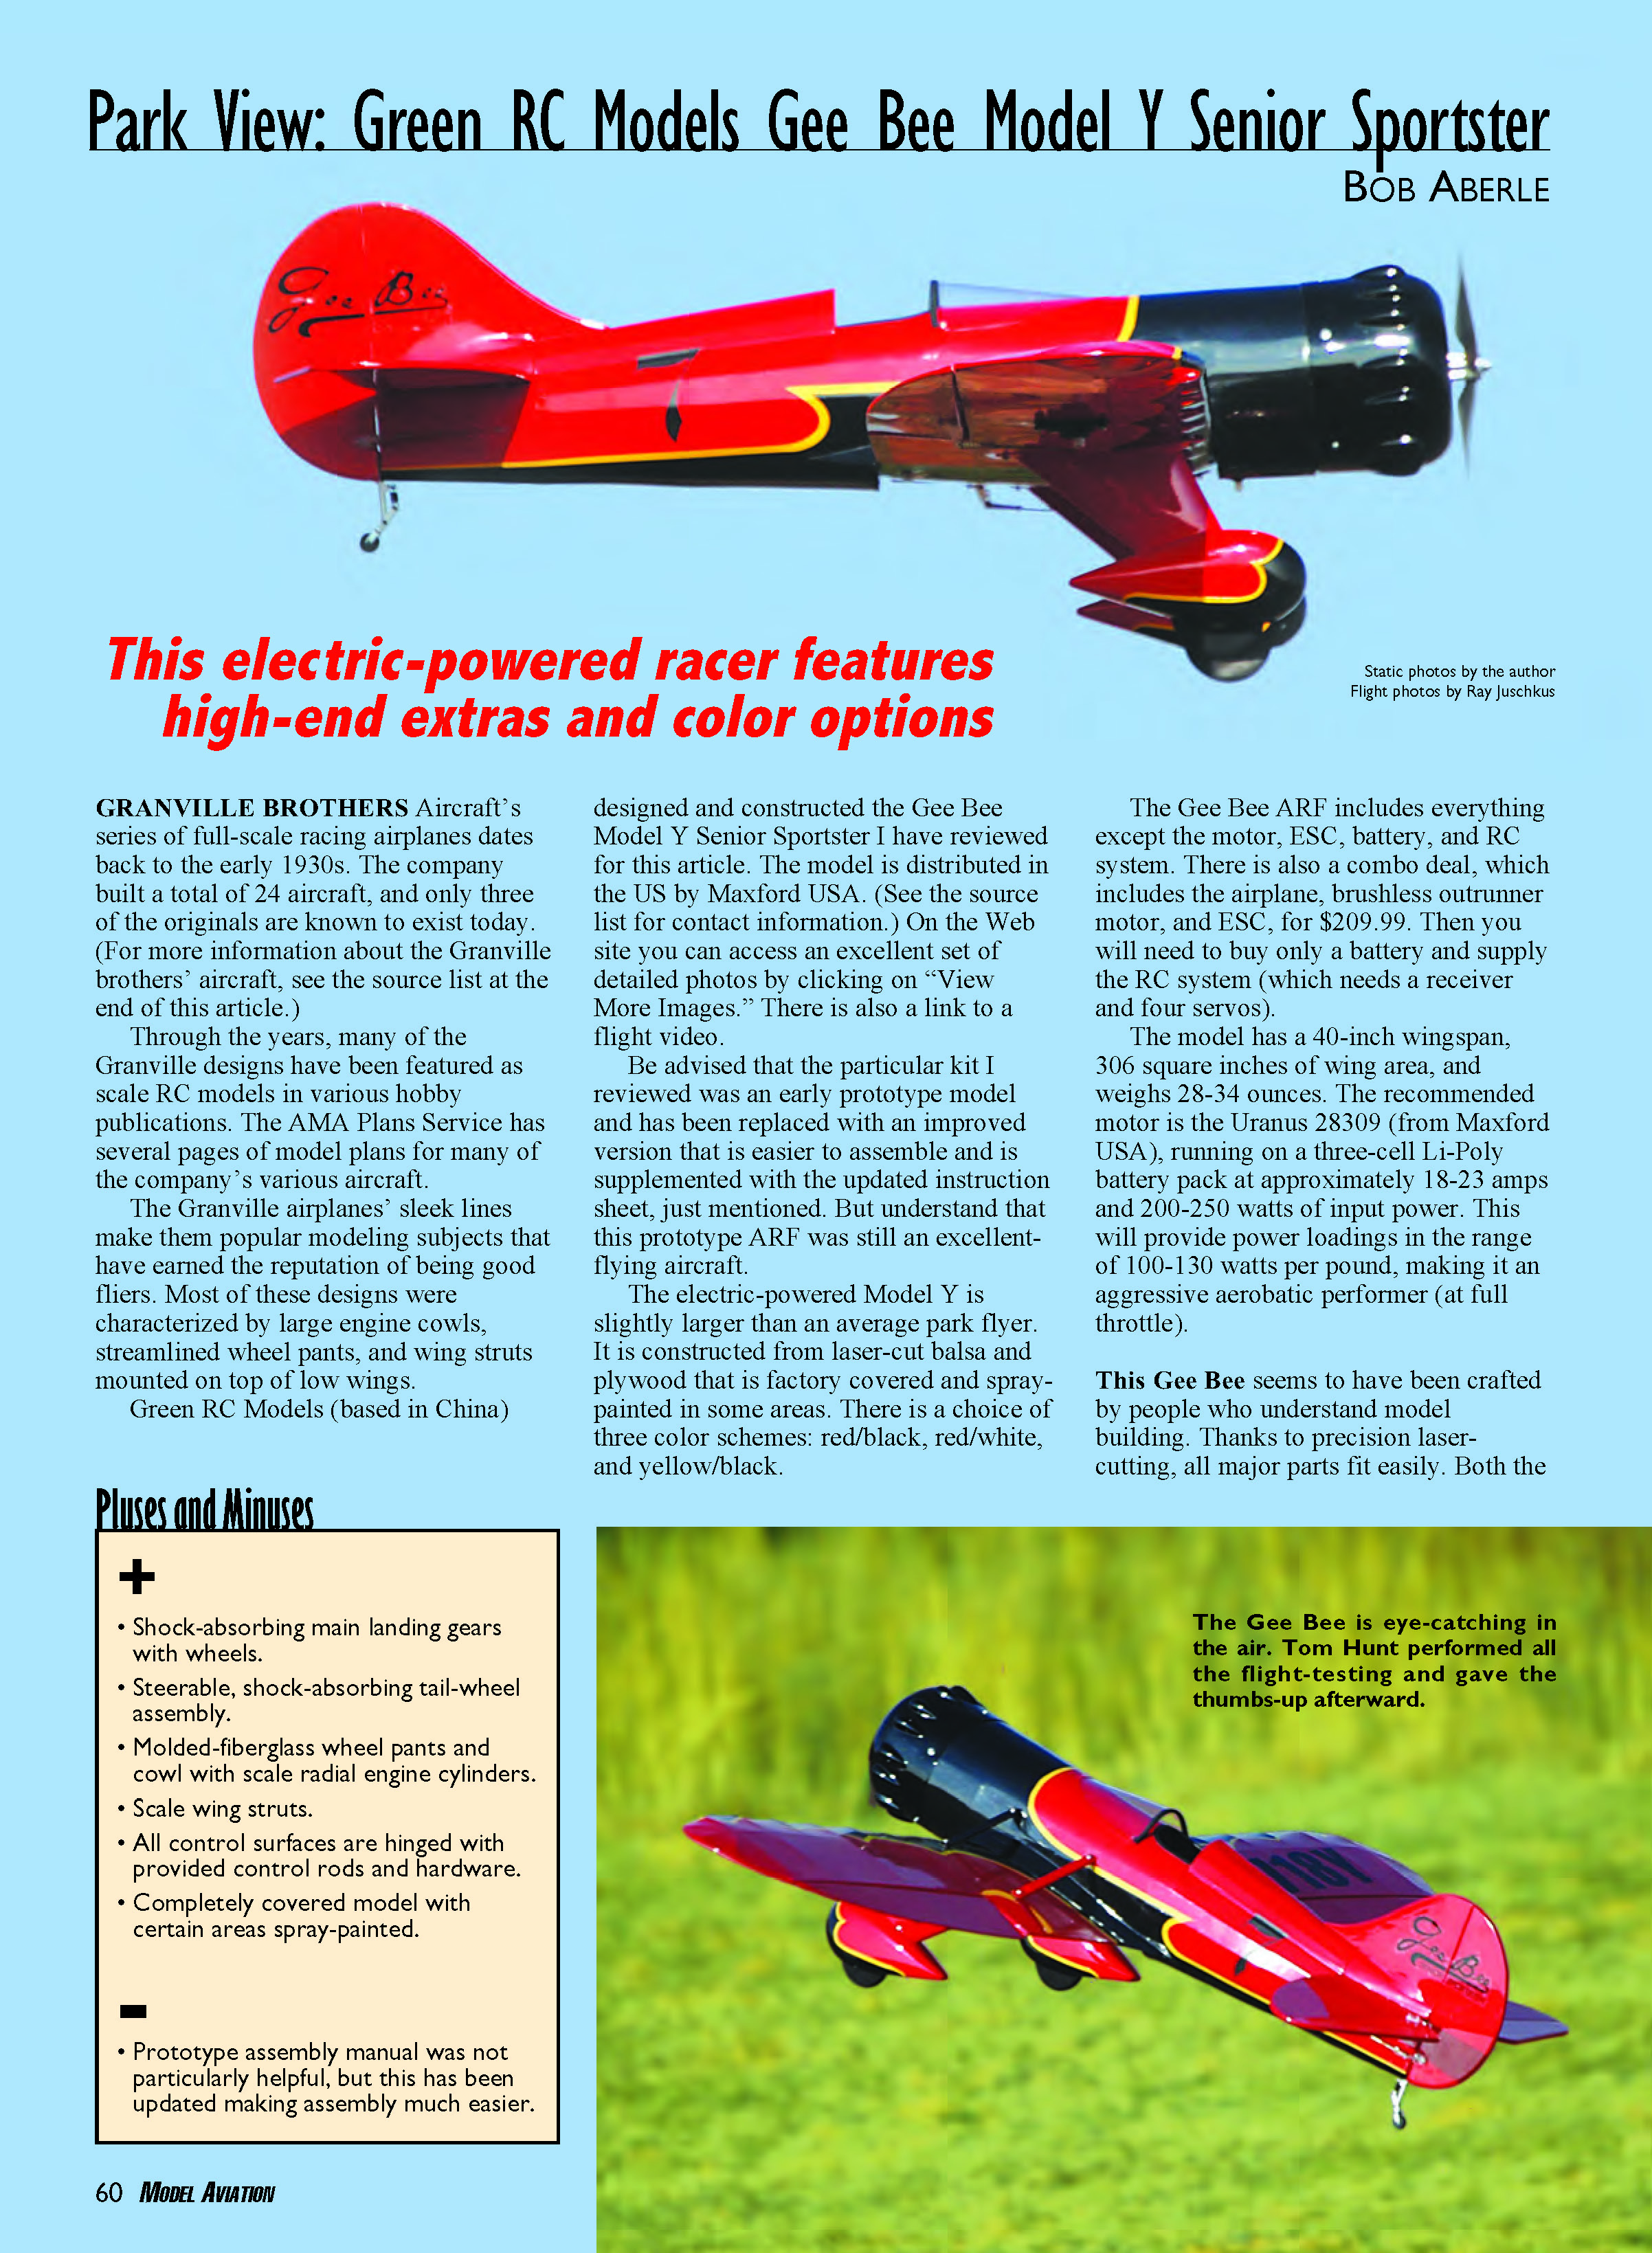
This electric-powered racer features high-end extras and color options
Overview
Granville Brothers Aircraft’s series of full-scale racing airplanes dates back to the early 1930s. The company built a total of 24 aircraft, and only three of the originals are known to exist today. Through the years, many of the Granville designs have been featured as scale RC models in various hobby publications. The AMA Plans Service has several pages of model plans for many of the company’s aircraft.
The Granville airplanes’ sleek lines make them popular modeling subjects and have earned them a reputation for being good fliers. Most of these designs are characterized by large engine cowls, streamlined wheel pants, and wing struts mounted on the low wing.
Green RC Models (based in China) designed and constructed the Gee Bee Model Y Senior Sportster reviewed here. The model is distributed in the U.S. by Maxford USA. On the Web site you can access an excellent set of detailed photos by clicking on “View More Images.” There is also a link to a flight video.
Be advised that the particular kit reviewed was an early prototype and has been replaced with an improved version that is easier to assemble and is supplemented with an updated instruction sheet. Even as a prototype ARF, it was an excellent-flying aircraft.
The electric-powered Model Y is slightly larger than an average park flyer. It is constructed from laser-cut balsa and plywood that is factory covered and spray-painted in some areas. There is a choice of three color schemes: red/black, red/white, and yellow/black.
The Gee Bee ARF includes everything except the motor, ESC, battery, and RC system. There is also a combo deal that includes the airplane, brushless outrunner motor, and ESC for $209.99; then you will need only a battery and the RC system (receiver and four servos).
The model has a 40-inch wingspan, 306 square inches of wing area, and weighs 28–34 ounces. The recommended motor is the Uranus 28309 (from Maxford USA), running on a three-cell Li-Poly battery pack at approximately 18–23 amps and 200–250 watts of input power. This provides power loadings in the range of 100–130 watts per pound, making it an aggressive aerobatic performer at full throttle.
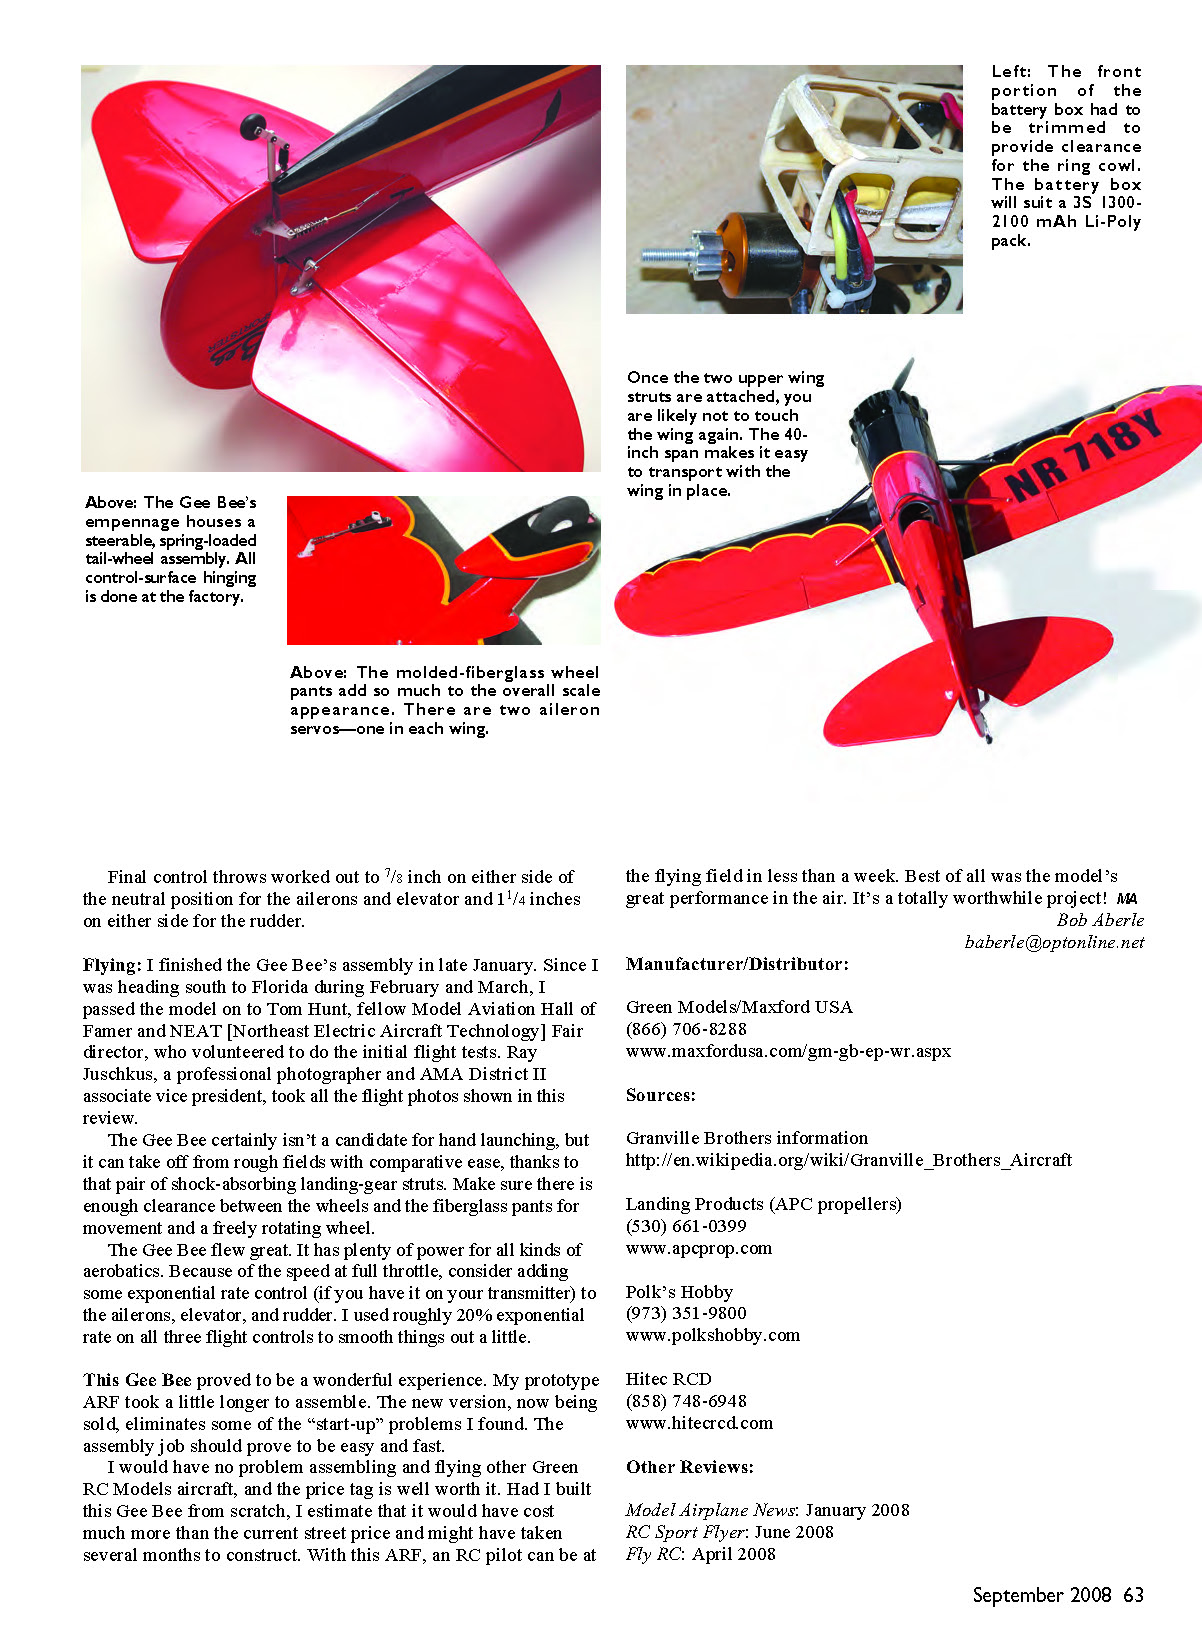
Thanks to precision laser-cutting, all major parts fit easily. Both the scale engine cowl and the large wheel pants are made from molded fiberglass and are spray-painted to match the covering material exactly.
Equally impressive are the scalelike shock-absorbing main landing-gear assemblies. Even the steerable tail-wheel assembly has a shock-absorbing spring. The overall construction is highly impressive.
Specifications
- Type: Park Pilot Program-legal semiscale ARF
- Skill level: Intermediate builder and pilot
- Wingspan: 40 inches
- Wing area: 306 square inches
- Length: 30 inches
- Weight: 28–34 ounces
- Wing loading: 16 ounces/square foot
- Power (recommended): 275-watt motor, 11.1-volt Li-Poly battery, 25-amp ESC
- Radio: Four channels (minimum), four miniservos
- Construction: Balsa, light plywood, fiberglass cowling and wheel spats
- Covering/finish: Heat-shrink film, high-gloss paint
- Price: $145.99
Test-Model Details
- Motor: Uranus 28309 brushless outrunner
- Battery: Three-cell, 2200 mAh with 15C load capability
- Propeller: APC 9 x 6E
- Motor current: 18 amps
- Power loading: 92 watts/pound
- Motor input: 197 watts
- Radio system: Polk’s Hobby Tracker III transmitter, Polk’s Hobby Seeker 6 receiver, four Hitec HS-81 servos, two 6-inch extensions, one Y harness, one 25-amp ESC
- Ready-to-fly weight: 34 ounces
- Flight duration: Seven to 10 minutes
Your RC system requires a receiver and four servos (one for the elevator, one for the rudder, and two for the ailerons). I selected Hitec HS-81 servos, which were larger than the openings provided in the wing. This required some “surgery” to enlarge the pockets in the wing. Choosing a smaller servo, like the HS-65 or HS-55, would provide more than enough power and eliminate that extra work.
Since the wing arrives covered, the manufacturer thoughtfully provided a length of string so you can pull the aileron servo leads through a series of holes in the wing ribs and then out through the top center section. I used a 6-inch aileron extension on each servo, then combined the two extensions with a Y-harness so both aileron servos plug into one receiver port.
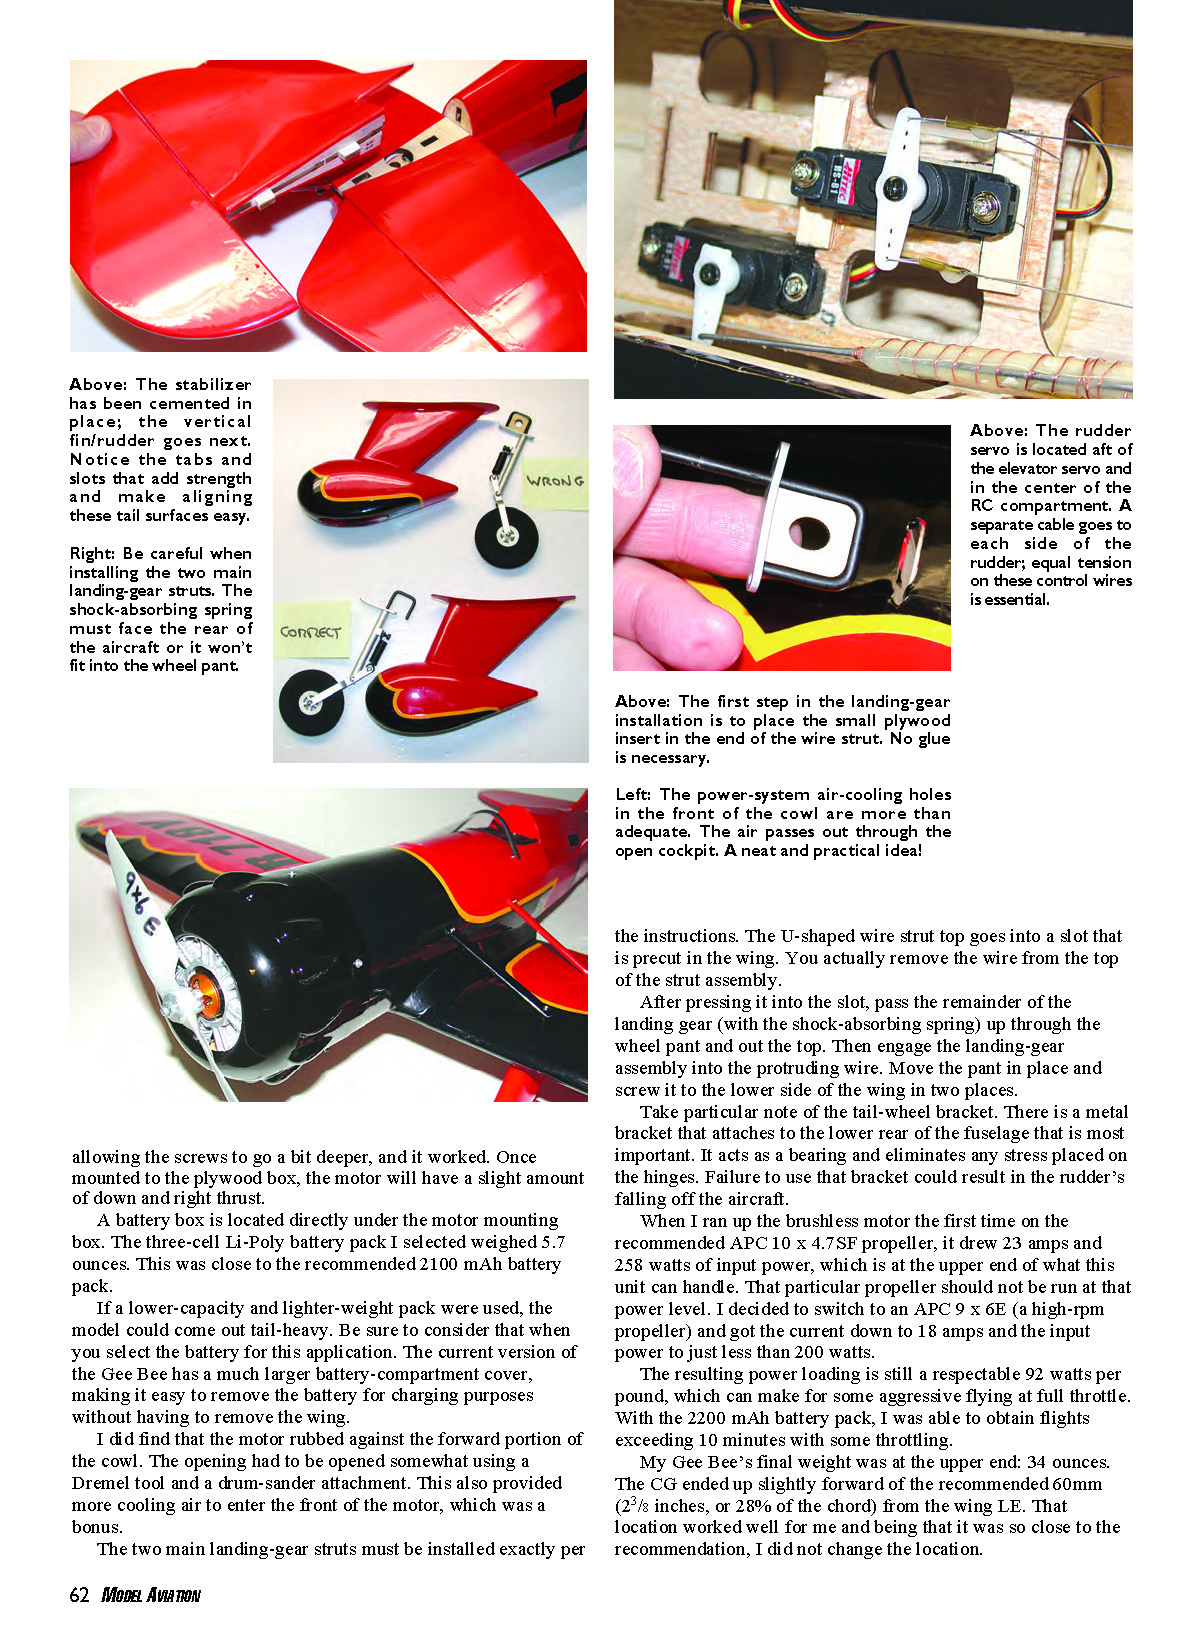
The rudder is controlled by two cables for a pull-pull installation. The trick is to get these cables through holes in the rear of the fuselage and then bring them forward into the RC compartment. Clip connectors are preinstalled on one side of these cables. Put the other ends (no connector) in the preinstalled wire tubes that exit at the rear of the fuselage on both sides. The cables then come out inside the fuselage, where they can be brought forward to the rudder-servo output arm. Use the little metal tube and clip to attach the cables to both sides of the servo arm.
You can mount the motor directly to the plywood box without using an adapter plate. The only problem is that the four screws supplied are slightly short. I countersunk each hole from the rear to allow the screws to go a bit deeper, and it worked. Once mounted to the plywood box, the motor has a slight amount of down and right thrust.
A battery box is located directly under the motor mounting box. The three-cell Li-Poly battery pack I selected weighed 5.7 ounces. This was close to the recommended 2100 mAh battery pack. If a lower-capacity, lighter-weight pack is used, the model could become tail-heavy; consider that when selecting the battery. The current version of the Gee Bee has a much larger battery-compartment cover, making it easy to remove the battery for charging without removing the wing.
I found that the motor rubbed against the forward portion of the cowl. The opening had to be opened somewhat using a Dremel tool and a drum-sander attachment. This also provided more cooling air to the front of the motor, which was a bonus.
The two main landing-gear struts must be installed exactly per the instructions. The U-shaped wire strut top goes into a slot precut in the wing; you remove the wire from the top of the strut assembly, press it into the slot, pass the remainder of the landing gear (with the shock-absorbing spring) up through the wheel pant and out the top, then engage the landing-gear assembly into the protruding wire. Move the pant in place and screw it to the lower side of the wing in two places.
Take particular note of the tail-wheel bracket. A metal bracket that attaches to the lower rear of the fuselage acts as a bearing and eliminates stress on the hinges. Failure to use that bracket could result in the rudder falling off the aircraft.
When I ran up the brushless motor the first time on the recommended APC 10 x 4.75F propeller, it drew 23 amps and 258 watts of input power, which is at the upper end of what the unit can handle. That propeller should not be run at that power level. I switched to an APC 9 x 6E (a high-rpm propeller) and got the current down to 18 amps and the input power to just under 200 watts.
The resulting power loading is still a respectable 92 watts per pound, which can make for aggressive flying at full throttle. With the 2200 mAh battery pack I was able to obtain flights exceeding 10 minutes with some throttle management.
My Gee Bee's final weight was at the upper end: 34 ounces. The CG ended up slightly forward of the recommended 60 mm (2 3/8 inches, or 28% of the chord) from the wing leading edge. That location worked well for me, so I did not change it. Final control throws worked out to 7/8 inch each side for the ailerons and elevator, and 1 1/4 inches each side for the rudder.
Flying
I finished assembly in late January. Since I was heading south to Florida during February and March, I passed the model to Tom Hunt, fellow Model Aviation Hall of Famer and NEAT (Northeast Electric Aircraft Technology) Fair director, who volunteered to do the initial flight tests. Ray Juschkus, a professional photographer and AMA District II associate vice president, took the flight photos shown in this review.
The Gee Bee certainly isn’t a candidate for hand launching, but it can take off from rough fields with comparative ease thanks to the shock-absorbing landing-gear struts. Make sure there is enough clearance between the wheels and the fiberglass pants for movement and a freely rotating wheel.
The Gee Bee flew great. It has plenty of power for all kinds of aerobatics. Because of the speed at full throttle, consider adding some exponential rate on the ailerons, elevator, and rudder. I used roughly 20% exponential on all three controls to smooth things out.
This Gee Bee proved to be a wonderful experience. My prototype ARF took a little longer to assemble; the new version now being sold eliminates some of the start-up problems I found. Assembly should be easy and fast.
I would have no problem assembling and flying other Green RC Models aircraft, and the price tag is well worth it. Had I built this Gee Bee from scratch, I estimate it would have cost much more and might have taken several months to construct. With this ARF, an RC pilot can be at the flying field in less than a week. Best of all was the model's great performance in the air. It's a totally worthwhile project.
MA
Bob Aberle [email protected]
Manufacturer/Distributor
- Green Models / Maxford USA
- (866) 706-8288
- www.maxfordusa.com/gm-gb-ep-wr.aspx
Sources
- Granville Brothers information: http://en.wikipedia.org/wiki/Granville_Brothers_Aircraft
- Landing Products (APC propellers): (530) 661-0399 — www.apcprop.com
- Polk's Hobby: (973) 351-9800 — www.polkshobby.com
- Hitec RCD: (858) 748-6948 — www.hitecrcd.com
Other Reviews
- Model Airplane News: January 2008
- RC Sport Flyer: June 2008
- Fly RC: April 2008
Transcribed from original scans by AI. Minor OCR errors may remain.

