
Park View: GWS Slow Stick and Floats
Jim Feldmann [email protected]
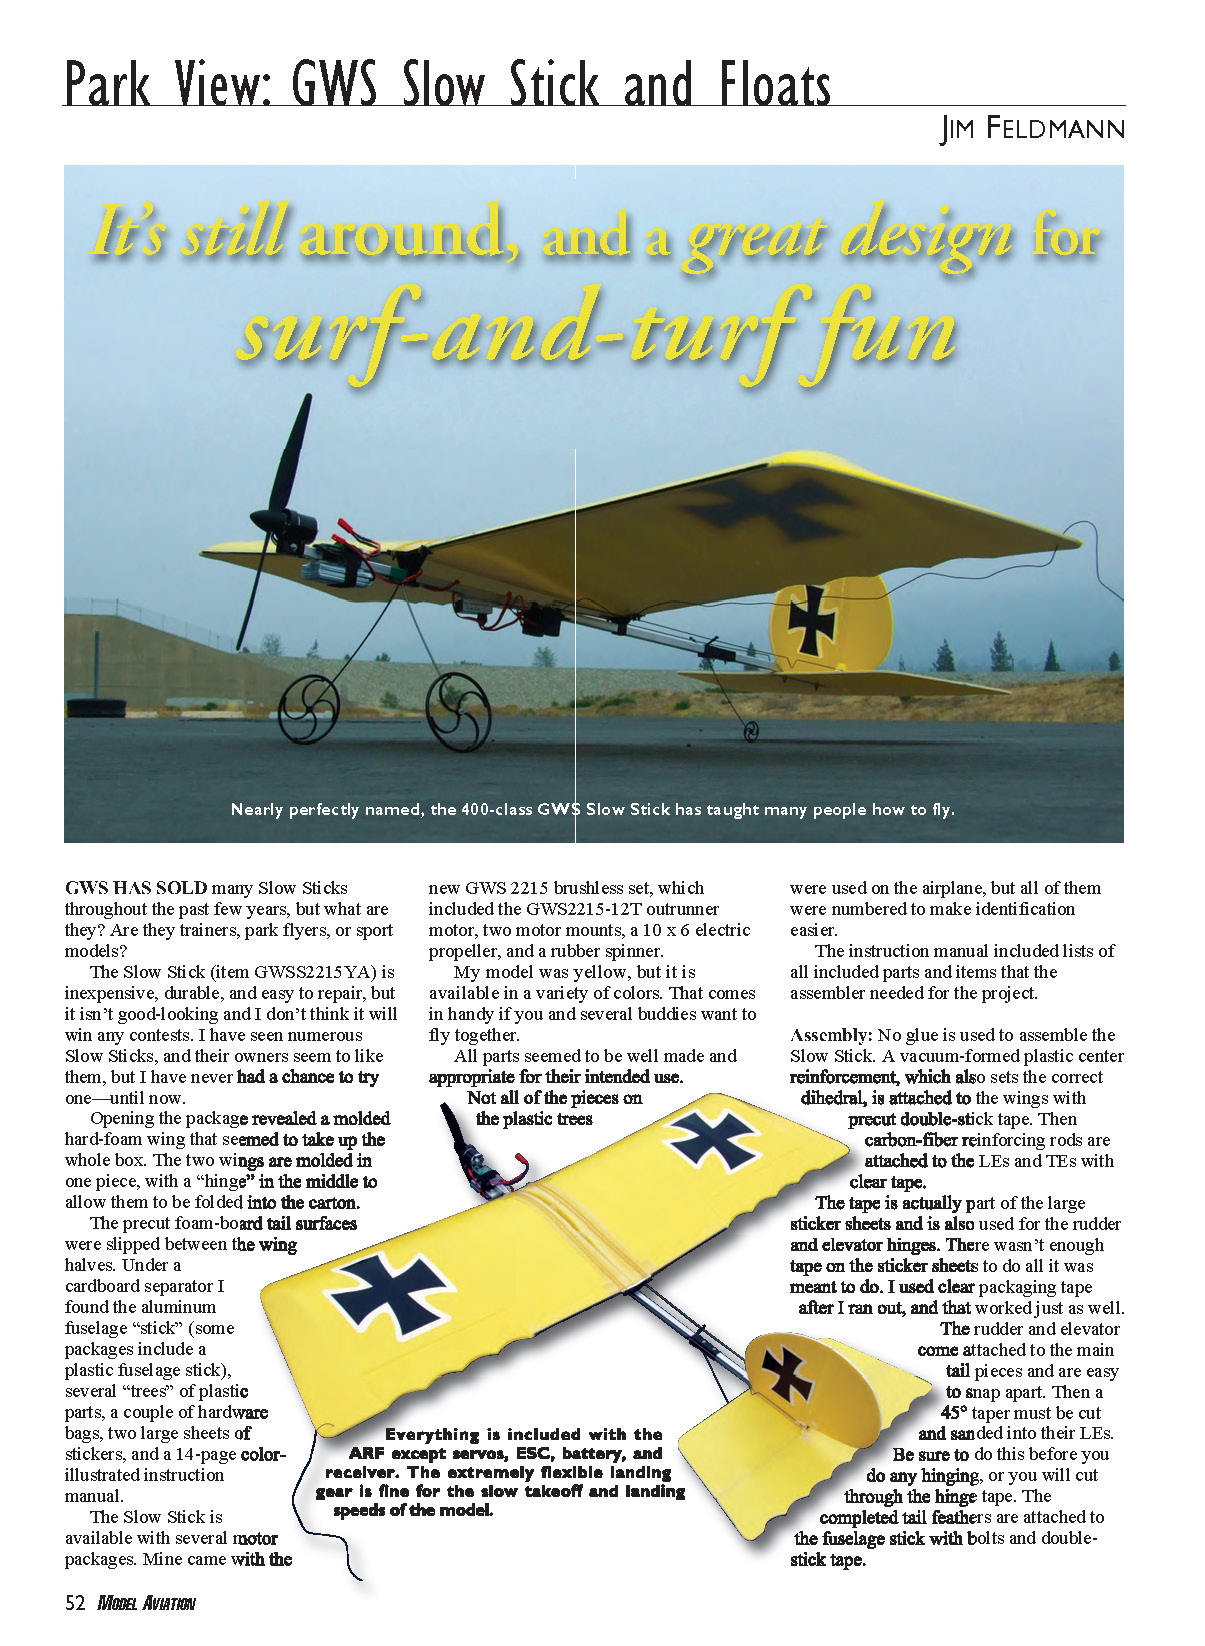
GWS has sold many Slow Sticks over the past few years, but what are they? Trainer, park flyer, or sport model? The Slow Stick (item GWSS2215YA) is inexpensive, durable, and easy to repair. It isn't particularly pretty and won't win contests, but owners seem to enjoy them. I had never flown one until now.
What's in the box
- Molded hard-foam wing (two wings molded as one piece with a hinge in the middle for folding).
- Precut foam-board tail surfaces slipped between the wing halves.
- Cardboard separator under which sat the aluminum fuselage "stick" (some packages include a plastic stick).
- Several trees of plastic parts and two hardware bags.
- Two large sheets of stickers (including hinging tape).
- 14-page color-illustrated instruction manual.
My example came with the new GWS 2215 brushless package: GWS2215-12T outrunner motor, two motor mounts, a 10 x 6 electric propeller, and a rubber spinner. The model was yellow; other colors are available.
All parts seemed well made and appropriate for their intended use. Not all plastic-tree parts are used on every kit, but all were numbered and the manual included an inventory and a list of required additional items.
Assembly
No glue is required to assemble the Slow Stick. Key steps:
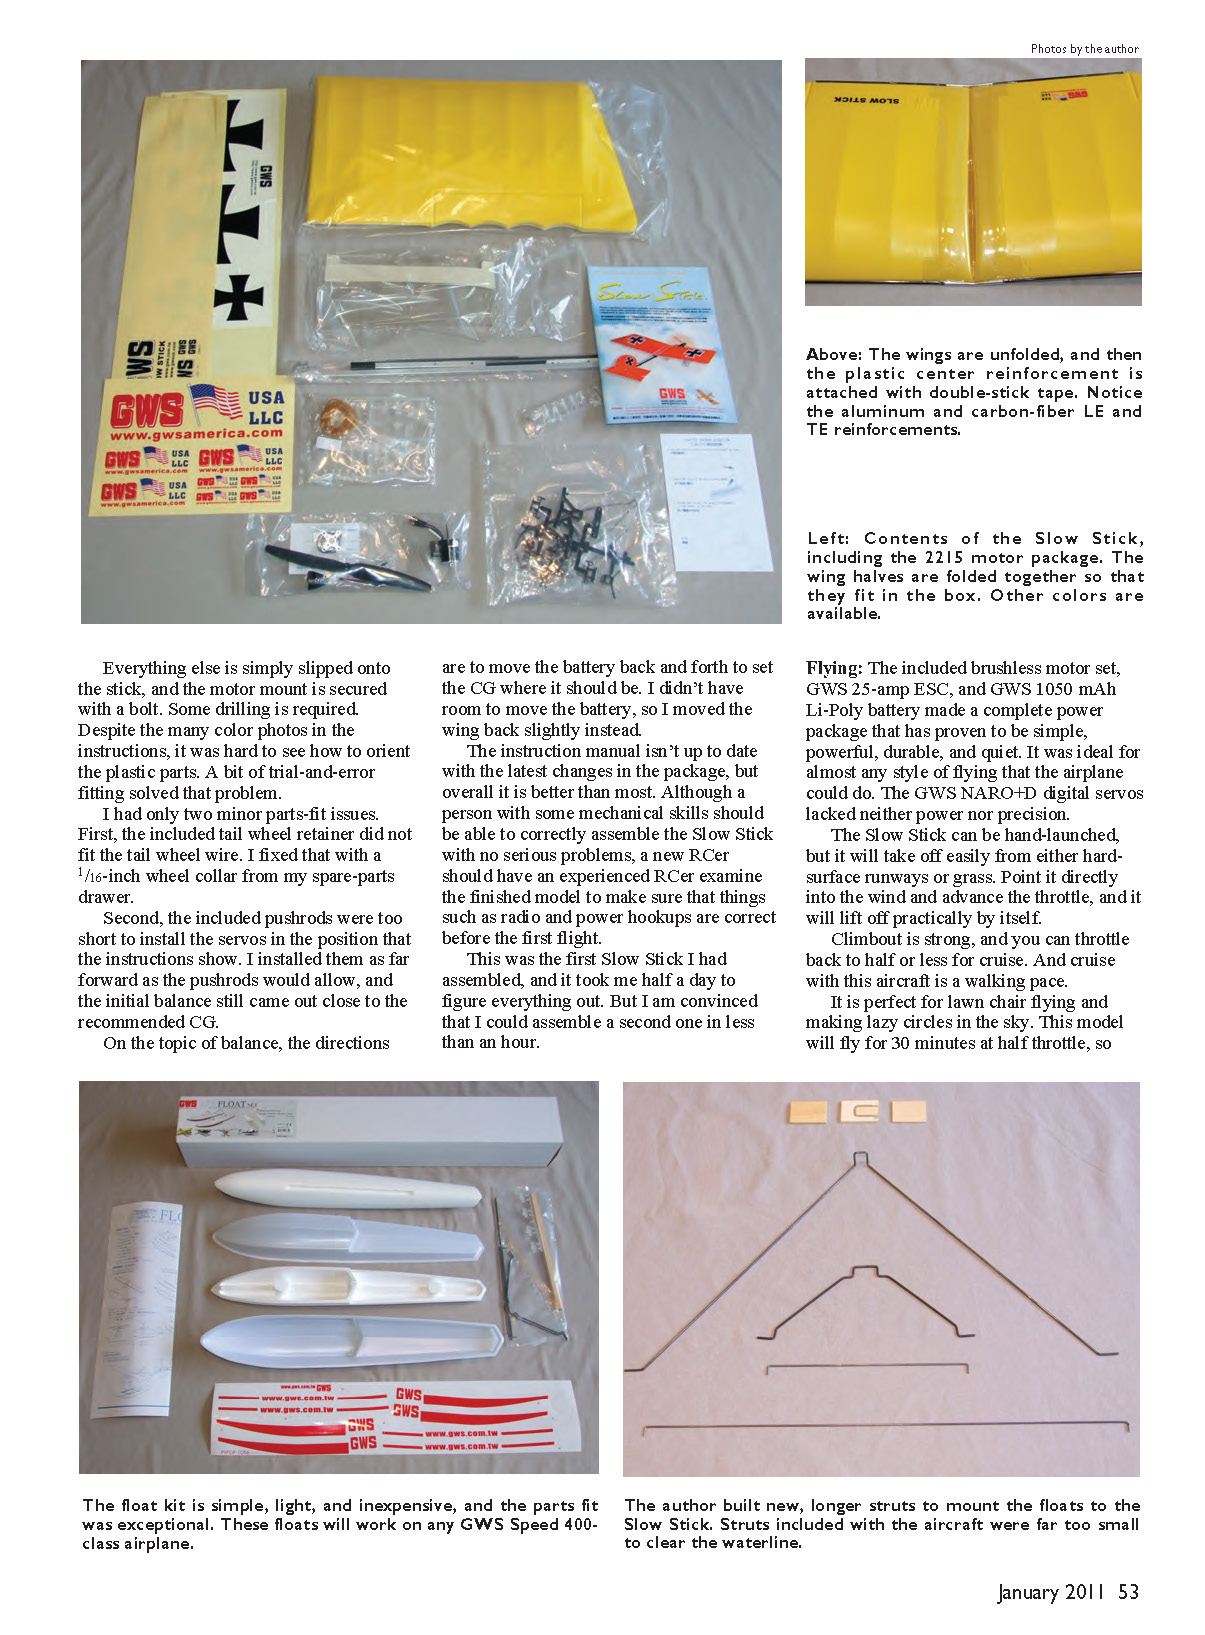
- A vacuum-formed plastic center reinforcement (which also sets the dihedral) is attached to the wings with precut double-stick tape.
- Carbon-fiber reinforcing rods are attached to the leading edges (LEs) and trailing edges (TEs) with clear tape (the tape is part of the large sticker sheets and is also used for rudder and elevator hinges).
- Note: the sticker sheets did not contain enough tape for everything; I used clear packaging tape as a substitute with good results.
- The rudder and elevator come attached to the main tail pieces and snap apart easily. Cut and sand a 45° taper into their leading edges before hinging to avoid cutting through the hinge tape.
- Completed tail feathers are attached to the fuselage stick with bolts and double-stick tape.
- Everything else slips onto the stick and the motor mount is secured with a bolt; some drilling is required.
Despite many color photos in the instructions, orientation of some plastic parts was hard to see; a bit of trial-and-error fitting solved this. The manual is not fully up to date with the latest package changes but is overall better than most.
Minor fit issues I encountered:
- The included tailwheel retainer did not fit the tailwheel wire. I solved this with a 1/16-inch wheel collar from my spare-parts box.
- The included pushrods were too short to install the servos in the position shown in the instructions. I installed the servos as far forward as possible; the initial balance was still close to the recommended CG.
- If you cannot move the battery to achieve the recommended CG, moving the wing slightly aft can be an acceptable alternative.
A person with mechanical skills should be able to assemble the Slow Stick with no serious problems, but a new R/Cer should have an experienced pilot inspect radio and power hookups before the first flight. It took me about half a day to assemble my first one; I am confident I could build a second in under an hour.
Flying
The included brushless motor set, GWS 25-amp ESC, and GWS 1050 mAh Li-Poly battery make a simple, powerful, durable, and quiet power package. GWS NARO+D digital servos provided adequate power and precision.
- Launch and takeoff: The Slow Stick can be hand-launched and will also take off easily from paved runways or grass. Point it into the wind, advance the throttle, and it will lift off almost by itself.
- Climb and cruise: Climbout is strong; cruise flight can be maintained at half throttle or less. Cruise speed is roughly walking pace—perfect for lawn-chair flying and lazy circles.
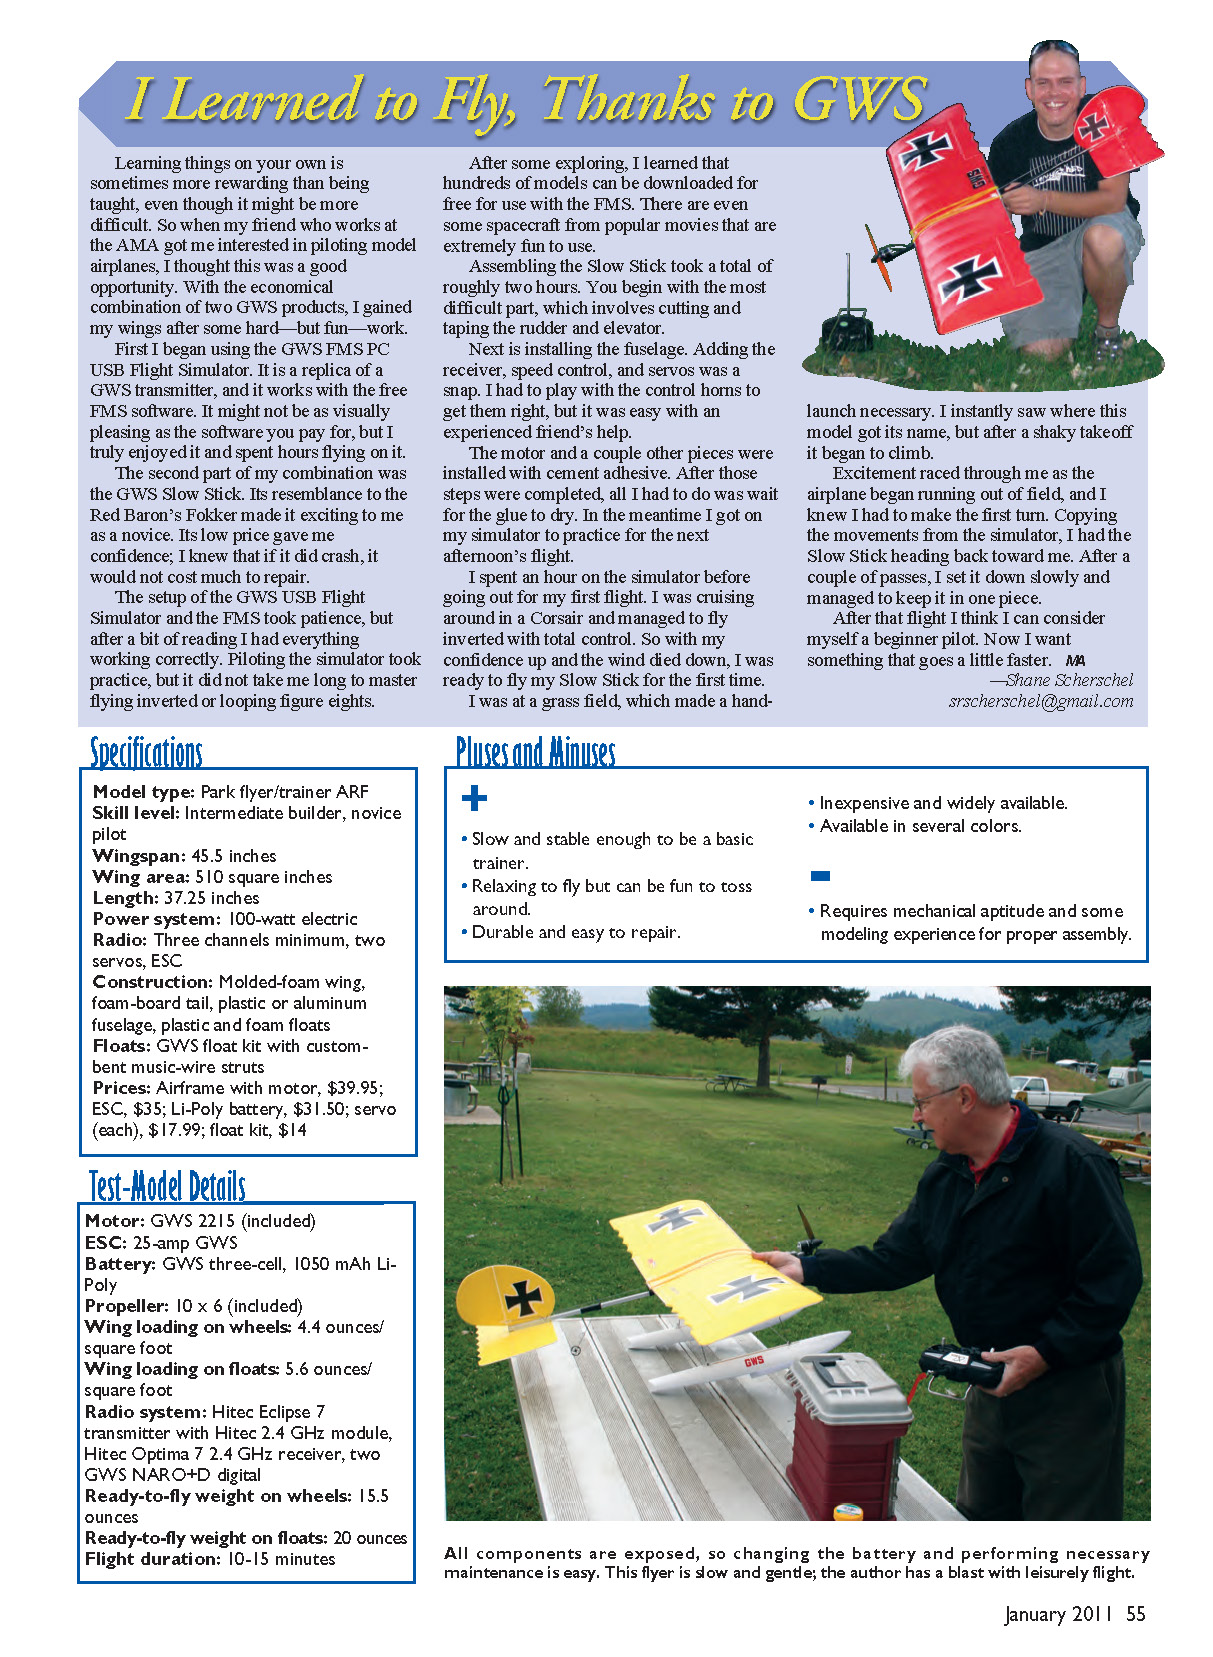
- Endurance: With a modest throttle setting the airplane can fly a long time; in casual flying it can be kept aloft and passed among buddies or trimmed for gentle turns with little stick input.
- Maneuvering: As with any three-channel airplane, maneuvers lack precision but it will loop easily (I performed a decent outside loop). Rolls require planning: with full throttle dive to gain speed, pull up and apply full rudder—wings should level as the nose comes down.
- Landing: Slightly harder than takeoff. The Slow Stick is very light and should be flown to the ground; cut throttle when the wheels touch—the ground roll is only a few feet.
- Wind handling: Like other light models, it handles wind poorly. Attempts at upwind turning in gusty conditions can yield unexpected behavior.
After an experienced pilot trims the airplane, a quick student could learn to fly it without an instructor in calm conditions. Students should move up to four channels and faster models as they progress. Repairs are simple—often just packaging tape.
Floats
GWS makes a lightweight float kit sized for the Slow Stick. I tried the kit on water with great results.
- Float construction: The kit requires trimming and gluing vacuum-formed plastic bottoms to molded-foam tops. A hardwood backbone, wire struts, and hardware are included. Water rudders are not included but were unnecessary in calm conditions.
- Assembly tip: Use tape to hold plastic pieces to the foam while epoxy or aliphatic glue cures.
- Struts: The kit's wire struts and spreader bars are not long enough for the Slow Stick, so I bent longer struts from the same gauge K&S music wire. I mounted the floats 12 3/4 inches apart and 6 1/2 inches below the fuselage stick, producing an outward angle near the ideal 45°. The step is roughly 1 inch behind the CG, and the fuselage stick sits about 2° positive relative to the top of the floats.
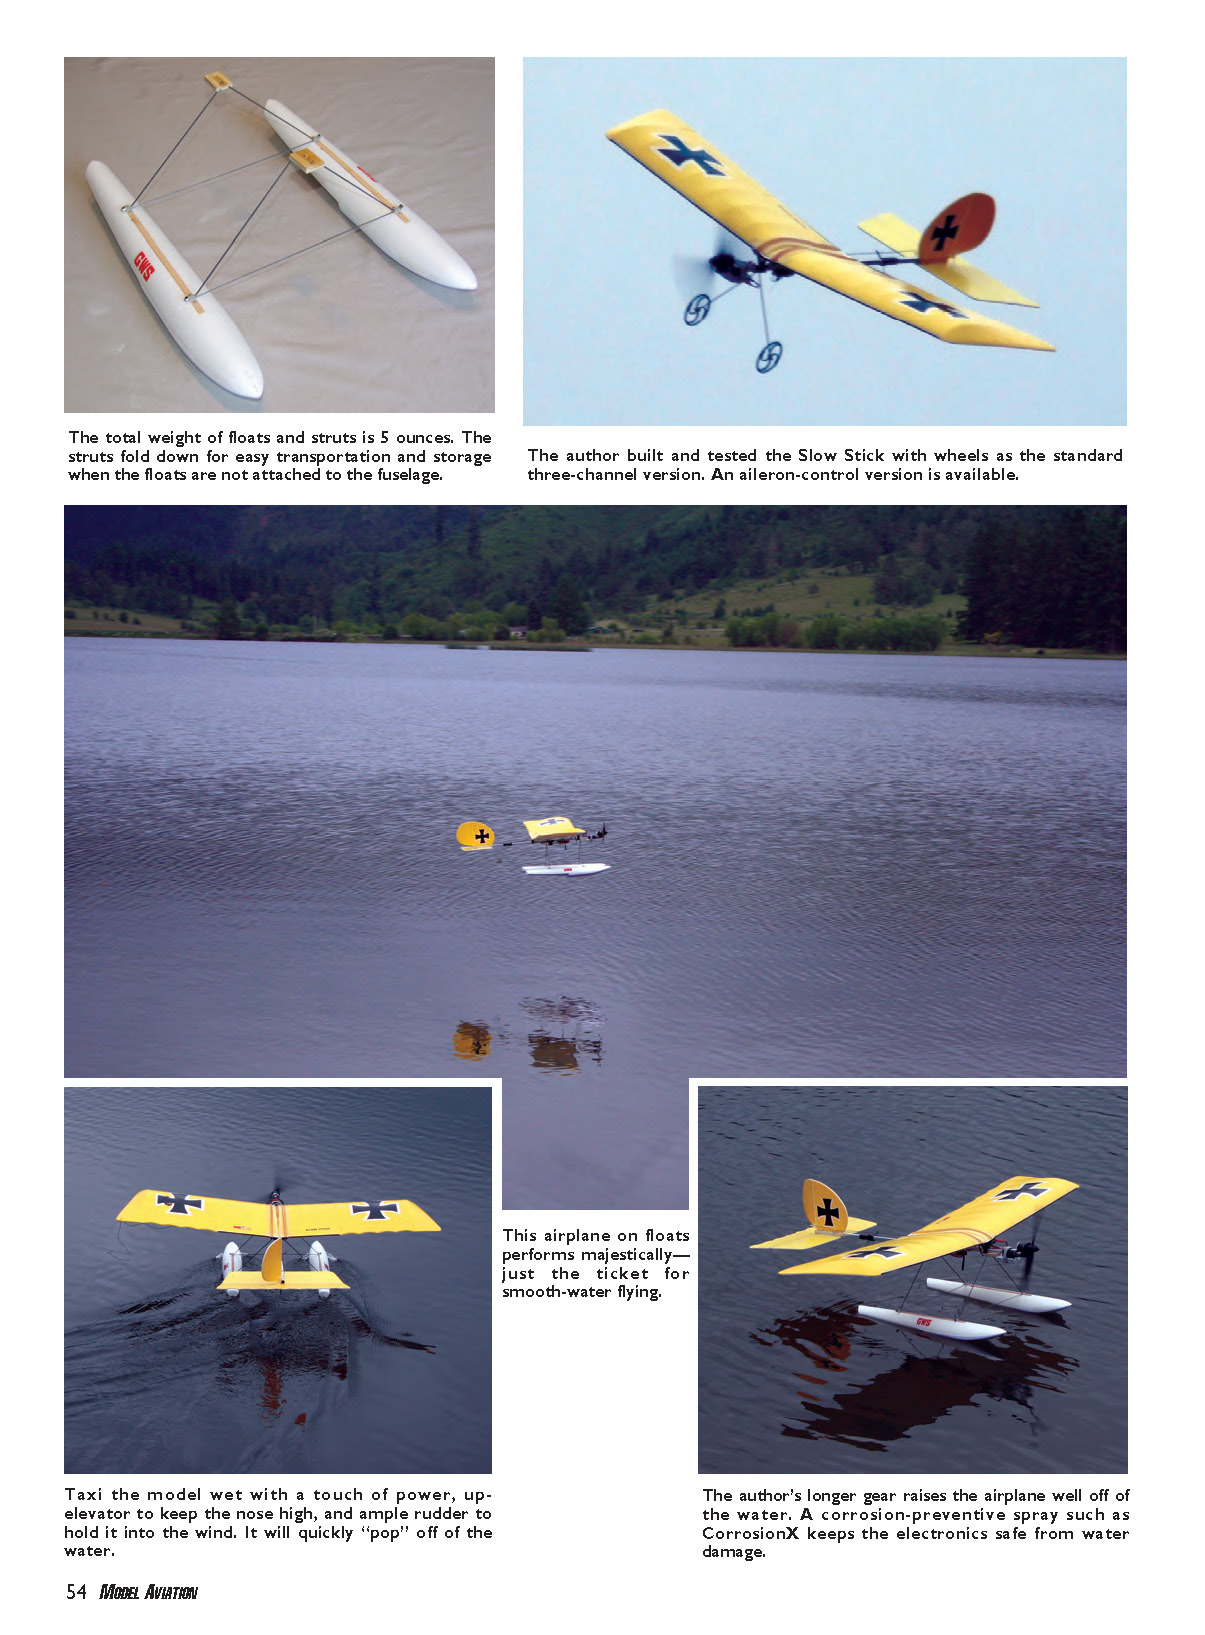
- Mounting: I bent the top of the new struts to match the Slow Stick’s main gear shape and made a plywood sandwich clamp to secure them to the fuselage stick. The struts seemed flexible at first but performed well on the water.
- Waterproofing: The Slow Stick is basically waterproof. Coating the ESC and electrical connectors with CorrosionX or similar waterproofer prevents issues when dunked.
- Behavior on water: Fresh water won’t hurt the battery, motor, servos, or receiver; I recovered the model after several flips and was able to take off again. Float-equipped flight is even more fun—the model seems to levitate off the water, with the pendulum effect of the floats and increased wing loading calming the airplane and slightly improving wind tolerance. Don’t taxi too long on the water; floats will tend to dart off at speed—let the plane take off. Avoid crosswind taxiing.
I plan to take a Slow Stick to every float-fly I attend—it's ideal for late evenings and relaxed flying.
Customizing and upgrades
The Slow Stick is a great base for modifications. The ailerons are molded into the wing, but many have converted Slow Sticks to full four-channel control. Other popular mods include biplane conversions, twin setups, canards, inverted lower wings for a symmetrical wing, and stronger motors (though the 2215 seems adequate).
Specifications
- Model type: Park flyer / trainer ARF
- Skill level: Intermediate builder, novice pilot
- Wingspan: 45.5 inches
- Wing area: 510 square inches
- Length: 37.25 inches
- Power system: ~100-watt electric (package varies)
- Radio: Minimum three channels, two servos, ESC
- Construction: Molded-foam wing, foam-board tail, plastic or aluminum fuselage, plastic and foam floats
- Floats: GWS float kit (with custom-bent music-wire struts for Slow Stick)
- Prices (approx.): Airframe with motor $39.95; ESC $35; Li-Poly battery $31.50; servo (each) $17.99; float kit $14
Test-Model Details
- Motor: GWS 2215 (included)
- ESC: 25-amp GWS
- Battery: GWS 3-cell, 1050 mAh Li-Poly
- Propeller: 10 x 6 (included)
- Wing loading on wheels: 4.4 oz/sq ft
- Wing loading on floats: 5.6 oz/sq ft
- Radio system: Hitec Eclipse 7 transmitter with Hitec 2.4 GHz module; Hitec Optima 7 2.4 GHz receiver; two GWS NARO+D digital servos
- Ready-to-fly weight on wheels: 15.5 oz
- Ready-to-fly weight on floats: 20 oz
- Flight duration (typical): 10–15 minutes (varies with throttle and battery)
Pluses and Minuses
- Pluses:
- Slow and stable enough to serve as a basic trainer.
- Relaxing to fly; also fun to toss around.
- Durable and easy to repair.
- Inexpensive and widely available.
- Available in several colors.
- Minuses:
- Requires mechanical aptitude and some modeling experience for proper assembly.
- Limited wind-handling capability.
- Three-channel configuration limits precision for some maneuvers.
Conclusion
The GWS Slow Stick excels at relaxed slow flying and is a great first or casual model, with or without an instructor. It's durable, inexpensive, and highly customizable. I plan to keep one on wheels and another on floats.
Manufacturer: GWS USA 138 S. Brent Cir. City of Industry, CA 91789 (909) 594-4979 www.gwsus.com
Sources: CorrosionX (800) 638-7361 www.corrosionx.com
Transcribed from original scans by AI. Minor OCR errors may remain.

