

Park View: Hobby Lobby Pilot-1 Aeronca Champ ARF
R.A. Benjamin
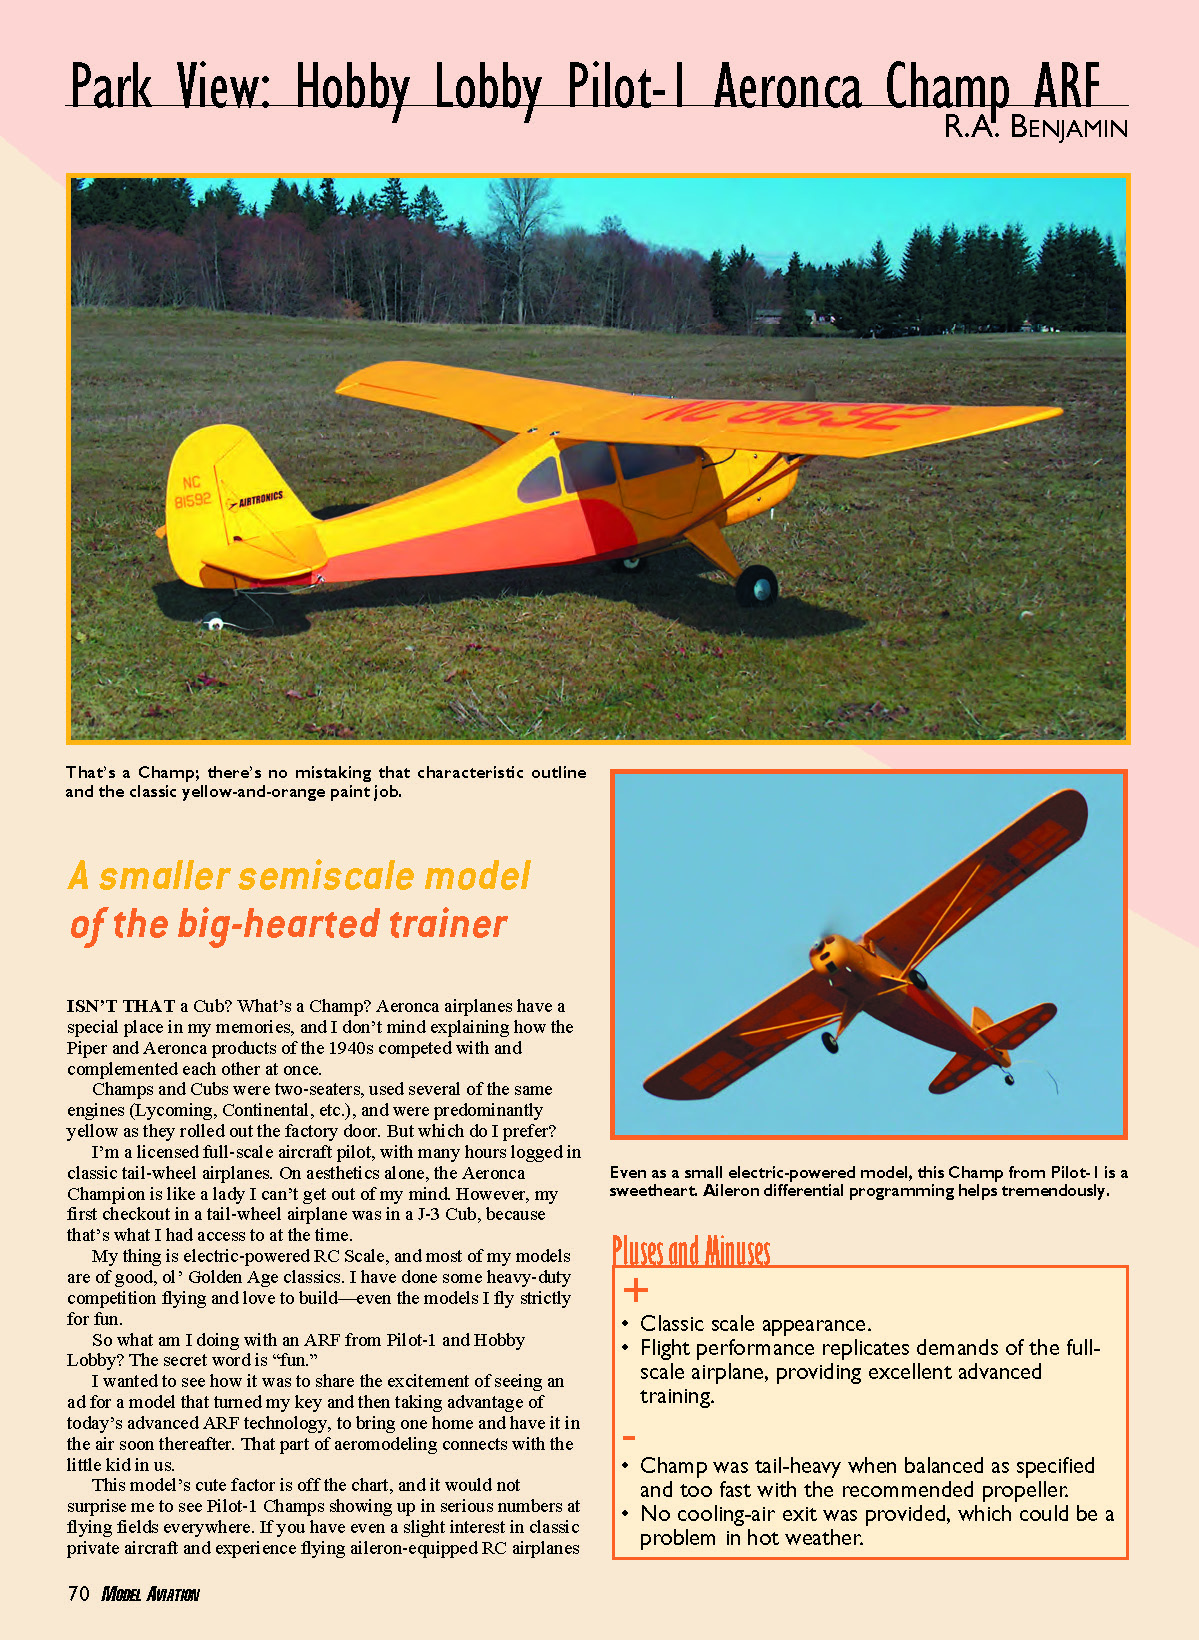
A smaller semiscale model of the big-hearted trainer
ISN'T THAT a Cub? What's a Champ? Aeronca airplanes have a special place in my memories, and I don't mind explaining how the Piper and Aeronca products of the 1940s competed with and complemented each other at once.
Champs and Cubs were two-seaters, used several of the same engines (Lycoming, Continental, etc.), and were predominantly yellow as they rolled out the factory door. But which do I prefer?
I'm a licensed full-scale aircraft pilot, with many hours logged in classic tail-wheel airplanes. On aesthetics alone, the Aeronca Champion is like a lady I can't get out of my mind. However, my first checkout in a tail-wheel airplane was in a J-3 Cub, because that's what I had access to at the time.
My thing is electric-powered RC scale, and most of my models are of good, ol' Golden Age classics. I have done some heavy-duty competition flying and love to build—even the models I fly strictly for fun.
So what am I doing with an ARF from Pilot-1 and Hobby Lobby? The secret word is "fun."
I wanted to see how it was to share the excitement of seeing an ad for a model that turned my key and then taking advantage of today's advanced ARF technology to bring one home and have it in the air soon thereafter. That part of aeromodeling connects with the little kid in us.
This model's cute factor is off the chart, and it would not surprise me to see Pilot-1 Champs showing up in serious numbers at flying fields everywhere. If you have even a slight interest in classic private aircraft and experience flying aileron-equipped RC airplanes with tail wheels, one of these models could be great for you.
The Pilot-1 Champ is reasonably close to scale accuracy in outline and cross-section. In addition, the classic yellow-and-orange paint job is reproduced well enough in lightweight film covering to give you a convincing scale appearance.
Pluses and Minuses
- Classic scale appearance.
- Flight performance replicates demands of the full-scale airplane, providing excellent advanced training.
- Champ was tail-heavy when balanced as specified and too fast with the recommended propeller.
- No cooling-air exit was provided, which could be a problem in hot weather.
Specifications
- Type: RC sport scale
- Skill level: Intermediate pilots
- Wingspan: 52 inches
- Wing area: 362 square inches
- Length: 32 inches
- Wing loading: 15 ounces/square foot
- Motor: AXI 2217/16 brushless outrunner
- Radio: Five channels, four microservos
- Construction: Built-up balsa and plywood with film covering
- Price: $139
Test-Model Details
- Motor used: AXI 2217/16 brushless outrunner with Jeti Advance 18-amp ESC
- Propeller: APC 10 x 5E
- Battery: 3S 2200 mAh Li-Poly
- Radio: Airtronics RDS8000 2.4 GHz FHSS transmitter and receiver; four Airtronics 94761 digital miniservos
- Ready-to-fly weight: 38 ounces
- Duration: Eight to 10 minutes or more, depending on your flying style
But just because this is a high-wing model doesn't mean it's an RC trainer. It reproduces the full-scale aircraft's demanding response to aileron and rudder control inputs, which makes it a pleasant challenge to fly well—similar to the full-scale version but a challenge nonetheless.
The demand to coordinate rudder and ailerons all the time made the full-scale Champ a good trainer by 1940s standards, but it makes this model more ornery than many of us have come to expect an RC trainer to be. If you have enough experience to appreciate what I mean, you have enough experience to appreciate this model.
Construction
The Pilot-1 Champ is built in the traditional sense, with plastic film covering, a structure of balsa, and many intricately laser-cut light-plywood parts. For the sake of both appearance and durability, there is sheet balsa wherever the full-scale airplane had sheet aluminum.
Everything is provided in an attractive, substantial box in the usual Hobby Lobby manner, and all major components and sets of related small parts are individually bagged in plastic. Since no comprehensive parts-identification sheet is included, pay attention to what comes out of which bag.
I added several custom scale details to this model, but I began work by assembling everything according to the instruction manual.
Exhaust pipes of 1/4-inch-diameter aluminum tubing have airbrushed smoke stains behind them. The carburetor air-filter box is a block of balsa shaped to fit and covered with adhesive-backed aluminum sheet. Those custom wheel disks are made from the bottoms of soda cans.
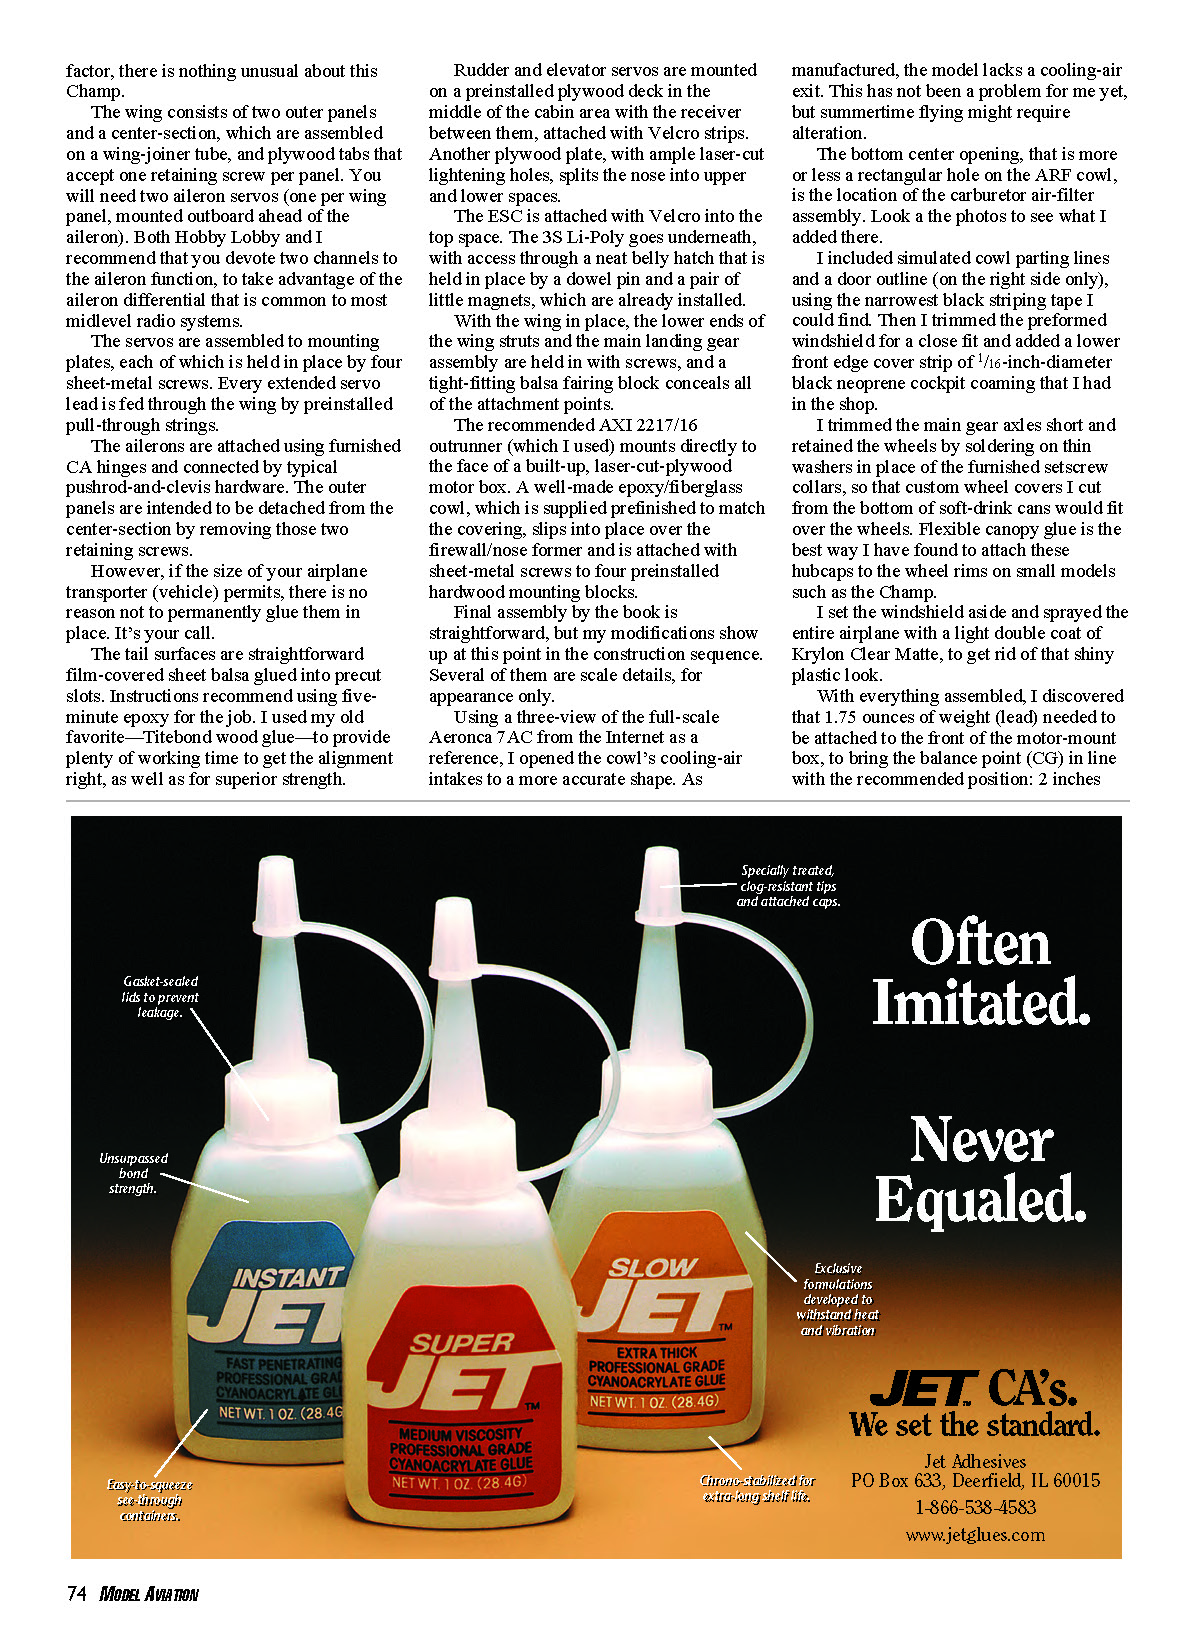
Rudder and elevator servos are mounted on a preinstalled plywood deck in the middle of the cabin area with the receiver between them, attached with Velcro strips. Another plywood plate, with ample laser-cut lightening holes, splits the nose into upper and lower spaces.
The ESC is attached with Velcro into the top space. The 3S Li-Poly goes underneath, with access through a neat belly hatch that is held in place by a dowel pin and a pair of little magnets, which are already installed.
With the wing in place, the lower ends of the wing struts and the main landing gear assembly are held in with screws, and a tight-fitting balsa fairing block conceals all of the attachment points.
The recommended AXI 2217/16 outrunner (which I used) mounts directly to the face of a built-up, laser-cut-plywood motor box. A well-made epoxy/fiberglass cowl, which is supplied prefinished to match the covering, slips into place over the firewall/nose former and is attached with sheet-metal screws to four preinstalled hardwood mounting blocks.
Final assembly by the book is straightforward, but my modifications show up at this point in the construction sequence. Several of them are scale details, for appearance only.
Using a three-view of the full-scale Aeronca 7AC from the Internet as a reference, I opened the cowl's cooling-air intakes to a more accurate shape. As manufactured, the model lacks a cooling-air exit. This has not been a problem for me yet, but summertime flying might require alteration.
The bottom center opening, more or less a rectangular hole on the ARF cowl, is the location of the carburetor air-filter assembly. I added a shaped block and detailing there to simulate the assembly.
I included simulated cowl parting lines and a door outline (on the right side only), using the narrowest black striping tape I could find. Then I trimmed the preformed windshield for a close fit and added a lower front edge cover strip of 1/16-inch-diameter black neoprene cockpit coaming that I had in the shop.
I trimmed the main gear axles short and retained the wheels by soldering on thin washers in place of the furnished setscrew collars, so that custom wheel covers I cut from the bottom of soft-drink cans would fit over the wheels. Flexible canopy glue is the best way I have found to attach these hubcaps to the wheel rims on small models such as the Champ.
I set the windshield aside and sprayed the entire airplane with a light double coat of Krylon Clear Matte, to get rid of that shiny plastic look.
With everything assembled, I discovered that 1.75 ounces of lead needed to be attached to the front of the motor-mount box to bring the balance point (CG) in line with the recommended position: 2 inches behind the wing leading edge. Your model might or might not need that weight; it depends on your choice of battery pack.
Flying
An Aeronca Champion radiates character, sitting there bright yellow-and-orange at the edge of a grassy field, as if it were daring us to try to ignore all those light airplanes of the 1930s and ’40s. If you’re reading this, it’s a safe bet that you would never do such a thing.
And you might understand that just as it can be easy to be captivated by the appearance of those aircraft, they could be demanding to fly. You had to earn the privilege of looking as though you knew what you were doing around them. The Pilot-1 Aeronca Champ ARF is at home in this company.
Getting the model into the air and back down is no big deal, but to get it right—to replicate that sedate and graceful classic performance—you need to learn about old-time stick-and-rudder flying with tail-wheel airplanes. This Champ provides an excellent way for you to do that.
It comes down to learning to do coordinated turns (skillfully mixing rudder movement with aileron) to control adverse yaw, which is the nose’s tendency to swing away from the direction in which you thought you directed the airplane to turn. A big part of this challenge is making the necessary effort to set up the model to help you get it right.
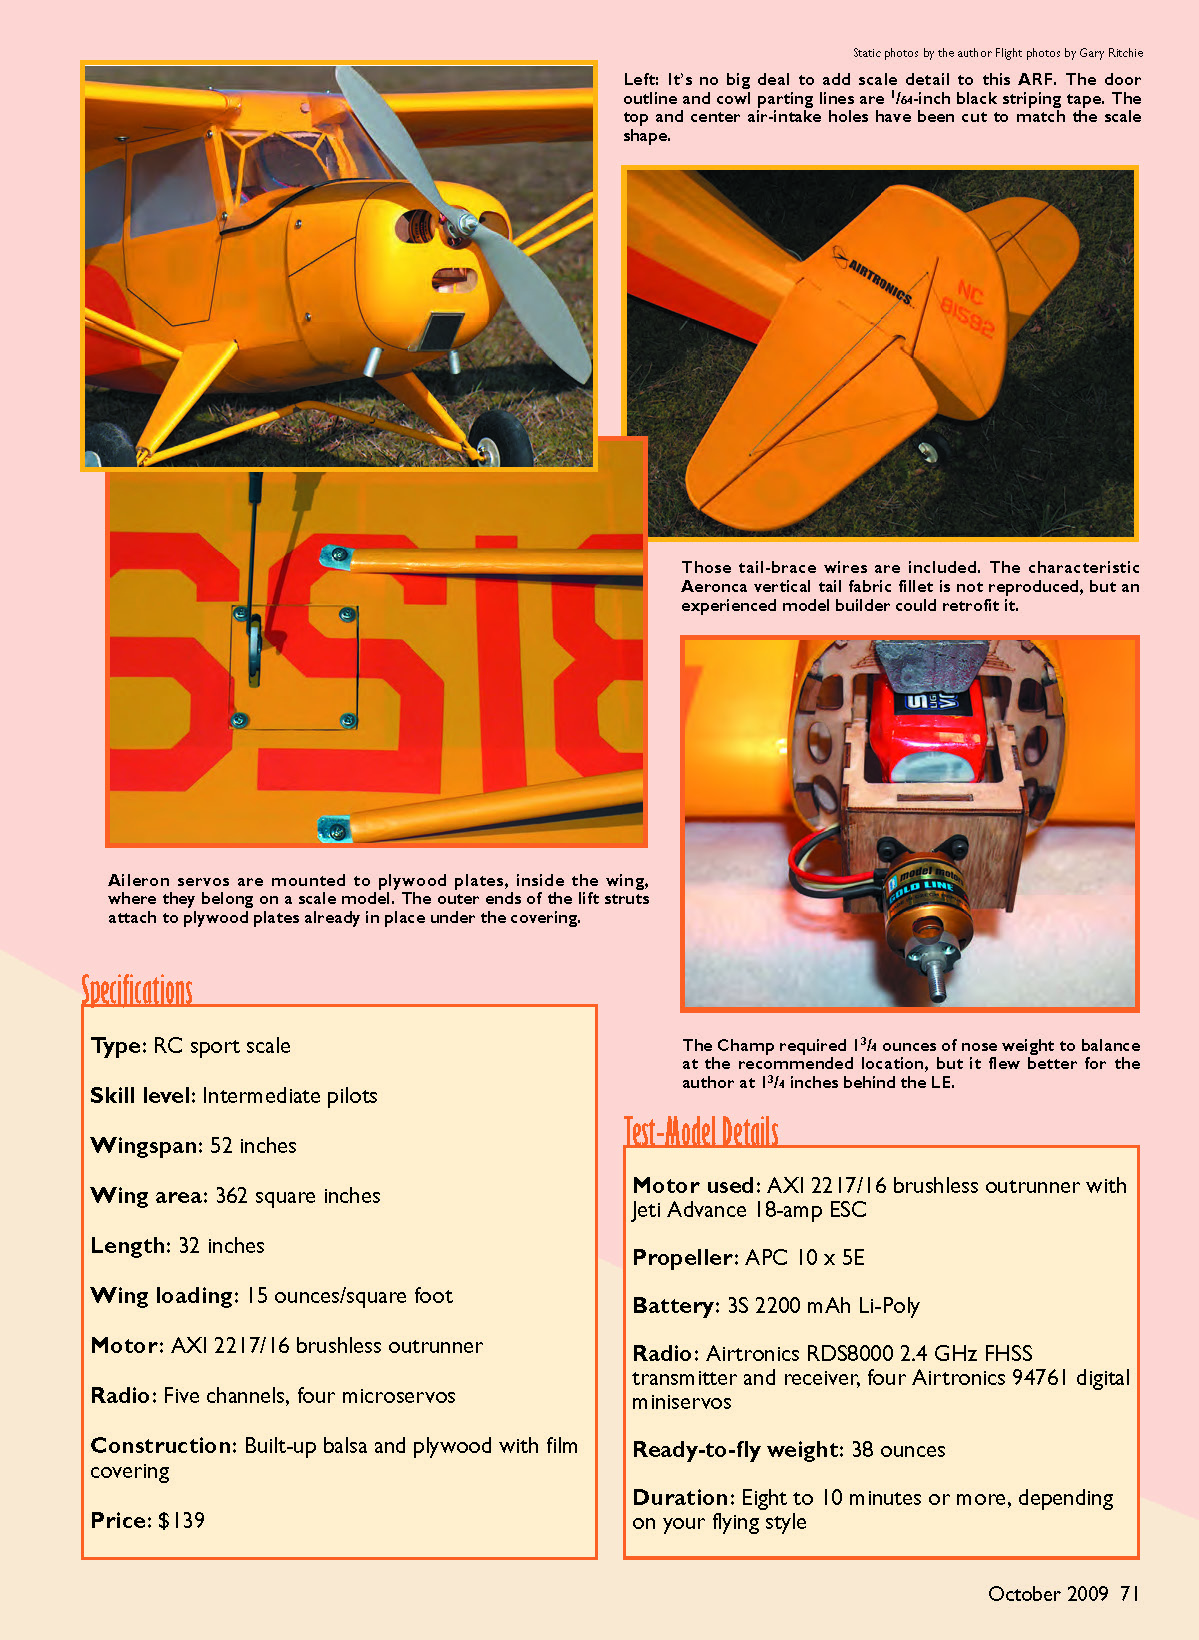
The instructions call for 1/2 inch of up aileron movement and 3/16 inch down. This works out to a differential ratio of 2.66:1. I used a ratio of nearly 5:1 to get the model adjusted so that it felt comfortable to fly. This worked out to setting my Airtronics RDS8000 transmitter’s aileron differential function so that I got the 1/2 inch of up aileron and just a hint of down (roughly 1/16 inch).
I activated the aileron-to-rudder mix and set it up for 50% (half as much rudder throw as aileron), so that every aileron input makes the rudder move too. That works okay for a start, but, as is the case with most classic airplanes, one setting is not always right.
You will need to learn to fly the rudder stick all the time, even with the mixing turned on. A classic case is a climbing turn to the right at high power with the airplane flying slowly; you might feel that you are leading the model into the turn with the rudder, and using a lot of it.
I encountered a problem with my model’s fore-and-aft balance. With the CG set at the recommended 2 inches behind the wing LE, the Champ felt twitchy and difficult to fly smoothly, even with considerable exponential on both the aileron and elevator functions.
Rather than add even more weight, I cut away a bit of the firewall former and moved the Li-Poly pack approximately an inch forward. That moved the balance point to 1.75 inches behind the LE. At the expense of some protection for the battery in the event of a hard enough impact to crush the cowl, that made the problem go away.
This Champ is too fast with the recommended APC 9 x 6E propeller. If you let it zip around the field at fighter speed, this neat little scale airplane becomes just another high-wing sport ARF.
I am flying my model with an APC 10 x 5E propeller. It gives me improved climb performance at low speed and makes half throttle work out almost perfect for a credible impression of scale speed.
On the topic of scale, I overlooked a couple of details. One is that there is no simulated instrument panel inside the cockpit.
The Champ should have two side windows—front and rear—but the necessary fuselage former at the wing TE station shows up through the rear window and effectively turns it into two smaller windows. Changing this would require serious structural redesign that might not be worth the added complexity for what is intended to be a sport-scale model.
The faired fabric fillet—the place where covering blends the front of the vertical tail and the rear of the fuselage top into a single curved surface—is an Aeronca’s classic signature. As would eliminating the extra window post, including this feature would require structural changes to work.
None of these details would be difficult for an experienced model builder to correct. Had the manufacturer addressed them, it would almost certainly have been at the expense of a higher retail price.
The fillet, especially, has been the subject of some discussion online. If you’d like to share an opinion, I suspect that the manufacturer would like to hear from you via MA.
Trust me; I have flown classic high-wing light airplanes in heavy-duty scale competition. If you are interested in flying accurate models of those old-time aircraft, and doing it well, the Pilot-1 Aeronca Champ is as good an advanced trainer as you’re likely to find for mastering the skills you’ll need while having fun.
R.A. Benjamin [email protected]
Manufacturer/Distributor:
Hobby Lobby International 5614 Franklin Pike Cir. Brentwood, TN 37027 (866) 933-5972 www.hobby-lobby.com
Sources:
Airtronics (714) 963-0329 www.airtronics.net
Other Published Reviews: Model Airplane News: January 2009
Transcribed from original scans by AI. Minor OCR errors may remain.

