
Park View: Horizon Hobby Super Cub, Aerobird Swift, Cessna 210, and PTU
These ParkZone and HobbyZone products will get newcomers flying indoors or out
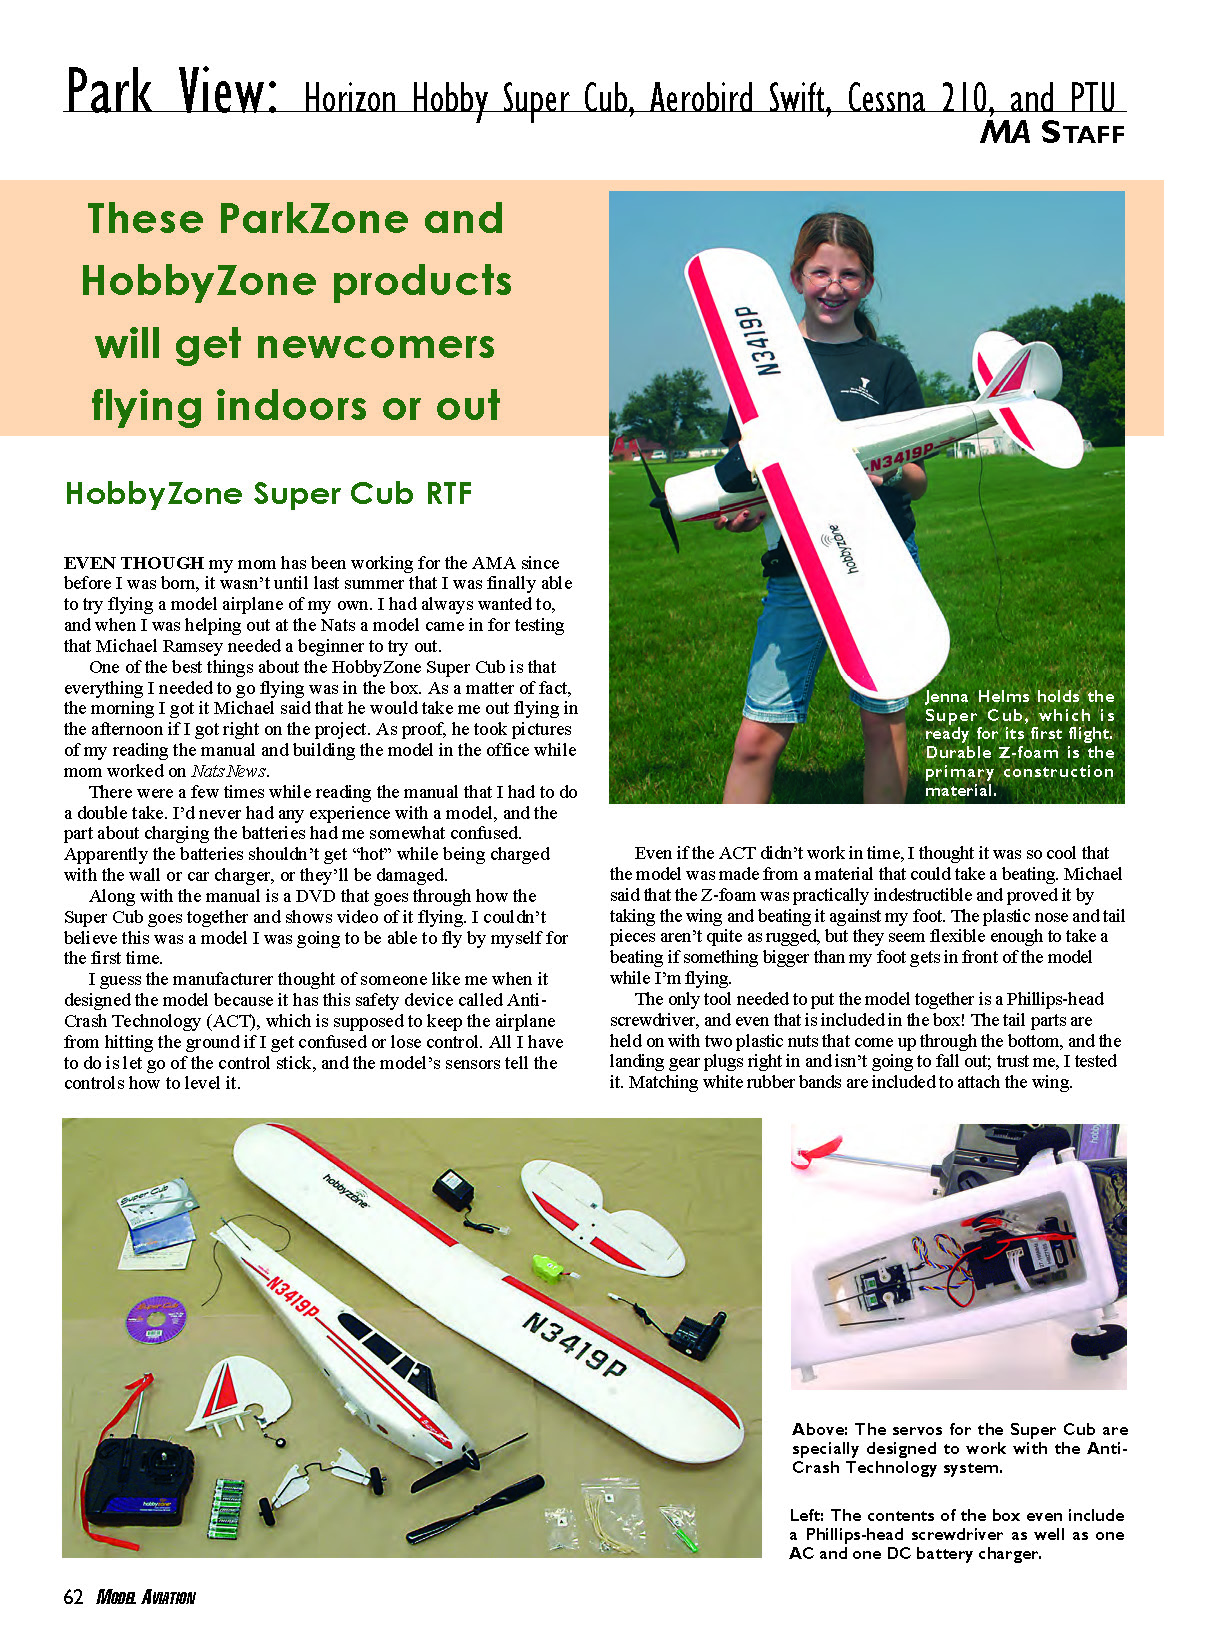
HobbyZone Super Cub RTF
Even though my mom has worked for the AMA since before I was born, it wasn’t until last summer that I was finally able to try flying a model airplane of my own. I had always wanted to, and when I was helping out at the Nats a model came in for testing that Michael Ramsey needed a beginner to try out.
One of the best things about the HobbyZone Super Cub is that everything I needed to go flying was in the box. As a matter of fact, the morning I got it Michael said that he would take me out flying in the afternoon if I got right on the project. As proof, he took pictures of me reading the manual and building the model in the office while my mom worked on NatsNews.
There were a few times while reading the manual that I had to do a double take. I’d never had any experience with a model, and the part about charging the batteries had me somewhat confused. Apparently the batteries shouldn’t get "hot" while being charged with the wall or car charger, or they’ll be damaged.
Along with the manual is a DVD that goes through how the Super Cub goes together and shows video of it flying. I couldn’t believe this was a model I was going to be able to fly by myself for the first time.
I guess the manufacturer thought of someone like me when it designed the model because it has this safety device called Anti-Crash Technology (ACT), which is supposed to keep the airplane from hitting the ground if I get confused or lose control. All I have to do is let go of the control stick, and the model’s sensors tell the controls how to level it.
Even if the ACT didn’t work in time, I thought it was so cool that the model was made from a material that could take a beating. Michael said that the Z-foam was practically indestructible and proved it by taking the wing and beating it against my foot. The plastic nose and tail pieces aren’t quite as rugged, but they seem flexible enough to take a beating if something bigger than my foot gets in front of the model while I’m flying.
The only tool needed to put the model together is a Phillips-head screwdriver, and even that is included in the box! The tail parts are held on with two plastic nuts that come up through the bottom, and the landing gear plugs right in and isn’t going to fall out; trust me, I tested it. Matching white rubber bands are included to attach the wing.
When the plastic struts were attached, all I had to do was wait for the battery to finish charging, so I had lunch and watched the DVD. That afternoon I went out with Michael to test-fly the model. Because he builds a lot of model airplanes, I wanted him to double-check that everything was the way it should be so I wouldn't mess up anything I hadn't tested. All he had to do was adjust some of the pushrods on the rudder and elevator; otherwise everything seemed okay. Michael asked me if he should hand-launch or try to take the model off the thick grass.
"Let's see if it will fly out of the grass," I said.
The Super Cub leaped from the ground and flew straight out. Even in the wind, Michael said that he had plenty of control to fly it and all the power he needed to fly it up and down the field. As I was about to ask when it would be my turn to try, he held the transmitter in front of me and said, "Your turn!"
I let the Cub fly by itself for a couple seconds because I was scared and didn't want to mess up. However, seeing as how the model practically flew itself, I started to move the control stick and easily turned it back toward us. As I flew, Michael helped me with the correct control-stick movements and told me when and how much throttle to use.
He only had to take over the controls once when we tested the ACT, which obviously worked, but only if the model was high enough to do the gentle pullout. During that first flight we were up for almost 10 minutes, and the motor stopped working. This is what happens to save power so the Cub can glide down to a controlled landing. I was still nervous about flying, but it was fun to finally fly my own model.
The Super Cub looks like a real airplane—not some cute box with wings. I've flown it since and don't have any trouble flying around. My landings still need some work, but grass stains on the nose clean off easily and I'm really glad there was a spare propeller in the box.
Because they were such a bargain, my mom bought me a couple more battery packs so we can fly more than once at a time. Who knows? Maybe next I'll be able to get Mom to try flying RC!
Jenna Helms [email protected]
Pluses and Minuses
- Pluses:
- Everything is included in one box.
- It’s a beginner’s model that looks like a real airplane.
- Minuses:
- Small wheels catch in tall-grass landings.
- Included AA batteries last only a short time.
Super Cub Specifications
- Wingspan: 47.75 inches
- Length: 32.5 inches
- Flying weight: 26 ounces
- Motor: Geared Speed 480
- Radio: Three-channel proportional FM
- Recommended battery: 8.4-volt, 1000 mAh NiMH (included)
- Recommended environment: AMA-recommended park field
- Flight duration: 10–15 minutes
- Needed to complete: Nothing
- Price: $159.99
Other Review Sources
- Quiet and Electric Flight, November 2006
- Backyard Flyer, January 2007
- Quiet Flyer, April 2007
- R/C Report, April 2007 and August 2007
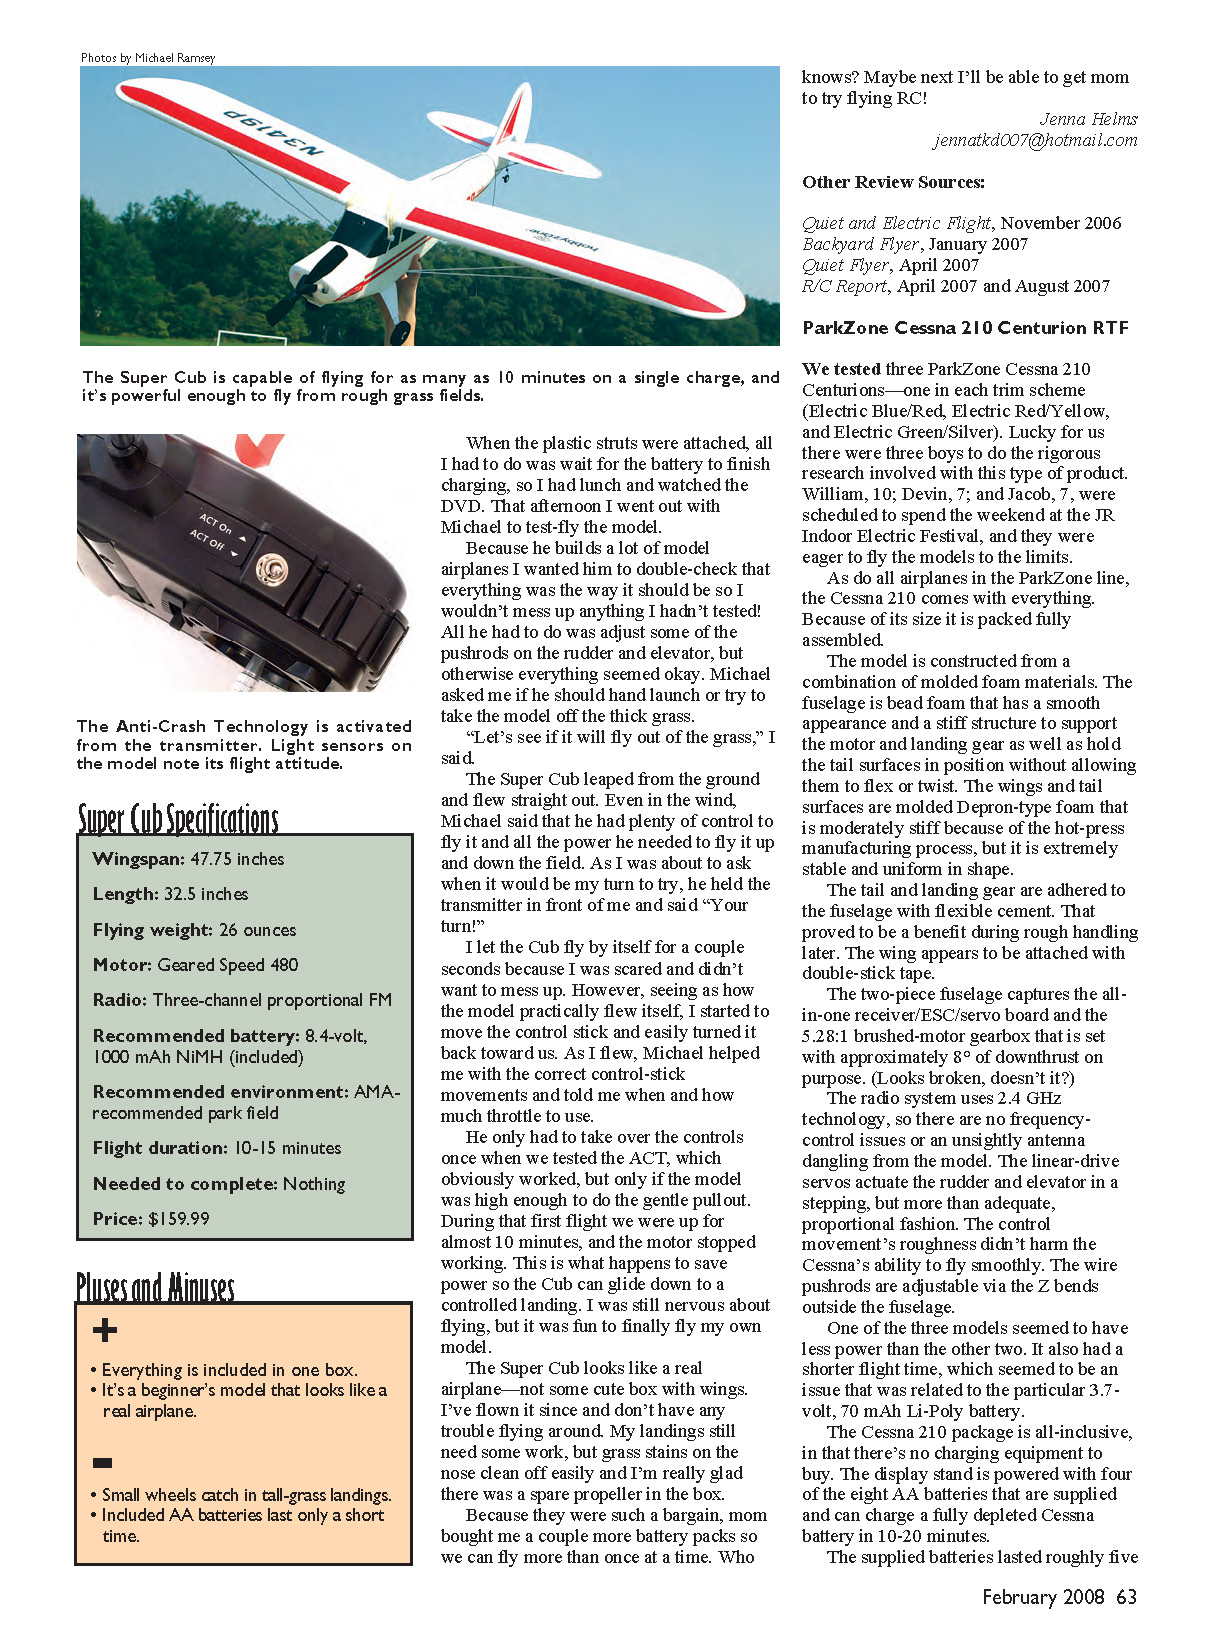
ParkZone Cessna 210 Centurion RTF
When the radio range became questionable and the charge times took much longer, we knew it was time to put in good alkaline batteries.
The ParkZone Cessna 210 is designed for the absolute beginner, so after unpacking and preflight of the models we let the boys go out and test-fly. They had a great deal of RC simulator experience and varying skills as real-time RC pilots. All three executed the maiden flights without incident. In fact, they got brave with the models very quickly.
The sign I use to judge a pilot's confidence with a model is the number of touch-and-gos he or she does with it. All three boys performed them during the first flight.
The Cessna will ROG (rise off ground) or hand launch and needs only approximately half power to cruise. The model's range was found to be somewhat short—especially in the JR Indoor Electric Festival's heavily used 2.4 GHz radio environment.
Since the Cessna trimmed hands-off, there was little worry of losing the aircraft. And at just 18 grams in weight, risk of property damage was minimal. Instead of glitching, the out-of-range model would center its controls and go to low power, as if it had a programmed fail-safe.
During the two-day event the boys got daring with their models, which was allowed; we wanted to see how they would take abuse. After 10 or so flights, the nose-gear mounts started weakening. A flexible adhesive, such as UHU or aliphatic white glue, worked best for that repair.
All three pilots managed to tear the left stabilizer almost completely off, which was quick to fix with foam-safe cyanoacrylate. One of the models was involved in a midair with a larger foamie, which tore the left wing diagonally across its span. That Cessna was mended on the spot with cyanoacrylate, and it flew again a few minutes later. None of the models seemed to experience depleted performance because of the repairs.
Although the nose wheel is fixed, the Cessna can be steered on the ground. It can turn tightly in the air and shows no sign of tip-stalling. When the controls are relaxed, the model returns to level flight. After a shallow dive the Cessna will loop, and with a skilled pilot at the controls it will fly out inverted at the top of a half loop.
Ventilation systems cause considerable turbulence indoors, so if outdoor flying is attempted the conditions better be dead calm. The Cessna slows quickly, and to flare the landing smoothly it's best to leave in just a touch of power so the elevator control remains effective.
As a father with boys who are excited about the RC hobby, I can attest to the fact that the ParkZone Cessna 210 Centurion has seemed to increase these young fliers' confidence. At a big event such as the JR gathering the boys were able to participate on a level that was appreciated not only by other pilots, but by the spectators. I was extremely proud to see them participate in a constructive and sportsmanlike manner.
Michael Ramsey [email protected]
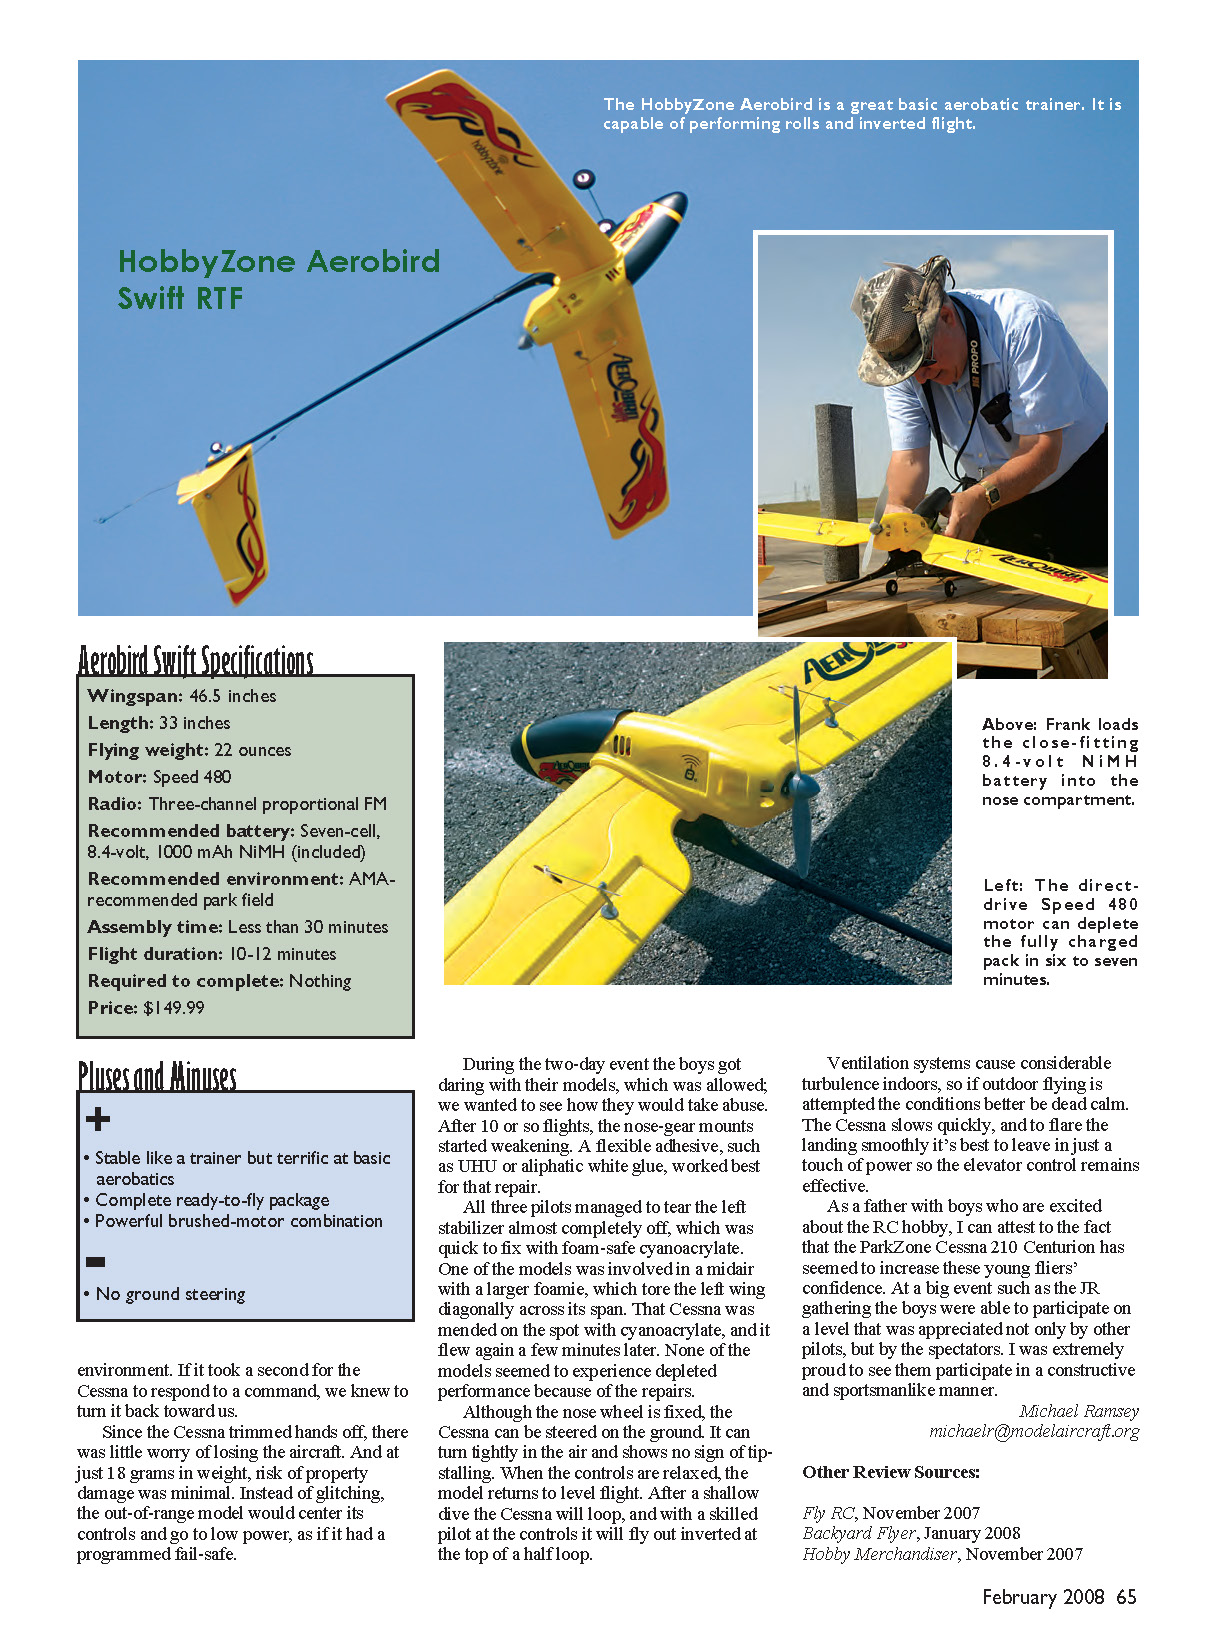
Cessna 210 Specifications
- Wingspan: 15 inches
- Length: 12.8125 inches
- Flying weight: 0.6 ounce (18 grams)
- Radio: Three-channel 2.4 GHz (included)
- Recommended battery: 3.7-volt, 70 mAh Li-Poly (included)
- Gear ratio: 5.28:1
- Recommended environment: AMA-recommended indoor site
- Assembly time: Less than 15 minutes
- Flight duration: Exceeds 10 minutes
- Needed to complete: Nothing
- Price: $149.99
Pluses and Minuses
- Pluses:
- All-in-one package is perfect for any indoor environment
- Scale appearance
- Ease of use
- Excellent micro-flight performance
- Minuses:
- Limited range
- Can get swamped in active 2.4 GHz radio environments
Other Review Sources
- Fly RC, November 2007
- Backyard Flyer, January 2008
- Hobby Merchandiser, November 2007
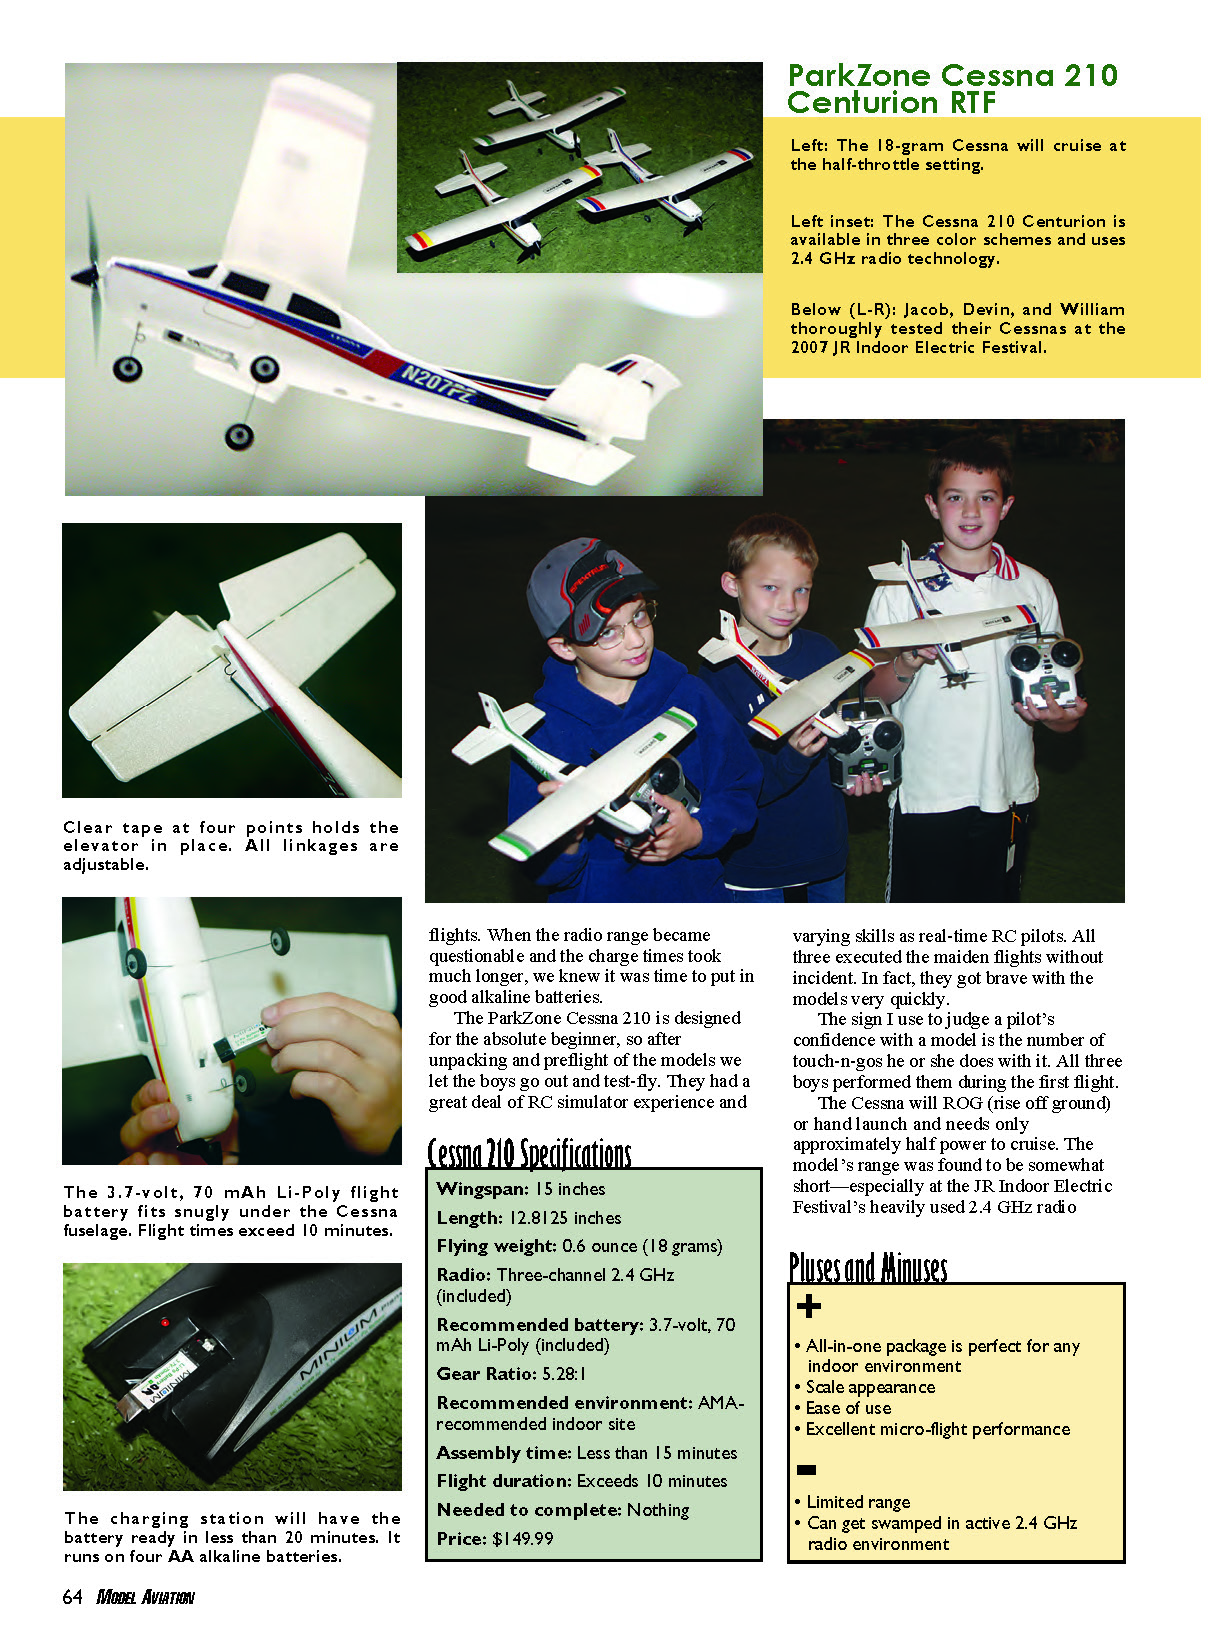
HobbyZone Aerobird Swift RTF
HobbyZone’s Aerobird Swift is probably the ultimate development of the all-foam, electric-powered pusher RTFs that have become popular recently. Unlike basic airplanes in this class, the Swift features ailerons for roll control and enough power to perform most maneuvers including level inverted flight. This model is lightweight, thanks to its composite components, durable foam construction, and three 9-gram servos.
The Swift features the three-channel ZX10 radio system that uses a dual-rate, 10-bit, 1,024-step (extraordinarily responsive) transmitter and a six-channel receiver. Six 27 MHz channels are available for this FM system. Separate aileron servos provide precise roll control.
The seven-cell, 1,000 mAh NiMH battery keeps the 480-size brushed motor powered for approximately 12 minutes. The battery gets its energy from the 1.2-amp, variable-rate, peak-detecting, 12-volt charger. The airplane also has an X-Port if you want to fly combat or drop things.
Assembling the Swift requires roughly 20 minutes and a screwdriver. Flying it is surprising. Aircraft in this class are not supposed to climb this fast, roll this well, fly level while inverted, perform round loops, snap roll, or slow roll as well as it does. Maybe it is time to redefine this category to include basic aerobatic performance.
Ground takeoffs are quick, but there is no ground steering. Hand launches are best since the landing gear and the model’s extra drag/weight can be left in the box. Flying “shoeless” means the Swift climbs a bit faster with slightly more maneuvering authority.
For just $150 this airplane provides high-quality components, flying excitement, and pilot growth, while remaining easy to fly. Model Aviation’s Sport Aviation online magazine features an in-depth article about the Swift. Learn about building it, flying it, and what it can do in the Ultra-Lites section.
Frank Granelli [email protected]
HobbyZone Millennium PTU RTF
Millennium PTU Specifications
- Length: 8 inches
- Flying weight: 12 grams (0.4 ounce)
- Radio: 2.4 GHz two-channel with digital trims
- Recommended environment: Indoors
- Assembly time: Five minutes
- Flight duration: Three to five minutes
- Needed to complete: Nothing
- Price: $49.99
Pluses and Minuses
- Pluses:
- Ready to go as soon as the box is opened
- 2.4 GHz radio
- Anyone can fly it
- Minuses:
- Foam body breaks
- Included AA batteries lasted only a few flights
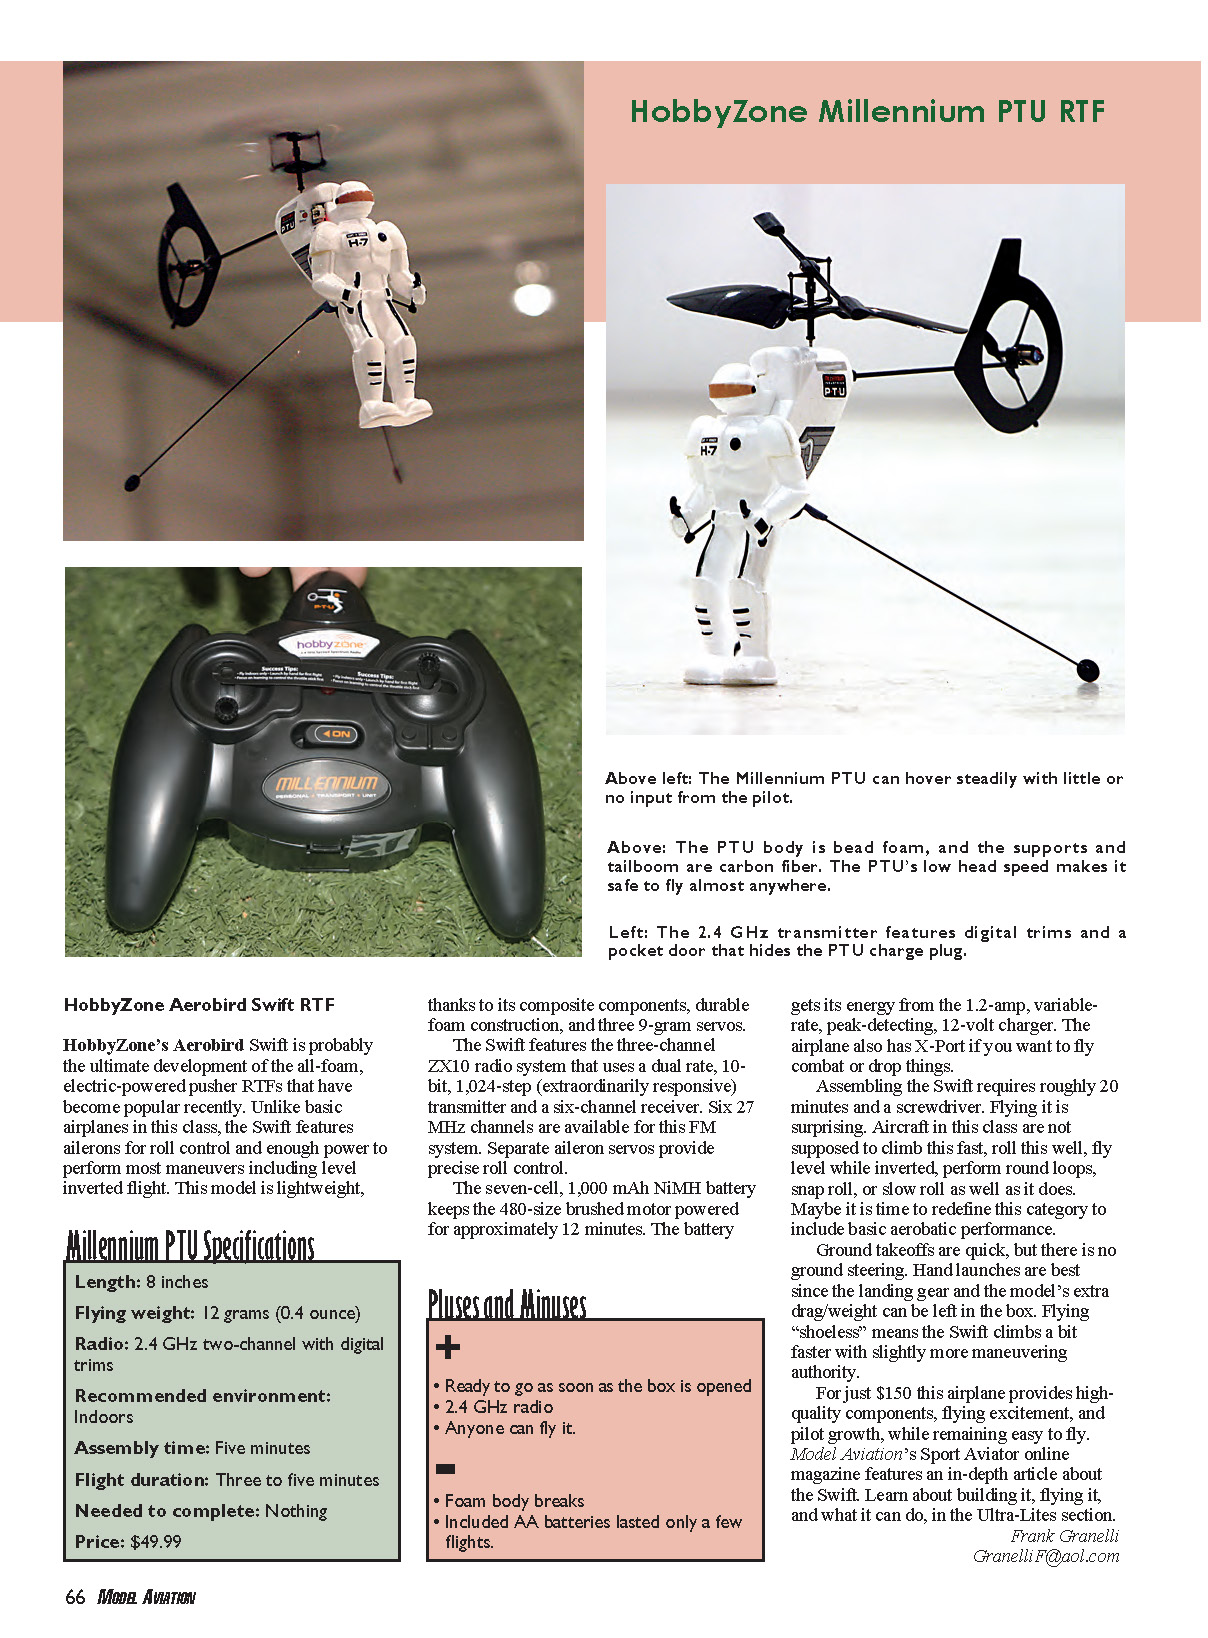
The HobbyZone Millennium PTU (Personal Transport Unit) is much like the Pico Z indoor helicopters my brother and I got last Christmas. They were a lot of fun, but it wasn't long before the Li-Poly battery inside wouldn't charge. Also, if one of our friends wanted to fly his helicopter with us, he couldn't because there were only a couple of infrared channels available.
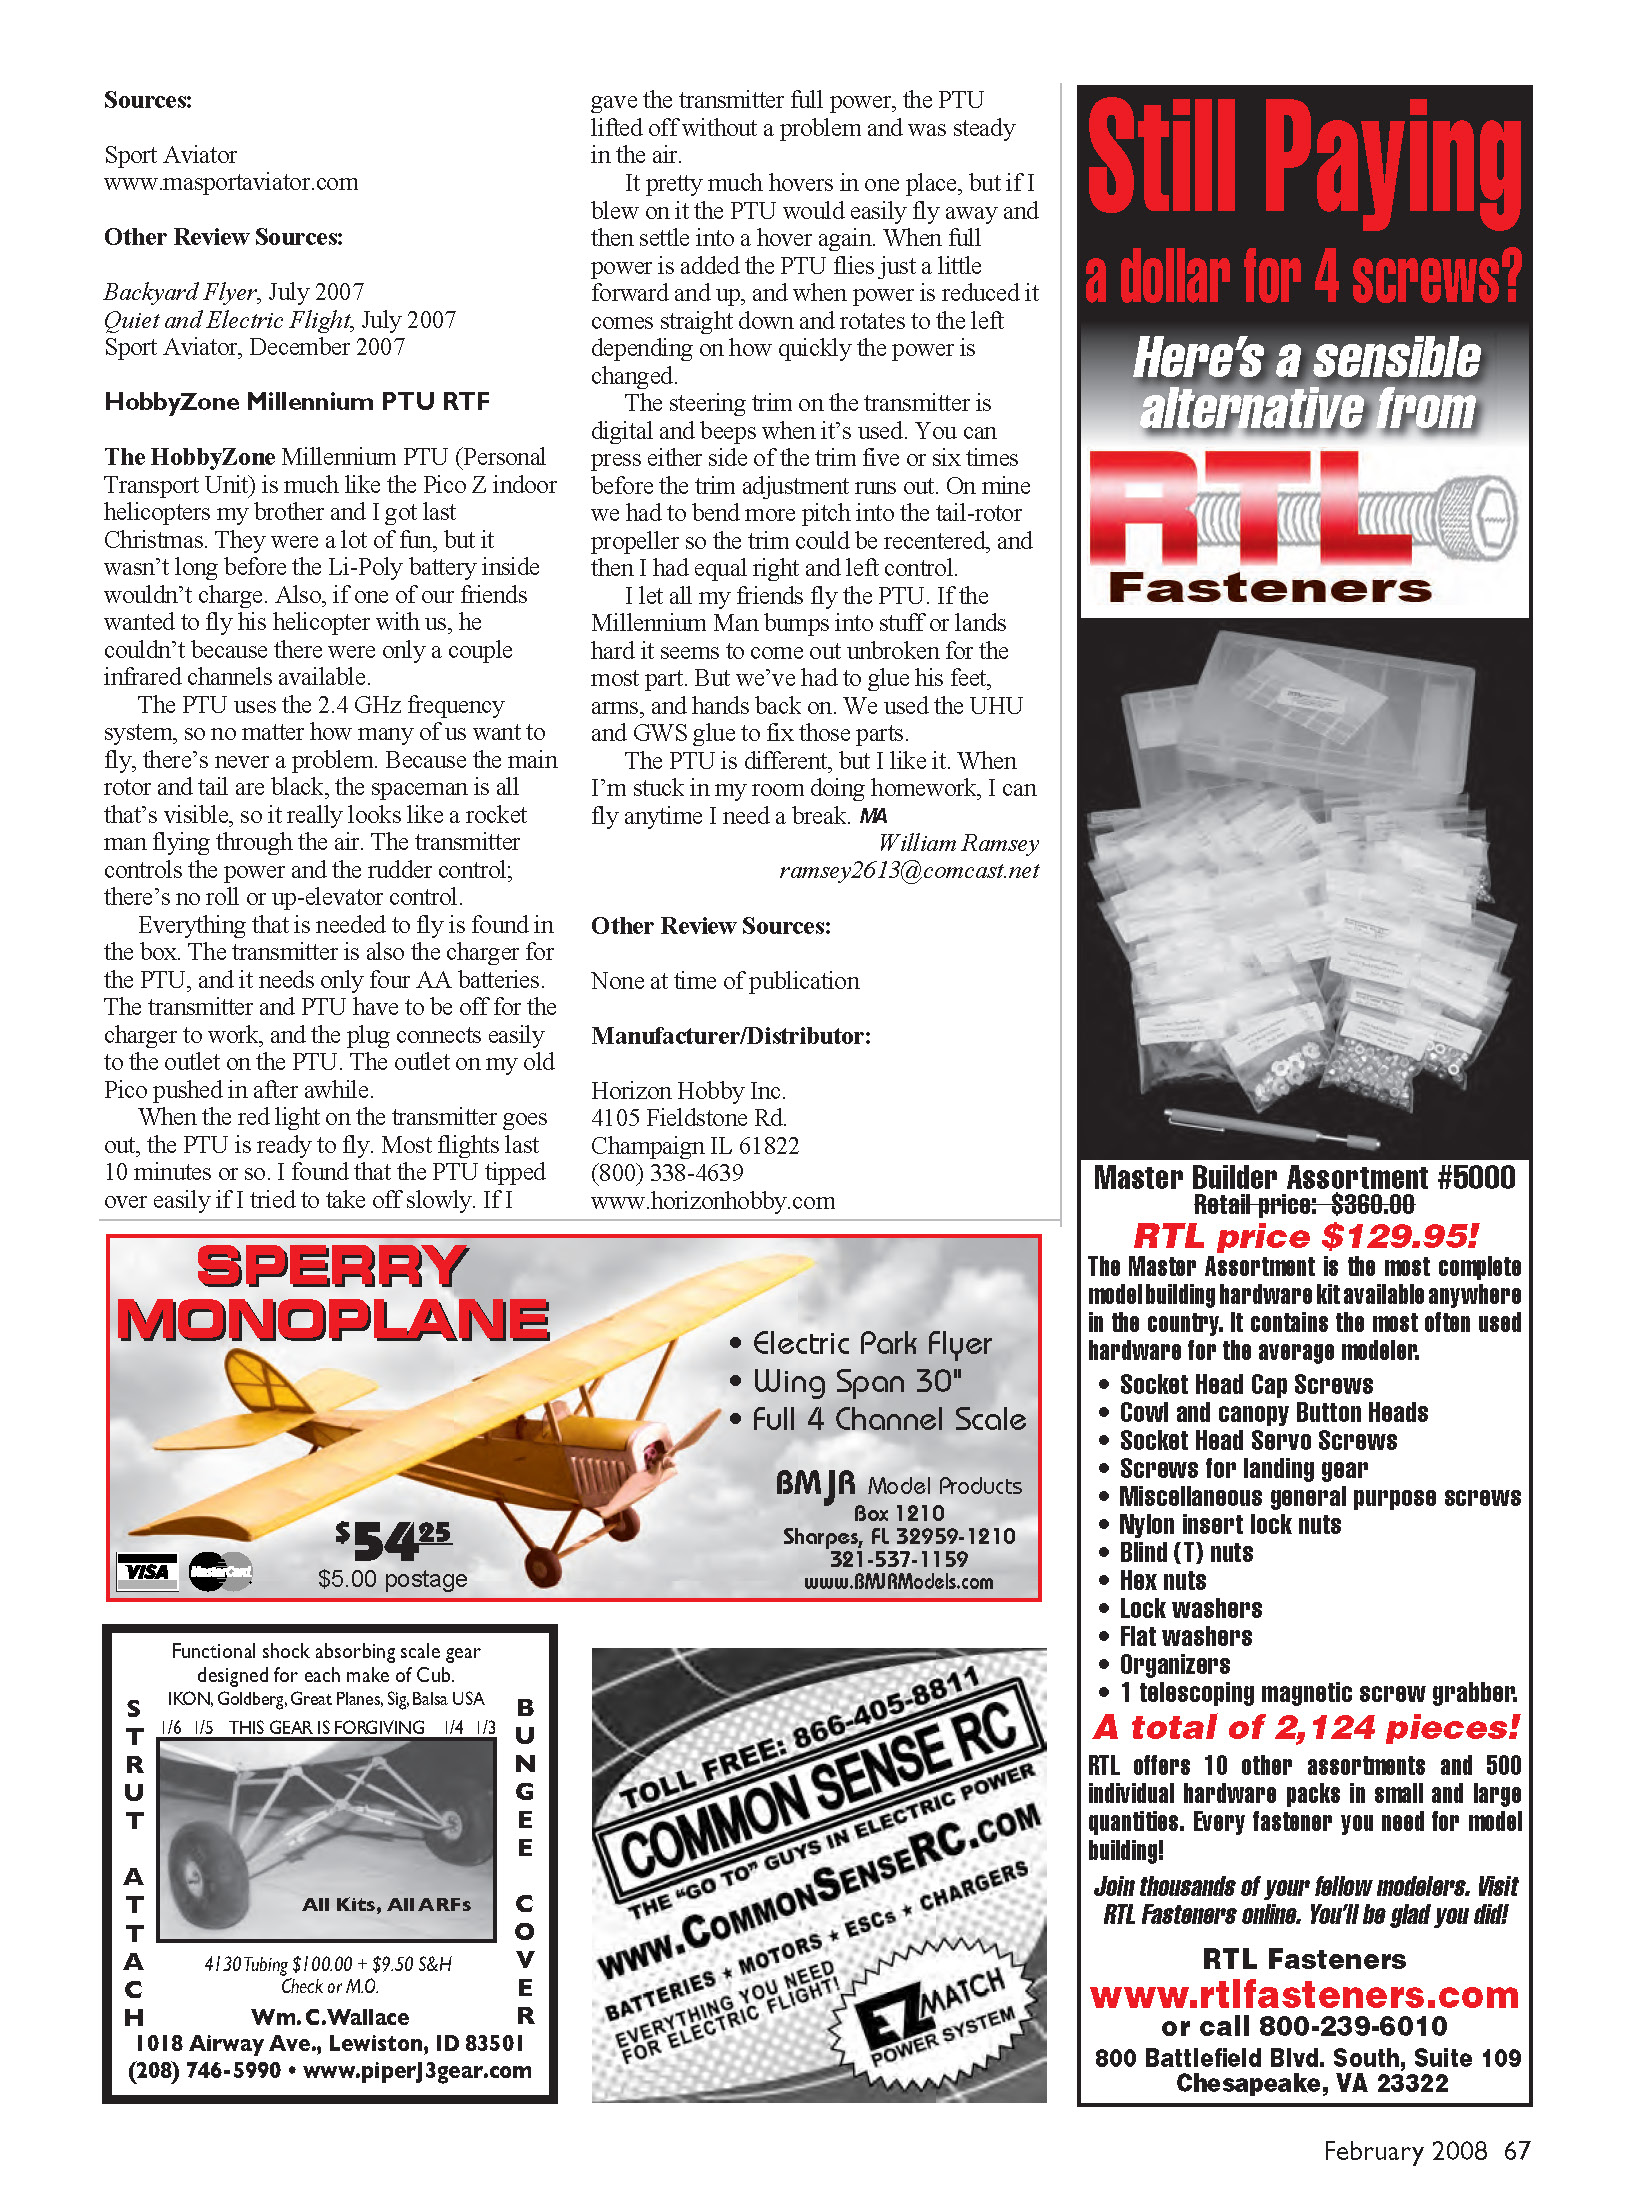
The PTU uses the 2.4 GHz frequency system, so no matter how many of us want to fly, there's never a problem. Because the main rotor and tail are black, the spaceman is all that's visible, so it really looks like a rocket man flying through the air. The transmitter controls the power and the rudder control; there's no roll or up-elevator control.
Everything that is needed to fly is found in the box. The transmitter is also the charger for the PTU, and it needs only four AA batteries. The transmitter and PTU have to be off for the charger to work, and the plug connects easily to the outlet on the PTU. The outlet on my old Pico pushed in after a while.
When the red light on the transmitter goes out, the PTU is ready to fly. Most flights last 10 minutes or so. I found that the PTU tipped over easily if I tried to take off slowly. If I gave the transmitter full power, the PTU lifted off without a problem and was steady in the air.
It pretty much hovers in one place, but if I blew on it the PTU would easily fly away and then settle into a hover again. When full power is added the PTU flies just a little forward and up, and when power is reduced it comes straight down and rotates to the left depending on how quickly the power is changed.
The steering trim on the transmitter is digital and beeps when it's used. You can press either side of the trim five or six times before the trim adjustment runs out. On mine we had to bend more pitch into the tail-rotor propeller so the trim could be recentered, and then I had equal right and left control.
I let all my friends fly the PTU. If the Millennium Man bumps into stuff or lands hard it seems to come out unbroken for the most part. But we've had to glue his feet, arms, and hands back on. We used UHU and GWS glue to fix those parts.
The PTU is different, but I like it. When I'm stuck in my room doing homework, I can fly anytime I need a break.
MA
William Ramsey [email protected]
Other Review Sources (PTU)
- Backyard Flyer, July 2007
- Quiet and Electric Flight, July 2007
- Sport Aviator, December 2007
Sources
- Sport Aviator
- www.masportaviator.com
Manufacturer/Distributor:
- Horizon Hobby Inc.
- 4105 Fieldstone Rd., Champaign, IL 61822
- (800) 338-4639
- www.horizonhobby.com
Transcribed from original scans by AI. Minor OCR errors may remain.

