
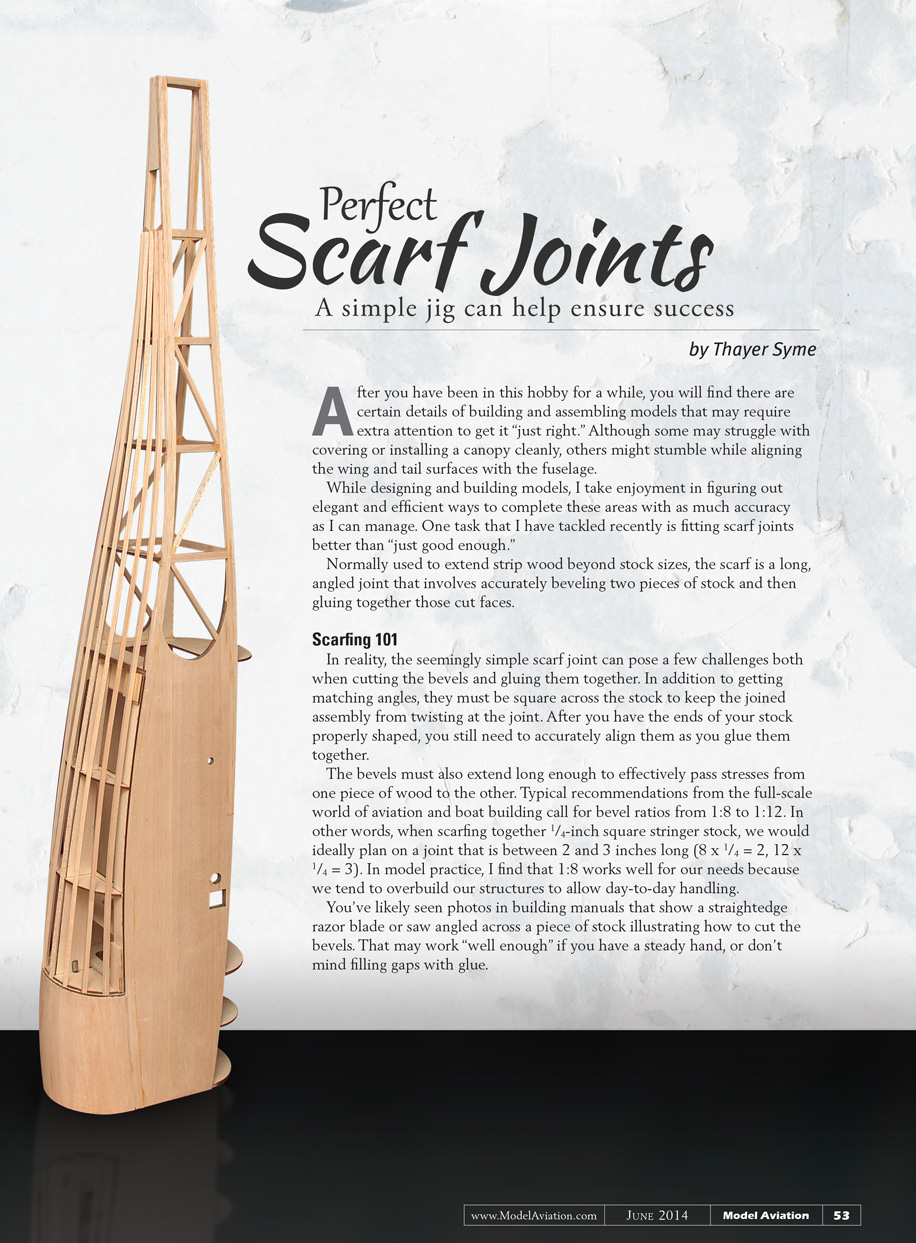
Perfect Scarf Joints
A simple jig can help ensure success
by Thayer Syme
After you have been in this hobby for a while, you will find there are certain details of building and assembling models that may require extra attention to get it "just right." Although some may struggle with covering or installing a canopy cleanly, others might stumble while aligning the wing and tail surfaces with the fuselage.
While designing and building models, I take enjoyment in figuring out elegant and efficient ways to complete these areas with as much accuracy as I can manage. One task that I have tackled recently is fitting scarf joints better than "just good enough."
Normally used to extend strip wood beyond stock sizes, the scarf is a long, angled joint that involves accurately beveling two pieces of stock and then gluing together those cut faces.
Scarfing 101
In reality, the seemingly simple scarf joint can pose a few challenges both when cutting the bevels and gluing them together. In addition to getting matching angles, the cuts must be square across the stock to keep the joined assembly from twisting at the joint. After you have the ends of your stock properly shaped, you still need to accurately align them as you glue them together.
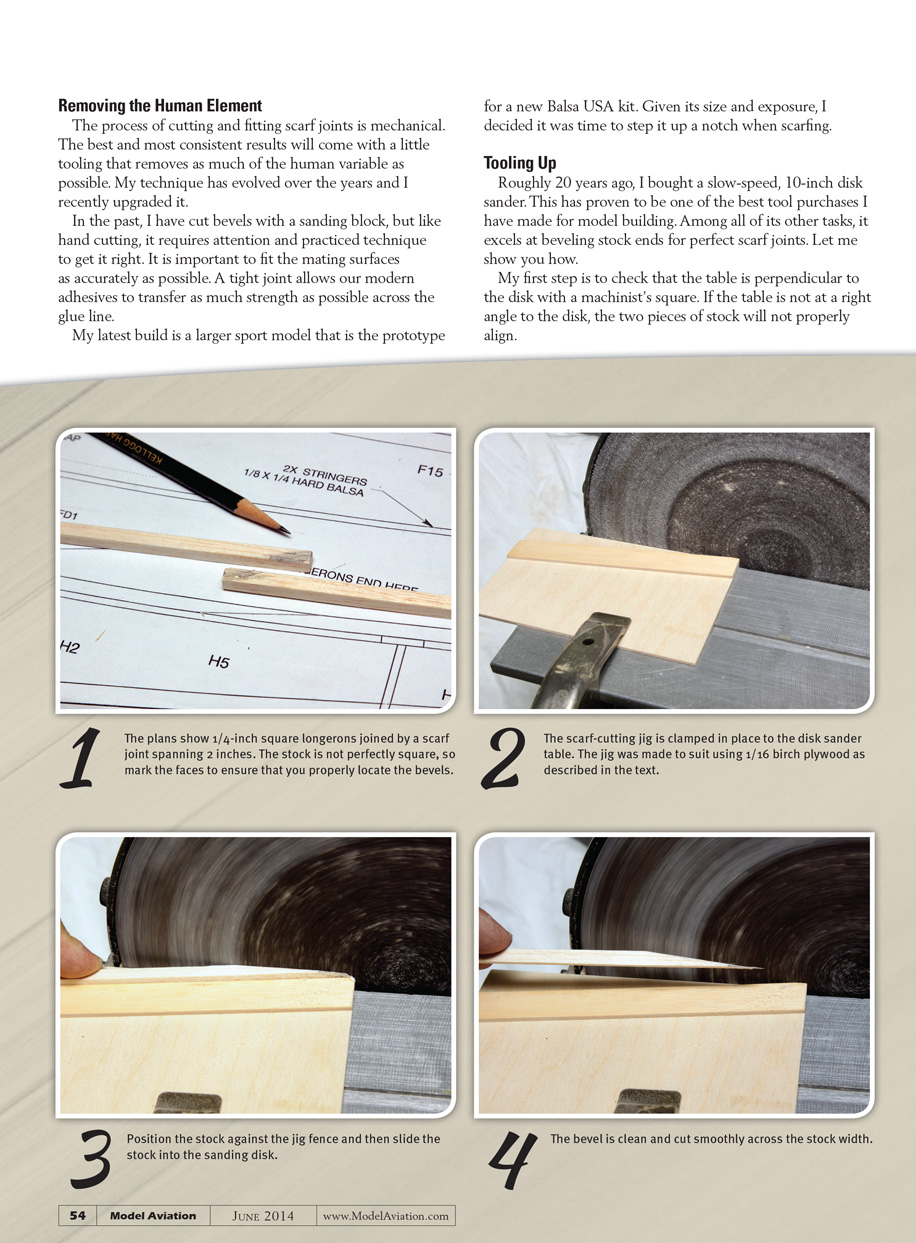
The bevels must also extend long enough to effectively pass stresses from one piece of wood to the other. Typical recommendations from the full-scale world of aviation and boat building call for bevel ratios from 1:8 to 1:12. In other words, when scarfing together 1/4-inch square stringer stock, we would ideally plan on a joint that is between 2 and 3 inches long (8 x 1/4 = 2, 12 x 1/4 = 3). In model practice, I find that 1:8 works well for our needs because we tend to overbuild our structures to allow day-to-day handling.
You've likely seen photos in building manuals that show a straightedge, razor blade, or saw angled across a piece of stock illustrating how to cut the bevels. That may work "well enough" if you have a steady hand or don't mind filling gaps with glue.
Removing the Human Element
The process of cutting and fitting scarf joints is mechanical. The best and most consistent results will come with a little tooling that removes as much of the human variable as possible. My technique has evolved over the years and I recently upgraded it.
In the past, I have cut bevels with a sanding block, but like hand cutting, it requires attention and practiced technique to get it right. It is important to fit the mating surfaces as accurately as possible. A tight joint allows our modern adhesives to transfer as much strength as possible across the glue line.
My latest build is a larger sport model that is the prototype for a new Balsa USA kit. Given its size and exposure, I decided it was time to step it up a notch when scarfing.
Tooling Up
Roughly 20 years ago, I bought a slow-speed, 10-inch disk sander. This has proven to be one of the best tool purchases I have made for model building. Among all of its other tasks, it excels at beveling stock ends for perfect scarf joints. Let me show you how.
My first step is to check that the table is perpendicular to the disk with a machinist’s square. If the table is not at a right angle to the disk, the two pieces of stock will not properly align. Next I install a simple jig made from a few scraps of plywood glued together with medium CA. It features a spline to reference the sander’s miter slot and an angled fence to position the stock.
I use another must-have tool to make this jig: my Byrnes Model Machines table saw. It makes quick work of accurately sizing a strip of 1/16-inch plywood to fit the sander’s miter slot. The saw has a micrometer fence adjustment that lets me sneak up on a perfect fit—a few thousandths of an inch at a time.
I shim the spline off the bottom of the miter slot with scrap balsa. After applying a light bead of CA to the spline, I position the jig base against the disk and press it into place. The fence is another strip of plywood that I secure at an 8:1 bevel angle. My jig base is 6 inches wide, so I measure up 3/4 inch on the left side and align the fence with that mark and the opposite corner.
A single spring clamp is more than enough to hold the jig in place with the lower spline in the miter slot. Now it is a simple matter of turning on the sander, aligning a piece of stock with the guide, and pushing it into the abrasive until I have cut fully across its thickness. I do the same with a second piece and it's time to join them.
The Glue-Up
Many a scarf joint has been completed with a bead of glue and a finger pinch, but that is far from ideal. Glue can act as a lubricant until it starts to cure. Simply pinching the joint will often cause the two pieces of wood to slide apart.
The next step is to use a straightedge to hold the pieces in line as you mate the faces. This reference edge will work well enough if you can clamp the pieces in place, but there is a better way.
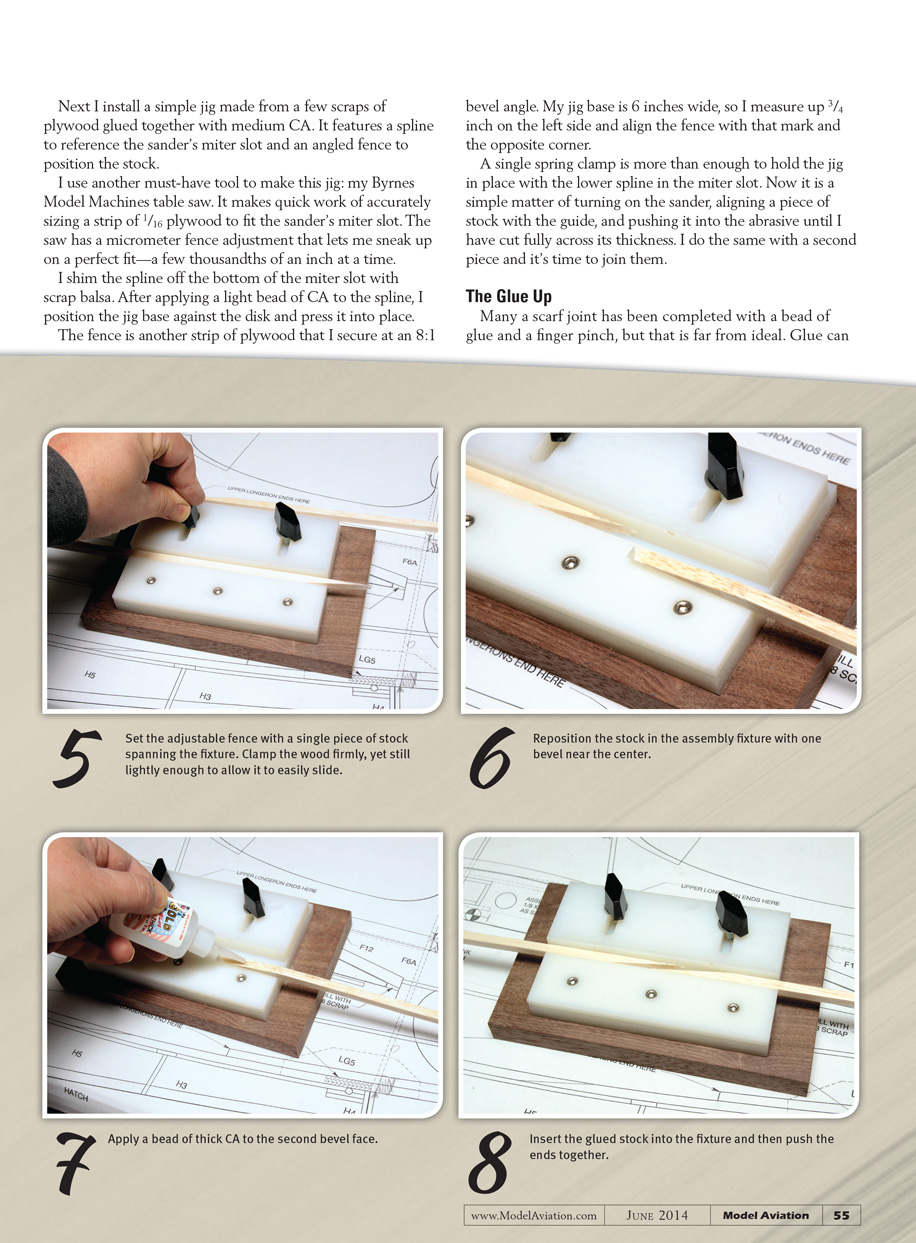
I invested a short evening creating a scarf-assembly tool that had been lingering in the back of my mind. Made from some scraps of ultra-high-molecular-weight (UHMW) plastic and a few screws, this tool takes the place of the straightedge and your squeezing fingers.
I screwed a fixed fence to the main block of UHMW with three countersunk socket-head cap screws and then added an adjustable fence with two clamping screws. The adjustable fence accommodates stock as large as an inch wide. The wood base was an afterthought that allows me to clamp the device to my workbench.
In use:
- Set the adjustable fence with a single piece of stock spanning the fixture. Clamp the wood firmly, yet lightly enough to allow it to easily slide.
- Reposition the stock in the assembly fixture with one bevel near the center of the fence.
- Apply a moderate bead of medium or thick CA to the face of the mating bevel on the second piece of wood.
- Insert the glued stock into the fixture and then firmly push the ends together.
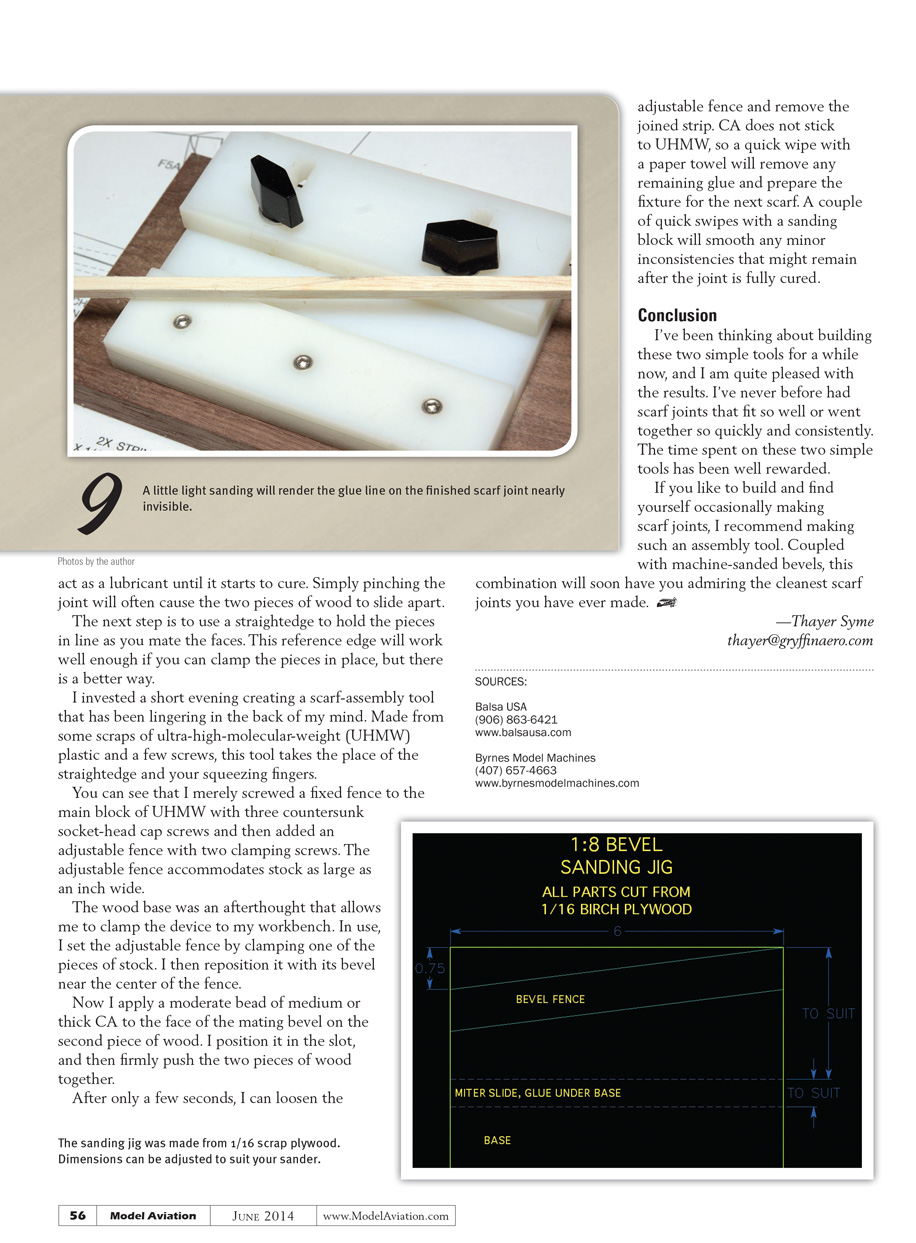
After only a few seconds, I can loosen the adjustable fence and remove the joined strip. CA does not stick to UHMW, so a quick wipe with a paper towel will remove any remaining glue and prepare the fixture for the next scarf. A couple of quick swipes with a sanding block will smooth any minor inconsistencies that might remain after the joint is fully cured.
Conclusion
I've been thinking about building these two simple tools for a while now, and I am quite pleased with the results. I've never before had scarf joints that fit so well or went together so quickly and consistently. The time spent on these two simple tools has been well rewarded.
If you like to build and find yourself occasionally making scarf joints, I recommend making such an assembly tool. Coupled with machine-sanded bevels, this combination will soon have you admiring the cleanest scarf joints you have ever made.
—Thayer Syme [email protected]
SOURCES
- Balsa USA (906) 863-6421 www.balsausa.com
- Byrnes Model Machines (407) 657-4663 www.byrnesmodelmachines.com
Transcribed from original scans by AI. Minor OCR errors may remain.

