
Pietenpol continues to evolve
by Stan Alexander [email protected]
Getting into a project and staying with it can be a challenge with all of the other stuff that gets thrown at you sometimes, especially around the holidays. Keep at it and don’t let that project languish in the corner of the shop.
Cutting Ribs
I previously wrote about how to cut ribs using bolts. You can use nails, dowels, or any other item that will hold the ribs together while you cut them. This only works if you have a straight wing, with all the ribs the same size and shape. A tapered wing, such as a Spitfire’s, won’t work. A tabletop band saw works well for cutting stacks of ribs using a 1/4-inch plywood rib for the tops and bottoms of the sets you cut.
There is also a straight-taper wing, where the ribs taper straight, such as on a de Havilland Chipmunk. You can cut the root (inner) ribs and the tip ribs, and use rib blanks for those in between. This lets you taper the ribs with a belt sander. Install the cuts for the spars after shaping the ribs.
You can also use the bolts to cut the spar slots out of the ribs at the same time, but be careful. It is best to start small and enlarge the holes.
I plan to change the wing structure on my Pietenpol Air Camper and have a set center section above the fuselage with wing tubes extending into the outer wing panels. This will help with transportation as well as storage. I considered building the wing in one piece, but the thought of adding eight socket-head bolts for each flying session seemed time-consuming.
Sanding the ribs down inside my home can result in interesting discussions with my wife. After roughly 20 years, I’ve given in and put my saws on a roll-around shop cart that I keep in the garage.
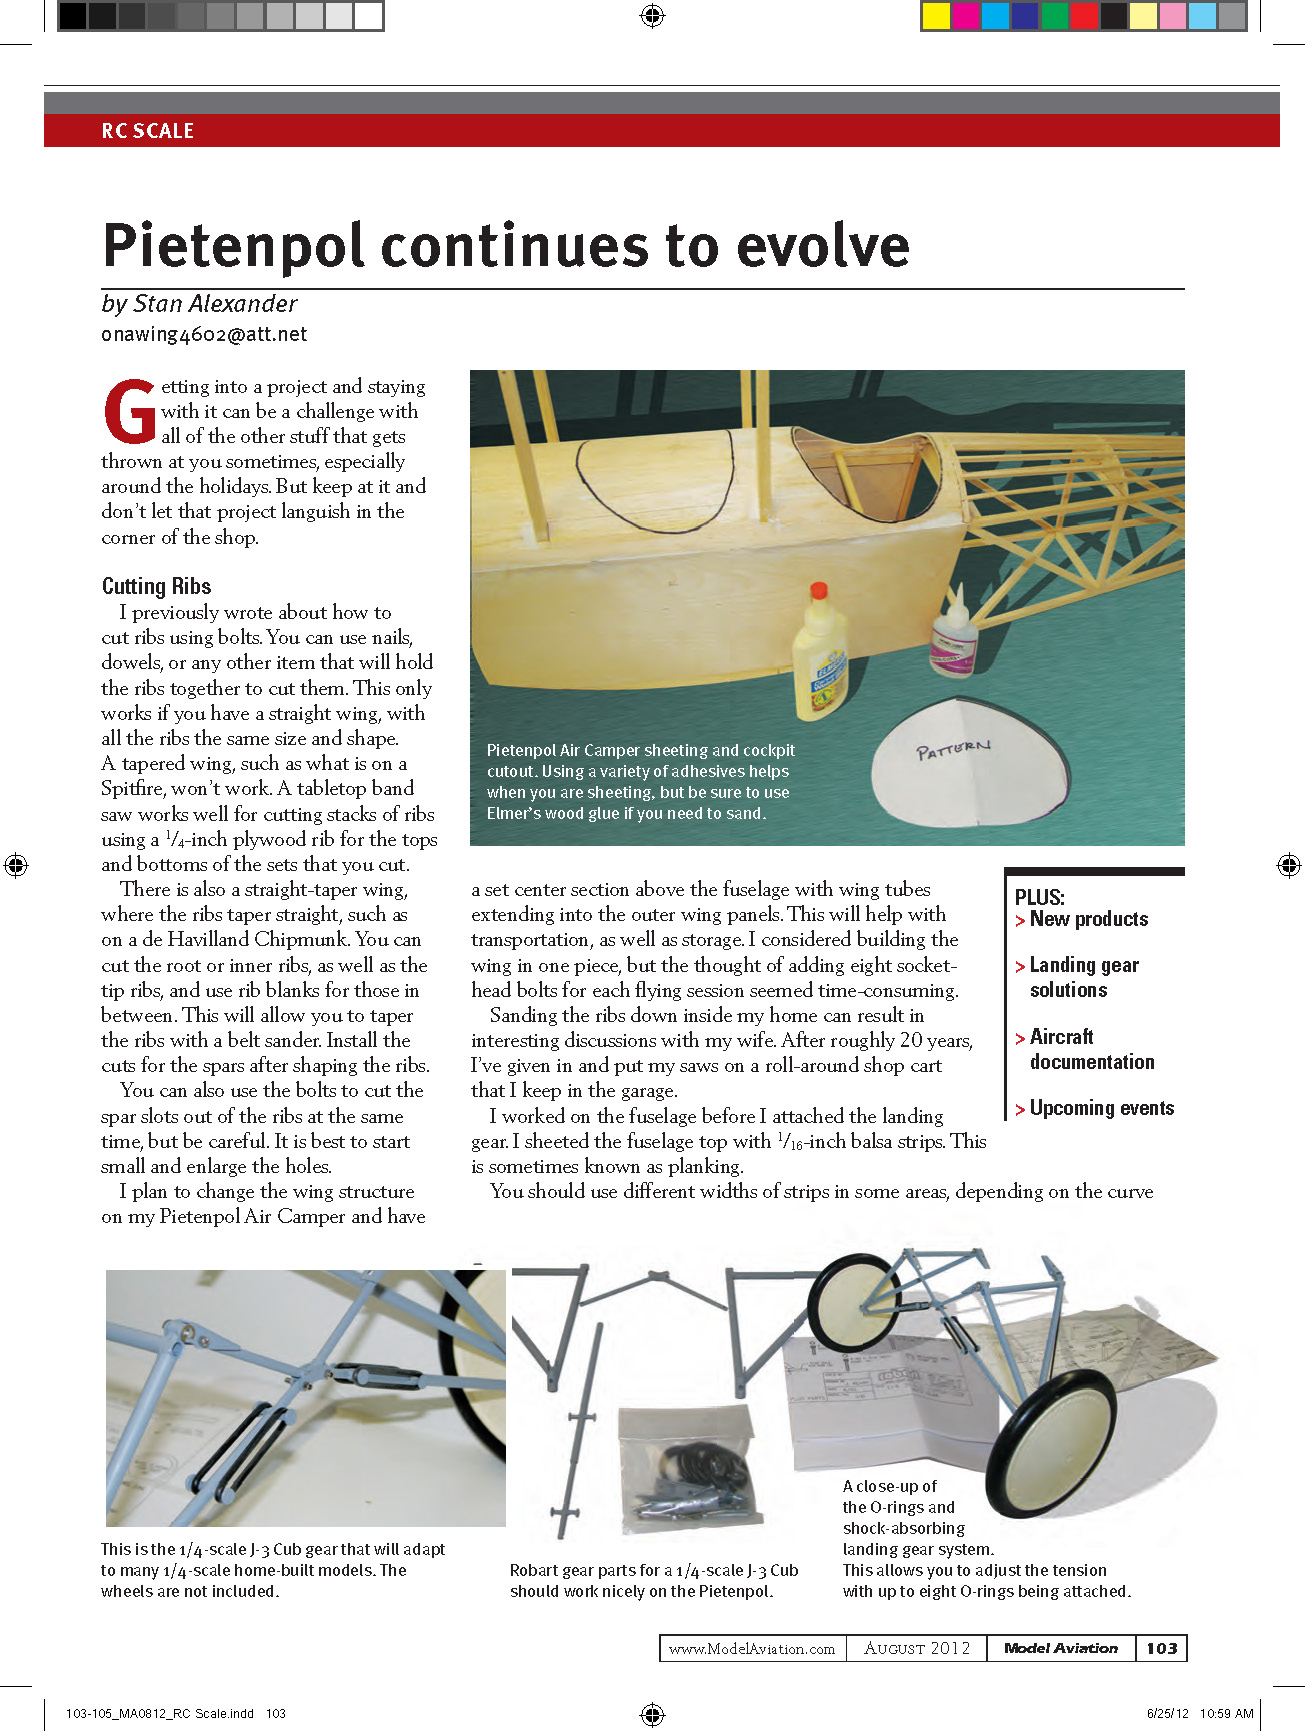
I worked on the fuselage before I attached the landing gear. I sheeted the fuselage top with 1/16-inch balsa strips (sometimes known as planking). Use different widths of strips in some areas, depending on the curve of the fuselage top and the uprights for the wing attachment. I used white glue for most of these applications, with CA at the ends in some cases. Having a good selection of adhesives is a must when you’re building a model.
I also strengthened the inside of the area, sheeting it with thinned epoxy and adding some fiberglass strips around the inside of the cockpit opening. This, like all Pietenpols, is a home-built aircraft. On this one, the cutouts for the two-seat cockpit are different; the documentation shows the front cockpit covered, and that works for me. This area will be covered with black leather, as was the full-scale aircraft.
Make a form for the outline of the cockpit on a sheet of paper. To make sure both sides are identical, start from top dead center on the fuselage and draw only half of the outline. Fold the paper and cut it out. It’s simple. Remember that when you cut the hole, it’s better to cut it too small than too large.
The wooden fuselage sides on my Pietenpol have been cut, trimmed, and applied to the stick framework of the model. Adding servos for the rudder and elevator is next. I will route the rudder cables before covering the model and leave them where they can be removed. The aircraft is getting to the point where I can begin adding the RC gear and details, which will be the fun stage.
I have thought about several types of paint for the model’s silver-and-black scheme. Nelson Hobby Paint doesn’t have silver. Some have suggested Krylon, but I have never used that on glow engines. WarbirdColors’ two-part epoxy may do the trick. I’m not interested in MonoKote, but I’m still weighing my options.
Landing Gear Solution
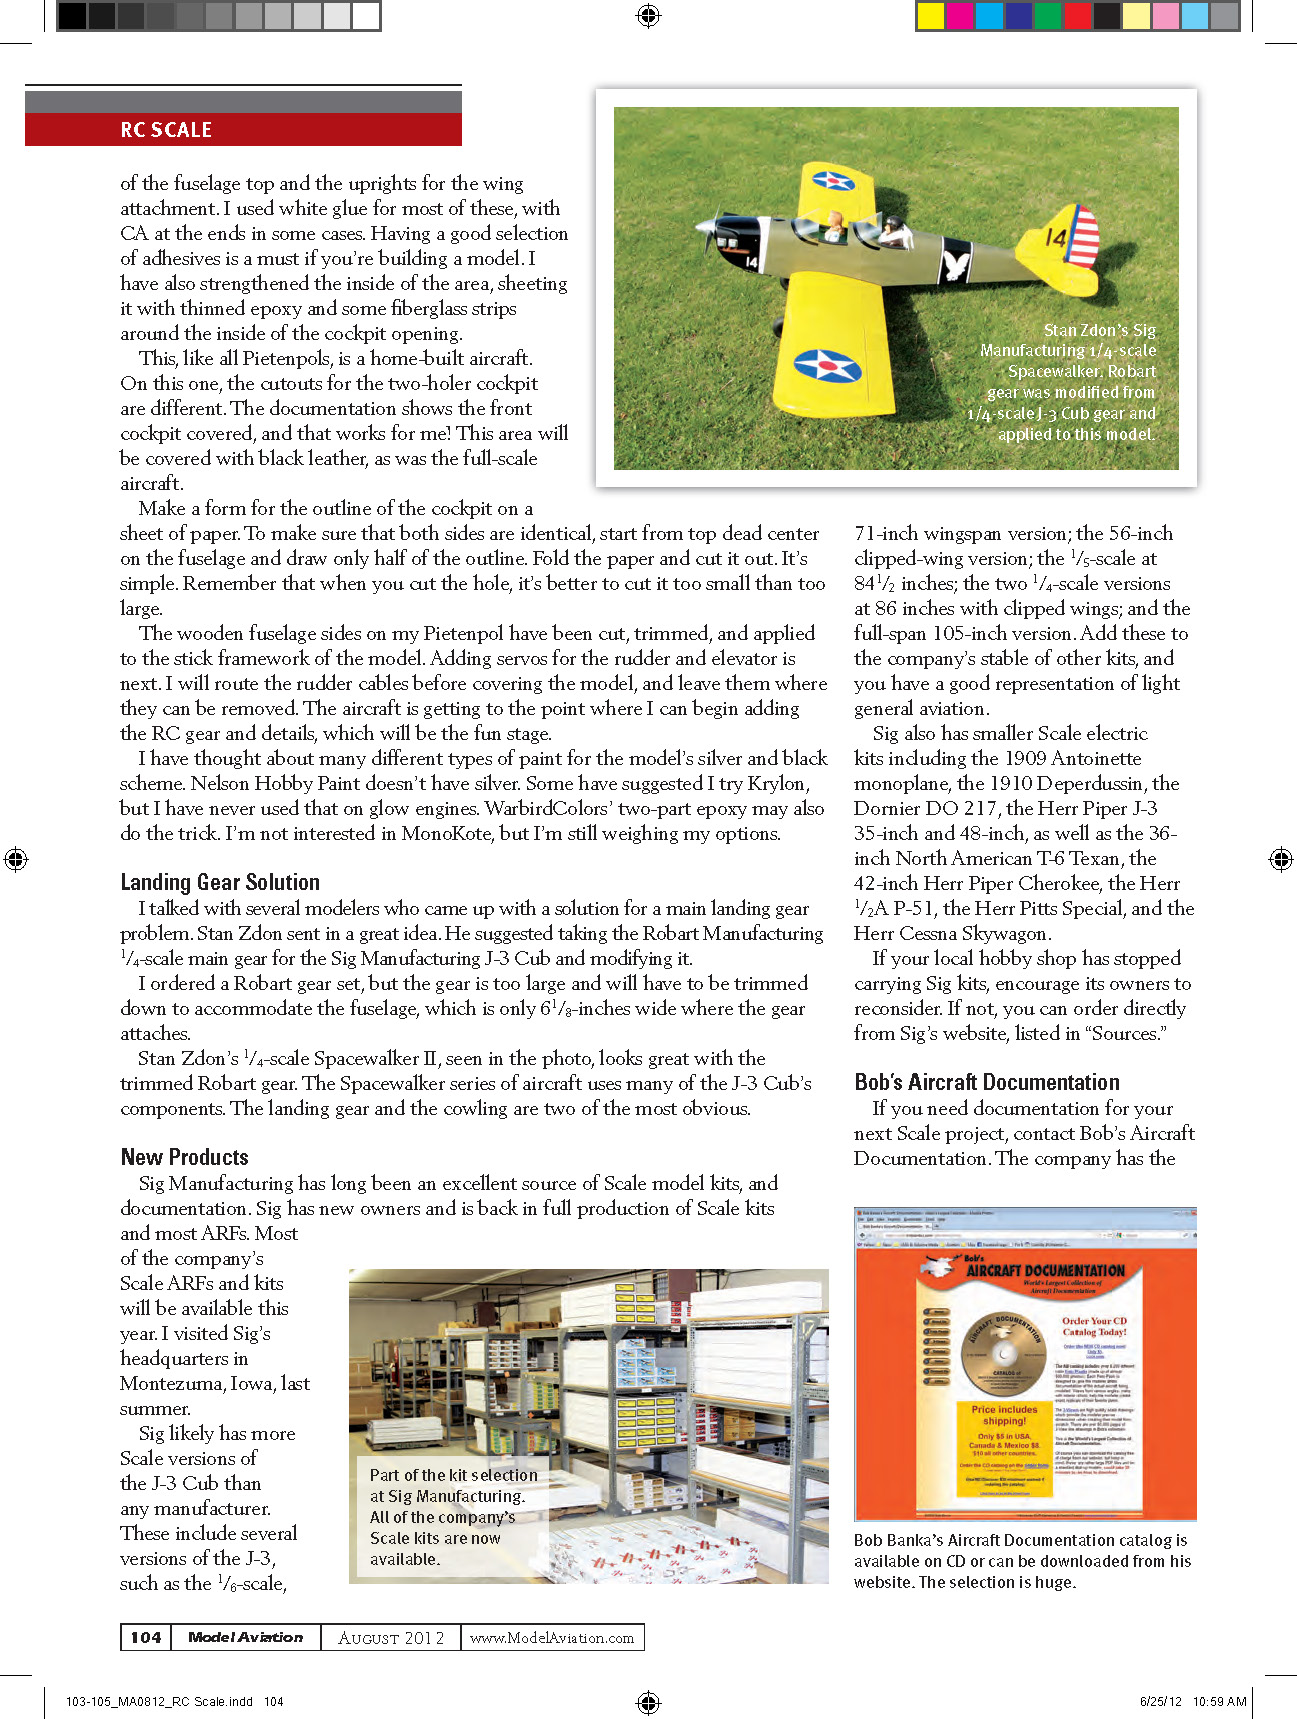
I talked with several modelers who came up with a solution for a main landing gear problem. Stan Zdon sent in a great idea: take the Robart Manufacturing 1/4-scale main gear made for the Sig Manufacturing J-3 Cub and modify it. I ordered a Robart gear set, but the gear is too large and will have to be trimmed down to accommodate the fuselage, which is only 6-1/8 inches wide where the gear attaches.
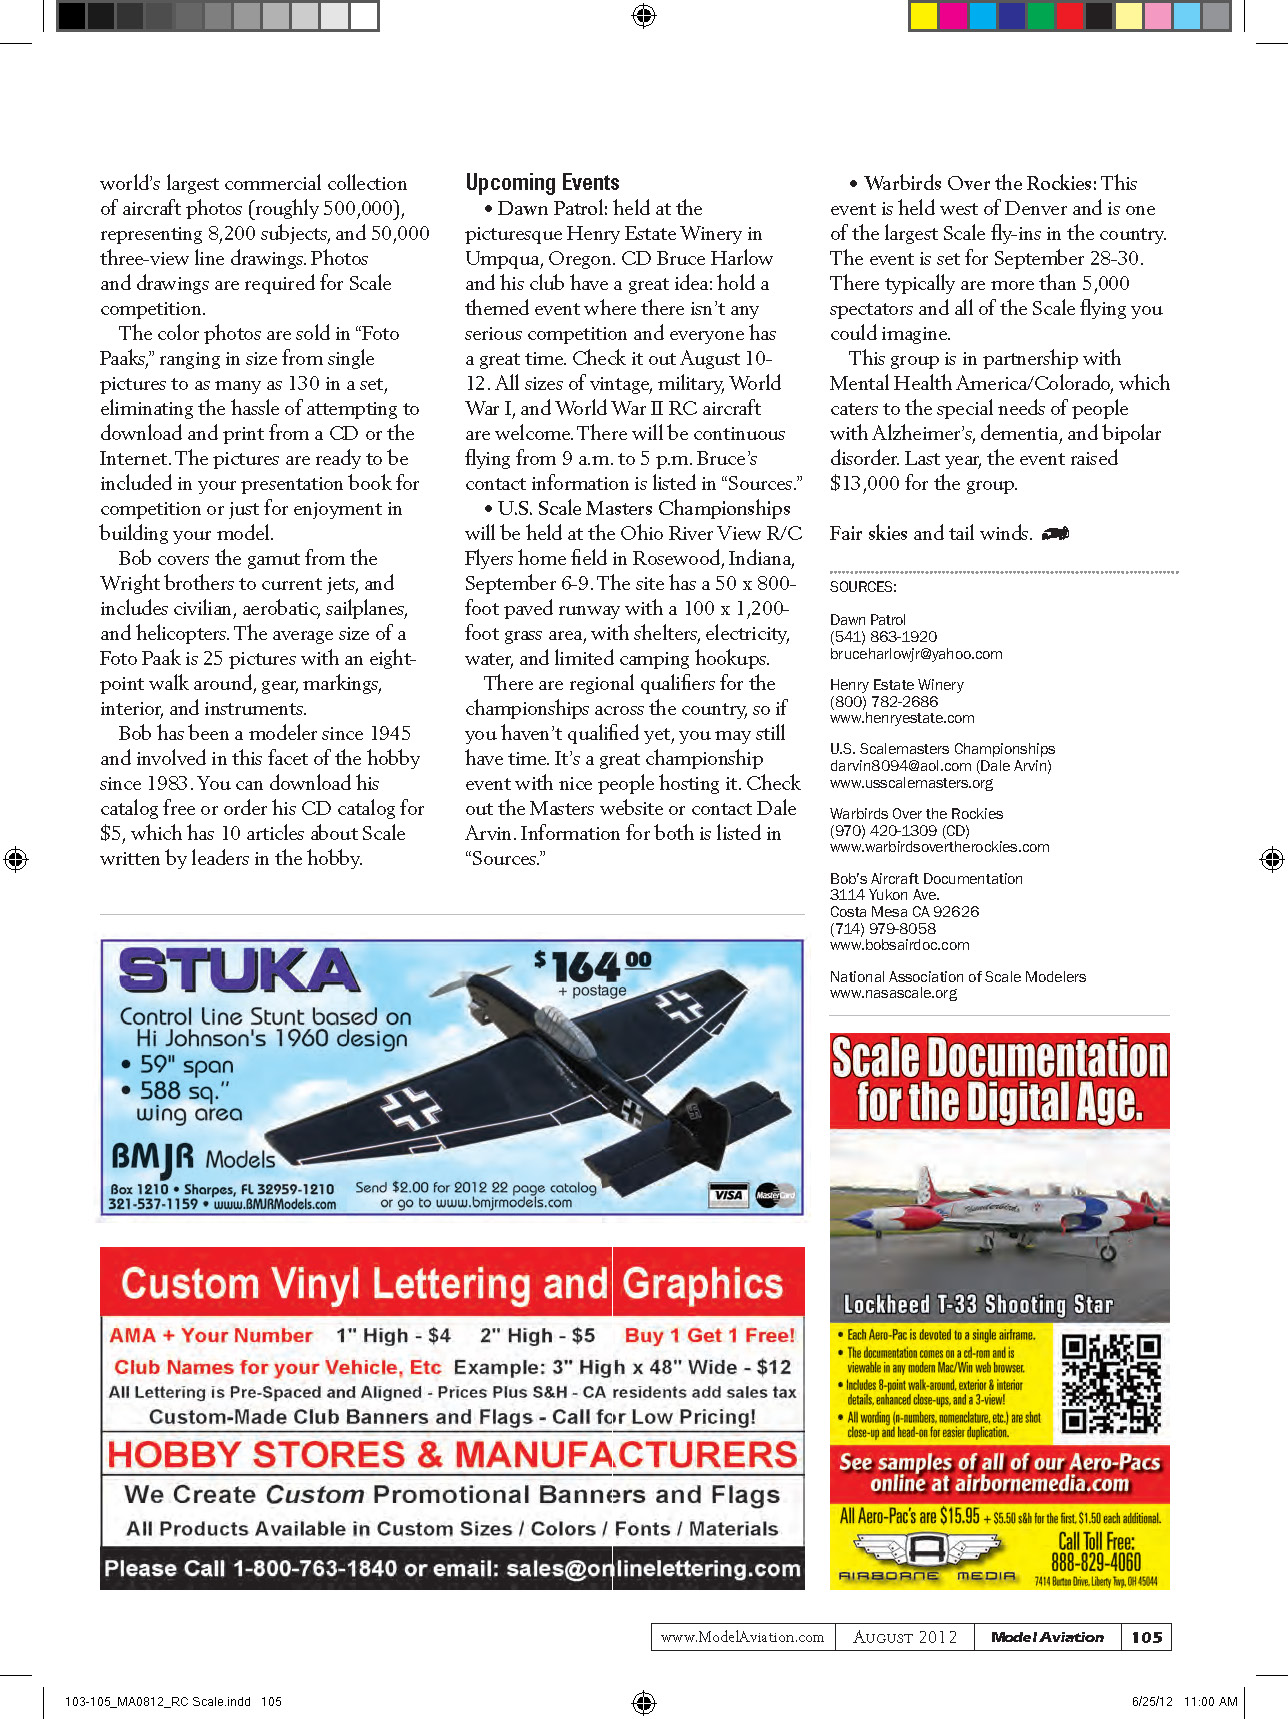
Stan Zdon’s 1/4-scale Spacewalker II looks great with the trimmed Robart gear. The Spacewalker series uses many of the J-3 Cub’s components; the landing gear and the cowling are two of the most obvious similarities.
New Products
Sig Manufacturing has long been an excellent source of scale model kits and documentation. Sig has new owners and is back in full production of scale kits and most ARFs. Most of the company’s scale ARFs and kits should be available this year. I visited Sig’s headquarters in Montezuma, Iowa, last summer.
Sig likely has more scale versions of the J-3 Cub than many manufacturers. These include:
- 1/6-scale, 71-inch wingspan version
- 56-inch clipped-wing version
- 1/5-scale at 84-1/2 inches
- two 1/4-scale versions at 86 inches (clipped wings)
- full-span 105-inch version
Sig also has smaller scale electric kits, including:
- 1909 Antoinette monoplane
- 1910 Deperdussin
- Dornier DO 217
- Herr Piper J-3 (35-inch and 48-inch)
- 36-inch North American T-6 Texan
- 42-inch Herr Piper Cherokee
- Herr 1/2A P-51
- Herr Pitts Special
- Herr Cessna Skywagon
If your local hobby shop has stopped carrying Sig kits, encourage its owners to reconsider. If not, you can order directly from Sig’s website (see “Sources”).
Bob’s Aircraft Documentation
If you need documentation for your next scale project, contact Bob’s Aircraft Documentation.
Transcribed from original scans by AI. Minor OCR errors may remain.

