
Plane Talk: AtlantaHobby.com Curtiss Jenny Electric Scale ARF
Frank Granelli
I am not a true "Scale" model pilot, but I do love to fly my giant ARF P-47 Thunderbolt and big Curtiss P-6E Hawk fighters. I am currently working on a P-38.
I don't make the grade as a scale modeler, because I am too lazy to do the detailed building that is required. I never even installed the wing struts on my 72-inch Cub. Why do more work just to produce extra weight and drag?
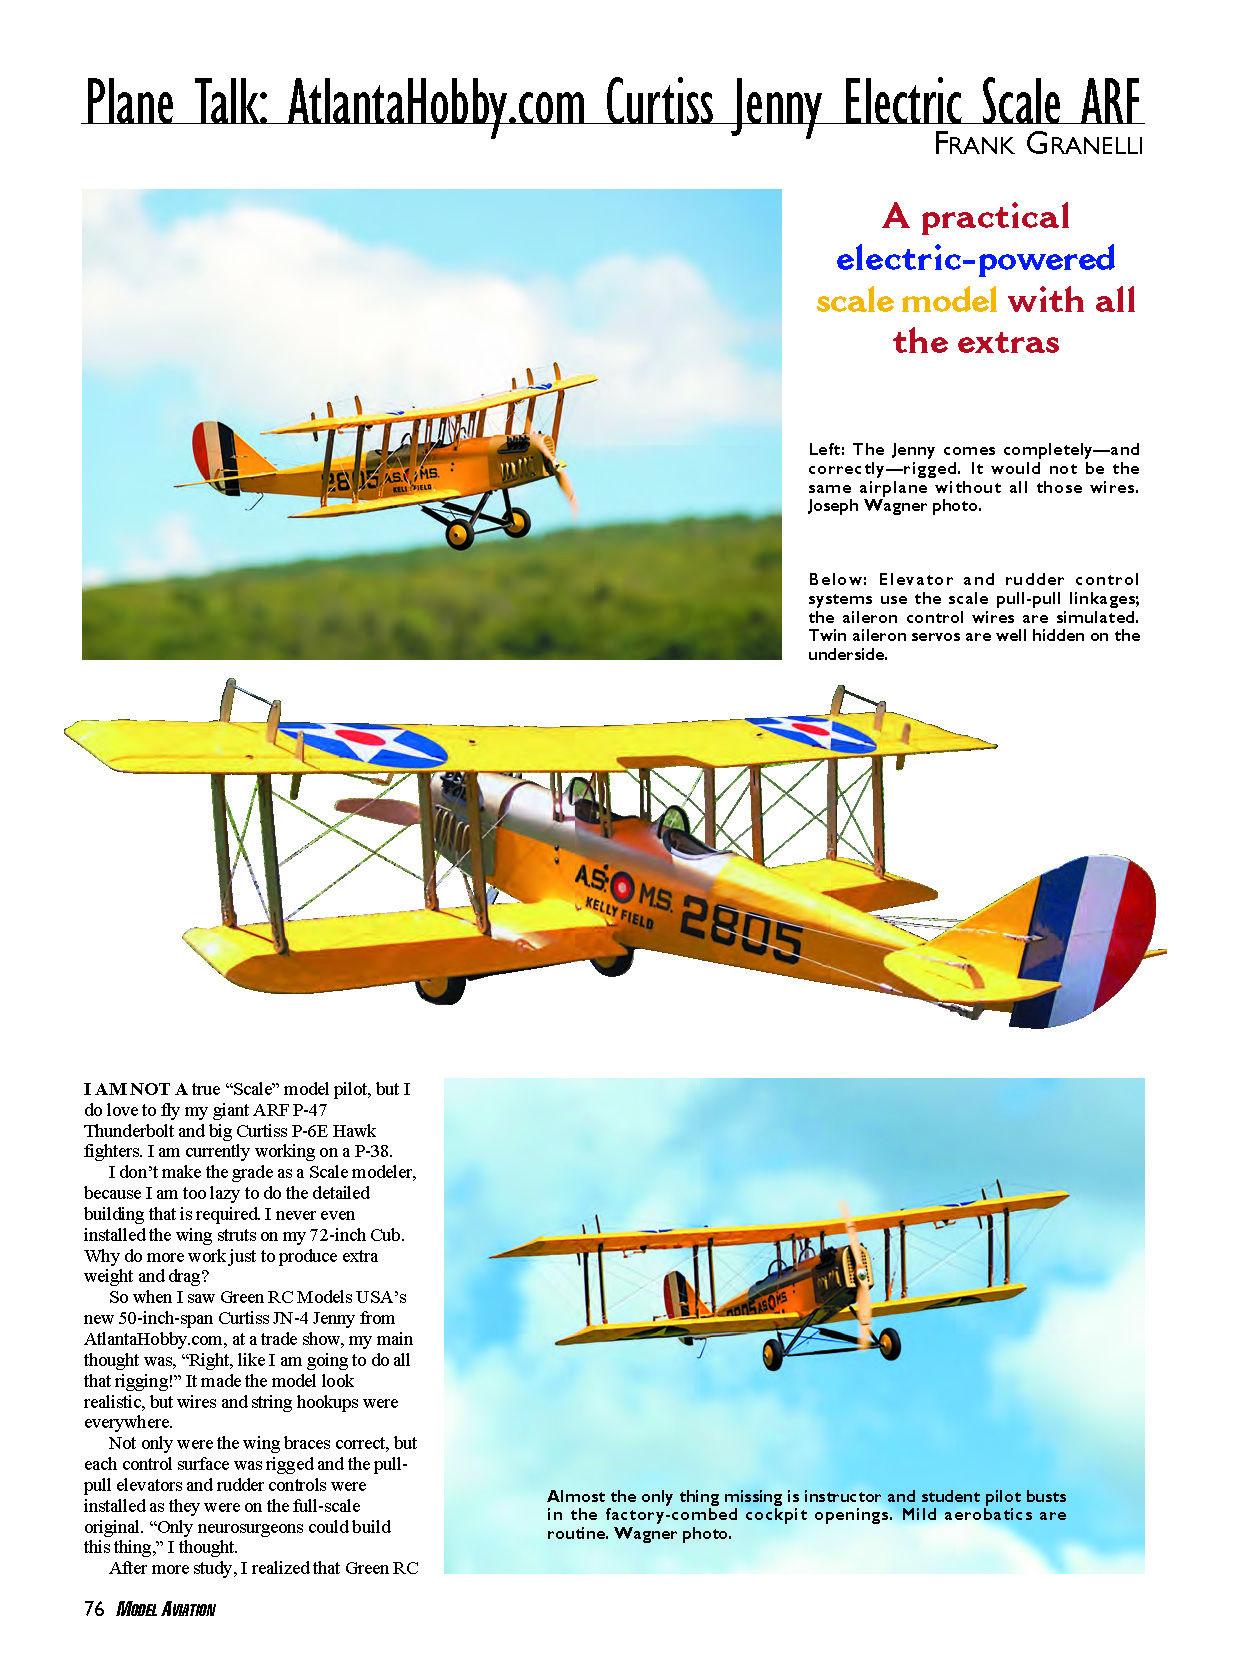
So when I saw Green RC Models USA's new 50-inch-span Curtiss JN-4 Jenny from AtlantaHobby.com at a trade show, my main thought was, "Right, like I am going to do all that rigging!" It made the model look realistic, but wires and string hookups were everywhere.
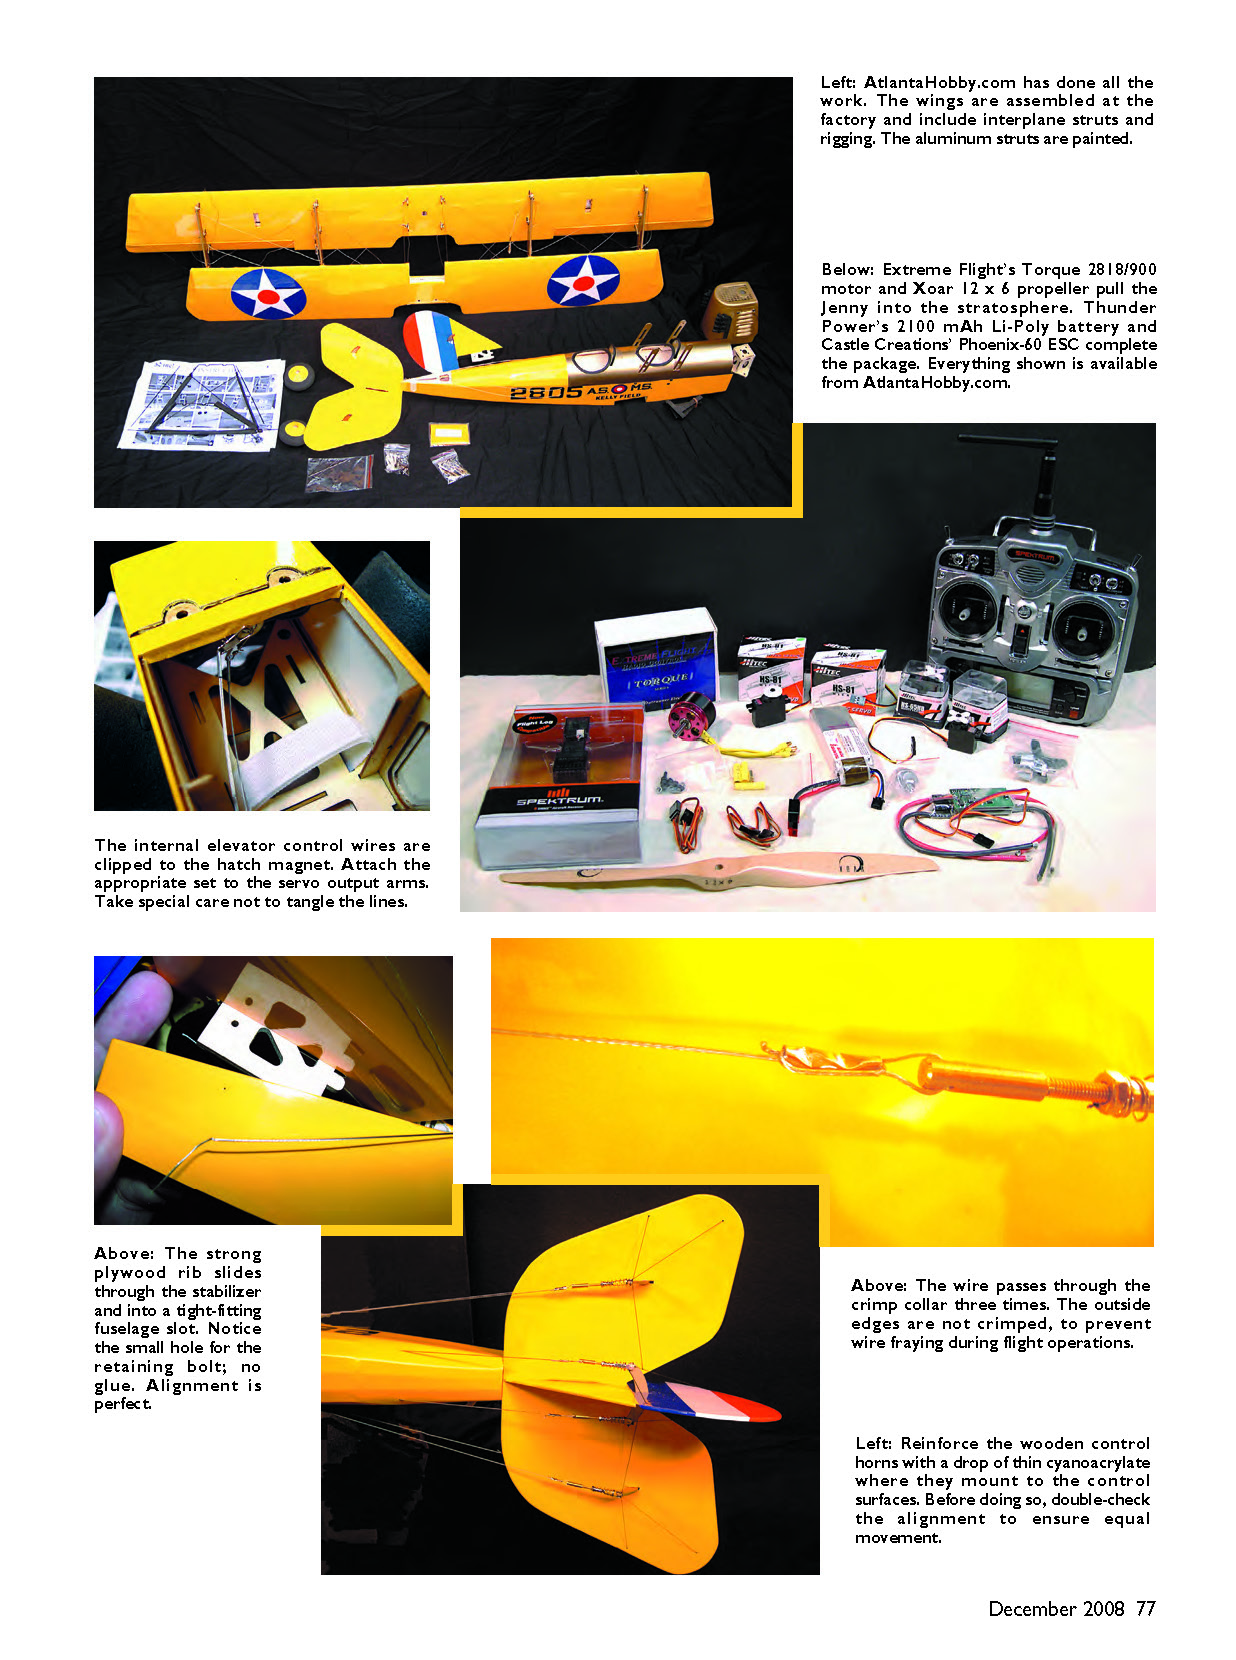
Not only were the wing braces correct, but each control surface was rigged and the pull-pull elevators and rudder controls were installed as they were on the full-scale original. "Only neurosurgeons could build this thing," I thought.
After more study, I realized that Green RC had done all the work. The top and bottom wings were not only fully built, but they were also joined at the factory, including all eight interplane struts and all wing rigging. Both pull-pull control systems were installed at the factory, including the spring keepers. The cabane struts were mounted, as were the windshields. Even the dummy 90-horsepower Curtiss OX-5 V8 engine was placed in the fiberglass cowling at the factory.
The wing and tail feathers bolted on; no gluing was required. No gluing was needed at all, except to reinforce the wooden control horns and hold the aileron control horns in place. And that was my choice—not required.
The motor mount was prebuilt, while the complicated landing gear was ready to hit the ground running. There was so little work left to the builder that this model even passed my lazy standards.
I have always loved the Jenny but was never willing to do even a fraction of the detail work that is necessary to make it come alive. However, this version could change all that and be the airplane for me. It is actually an airplane for everybody. Although many pilots will select electric power for easy cleanup, AtlantaHobby.com includes engine mounts and spacers for a fuel tank and a throttle servo to accommodate glow power. I chose the electric-powered Jenny because I didn't have a spare .21-size engine.
Construction
The enclosed directions consisted of only 36 pictures and the wing-strut wiring diagram. I never thought I would yearn for "Chinese English" in a kit's directions, but even that would have helped. The photos "overcovered" simple steps such as aileron-servo installation (with nine photos), but they never even hinted where those four cowl-rigging wires connected. Fortunately, AtlantaHobby.com has complete instructions on its website, including well-written English directions and many extra construction photos.
The ailerons arrived installed; I had to set up only two small servos. Per standard ARF assembly, there was a string in each wing to pull the servo lead, with a 12-inch extension, out the middle of the top wing. Use long (3/4 inch) servo output arms for maximum movement. The small control horns slid into precut holes in the ailerons.
The vertical fin slid through the horizontal stabilizer and into a fuselage slot, as on an RTF. The entire assembly was held in place with a bolt and has worked well so far. The pull-pull control wires were installed at the factory; I hooked them up to the installed scalelike wooden control horns. The interior control wires were already grouped and hooked to the wing-saddle front. When installing the elevator control wires, make sure each pair runs to a single side of the elevators (top or bottom). Rudder-control hookup is standard for any pull-pull system. There will be slack in this operation, so keep the clevis near its fully extended position during installation.
Only two instruction photos dealt with installing the power system, and they didn't help much. The Extreme Flight motor that came with the AtlantaHobby.com combo package fit the mount and mounting holes. However, the outrunner motor had to go outside the mount, which required the use of the reverse motor mount that was provided with the motor. That meant a slightly larger hole in the cowling. The cowl was strong enough to support this modification.
The cowling front was almost a screen, so there was plenty of cooling air to the motor and the ESC mounted above. The only exit holes for the cooling air were the two cockpits, and those were mostly covered. But even extended full-throttle flights did not overheat the ESC, motor, or battery. The battery was barely warm even after the most strenuous flights.
Position the cowling with the propeller adapter installed on the motor. Enlarge the cowling's shaft hole to a diameter that is roughly 1/8 inch larger than the adapter backplate. Center the backplate in the cowling, and position the cowling front approximately 3/16 inch behind the backplate for clearance.
Those pesky cowling rigging wires go to the top and bottom of each front inner wing strut. The wires were deliberately left long. That's something else the instructions don't tell you.
Connect the spring to one strut loop and tie the wire (really its thread) to it, stretching the spring a bit. You don't have to be a neurosurgeon to do this, but using one of their tools, a small hemostat, helps when completing this task.
Installing the completed wing is easy, but the photos can be confusing. Each cabane strut is held in place with two screws. Remove the screws, but do not remove the cabane struts. Push them down into the fuselage. This provides enough clearance to slide the wing over the fuselage front.
Once the bottom wing is comfortable in its fuselage slot, hold it in place using the supplied nylon bolts. A strong plywood tab holds the wing's leading edge in position inside a fuselage slot.
Position the top wing over the cabane struts. Slide the struts back into position and reinstall their mounting screws. The directions show the cabane struts hooking to the top wing using wood screws. Since this wing will seldom be removed, I substituted 2-56 socket-head bolts with lock nuts.
With the wings installed, take up all the wing rigging wires' slack and fasten the wing-rigging connector to the bottom of the rear inner wing strut, completing the "X" in the rigging that is formed between each strut pair. Once positioned, install and crimp the short metal keeper in position, as was done on the rear control surfaces. Make sure the clevis is almost fully extended before crimping in place.
It was hard to believe that I completed a fully rigged biplane. AtlantaHobby.com helped some (like 95%), but I am taking all the credit. Those wires and scale control horns make the Jenny super-realistic and attractive. It looks good from any angle.
Before flying, you must balance the airplane at 2 inches behind the top wing's leading edge.
Did I mention that the Jenny’s wing leading edges are carbon-fiber rods? They will be difficult to damage in all but a catastrophic collision. Be sure to laterally balance this model; the Jenny does not enjoy flying with a heavy wing.
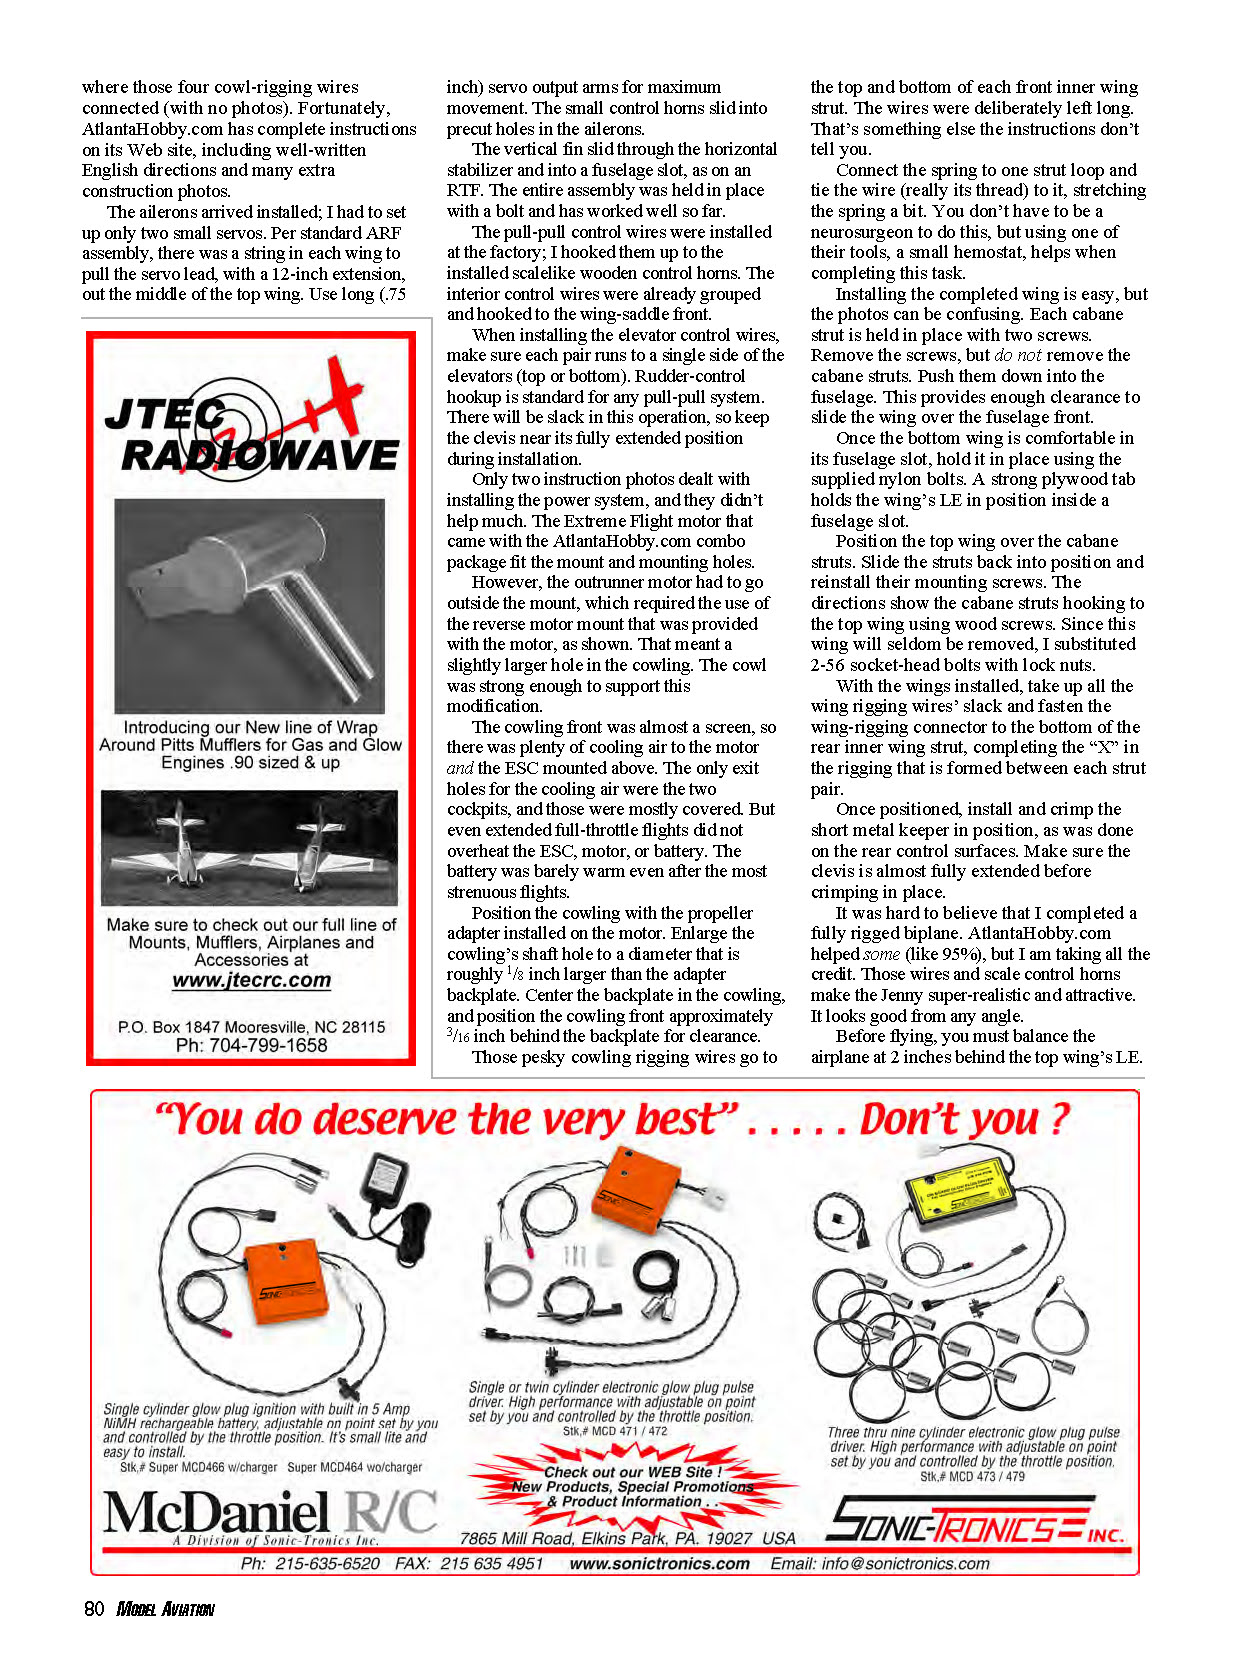
Landings are slow and fully controllable, but it takes a few practice hops to learn how best to keep the airplane on its wheels until all the rolling stops.
Flying
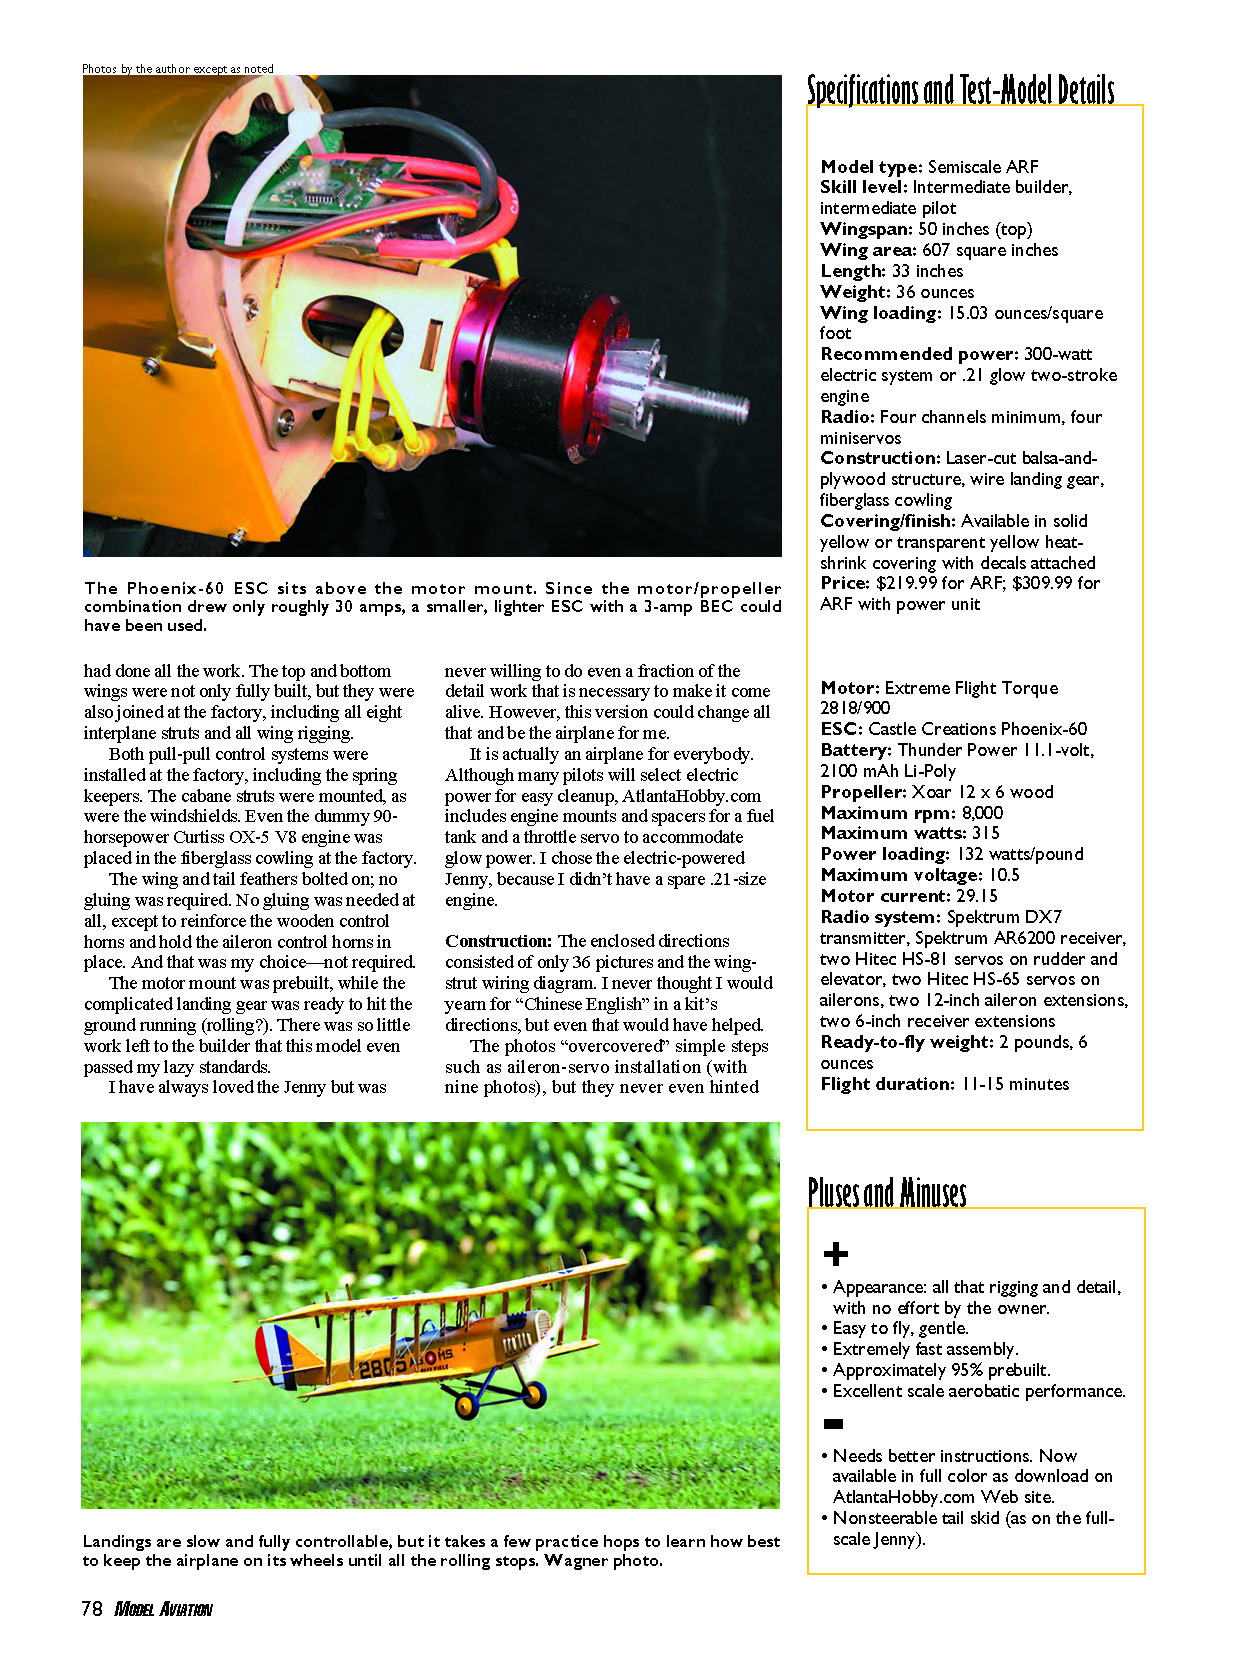
On short grass, the Jenny looks like it is sitting at Kelly Field, waiting for the next student pilot to bounce it along the ground while landing it. You can almost hear the airplane thinking, "They can teach monkeys to land better than these guys." (From the movie Battle of Britain.)
Although this model’s ground presence is great, it shines in the air. It is easy to pilot. The excellent photos that Joseph Wagner took show off this airplane, but even they do not do justice to how great it looks in the air. It has a high "Wow!" factor.
If you check out this model’s specifications, it looks like there might be a little reserve energy available for some aerobatics. Make that a lot of reserve power for this class of airplane.
The lower wing skids are carbon fiber and have proven to help keep takeoffs straight, and they add a nice scale effect when airborne. Install the wing skids; it takes roughly three minutes and some thin cyanoacrylate. The instructions never show them, so if you were wondering what those thin, approximately 4-inch-long, black rods were for, now you know.
Flying the Jenny is a delight. It has only a nonsteerable tail skid. The best way to ROG (rise-off-ground) is to point the model into the wind, hold slight up-elevator, and go quickly to full throttle. The Jenny leaves the ground in roughly 10 feet.
Scalelike takeoffs usually result in flipovers—especially from grass. If hand launching, be careful of all those wires and braces; they can get in the way.
With the Extreme Flight motor and the wood 12 x 6 propeller (anything but a wood propeller on a Jenny seems wrong), the model climbs like a T-38 if you let it. So don’t let it. Reduce power to roughly 65%, and the climbout will be more scalelike.
Top airspeed is not fast because of all that good-looking drag; it probably tops out at nearly 50 mph. But the drag doesn’t hinder climb at all. Large loops (approximately 100 feet in diameter) remain round and on-line, because the extra power pulls the airplane over the top.
The top wing is large and comparatively heavy on this biplane; therefore, it raises the lateral CG a bit higher than that of the typical sport monoplane. The wings have little or no dihedral, so, unlike the usual high-wing monoplane with dihedral, there is little to counterbalance the top-heavy roll entries that most such biplanes have.
This Jenny will roll into the turn more quickly than it will roll out. The effect is small and easy to manage (rudder-input correction helps). The roll speed is perfect—roughly two seconds each. Adding aileron movement doesn't add rolling speed, but it does add adverse yaw. Set the ailerons at 3/4 inch up and 5/8 inch down, and work from there. So far, that has proven to be the best compromise for most flying.
Transcribed from original scans by AI. Minor OCR errors may remain.

