

Plane Talk: Cox Micro Warbirds 2008/04
By Greg Gimlick
Assembly
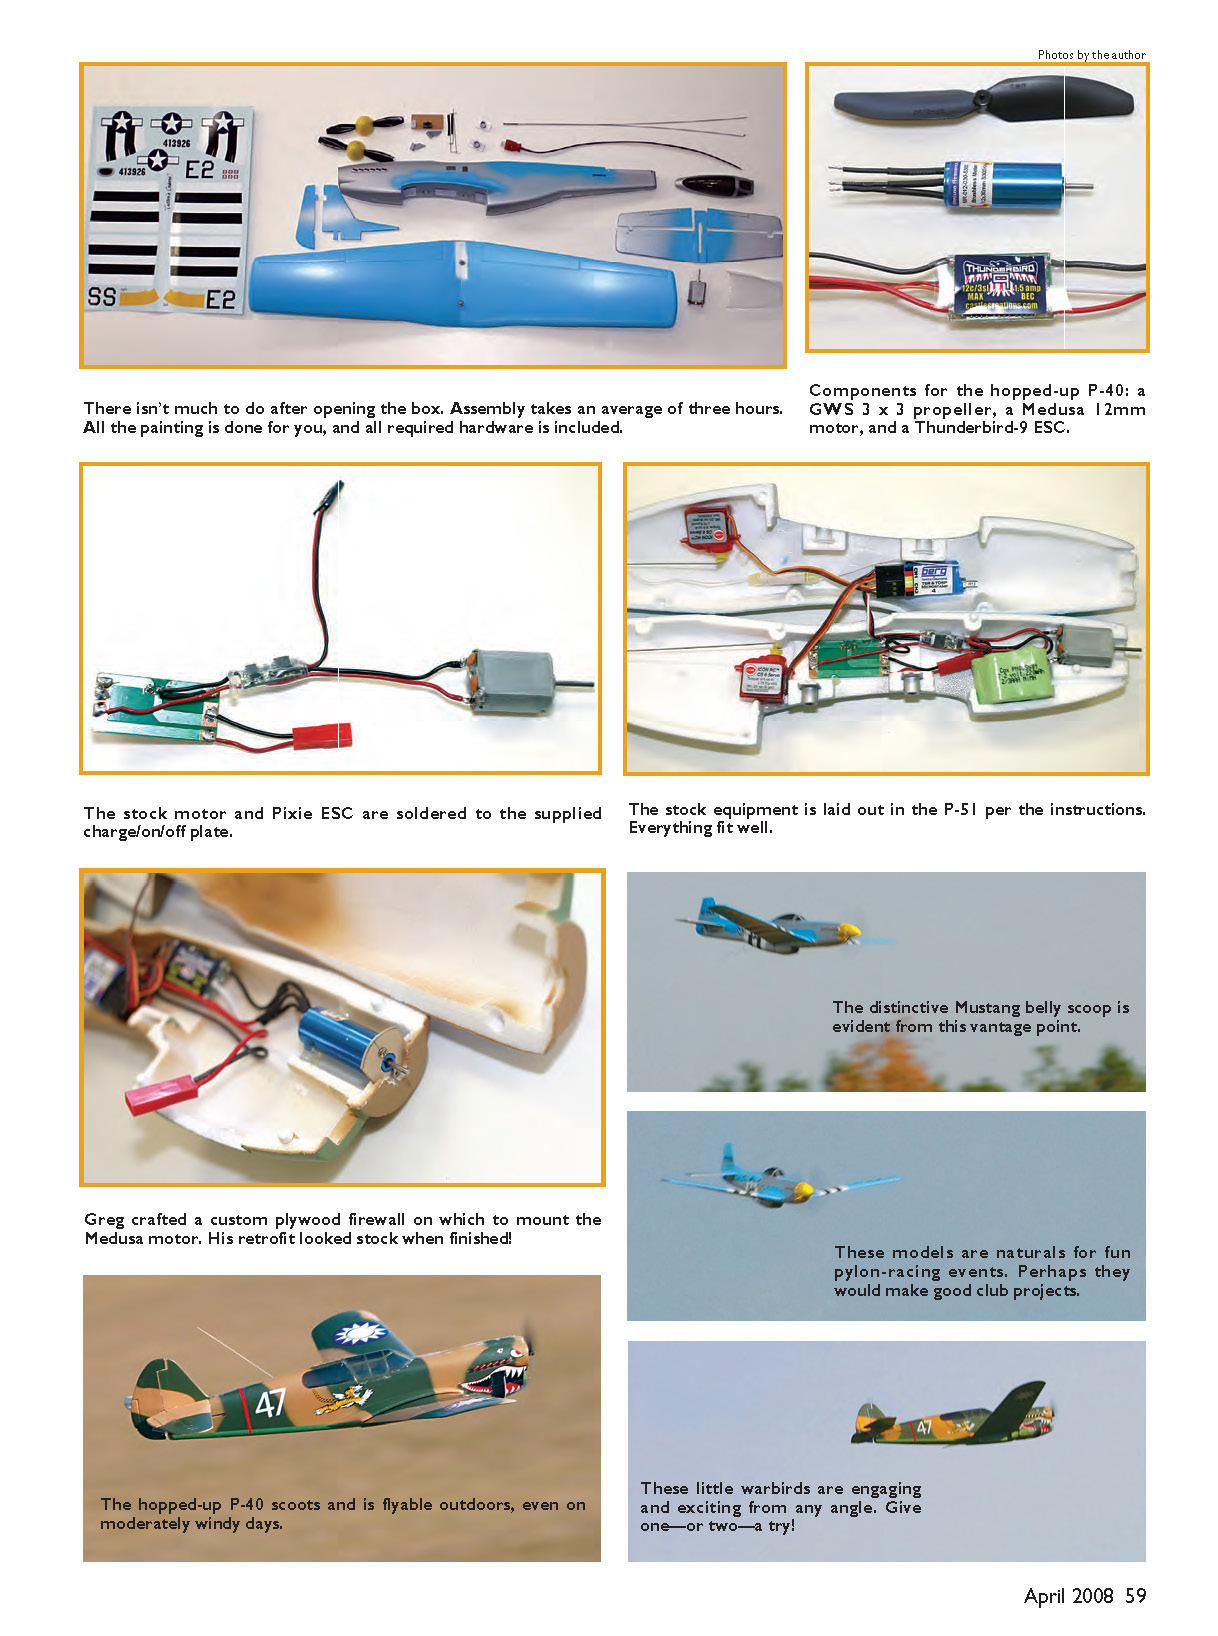
There isn't much to do after opening the box. Assembly takes an average of three hours. All the painting is done for you, and all required hardware is included.
Initial fitting and layout
- Before you permanently close the fuselage, temporarily attach the gear and close the fuselage sides with tape to make sure everything fits and the control horns and linkages clear one another.
- Modelers who skip this step often have to cut into a glued fuselage to fix interference problems. A bit of planning will save a great deal of time and aggravation.
Fuselage and controls
- The manual recommends any foam-safe glue to join the two fuselage halves. I chose to use clear hinge tape so I can get inside later if needed. You can slice the tape with an X‑Acto knife to gain access.
- Warning: peeling tape off painted foam will damage the finish. If you don't need access, glue the fuselage or cut a hatch for later access.
- Make sure you install the control rods before gluing the fuselage so they are sticking out the back, ready to attach to the elevator and rudder.
- Cox uses a proven method for connecting rods to horns: a thin bent wire alongside the control wire, held together with shrink-wrap and cyanoacrylate (CA) glue.
Wings and tail
- Snap the wings in place and then glue the tail feathers on, taking the usual precautions for alignment.
Internals and fastening
- Once the fit is confirmed, I used double-stick tape to attach internal components. Getting the inner equipment positioned correctly is the most time-consuming part of assembly (after decals).
- Go carefully before you glue the fuselage together — once it's closed you live with that decision.
Electronics and modifications
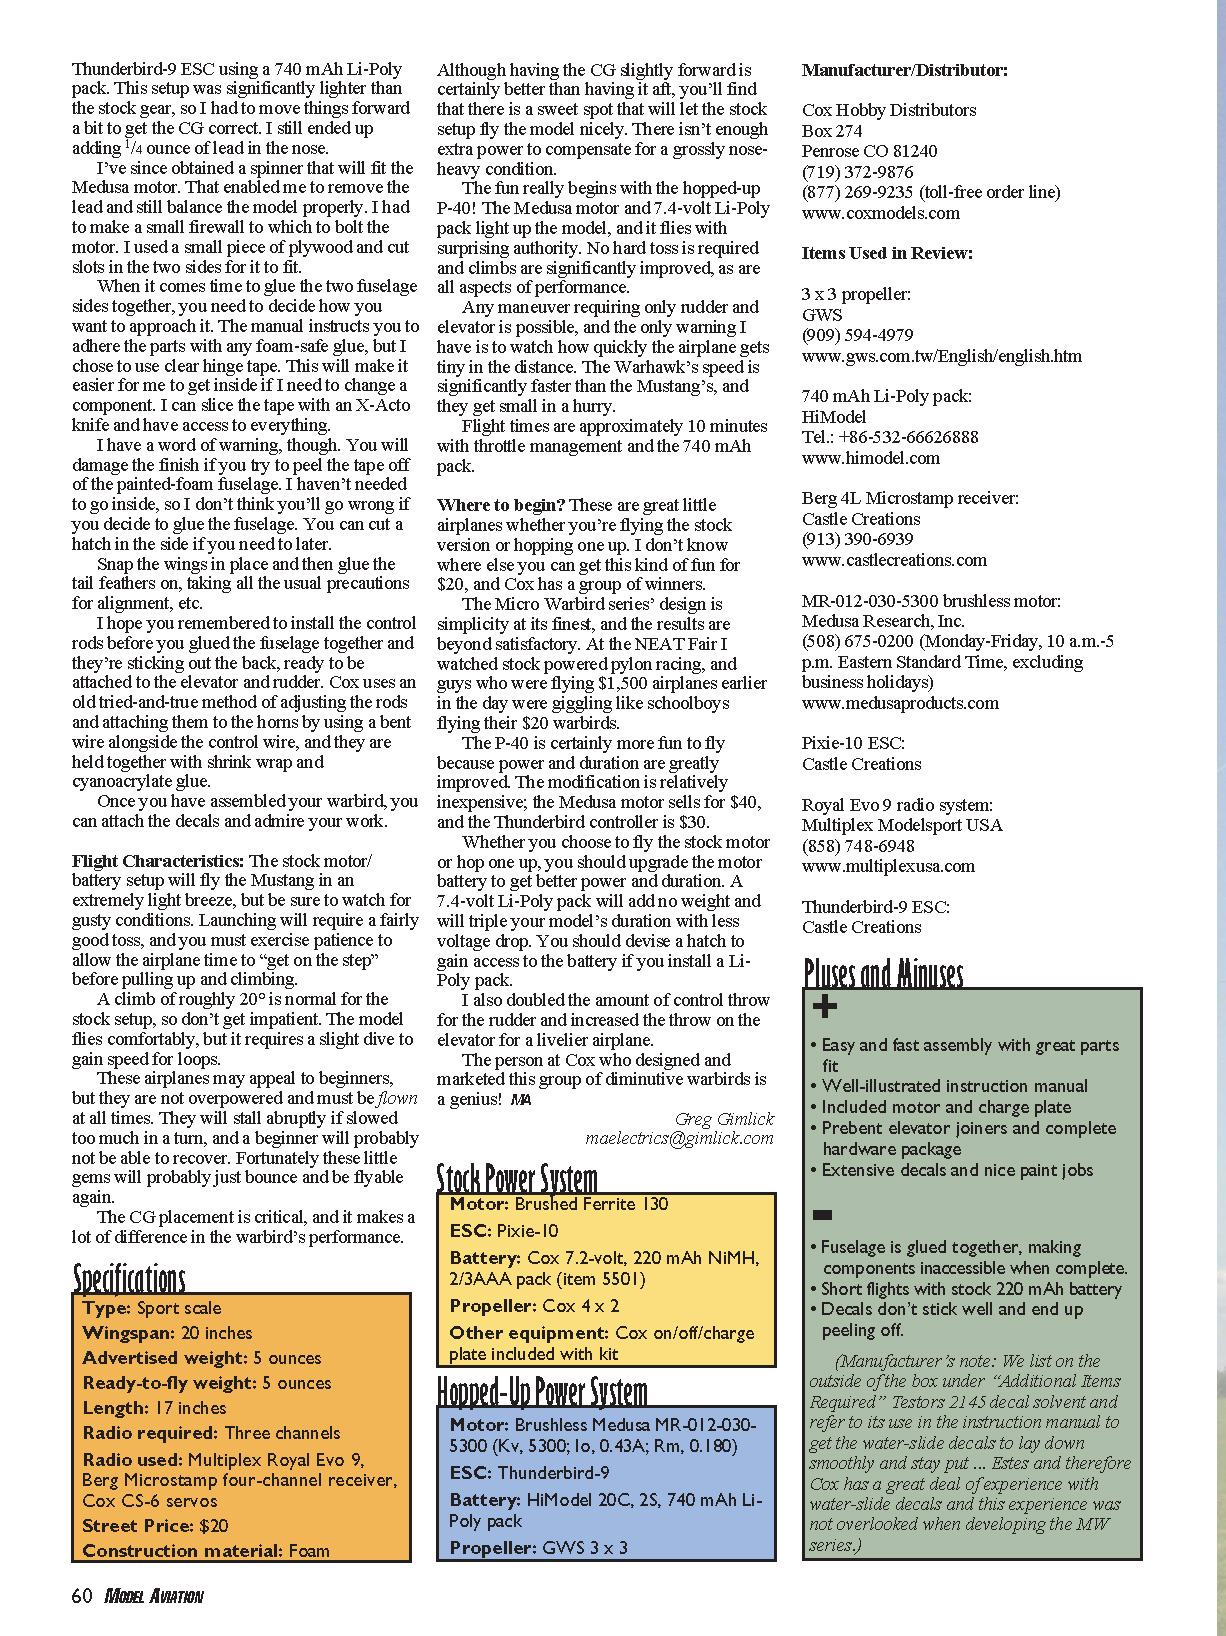
I hopped up my P-40 with the following:
- Medusa MR-012-030-5300 brushless motor (required making a small firewall from plywood; I cut slots in the sides for it to fit)
- Castle Creations Thunderbird-9 ESC
- HiModel 740 mAh 7.4 V Li‑Poly pack
This setup was significantly lighter than the stock gear, so I moved components forward to get the CG correct and initially added 1/4 ounce of lead in the nose. After obtaining a spinner that fits the Medusa motor I was able to remove the lead and still balance the model properly.
Recommendations:
- If you install a Li‑Poly pack, devise a hatch for battery access.
- Upgrade the motor battery for better power and duration: a 7.4 V Li‑Poly pack adds minimal weight and greatly improves flight time and voltage sag.
- I also doubled the rudder throw and increased the elevator throw for a livelier airplane.
Flight Characteristics
Stock setup
- The stock motor/battery will fly the Mustang in an extremely light breeze; watch for gusty conditions.
- Launching requires a fairly good toss and patience to allow the airplane to "get on the step" before pulling up and climbing.
- A climb of roughly 20° is normal for the stock setup. The model flies comfortably but requires a slight dive to gain speed for loops.
- These airplanes may appeal to beginners, but they are not overpowered and must be actively flown. They will stall abruptly if slowed too much in a turn; a beginner may have difficulty recovering. Fortunately, impacts are often minor and the models usually bounce and remain flyable.
- Center of gravity (CG) placement is critical. Slightly forward is better than aft, but there is a sweet spot that lets the stock setup fly nicely. There isn't enough extra power to compensate for a grossly nose-heavy condition.
Hopped-up P-40
- The Medusa motor with a 7.4 V Li‑Poly pack significantly improves performance: no hard toss is required, climbs are much better, and all aspects of performance are enhanced.
- Any maneuver using only rudder and elevator is possible. Be aware of how quickly the airplane gets small at distance — the Warhawk is much faster than the Mustang.
- Flight times are approximately 10 minutes with throttle management using the 740 mAh pack.
Where to begin?
These are great little airplanes whether you fly the stock version or hop one up. It's hard to find this kind of fun for $20 — Cox has a winner with the Micro Warbird series. The design is simplicity at its finest and the results are highly satisfying. At the NEAT Fair I watched stock-powered pylon racing; pilots of $1,500 airplanes were giggling like schoolboys flying $20 warbirds.
The P-40 is certainly more fun to fly when hopped up. The Medusa motor costs about $40 and the Castle Creations Thunderbird controller about $30 — a relatively inexpensive modification for dramatically improved performance.
Whether stock or modified:
- Upgrade the battery to a 7.4 V Li‑Poly for better power and duration.
- Provide a hatch for battery access if installing a Li‑Poly pack.
- Consider increasing control throws for a livelier airplane.
The person at Cox who designed and marketed this group of diminutive warbirds is a genius. Give one — or two — a try!
Manufacturer / Distributor
Cox Hobby Distributors Box 274 Penrose, CO 81240 (719) 372-9876 (877) 269-9235 (toll-free order line) www.coxmodels.com
Items Used in Review
- 3 x 3 propeller: GWS — (909) 594-4979 — www.gws.com.tw/English/english.htm
- 740 mAh Li‑Poly pack: HiModel — Tel.: +86-532-66626888 — www.himodel.com
- Berg 4L Microstamp receiver: Castle Creations — (913) 390-6939 — www.castlecreations.com
- MR-012-030-5300 brushless motor: Medusa Research, Inc. — (508) 675-0200 — www.medusaproducts.com
- Pixie-10 ESC: Castle Creations
- Thunderbird-9 ESC: Castle Creations
- Royal Evo 9 radio system: Multiplex Modelsport USA — (858) 748-6948 — www.multiplexusa.com
Conclusion
These little warbirds are engaging and exciting from any angle. The hopped-up P-40 scoots and is flyable outdoors even on moderately windy days. They provide enormous fun for little cost — try one and enjoy.
Transcribed from original scans by AI. Minor OCR errors may remain.

