
Plane Talk: E-flite AT-6 Texan ARF
Tom Sullivan
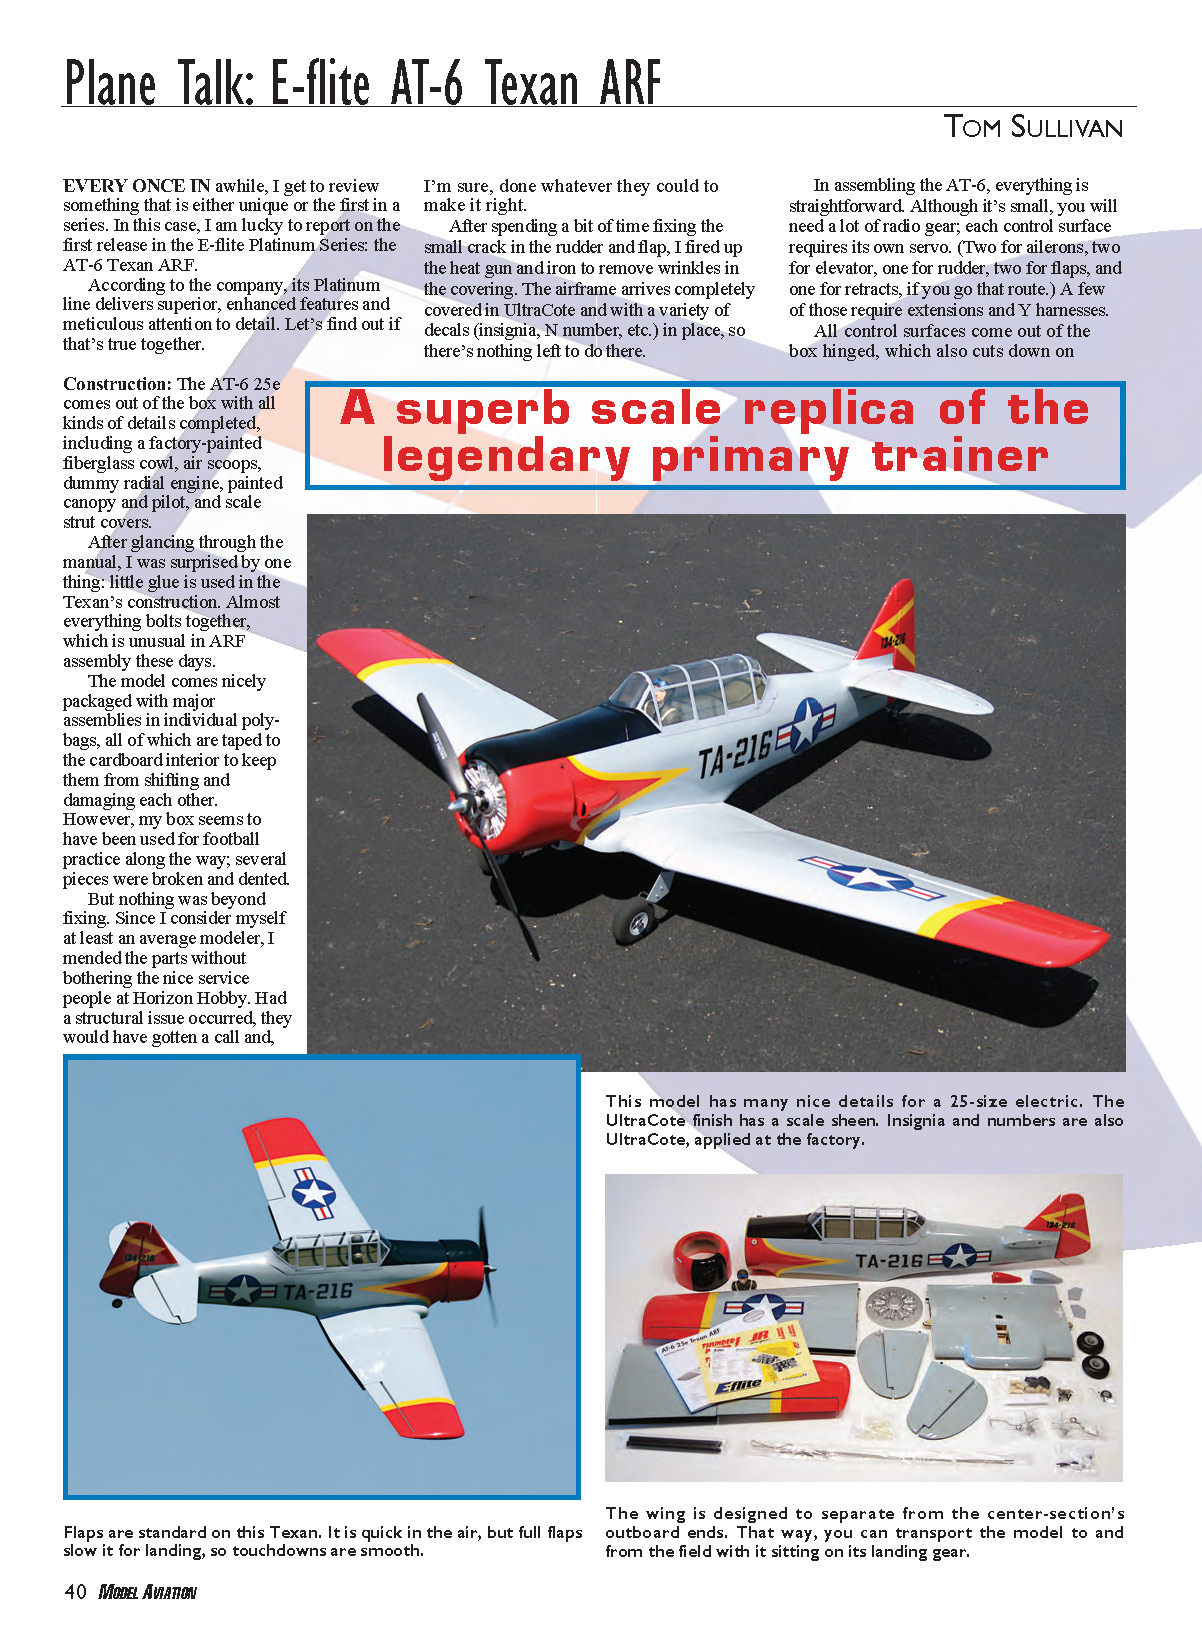
EVERY ONCE IN awhile, I get to review something that is either unique or the first in a series. In this case, I am lucky to report on the first release in the E-flite Platinum Series: the AT-6 Texan ARF.
According to the company, its Platinum line delivers superior, enhanced features and meticulous attention to detail. Let's find out if that's true together.
Construction
The AT-6 25e comes out of the box with many details completed, including a factory-painted fiberglass cowl, air scoops, dummy radial engine, painted canopy and pilot, and scale strut covers.
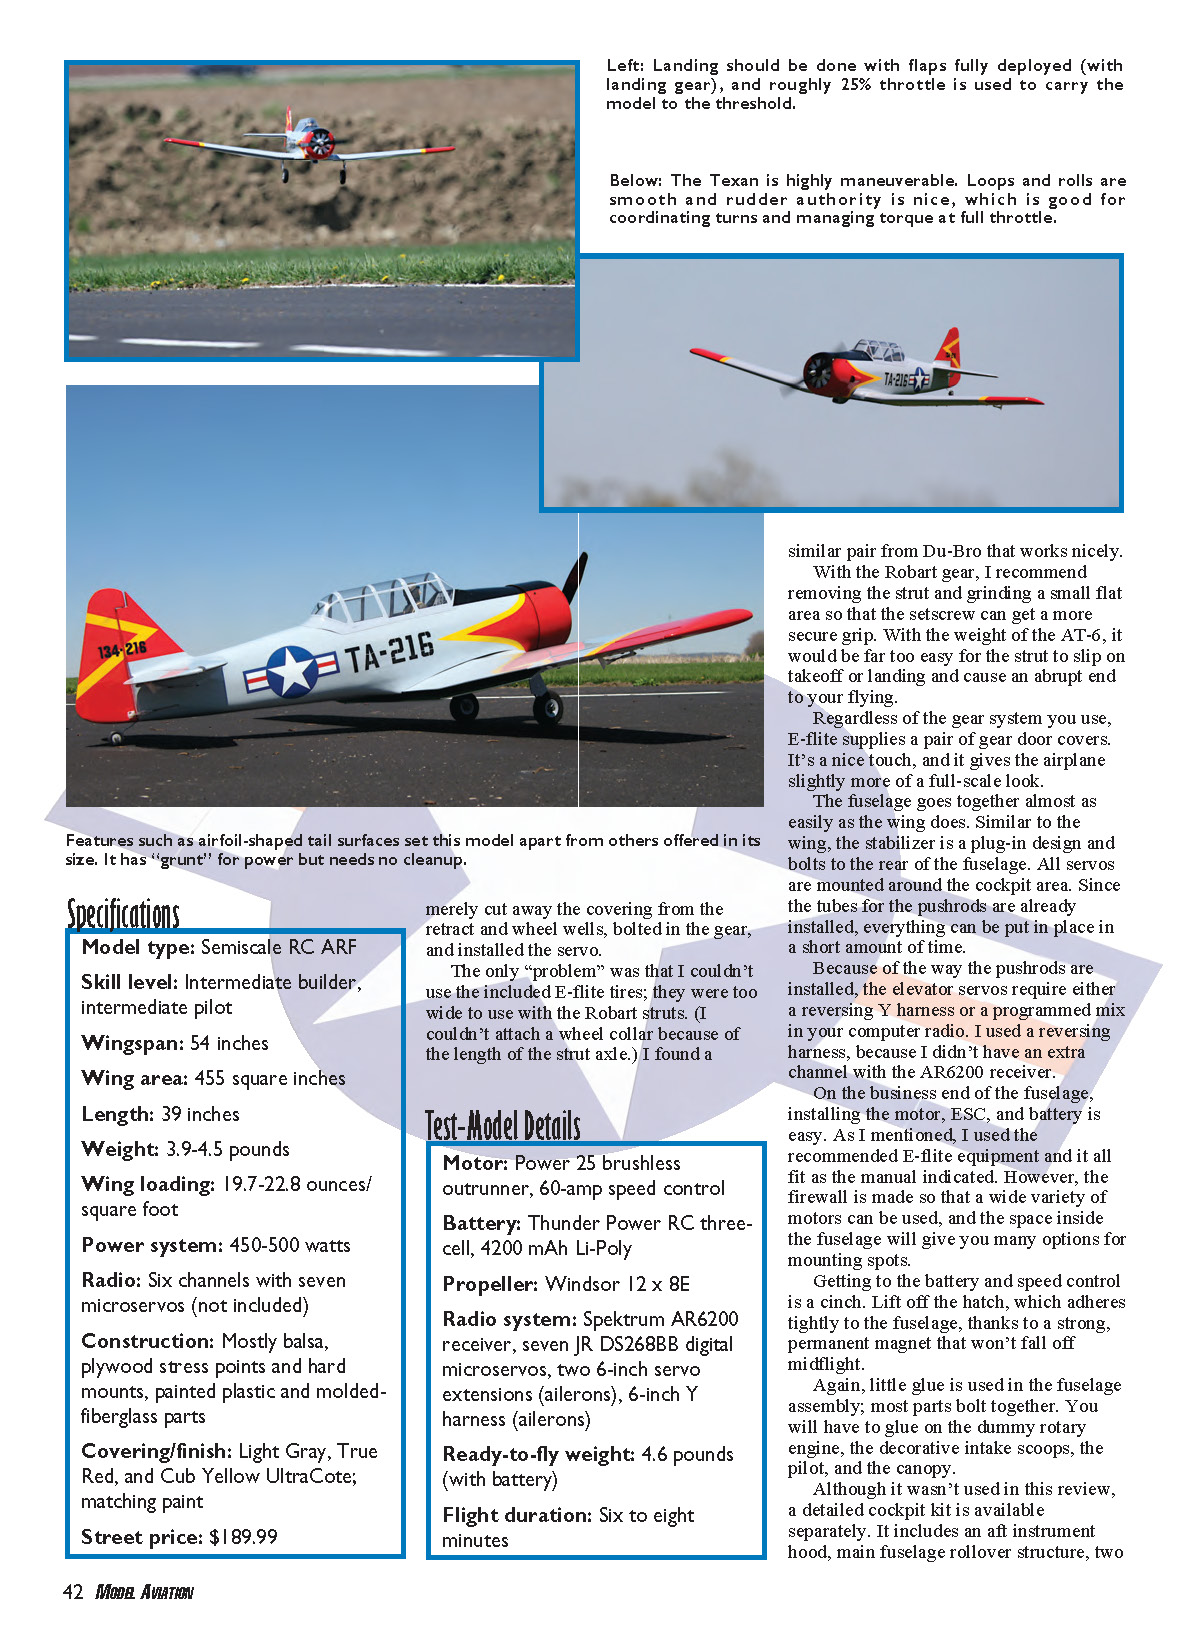
After glancing through the manual, I was surprised by one thing: little glue is used in the Texan's construction. Almost everything bolts together, which is unusual in ARF assembly these days. The model comes nicely packaged with major assemblies in individual polybags, all taped to the cardboard interior to keep them from shifting and damaging each other. However, my box seemed to have taken a beating in transit; several pieces were broken and dented.
Nothing was beyond fixing. Since I consider myself at least an average modeler, I mended the parts without bothering the nice service people at Horizon Hobby. Had a structural issue occurred, they would have gotten a call and, I'm sure, done whatever they could to make it right.
After spending a bit of time fixing the small crack in the rudder and a flap, I fired up the heat gun and iron to remove wrinkles in the covering. The airframe arrives completely covered in UltraCote with a variety of decals (insignia, N-number, etc.) in place, so there's little finishing to do.
Assembly is straightforward. Although the model is small, you will need a lot of radio gear; each control surface requires its own servo (two for ailerons, two for elevator, one for rudder, two for flaps, and one for retracts if you go that route). A few of those require extensions and Y-harnesses.
All control surfaces come out of the box hinged, which cuts down on assembly time. Putting the wing together is literally as simple as installing the servos, attaching the pushrods, and bolting the three wing sections. The only glue used in the wing's construction adheres hardwood blocks to the servos' hatches.
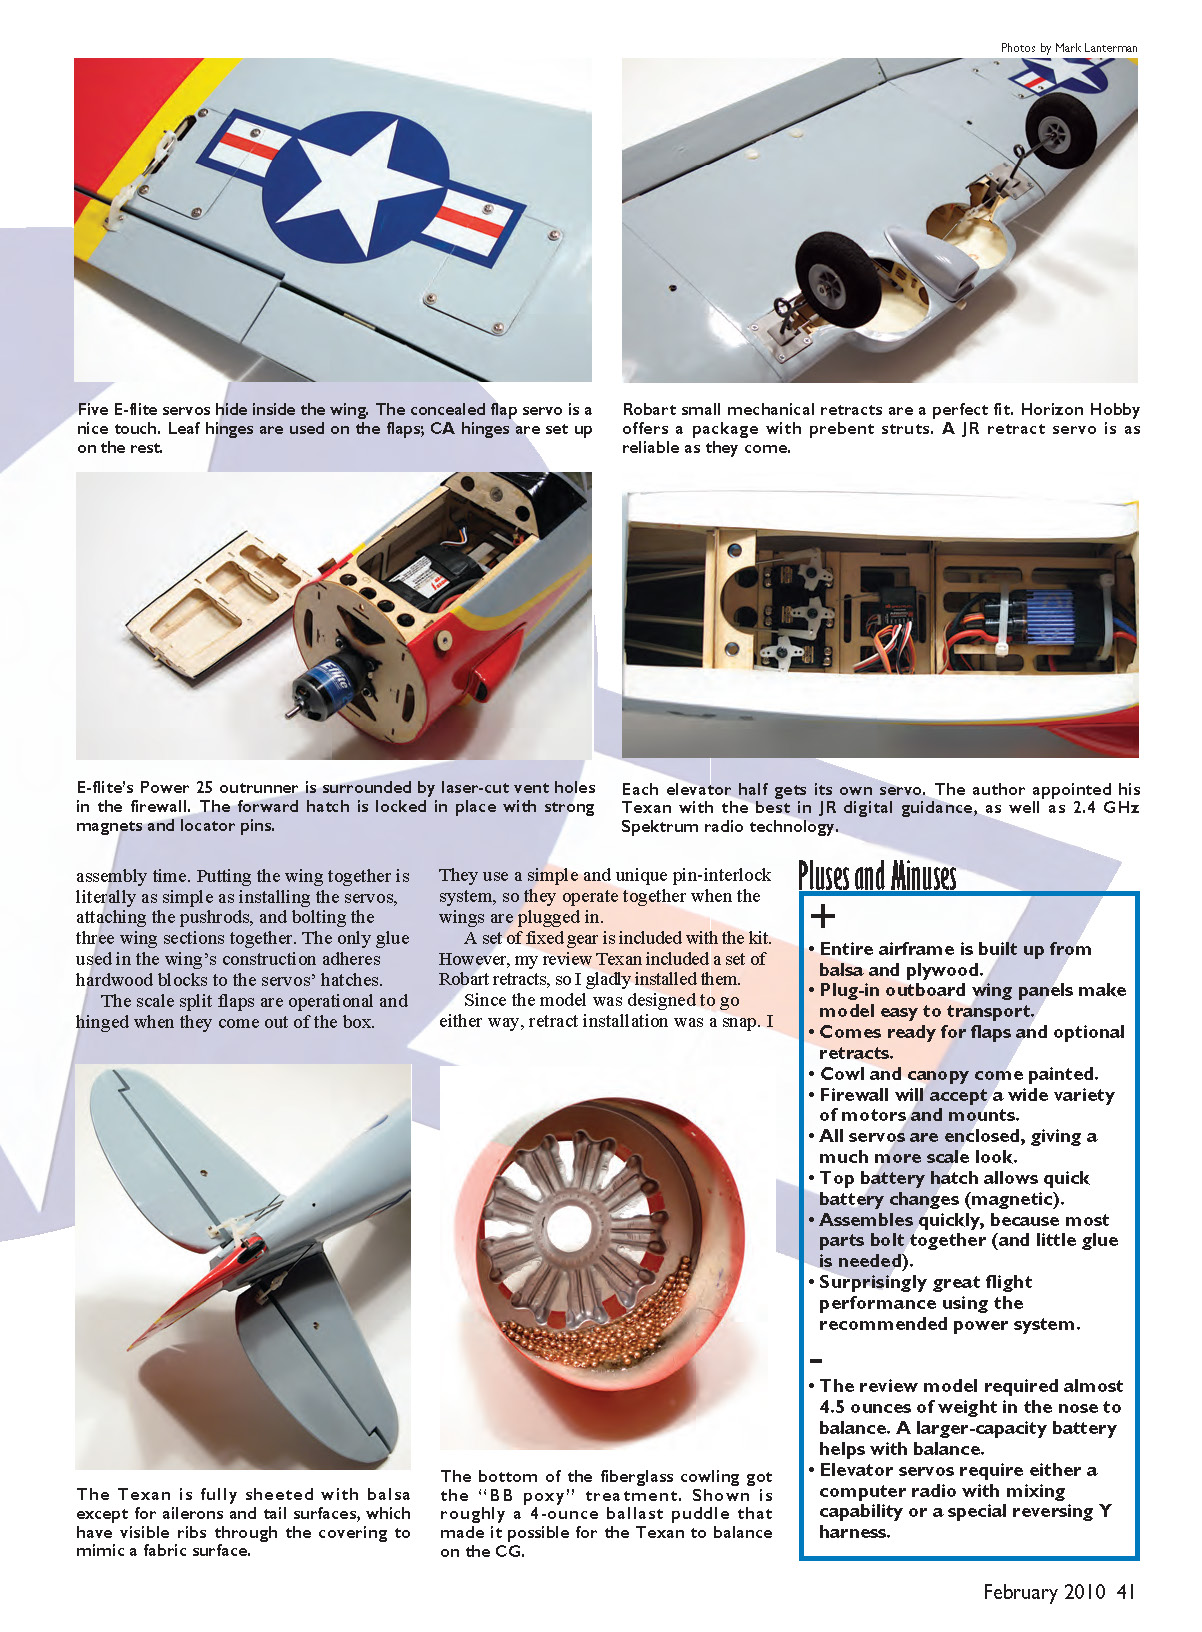
The scale split flaps are operational and hinged when they come out of the box. They use a simple and unique pin-interlock system so they operate together when the wings are plugged in.
A set of fixed gear is included with the kit. My review Texan included a set of Robart retracts, so I installed those. Since the model was designed to accept either fixed gear or retracts, the retract installation was a snap.
On the business end of the fuselage, installing the motor, ESC, and battery is easy. I used the recommended E-flite equipment and it all fit as the manual indicated. The firewall will accept a wide variety of motors and mounts, and the space inside the fuselage offers many mounting options.
Getting to the battery and speed control is a cinch: lift off the hatch, which adheres tightly to the fuselage thanks to a strong permanent magnet that won't fall off midflight.
Again, little glue is used in the fuselage assembly; most parts bolt together. You will have to glue on the dummy rotary engine, the decorative intake scoops, the pilot, and the canopy.
A detailed cockpit kit is available separately. It includes an instrument hood, main fuselage rollover structure, two seat backs, and a floor. The pilot you see in the finished model is included with the kit; an additional pilot is available separately.
I merely cut away the covering from the retract and wheel wells, bolted in the gear, and installed the servo. The only "problem" was that I couldn't use the included E-flite tires; they were too wide to work with the Robart struts (I couldn't attach a wheel collar because of the length of the strut axle). I found a similar pair from Du-Bro that worked nicely.
With the Robart gear, I recommend removing the strut and grinding a small flat area so the setscrew can get a more secure grip. With the weight of the AT-6, it would be far too easy for the strut to slip on takeoff or landing and cause an abrupt end to your flying.
Regardless of the gear system you use, E-flite supplies a pair of gear door covers. It's a nice touch and gives the airplane a slightly more full-scale look.
The fuselage goes together almost as easily as the wing. The stabilizer is a plug-in design and bolts to the rear of the fuselage. All servos are mounted around the cockpit area. Since the tubes for the pushrods are already installed, everything can be put in place in a short amount of time.
Because of the way the pushrods are installed, the elevator servos require either a reversing Y-harness or a programmed mix in your computer radio. I used a reversing harness because I didn't have an extra channel with the AR6200 receiver.
All finished, my AT-6 ARF weighed more than 3 pounds with the battery in place. However, the CG was far aft (tail-heavy), so I substituted a larger battery pack for extra nose weight. Still needing more, I removed the cowl and ended up gluing close to 4.5 ounces of nose weight to attain the proper balance. This resulted in a model that was heavier than the manual specified, but only by a few ounces.
After adjusting the control throws to match those recommended in the instructions, it was time to see how the Texan would fly.
Pluses and Minuses
- Entire airframe is built up from balsa and plywood.
- Plug-in outboard wing panels make the model easy to transport.
- Comes ready for flaps and optional retracts.
- Cowl and canopy come painted.
- Firewall will accept a wide variety of motors and mounts.
- All servos are enclosed, giving a much more scale look.
- Top battery hatch allows quick battery changes (magnetic).
- Assembles quickly because most parts bolt together (and little glue is needed).
- Surprisingly great flight performance using the recommended power system.
- The review model required almost 4.5 ounces of weight in the nose to balance. A larger-capacity battery helps with balance.
- Elevator servos require either a computer radio with mixing capability or a special reversing Y-harness.
Specifications
- Model type: Semiscale RC ARF
- Skill level: Intermediate builder, intermediate pilot
- Wingspan: 54 inches
- Wing area: 455 square inches
- Length: 39 inches
- Weight: 3.9–4.5 pounds
- Wing loading: 19.7–22.8 ounces/square foot
- Power system: 450–500 watts
- Radio: Six channels with seven microservos (not included)
- Construction: Mostly balsa, plywood stress points and hard mounts, painted plastic and molded-fiberglass parts
- Covering/finish: Light Gray, True Red, and Cub Yellow UltraCote; matching paint
- Street price: $189.99
Test-Model Details
- Motor: Power 25 brushless outrunner
- Speed control: 60-amp ESC
- Battery: Thunder Power RC three-cell, 4200 mAh Li-Poly
- Propeller: Windsor 12 x 8E
- Radio system: Spektrum AR6200 receiver, seven JR DS628BB digital microservos, two 6-inch servo extensions (ailerons), 6-inch Y-harness (ailerons)
- Ready-to-fly weight: 4.6 pounds (with battery)
- Flight duration: Six to eight minutes
Flying
I wasn't sure what to expect. This was a heavy model for its size, at slightly more than 4.5 pounds. I decided to try a few taxi runs to see if I had the power.
Was I pleasantly surprised! The Texan handled well on the ground and would come up on the mains at approximately half throttle, so there was plenty of power.
E-flite advises against using flaps for takeoff, so I lined up the AT-6 into the wind, throttled up to flying speed, and it lifted off smoothly. The model needed little trim, and even though it bumped around in the wind a bit, it had more than enough power.
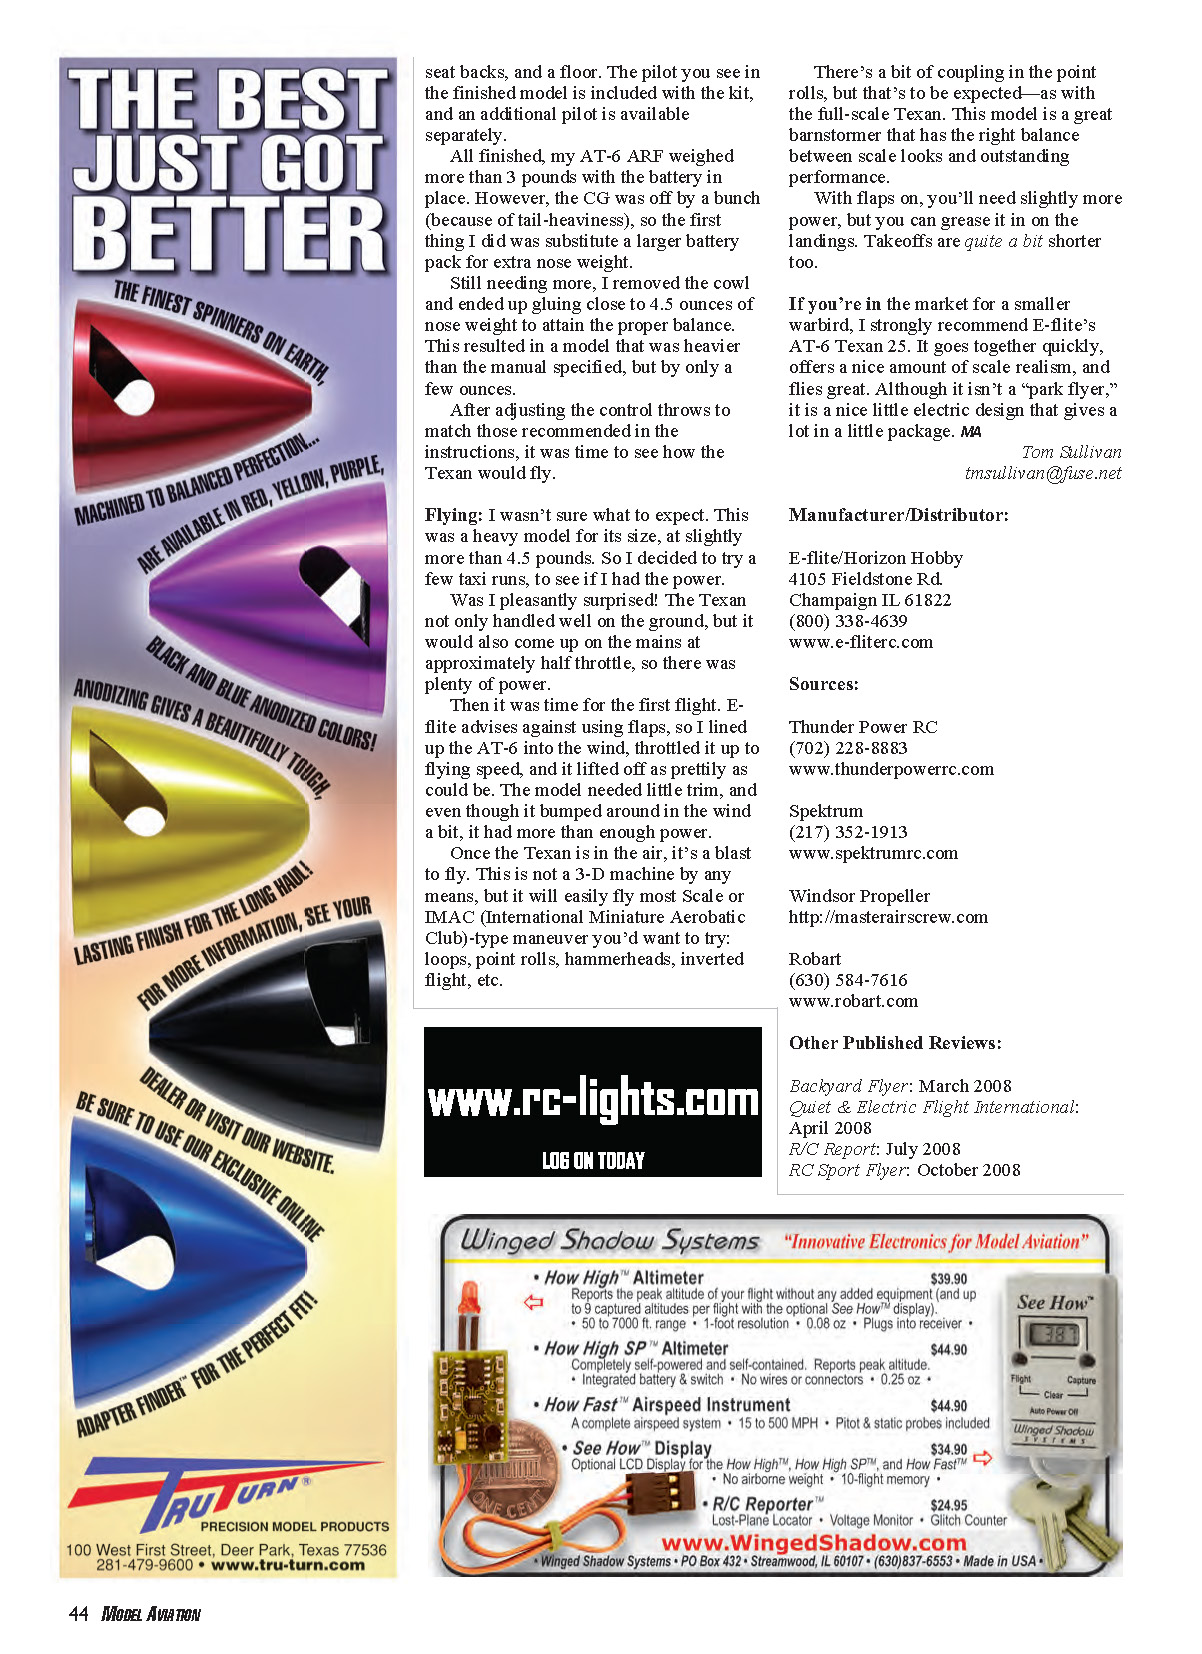
Once the Texan is in the air, it's a blast to fly. This is not a 3-D machine by any means, but it will easily fly most scale or IMAC-type maneuvers you'd want to try: loops, point rolls, hammerheads, inverted flight, etc. There's a bit of coupling in the point rolls, but that's to be expected—as with the full-scale Texan. This model is a great barnstormer that balances scale looks and outstanding performance.
With flaps deployed you'll need slightly more power, but you can grease it in on landings. Takeoffs with flaps are quite a bit shorter, too.
If you're in the market for a smaller warbird, I strongly recommend E-flite's AT-6 Texan 25. It goes together quickly, offers a nice amount of scale realism, and flies great. Although it isn't a "park flyer," it is a nice little electric design that gives a lot in a little package.
MA Tom Sullivan [email protected]
Manufacturer/Distributor
E-flite / Horizon Hobby 4105 Fieldstone Rd. Champaign, IL 61822 (800) 338-4639 www.e-fliterc.com
Sources
- Thunder Power RC — (702) 228-8883 — www.thunderpowerrc.com
- Spektrum — (217) 352-1913 — www.spektrumrc.com
- Windsor Propeller — http://masterairscrew.com
- Robart — (630) 584-7616 — www.robart.com
Other Published Reviews
- Backyard Flyer: March 2008
- Quiet & Electric Flight International: April 2008
- R/C Report: July 2008
- RC Sport Flyer: October 2008
Transcribed from original scans by AI. Minor OCR errors may remain.

