

Plane Talk: Great Planes Cosmic Wind Minnow ARF
BY ROTH HEYES
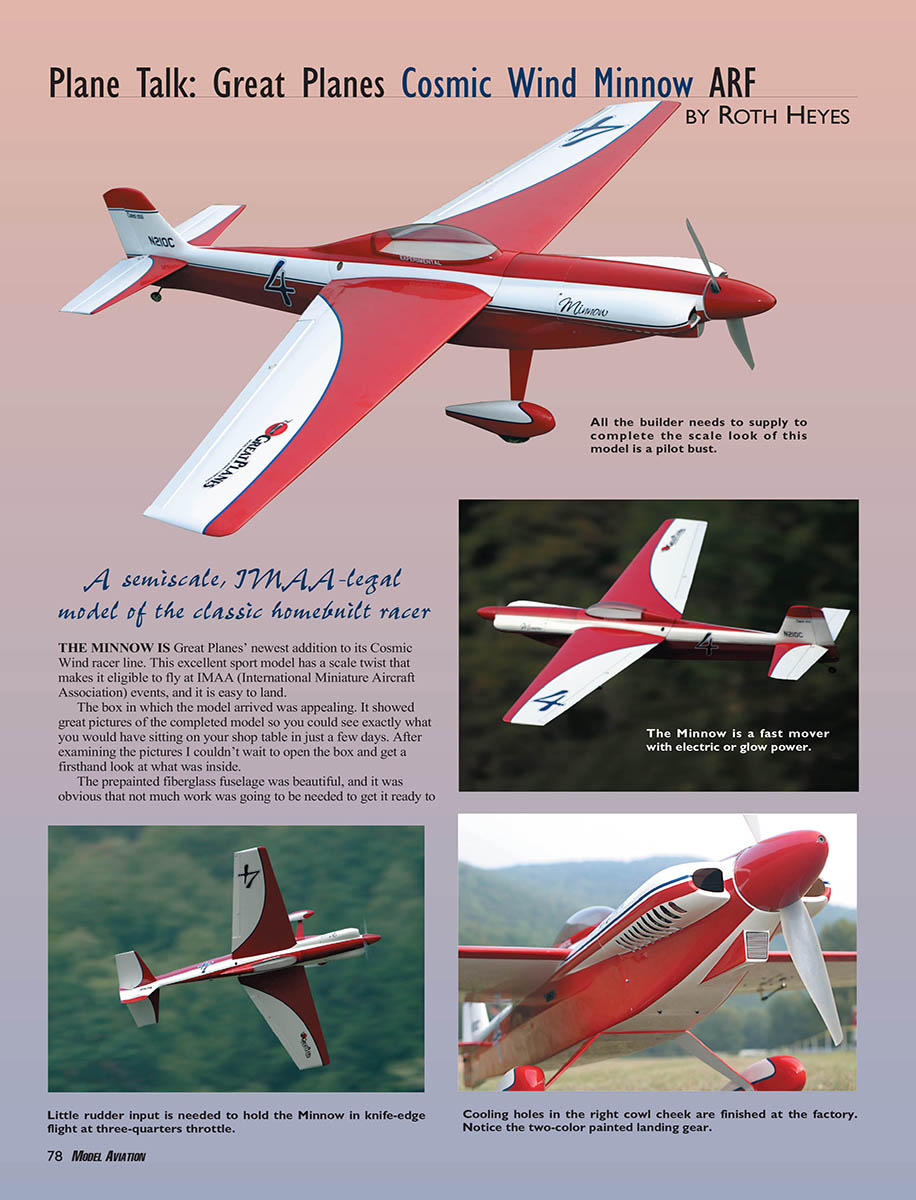
A semiscale, IMAA-legal model of the classic homebuilt racer
The Minnow is Great Planes’ newest addition to its Cosmic Wind racer line. This excellent sport model has a semiscale twist that makes it eligible to fly at IMAA (International Miniature Aircraft Association) events, and it is easy to land.
The box presentation was appealing, with large photos of the completed model so you could see exactly what you'd have on your shop table in just a few days. I couldn’t wait to open the box and inspect the contents.
The prepainted fiberglass fuselage was beautiful and required little work to get ready to fly. All the formers were preinstalled, including the fuel-tank mount (which I removed when converting the model to electric power). The servo trays and pushrod guides were installed, and the pushrod exits were faired into the fuselage at the tail — a nice touch.
The wing halves had a nice covering job and precut hatch covers. A piece of string was left inside the wing halves to assist in threading the servo leads. The painted fiberglass cowl and wheel pants were impressive; the wheel pants had antirotation screw holes predrilled and blind nuts already installed.
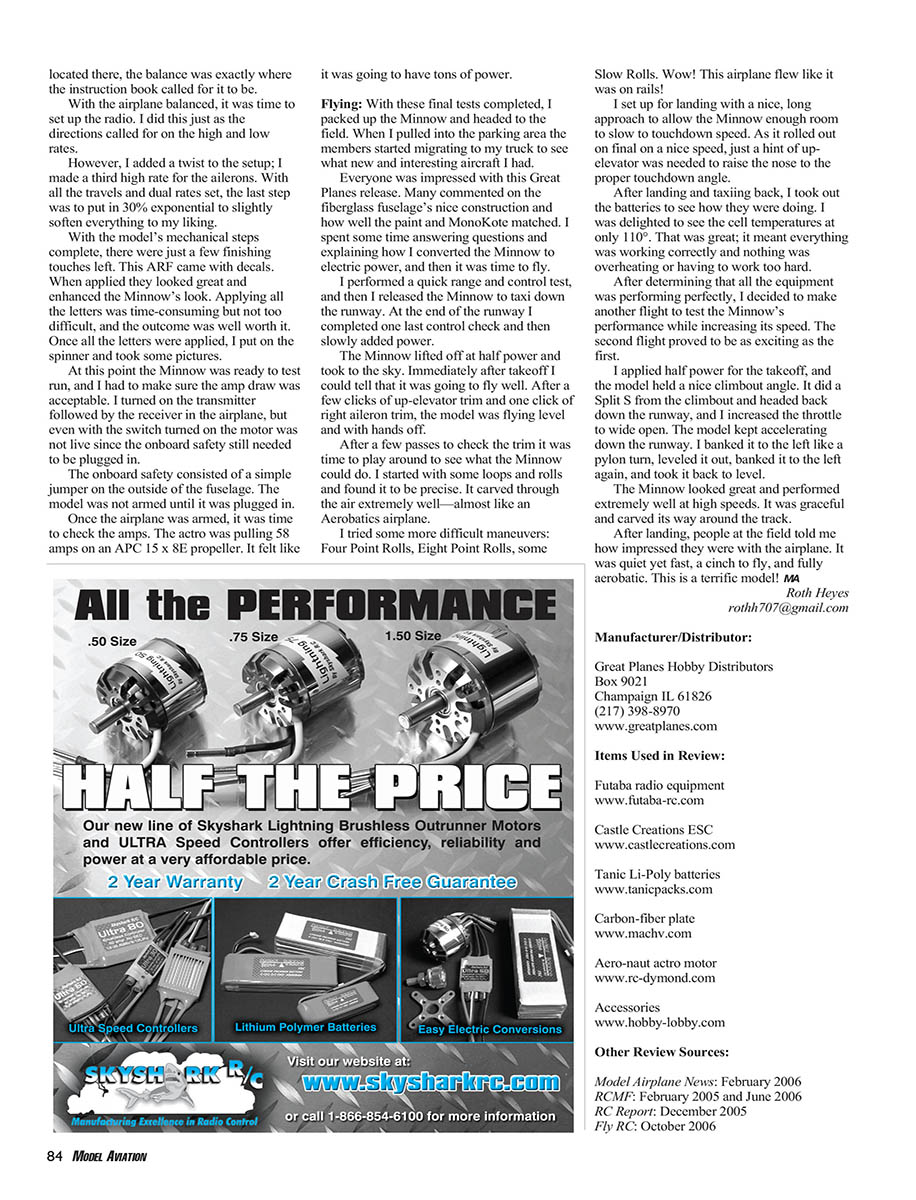
I was particularly happy with the landing gear. It is sturdy and painted to match the scheme: the top of the gear red to match the top of the airplane and the bottom painted white to match the bottom surface. That extra attention to the paint scheme completed the Minnow’s overall appeal.
Room in the stabilizer saddle is left for shimming the horizontal stabilizer to align with the wing. The painted fuselage matched extraordinarily well with the trim lines of the fiberglass cowl. Trim the self-adhesive decals as tight as possible for a professional appearance. The thin airfoil offers little drag; landing approaches are long, but the Minnow is stable enough for a full-stall touchdown. The scale spinner is a nice detail.
Motor, battery and equipment installation
As noted, I converted this model to electric power. The cowl came with holes on the lower right cheek intended to cool a glow-engine head; I used those openings to help cool the speed controller. I drilled four holes in the nose section (engine box) for two zip ties to hold the controller in place — the cowl covers these holes, so they’re invisible when installed.
The batteries had to be installed in the Minnow’s nose because of where the servo tray is located. To accomplish this I removed the fuel-tank mount and installed a keeper block in the nose so a plate with the batteries could slide under it and remain secure in flight. I made the battery plate from 3/16" birch plywood for strength and stiffness. The tray runs from the nose back to the servo tray and is held in place with hook-and-loop fastener. I built another accessory mounting plate under the battery tray for the receiver, the 6-volt regulator, and the flight-pack battery.
I had the battery packs specially built to help keep the CG in check: the packs were made so one side had more cells than the other, positioning the heavier side toward the rear of the airplane. With the packs in place I made a jumper to connect them in series and used a Deans connector spliced between the positive leads. The wing assembly is secured with two 1/4-20 nylon screws for quick battery access. The 1/8" light-plywood tray fits in a tongue at the firewall and is held down with Velcro straps in the back. The 10S Li-Poly battery system proved extremely efficient, and with the battery located as described the balance was exactly where the instruction book called for it to be.
With the airplane balanced, I set up the radio per the directions for high and low rates. I added a third high rate for the ailerons and used 30% exponential to slightly soften the control feel. The ARF came with decals; applying all the letters was time-consuming but the result was worth it. Once the decals were applied I installed the spinner and prepared for ground checks.
The Minnow uses an external safety jumper on the outside of the fuselage so the model is not armed until the jumper is plugged in. With the airplane armed, I checked amp draw: the motor pulled 58 amps on an APC 15 x 8E propeller — plenty of power.
Test-Model Details
- Motor used: Aero-naut Actro 40-4
- Propeller: APC 14 x 10; 15 x 11
- Radio system: Futaba 14MZ transmitter, Futaba R319 receiver, Futaba digital servos, 7.4-volt Li-Poly receiver battery, 6.0-volt regulator
- Power system: Castle Creations Phoenix-10HV ESC, two Tactic SS3P 5400 mAh Li-Poly battery packs connected in series
- Output: 1,200–1,400 watts at 54–59 amps, 7,500–8,100 rpm
- Ready-to-fly weight: 8 pounds
- Flight duration: 10 minutes
Flying
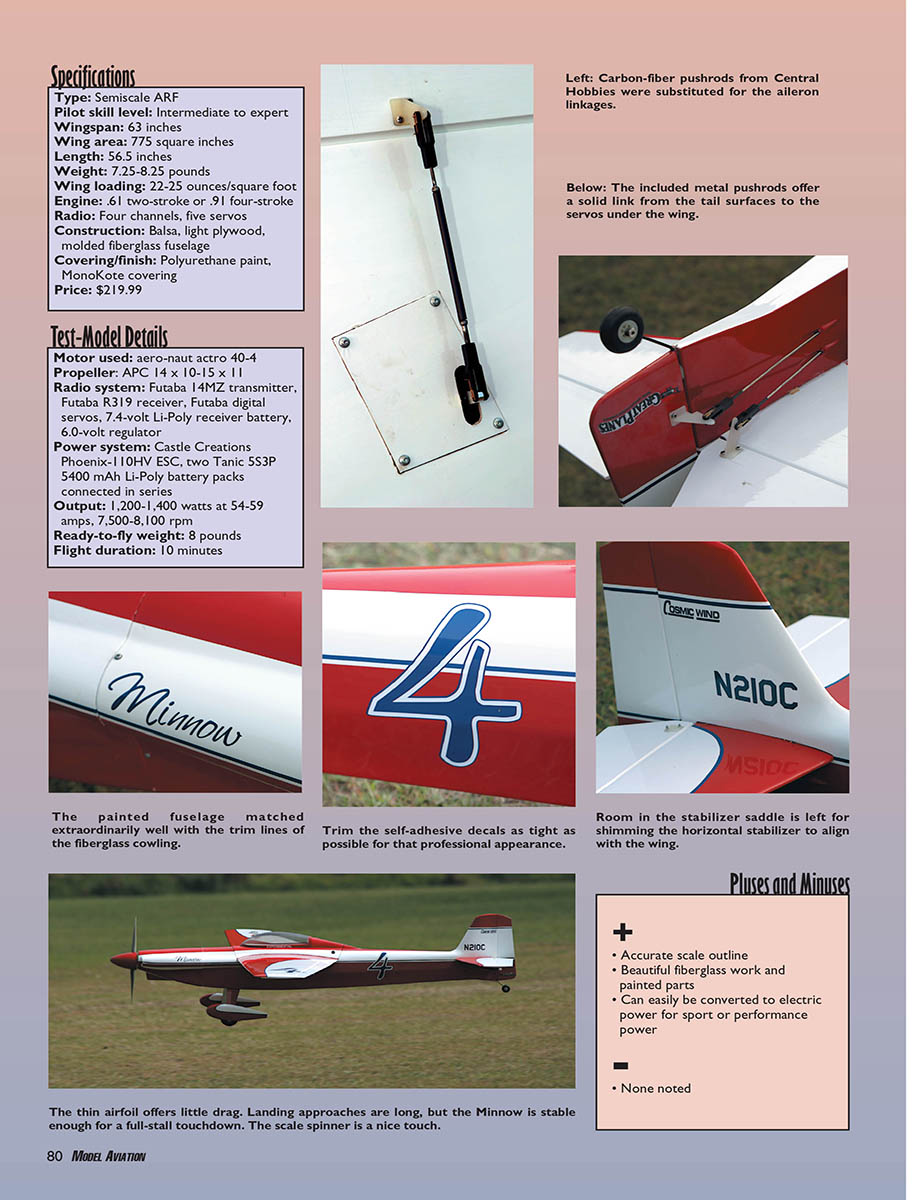
With final tests complete I took the Minnow to the field. The fiberglass fuselage, paint, and MonoKote matching drew a crowd as soon as I arrived. After a quick range and control check, I taxied and performed a final control check at the runway end, then slowly added power. The Minnow lifted off at half power and climbed out well. After a few clicks of trim (a few clicks up and one click right aileron) the model flew hands-off straight and level.
I flew loops and rolls first and found the Minnow precise and crisp — it carved through the air like an aerobatic airplane. I tried more difficult maneuvers (four-point rolls, eight-point rolls, slow rolls) and the model held line and precision as if on rails.
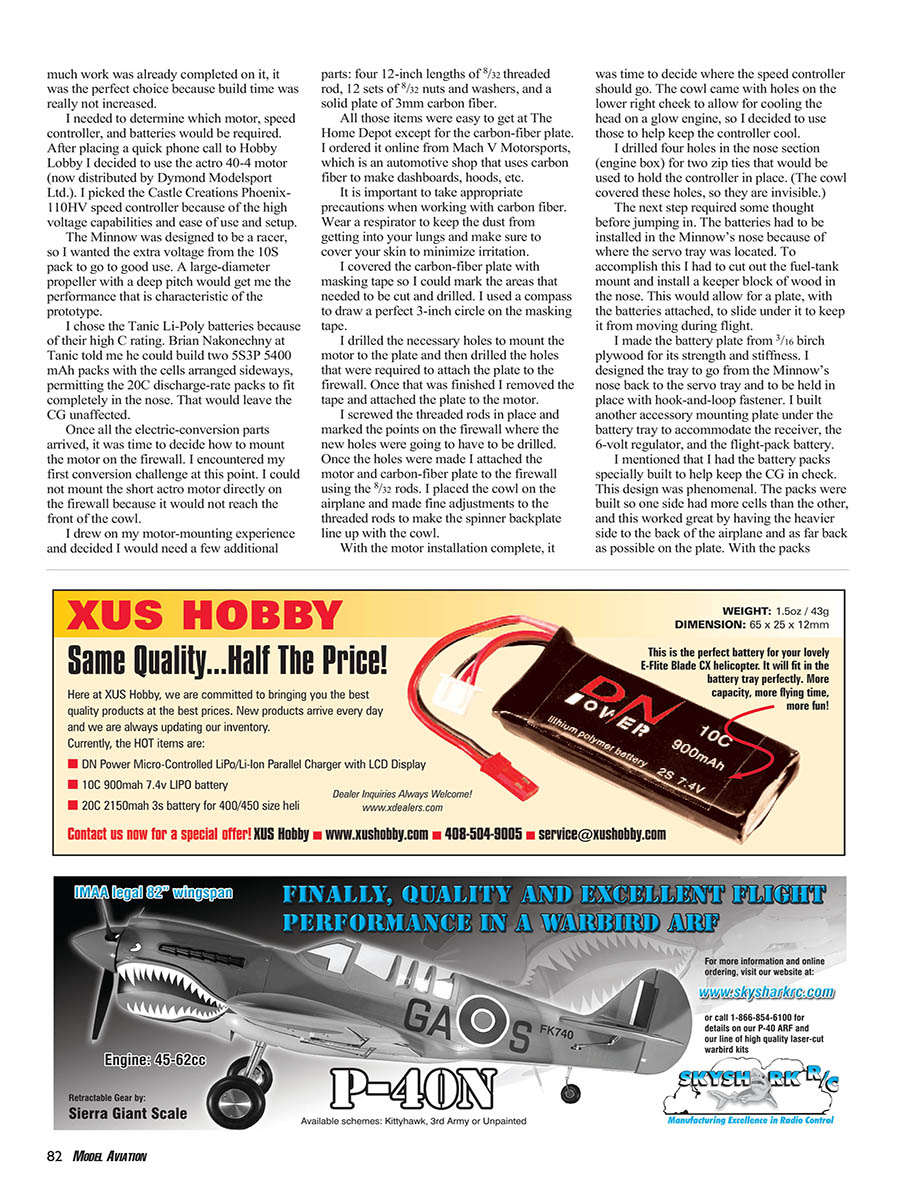
For landing I used a long approach to allow the Minnow to slow. On final, a slight up-elevator raised the nose to the proper touchdown angle for a smooth landing. After taxiing back I checked battery cell temperatures and found them at only 110°F, indicating the system was running well without overheating.
On a second flight I increased speed. The Minnow climbed out, performed a Split S off the climbout, and accelerated to wide open throttle. It handled pylon-like turns and high-speed passes gracefully and remained stable and predictable. Field spectators were impressed: quick yet easy to fly, fully aerobatic — a terrific model.
Roth Heyes [email protected]
Specifications
- Type: Semiscale ARF
- Pilot skill level: Intermediate to expert
- Wingspan: 63 inches
- Wing area: 775 square inches
- Length: 56.5 inches
- Weight: 7.25–8.25 pounds (manufacturer); test-ready 8 pounds
- Wing loading: 22–25 ounces/square foot
- Engine: .61 two-stroke or .91 four-stroke (engine option); electric conversion tested
- Radio: Four channels, five servos
- Construction: Balsa, light plywood, molded fiberglass fuselage
- Covering/finish: Polyurethane paint, MonoKote covering
- Price: $219.99
Pluses and Minuses
- Accurate scale outline
- Beautiful fiberglass work and painted parts
- Can be converted to electric power easily for sport or performance power
- Stable, precise handling; fully aerobatic
- Well-thought-out hardware: preinstalled formers, servo trays, faired pushrod exits, precut hatch covers, blind-nutted wheel pants, painted landing gear
- None noted
Manufacturer/Distributor
Great Planes Hobby Distributors Box 9021 Champaign, IL 61826 (217) 398-8970 www.greatplanes.com
Items Used in Review
- Futaba radio equipment — www.futaba-rc.com
- Castle Creations ESC — www.castlecreations.com
- Tanic Li-Poly batteries — www.tanicpacks.com
- Carbon-fiber plate — www.machv.com
- Aero-naut motor — www.rc-dymond.com
- Accessories — www.hobby-lobby.com
Other Review Sources:
- Model Airplane News: February 2006
- RCMF: February 2005 and June 2006
- RC Report: December 2005
- Fly RC: October 2006
Transcribed from original scans by AI. Minor OCR errors may remain.

