
Plane Talk: Great Planes Seawind .60 ARF
JIM FELDMANN AND SHAWN RUBUSH
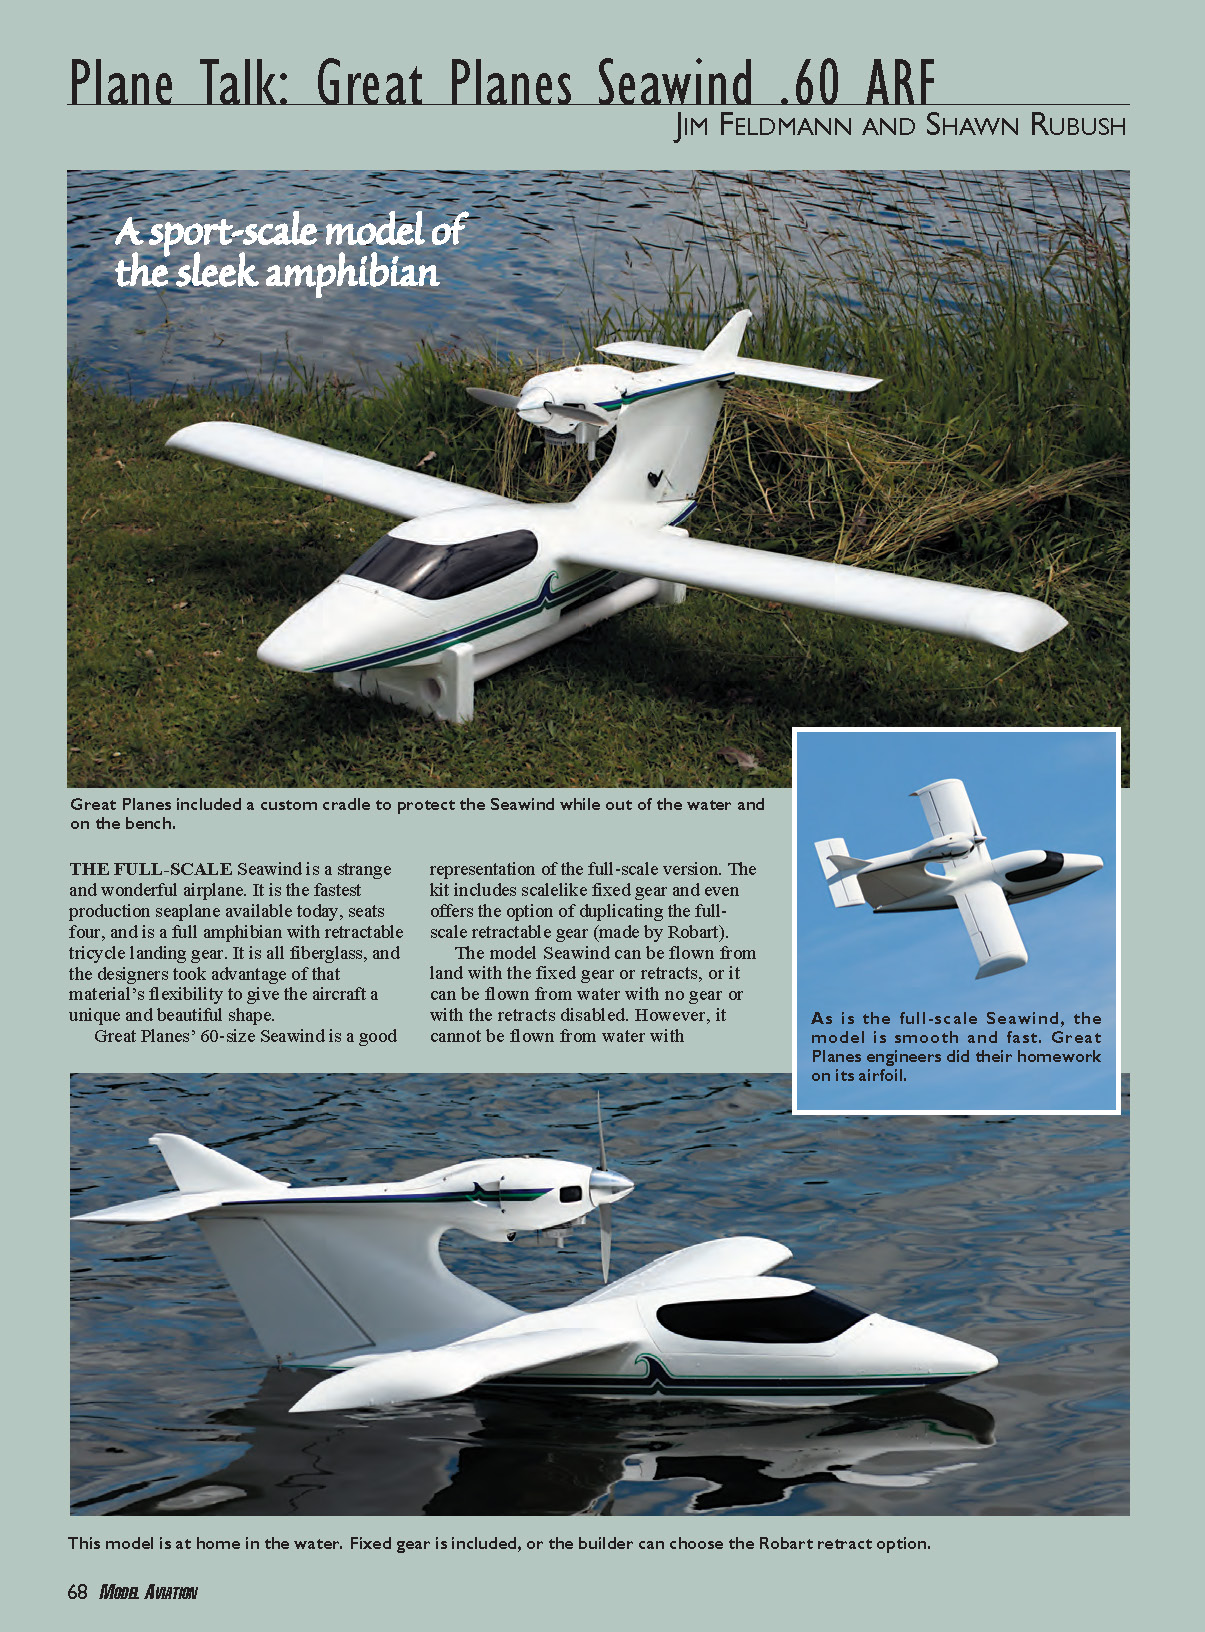
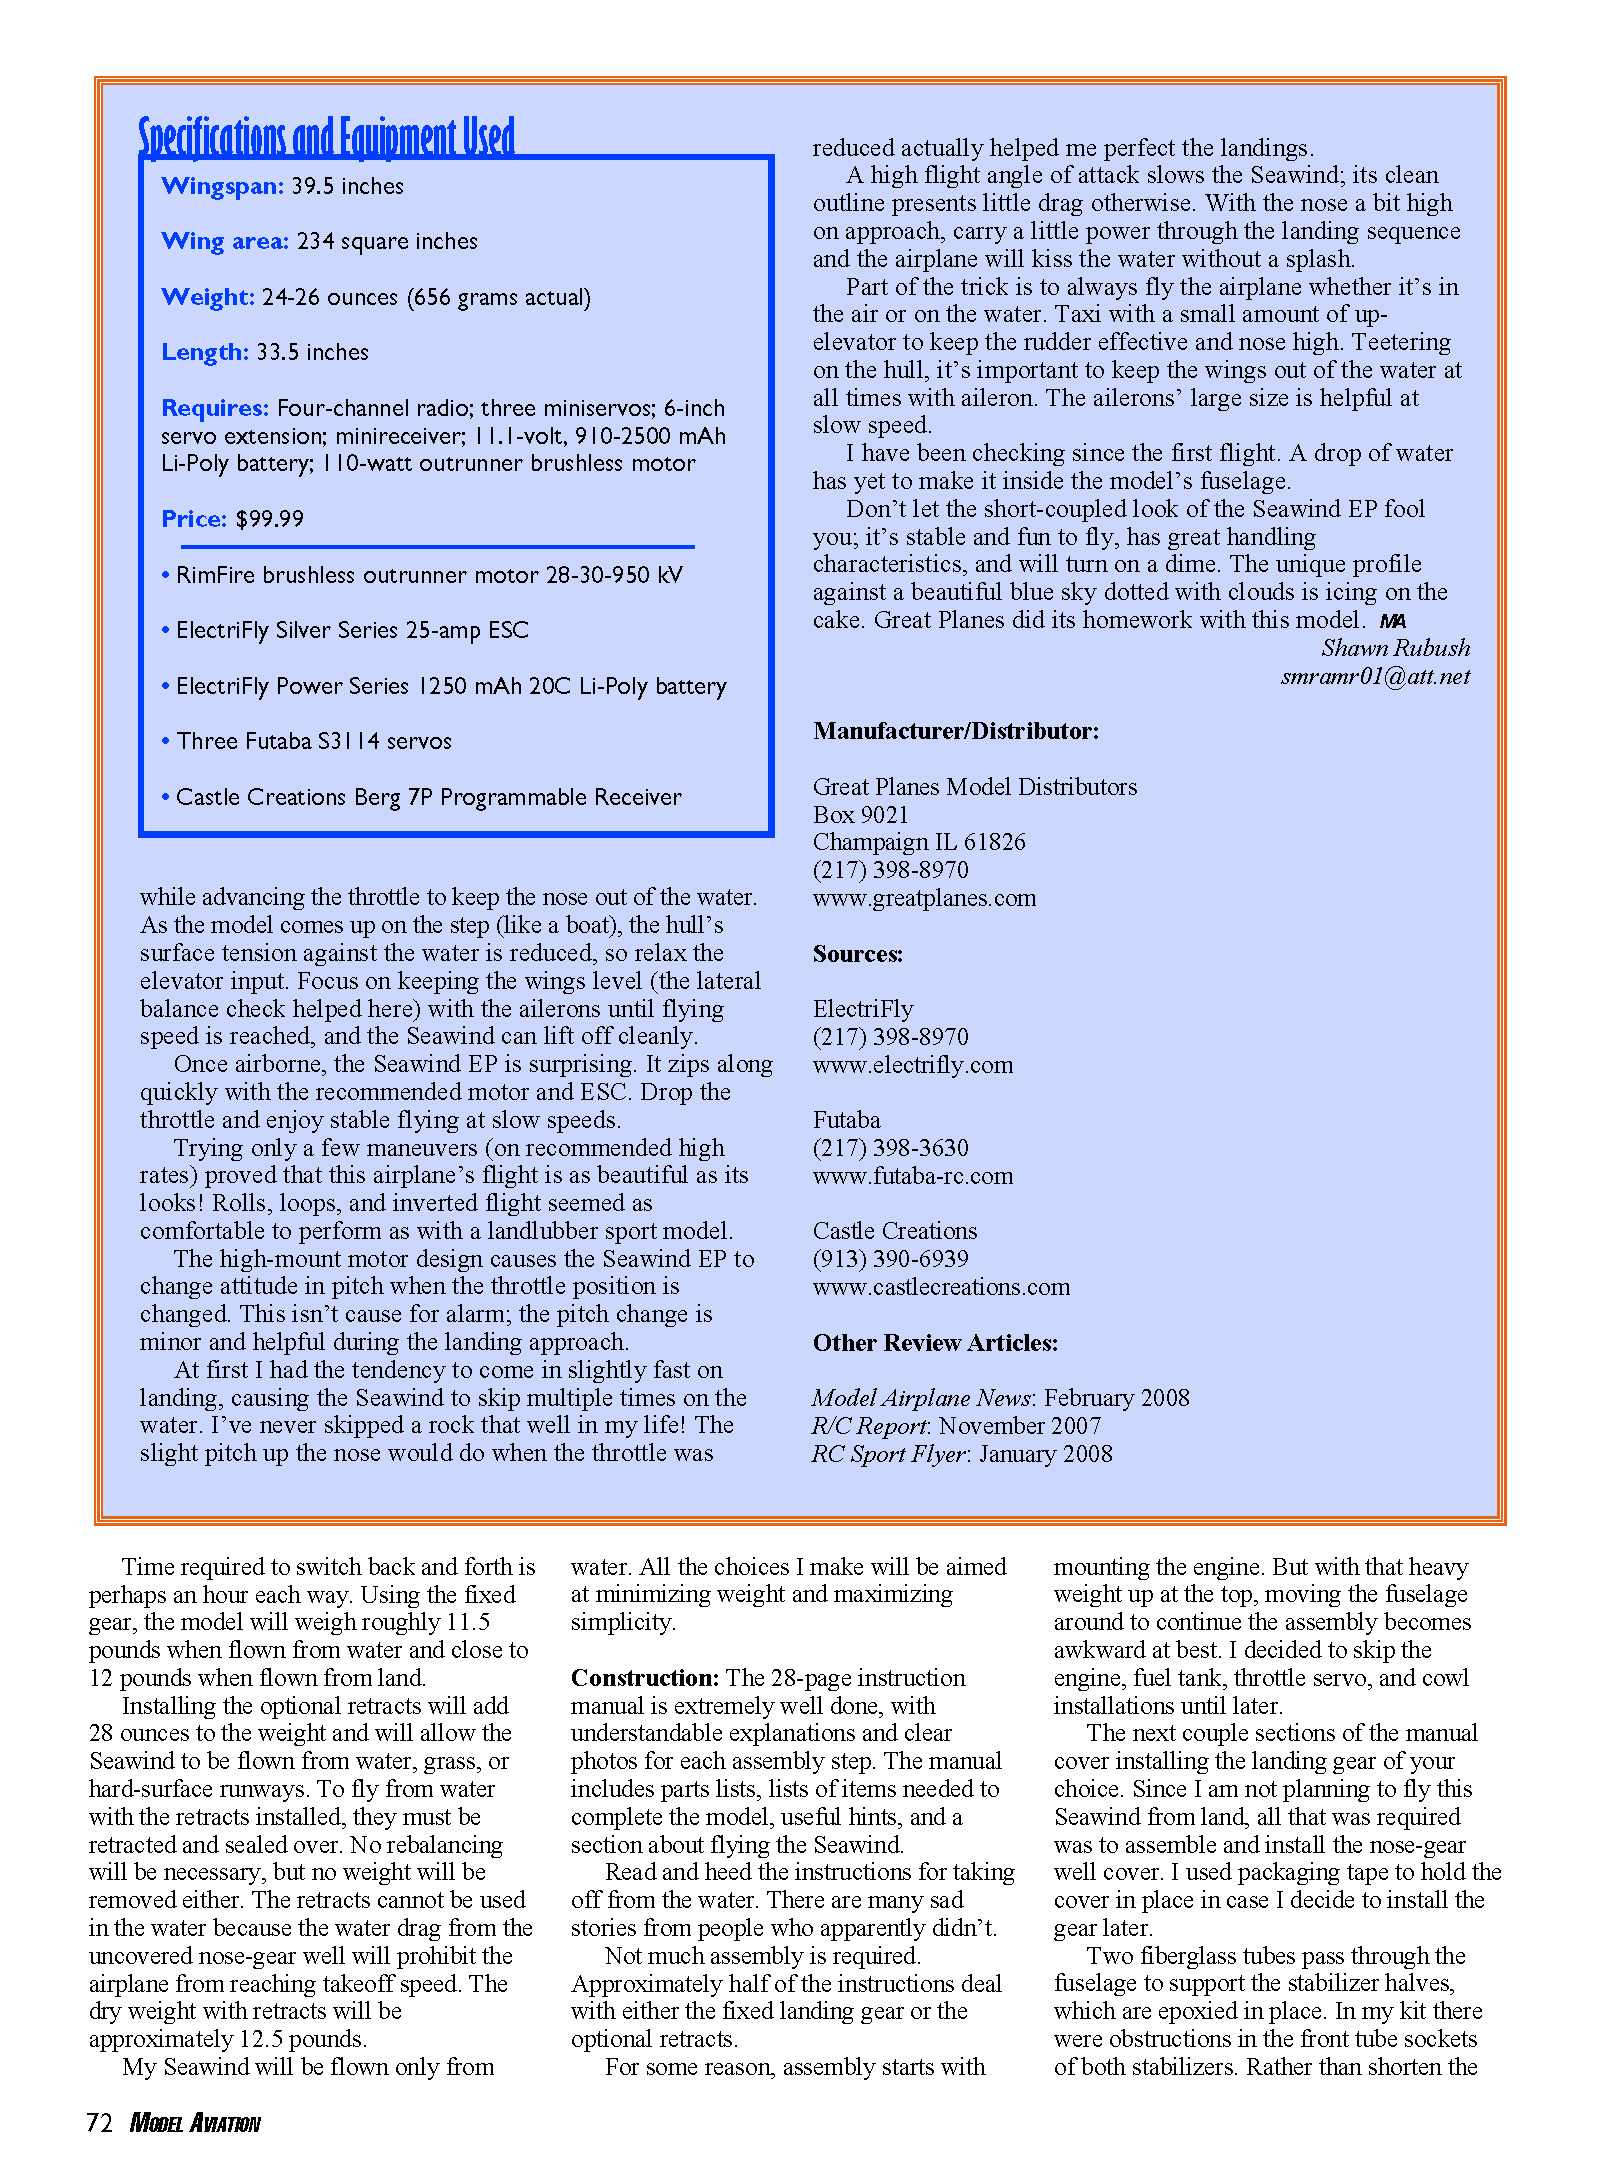
The full-scale Seawind is a unique, fast production amphibious seaplane: four seats, retractable tricycle gear, all fiberglass construction and a distinctive shape. Great Planes' 60-size Seawind ARF is a faithful, well-made representation. It can be flown from water or land using fixed gear or optional retracts (retracts cannot be used while waterborne). The kit is highly prefabricated and presents a striking, scale appearance.
Summary of Impressions
- Quality: Fuselage, wingtips, and hardware are well built. Fiberglass finish is smooth with no visible joints; MonoKote covering on wings and horizontal tail was well done with no wrinkles.
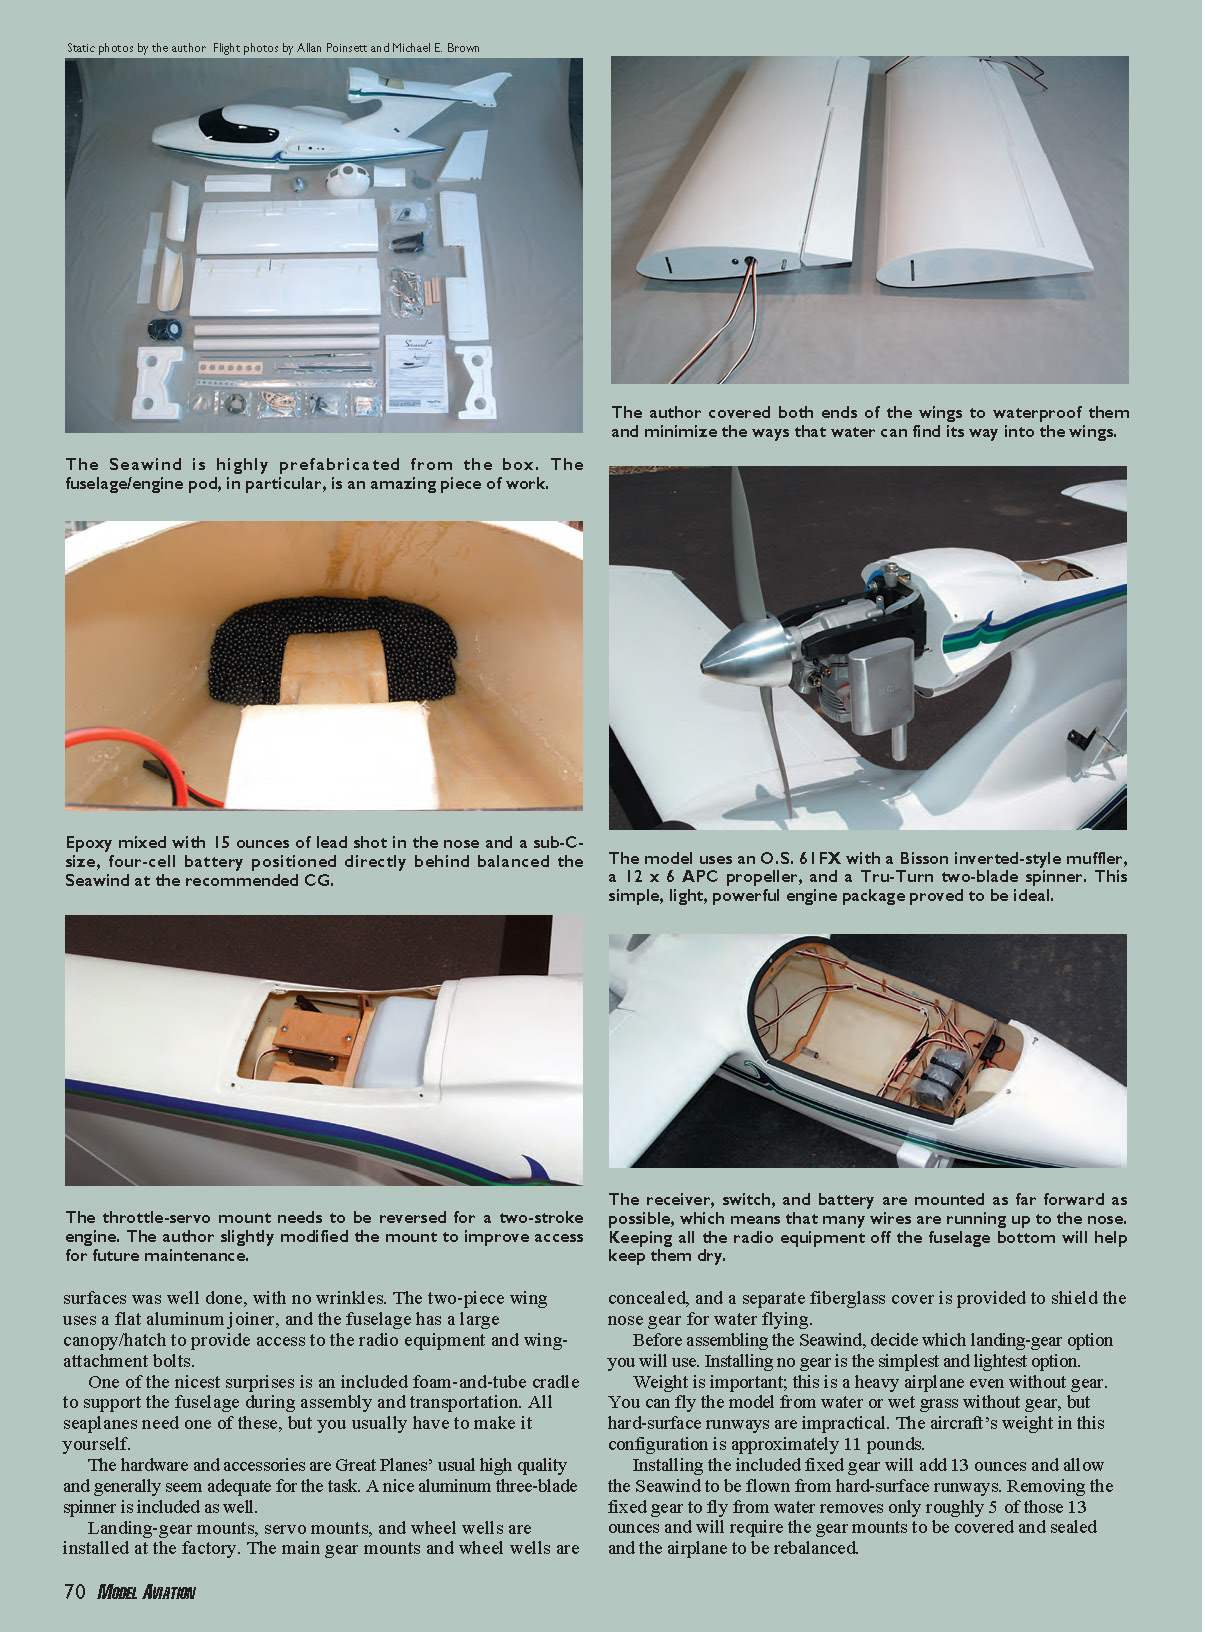
- Prefabrication: The fuselage/engine pod is an impressive factory piece. Landing-gear mounts, servo mounts, and wheel wells are installed. A useful foam-and-tube cradle is included for assembly and transport.
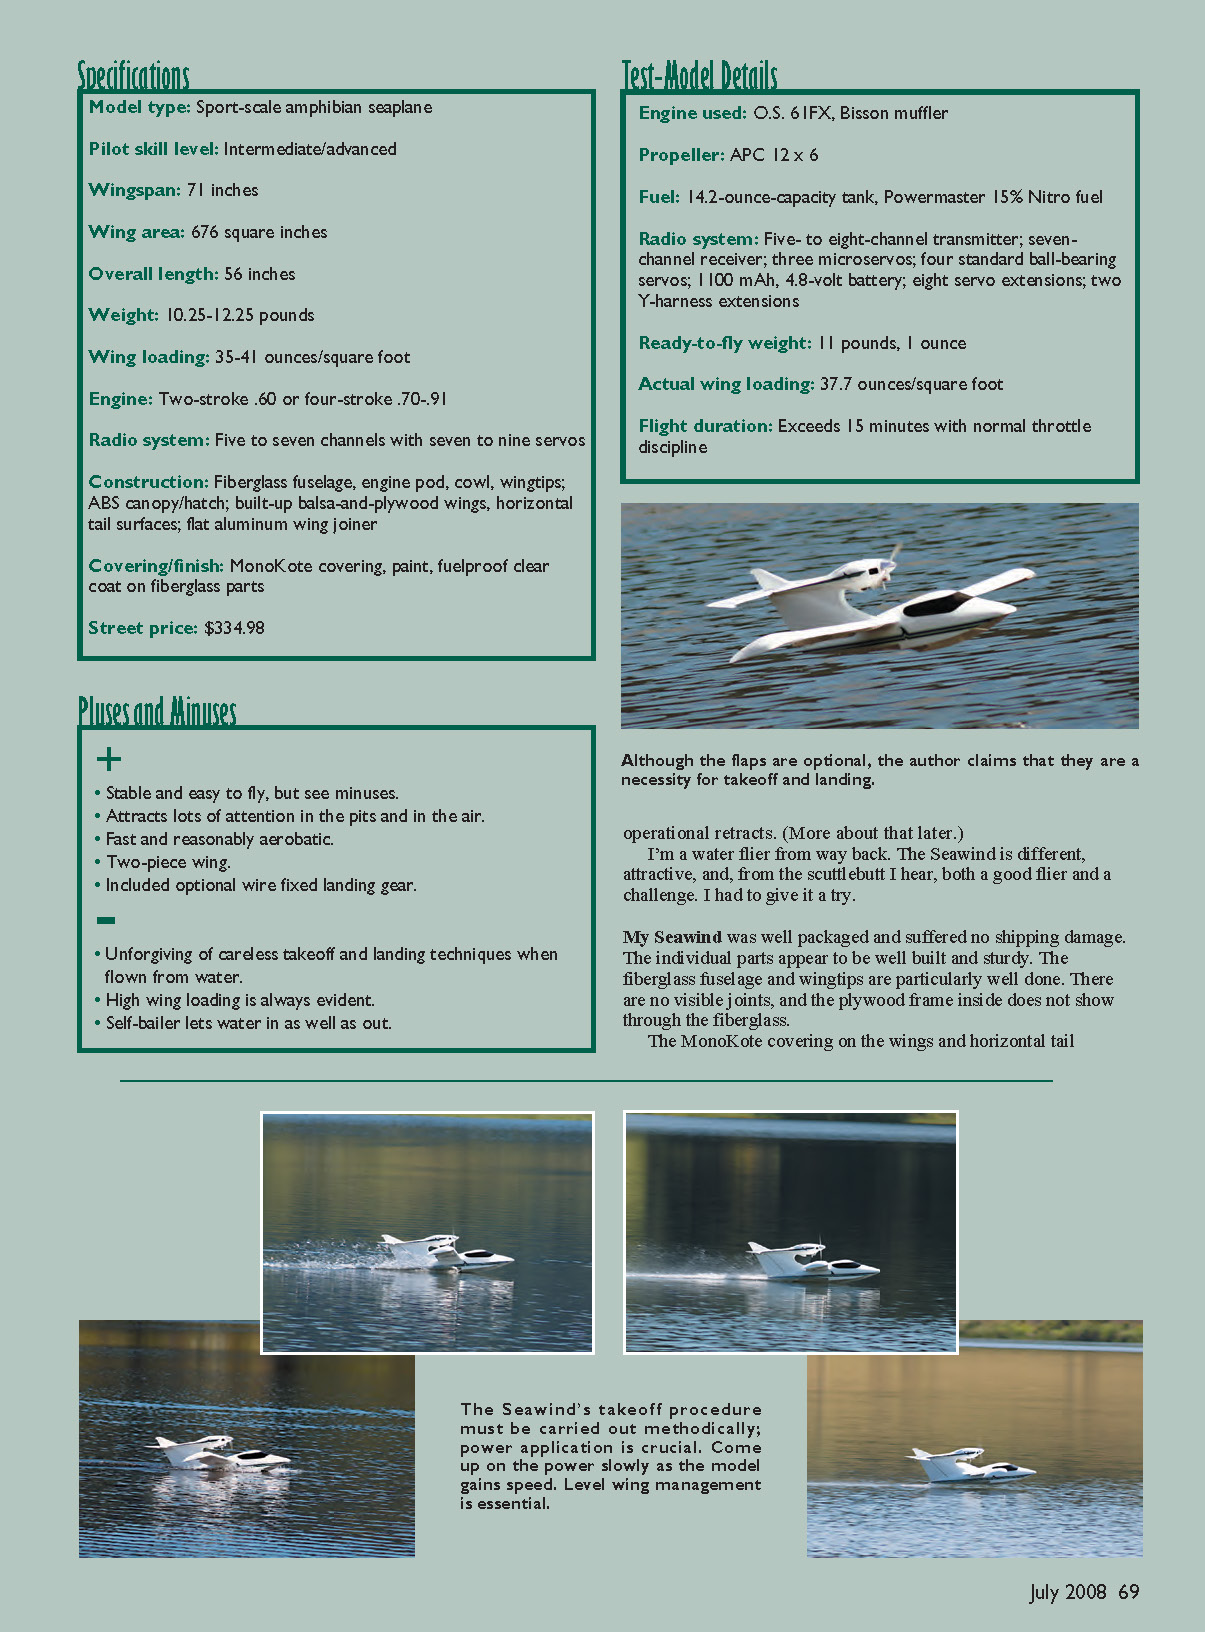
- Handling: With correct setup and technique the Seawind is a very good flier—stable, fast, and reasonably aerobatic. Water takeoffs and landings are the most demanding part and require careful, methodical technique.
- Flaps: Although optional in some configurations, flaps are effectively necessary for safe water takeoffs and landings.
Gear and Weight Options
- No gear (water-only): approximately 11.0 lb (lightest option). Can be flown from water or wet grass; hard-surface runways impractical.
- Fixed gear: adds ~13 oz. Using fixed gear, the model will weigh roughly 11.5 lb when flown from water and close to 12.0 lb when flown from land. Removing the fixed gear later saves only about 5 oz of that added weight (the mounts must be covered/sealed and the model rebalanced).
- Retracts (optional): add ~28 oz. Retracts allow operation from water, grass, or hard surfaces only if retracted and sealed for water; they cannot be used to take off from water because the exposed nose-gear well creates prohibitive drag. Dry weight with retracts installed will be about 12.5 lb.
- Note: Weight is important—the Seawind is heavy for a 60-size model. Expect high wing loading compared with many 60-size sport models.
Construction
Manual and General Fit
- The 28-page manual is well written, with clear photos, parts lists, items needed, useful hints, and a flying section. Read the water-takeoff instructions carefully.
- Not much assembly is required; about half the manual deals with fixed gear or retract installation.
- Engine mounting is shown early in the manual; some builders prefer to postpone engine, fuel tank, throttle servo, and cowl until later to ease handling during assembly.
Airframe Details and Fixes
- Stabilizer tubes: two fiberglass tubes pass through the fuselage to support the stabilizer halves (epoxied in place). Some kits may have obstructions in the tube sockets; cut a notch and use the tube as a twist drill to clear obstructions rather than shortening the tube.
- Hinges: CA hinges are used throughout. There are two hinges per aileron; adding a third hinge is a reasonable safety improvement.
- Wing joiner and wing fit: two-piece wing uses a flat aluminum joiner. Factory tolerances are generally good, but you may need to enlarge servo-wire holes, align wing-retainer-bolt holes, and lightly file or tap tight bolts/blind nuts.
- Wing ends: cover both ends of the wings with scrap covering to waterproof and seal any holes.
- Servo installation: elevator, rudder, and throttle use metal-geared mini servos; flap and aileron use standard-size servos mounted in each wing under silicone-sealed plastic covers. Apply silicone sealant around fuselage servos to keep water out.
- Control horns: mounted to hardwood blocks in control surfaces with small sheet-metal screws; ensure blocks are oriented correctly (on the bottom). Wicking thin CA under horns adds security.
- Wiring holes: confirm servo connectors will fit through wing root wiring holes; you may need to enlarge to about 7/16" diameter.
Water Rudder
- The water rudder is effective but sensitive. If operated at high speed during takeoff it can cause the model to swerve. Full-scale seaplanes use retractable water rudders for that reason. The Seawind’s water rudder is non-retractable; consider adding exponential on the radio and training to be gentle with rudder inputs. Some pilots opt to leave it off and steer with throttle and the air rudder while taxiing.
Canopy, Hatch, and Sealing
- The large canopy/hatch provides good access to radio gear and wing bolts. Thin foam sealing material is provided; the hatch may fit better with selective foam pieces omitted. Adding plywood hard points and two screws for the hatch is a sensible safety modification.
- Expect a few drops of water occasionally in the fuselage unless you tape canopy and wing joints as recommended.
- Self-bailer: assemble and test. Some pilots plug it if they prefer to eliminate that path for water ingress.
Fuel Tank, Engine, and Muffler (IC builders)
- Engine choices: builders aiming for lightness may install an O.S. .61FX two-stroke inverted engine. Engine-mount blind nuts are factory installed; clean paint out of threads with an appropriate tap.
- Engine position: the manual’s recommended prop-drive washer position (5 1/8" from firewall) produces a 3/16–1/4" spinner-to-cowl gap; moving the washer to 4 15/16–5" gives a neater ~1/16" gap.
- Throttle setup for two-stroke: throttle-servo mount must be reversed from manual; supplied pushrod is too short for front-mounted carbs—purchase a longer pushrod. Reverse throttle servo and mount for accessibility and maintenance.
- Fuel tank: the supplied tank nearly fills the pod. Ensure it is isolated from formers to prevent frothing and inconsistent fuel pickup—sand or pad formers for clearance and vibration isolation.
- Fuel-filler valve: mounting a filler/vent valve in the top of the cowl simplifies breaking fuel-line suction to prevent fuel siphon in inverted installations.
- Muffler: stock O.S. muffler is heavy but efficient. Alternative Bisson inverted mufflers fit better visually; some may initially require exhaust extensions until revised versions with longer flanges become available.
- Cowl cooling: most cooling air enters through the bottom of the cowl; sealing one side inlet can help channel hotter air to exits. Monitor temps—no issues reported even in 90°F conditions.
Propeller and Spinner
- Seawind accepts a 12" prop. Four-stroke recommendations often call for a three-blade prop to keep diameter down; two-stroke installations can use a 12x6 two-blade APC for good performance.
- Two-blade props are more efficient; you may need to replace the supplied three-blade spinner with a two-blade spinner and adapter (e.g., Tru-Turn spinner and adapter).
Center of Gravity and Balance
- Manual calls for CG at 1-1/32" behind the LE with no range. It sounds forward, but follow the manual. In one setup it required 15 oz of lead shot/epoxy in the nose plus a sub-C four-cell battery directly behind it to reach the recommended CG.
- Control throws: set exactly as recommended. Flaps used with a three-position switch: no flap, 50% (1/2"), 100% (1").
Finishing Notes
- The clear coat on the fuselage can absorb fuel-dye color; protect fuselage and canopy with a heavy coat of car wax before fuel use.
Weights and Wing Loading
- Example final weights from builds:
- Water-only (no gear): ~11.0 lb; wing loading ≈ 38 oz/ft².
- Fixed gear installed: ~11.5–12.0 lb (water vs. land config).
- Retracts installed: ~12.5 lb dry.
- These wing-loadings are higher than many 60-size models (which often weigh ~8 lb with ~28 oz/ft²), so takeoff and landing technique matter.
Flying
General Handling
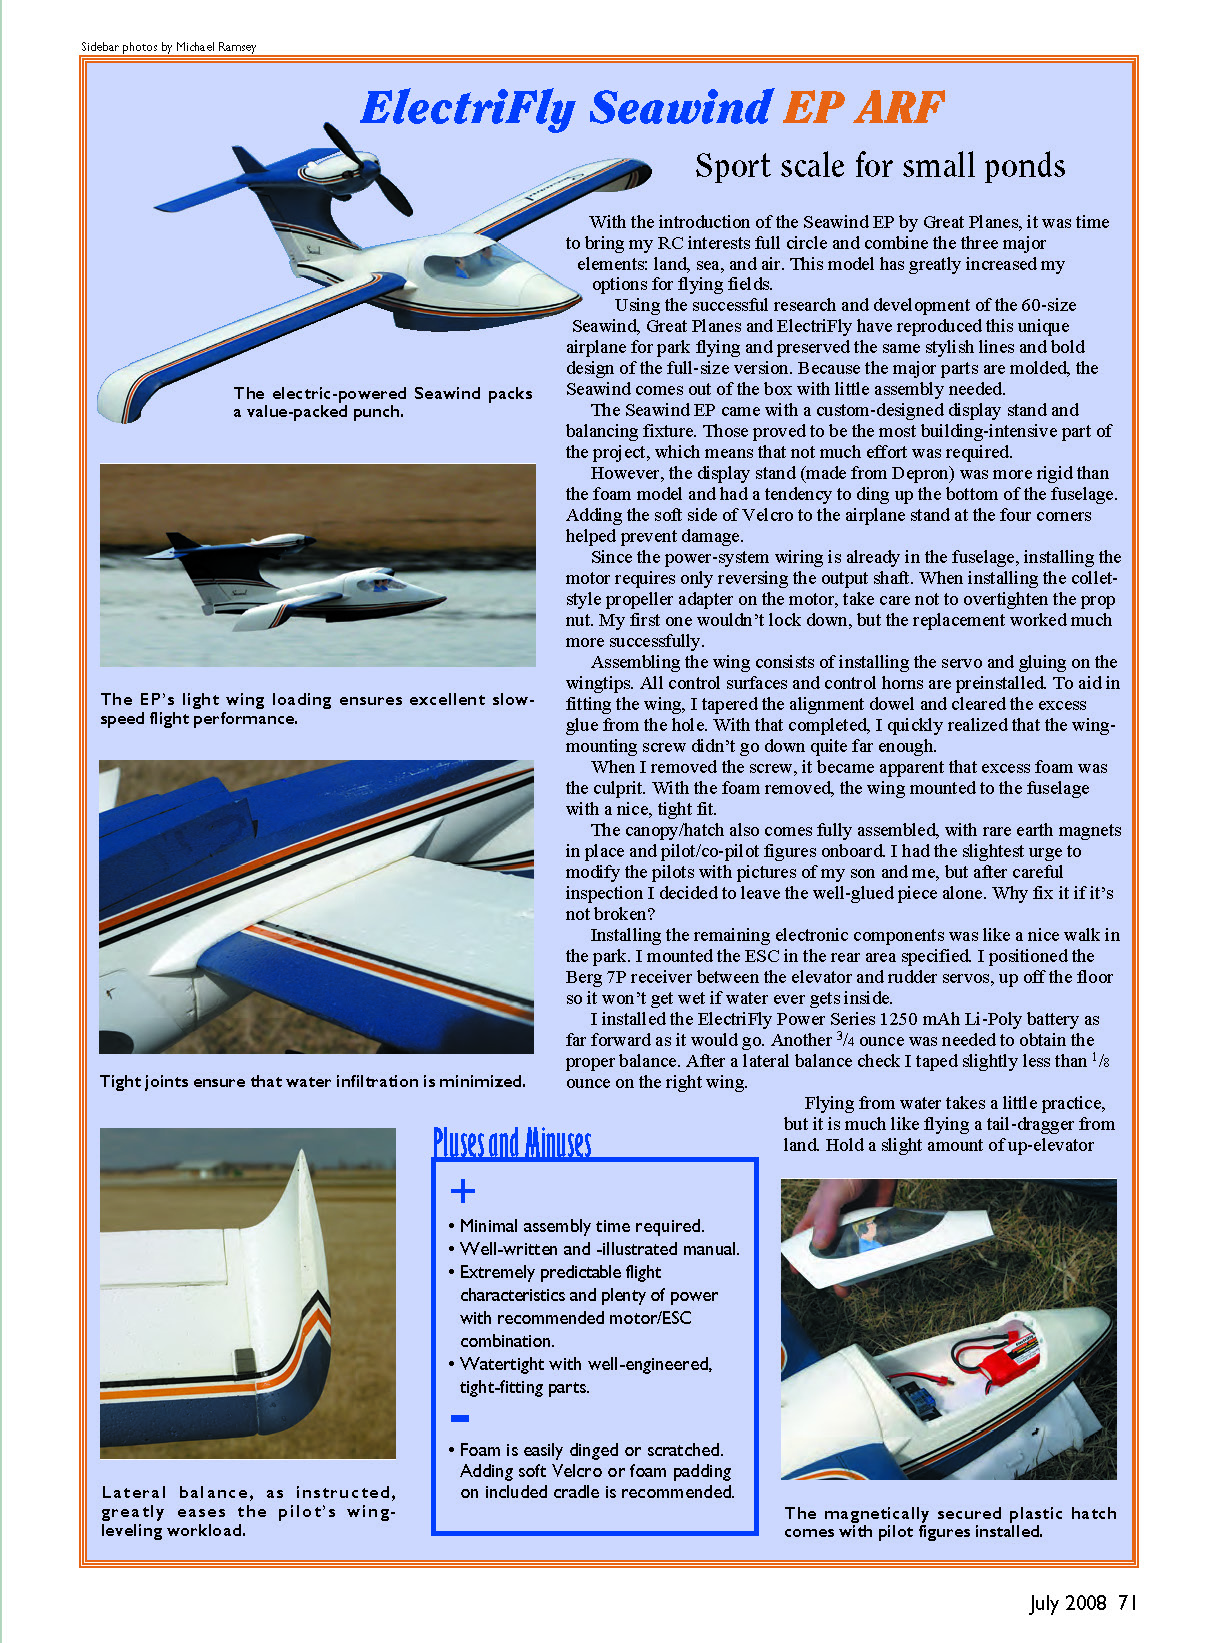
- On land or in the air, the Seawind is stable, fast, and reasonably aerobatic. It zips along with recommended power systems (both EP and IC configurations reported). The high-mounted motor causes minor pitch changes with throttle, which can be helpful on approach.
- Stall behavior: forgiving. Could not induce a tip stall in normal flight; from level flight at idle with full up-elevator the nose drops only slightly before flying again. High sink rate at low speeds due to wing loading. The model did not spin in testing.
- Aerobatics: rolls, loops, and inverted flight are comfortable for a sport model. Knife-edge holding requires significant coupling and altitude loss occurs; elevator is heavy inverted compared with some models.
- Control rates: many prefer high-rate aileron and rudder; elevator low rate is fine for takeoff/landing.
Water Taxiing
- Taxi with a small amount of up-elevator to keep the rudder effective and the nose up.
- Keep wings out of the water using aileron input; the large ailerons help at slow speeds.
- Because the downwind wing tends to be in the water, throttle will turn the model downwind; backing off tends to weather-vane upwind. Balance throttle and rudder to maintain a crosswind taxi.
Water Takeoff Procedure (methodical—power application is crucial)
- Taxi out to the takeoff area, throttle back, and let the airplane point into the wind. Avoid crosswind takeoff if possible.
- Lower flaps to 50%. Advance throttle to ~1/3 power to get the hull and wingtip onto the step. The wingtip may be in the water initially; use significant rudder to counter the drag.
- As the hull/wingtip skim, advance throttle to ~2/3 to build speed so ailerons can level the wings. The water rudder becomes very sensitive here—use exponential and be gentle or consider leaving the water rudder off and steering with throttle/air rudder.
- When both wingtips are out of the water and the wings are level, advance to full power. Do not touch the rudder during this stage. Elevator input is generally unnecessary; the Seawind often lifts off by itself. Up-elevator may be needed on glass-smooth water.
- After a safe altitude is reached, raise flaps.
- Common takeoff problems come from rudder use at high speed (ground-loop tendency) or trying to rotate early with full-throttle/full-up which causes bouncing. Let the model reach speed and wings-level before committing to liftoff.
Water Landing
- Slightly more demanding than average sport seaplanes. Use full (100%) flaps. Flaps slow the airplane noticeably—use throttle to maintain airspeed in the approach.
- Use a relatively flat approach with airspeed between wheel-landing and three-point speeds. Too slow causes bouncing; too fast can create skipping or a nose-low hard stop.
- Carry a bit of power on approach and land with a slightly nose-high attitude so the hull kisses the water cleanly.
Performance and Verdict
- The Seawind is not an everyday sport trainer; its unconventional design and high wing loading reward proper technique. When handled correctly for water operations it is a beautiful and rewarding seaplane that draws attention.
- The kit is quick and straightforward to assemble for anyone experienced with ARFs. The pilot should be comfortable with low-wing aerobatic sport models and, for water operations, have some seaplane experience.
- Price is reasonable for the level of finish and prefabrication; support from Great Planes is an advantage.
Construction Tips / Common Modifications (summary)
- Delay engine/cowl installation until later if you need easier handling during assembly.
- Add a third aileron hinge for safety.
- Use silicone sealant around fuselage servos and under wing servo covers.
- Be prepared to clear tube sockets, enlarge servo-wire holes, and adjust blind-nut threads if necessary.
- Consider an O.S. .61FX or recommended electric motor per your goals; fit spinner/prop accordingly.
- Balance to manual CG—expect to add nose ballast and position battery aft of it.
- Wax fuselage/canopy to prevent fuel dye absorption.
- Consider plugging or modifying the self-bailer if you want to minimize water ingress.
Manufacturer / Distributor
Great Planes Model Distributors Box 9021 Champaign, IL 61826 (217) 398-8970 www.greatplanes.com
Sources
- ElectriFly — (217) 398-8970 — www.electrifly.com
- Futaba — (217) 398-3630 — www.futaba-rc.com
- Castle Creations — (913) 390-6939 — www.castlecreations.com
Other Review Articles
- Fly RC: April 2006
- Flying Models: January 2007
- Model Airplane News: May 2006; February 2008
- R/C Report: September 2006; November 2007
- RC Sport Flyer: January 2008
Authors / Contacts
Shawn Rubush [email protected]
Jim Feldmann [email protected]
Transcribed from original scans by AI. Minor OCR errors may remain.

