

Plane Talk: Lanier RC Shrike 40 ARF
Nick Schriefer
If you have been flying for a while and have built several RC airplanes, you have probably settled on a certain type of aircraft you like. Many times we find ourselves guilty of taking only our favorite models to the field week after week. But even if you fly IMAC (International Miniature Aerobatic Club) sequences or 3-D Pro Bro style, it’s fun to fly something new.
I love to fly 3-D—and as close to the ground as I can without planting balsa wood—or trying to fly a good sequence or even the occasional straight line, but most of us deep down have a need for speed. Mine was piqued when I was asked to review the Shrike 40 ARF from Lanier RC. The Shrike is a twin-vertical-stabilizer, delta-wing sport model with an elevator instead of elevons. It looks like the big brother to the Shrike 15 that has been around for a few years.
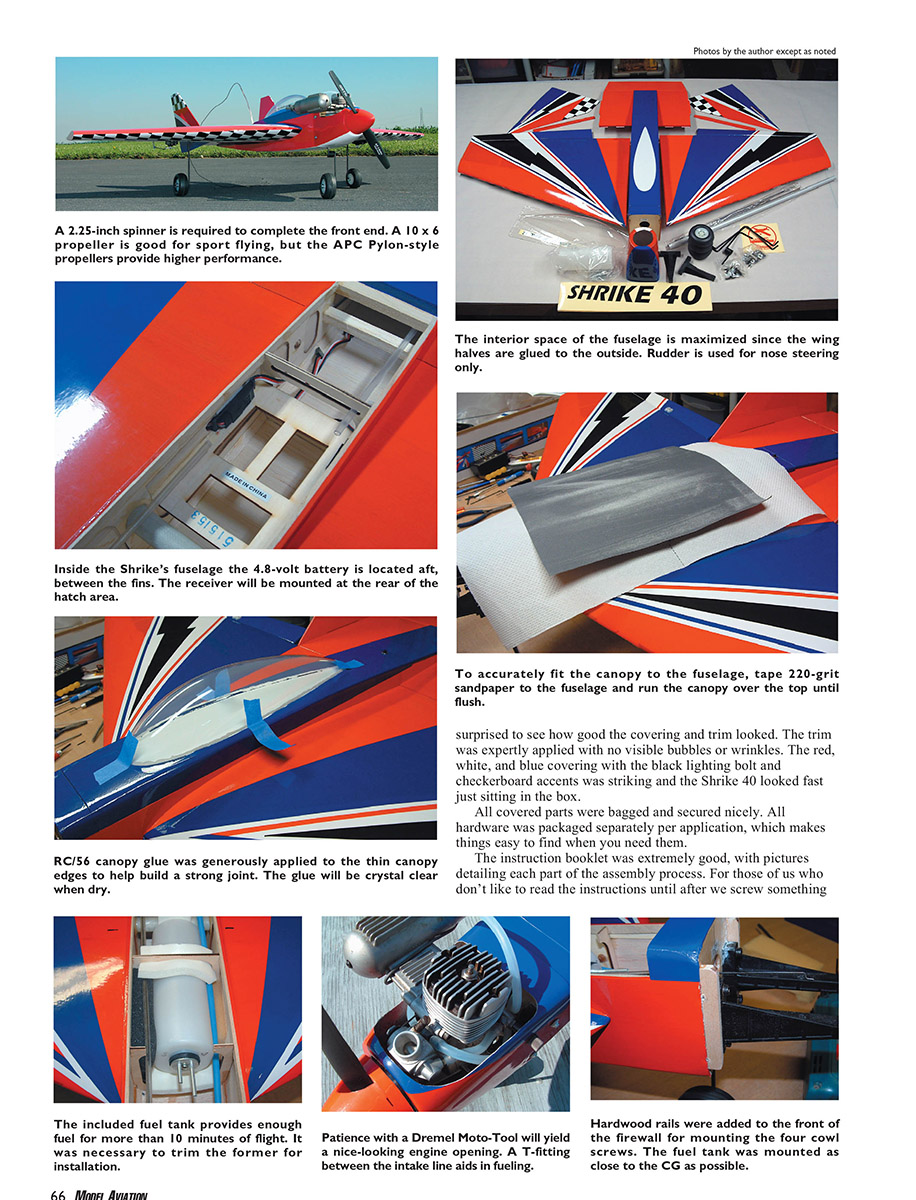
When I built my 15-size Shrike I used a bushing O.S. .25 FP engine, and it was a blast to fly, but it was a kit that required building and covering. Now you can have the fun of a bigger, heart-pounding Shrike in ARF form, with a wild-looking trim scheme. You can have it built in a couple of nights, working on it at your leisure. If you really want to get serious about finishing the Shrike 40, put in a full day Saturday and you could be flying on Sunday. All you need for a good adrenaline rush is a strong .46 engine, a good radio system, propeller, spinner, and fuel.
I had to leave the airplane stock for the initial test flights and photo shoot, and it flew great. But after having approximately 20 flights on it I wanted it to go faster, so I made some changes to the setup to increase its performance. I will explain that later. For now let’s look at the design.
A few of the major differences between the Shrike 15 and the new Shrike 40 ARF, besides the latter being bigger, are that the 40 uses landing gear and a separate servo on each aileron. This allows takeoffs and landings to be like those of a traditional sport model. With a computer radio and individual aileron servos, differential can be programmed in so those perfect jetlike axial rolls can be achieved. The 40 looks like a jet and can deliver all the unlimited vertical aileron rolls and 100-plus mph speed passes you can handle. It has all the fun of a jet without the expense.
Rolls on high rate are fast. (Did I write “fast”? I mean they’re a blur.) You can’t begin to count the rolls, so dial them down to the manufacturer’s recommendations and work on your stick timing until you get used to them.
On the flip side, the Shrike 40 will also fly around slowly if you want it to; just dial in some exponential. Fly it on low rates and you will think it’s a trainer. But why would you want to do that?
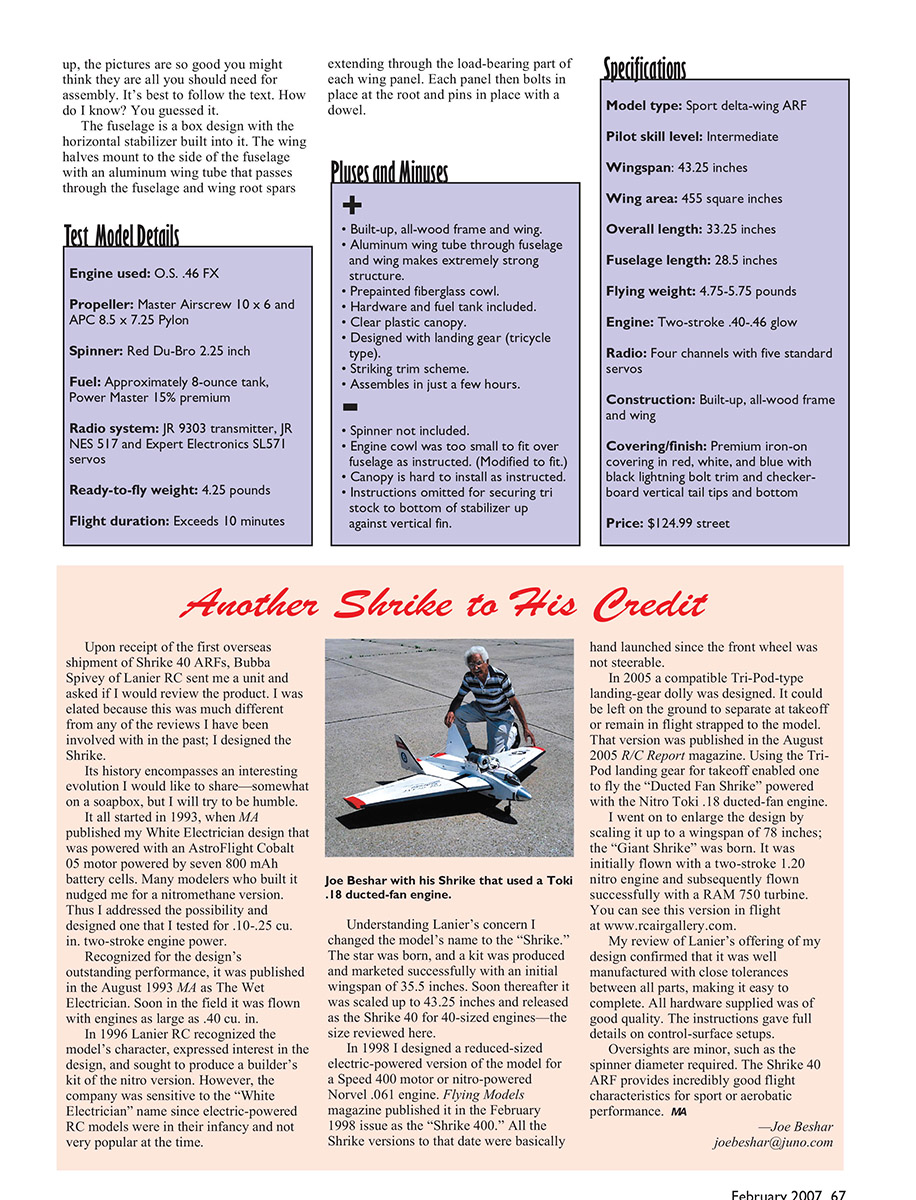
Construction:
I was surprised to see how good the covering and trim looked. The trim was expertly applied with no visible bubbles or wrinkles. The red, white, and blue covering with the black lightning bolt and checkerboard accents was striking and the Shrike 40 looked fast just sitting in the box.
All covered parts were bagged and secured nicely. All hardware was packaged separately per application, which makes things easy to find when you need them.
The instruction booklet was extremely good, with pictures detailing each part of the assembly process. For those of us who don't like to read the instructions until after we screw something up, it was very helpful. When you open it up, the pictures are so good you might think they are all you should need for assembly. It's best to follow the text. How do I know? You guessed it.
The fuselage is a box design with the horizontal stabilizer built into it. The wing halves mount to the side of the fuselage with an aluminum wing tube that passes through the fuselage and wing root spars extending through the load-bearing part of each wing panel. Each panel then bolts in place at the root and pins in place with a dowel.
This model is built like many removable-wing designs, and I was tempted to keep it that way. The instructions have you securing the wings and using epoxy for a permanent installation. I fired off an e-mail to the people at Lanier and asked what they thought about keeping the wings removable; they advised against it. They recommended that I follow the instructions and epoxy the wings on.
The instructions also warn against too much speed and excessive use of throttle control to prevent structural failure, but I wanted to push the airplane for as much speed as I could get, so making the wings permanent was probably a good idea anyway.
The vertical fins attach strongly to the fuselage tail area using a slot-and-notch design with triangle stock underneath for added support. The instructions omit the installation of the triangle stock (tri-stock) reinforcement, so don't forget. The angles are already set in the notches of the fins, so just check to make sure they are installed correctly with left and right sides. No extra fitting was required.
When I tried to install the engine cowl I found that it had been molded too small to fit over the firewall and the front of the fuselage. I tried pushing the rounded corners in on the fuselage to get the cowl started on, but the fiberglass started to crack. Even if I could get it slightly over the firewall, there would not have been enough surface area to mount the screws into the fuselage.
I mounted a couple pieces of hardwood to the front of the firewall for the screws to attach to and inletted the bottom of the cowl so I could get the top and sides covering the front edge of the fuselage. This worked out well and allowed a good-looking installation that was strong enough not to rip out from vibration and other forces.
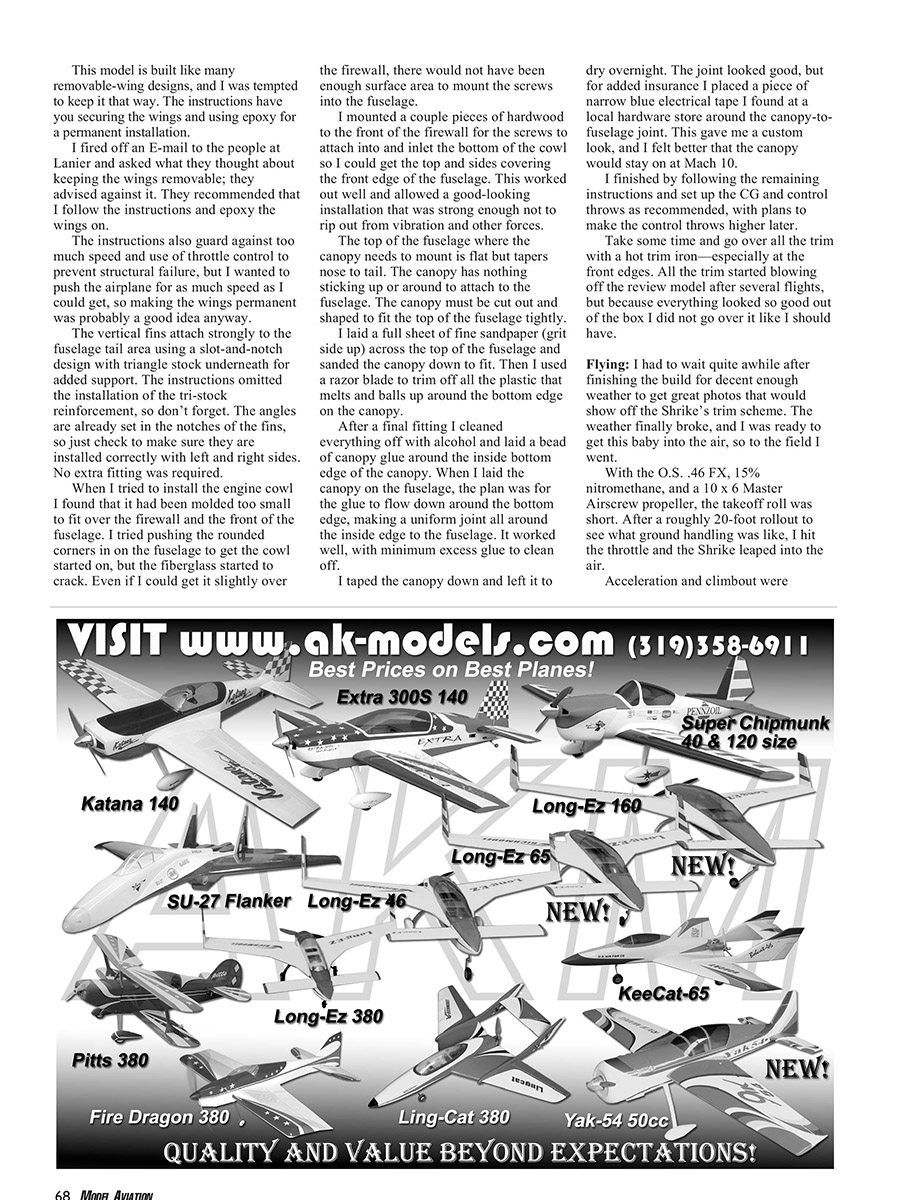
The top of the fuselage where the canopy needs to mount is flat but tapers nose to tail. The canopy has nothing sticking up or around to attach to the fuselage. The canopy must be cut out and shaped to fit the top of the fuselage tightly.
I laid a full sheet of fine sandpaper (grit side up) across the top of the fuselage and sanded the canopy down to fit. Then I used a razor blade to trim off all the plastic that melts and balls up around the bottom edge of the canopy.
After a final fitting I cleaned everything off with alcohol and laid a bead of canopy glue around the inside bottom edge of the canopy. When I laid the canopy on the fuselage, the plan was for the glue to flow down around the bottom edge, making a uniform joint all around the inside edge to the fuselage. It worked well, with minimum excess glue to clean off.
I taped the canopy down and left it to dry overnight. The joint looked good, but for added insurance I placed a piece of narrow blue electrical tape I found at a local hardware store around the canopy-to-fuselage joint. This gave me a custom look, and I felt better that the canopy would stay on at Mach 10.
I finished by following the remaining instructions and set up the CG and control throws as recommended, with plans to make the control throws higher later.
Take some time and go over all the trim with a hot trim iron—especially at the front edges. All the trim started blowing off the review model after several flights, but because everything looked so good out of the box I did not go over it like I should have.
Flying:
I had to wait quite a while after finishing the build for decent enough weather to get great photos that would show off the Shrike's trim scheme. The weather finally broke, and I was ready to get this baby into the air, so to the field I went.
With the O.S. .46 FX, 15% nitromethane, and a 10 x 6 Master Airscrew propeller, the takeoff roll was short. After a roughly 20-foot rollout to see what ground handling was like, I hit the throttle and the Shrike leaped into the air.
Acceleration and climbout were impressive. I banked right and turned around for a trim pass. Everything looked good, so I dove down to the runway for a full-speed pass. The Shrike screamed past at a speed that must have exceeded 100 mph, and then I pulled up into a rolling unlimited vertical climb. Woo-hoo!
Stability was good, with all control inputs effective. The one thing I missed was the rudder (the Shrike doesn't have one), so I couldn't correct for a true vertical line. Not having that input will throw you at first if you use the rudder for more than landing correction, but after a few flights you won't miss it too much except in a crosswind.
If the Shrike's wings are level when you enter a vertical line, it will continue straight up until it's a dot in the sky. Slow flight and landings are completely uneventful; just throttle back on the downwind leg, make your turn, allow for any crosswind, and settle in for a nice, shallow glide path to touchdown.
After several flights, and some egging on from the pits, I started wanting more speed. I did not want to put out the money for a high-dollar pylon engine, so I tweaked what I had to get more performance.
I removed the landing gear to get rid of drag (and to increase the cool factor). I installed wire skids made from scrap out of the junk box. It looked close enough in diameter to the original, so I put it in a vise and bent it to match the OEM gear less the axle portion and the wheels. There was no need to cut out the custom fenders or the wheel fairings; close is good enough.
I installed the skids in the same place as the stock landing gear. I had to put something on the bottom of the wing to protect the servos hanging down; if I wanted to put the gear back on, everything was there for a quick field changeover.
I played around with propellers. I knew I could easily come down in propeller diameter and go up in pitch or stay with the 6 pitch and get more rpm. I tried a 9 x 6 and things improved slightly, and then I tried a buddy's APC 8.5 x 7.25 pylon-racing propeller. Everyone on the flightline saw a big jump in speed—especially in the turns.
Before the pylon prop, the Shrike would slow slightly in the turn and start to catch up to the models with racing engines on the straightaway. With the pylon propeller it pulled the same speed all the way around the course and looked great without the gear hanging down.
I changed out mufflers. I ended up using a Mac's one-piece pipe-style muffler (manufacturer stock number 6590) that gave me roughly 1,200 more rpm, and it looked good. A tuned pipe or a hotter engine would have been another option, but I wanted to get more performance out of what most of us would have laying around.
Give the Shrike 40 ARF a try, and you too could take care of your need for speed. If you love it as much as I do and a few friends catch the same itch (as mine did), every day at the field could turn into race day!
MA
Nick Schriefer [email protected]
Manufacturer/Distributor:
- Lanier RC
- Box 458
- Oakwood, GA 30566
- (770) 532-6401
- www.lanierc.com
Products Used in Review:
- JR and Expert: Horizon Hobby Inc., www.horizonhobby.com
- O.S. Engines, www.osengines.com
- Du-Bro, www.dubro.com
- APC Props, www.apcprop.com
- Master Airscrew, www.masterairscrew.com
- Mac's Products, www.macspro.com
Transcribed from original scans by AI. Minor OCR errors may remain.

