
The Pogo ARF’s First Flights
Bob Aberle
Introduction
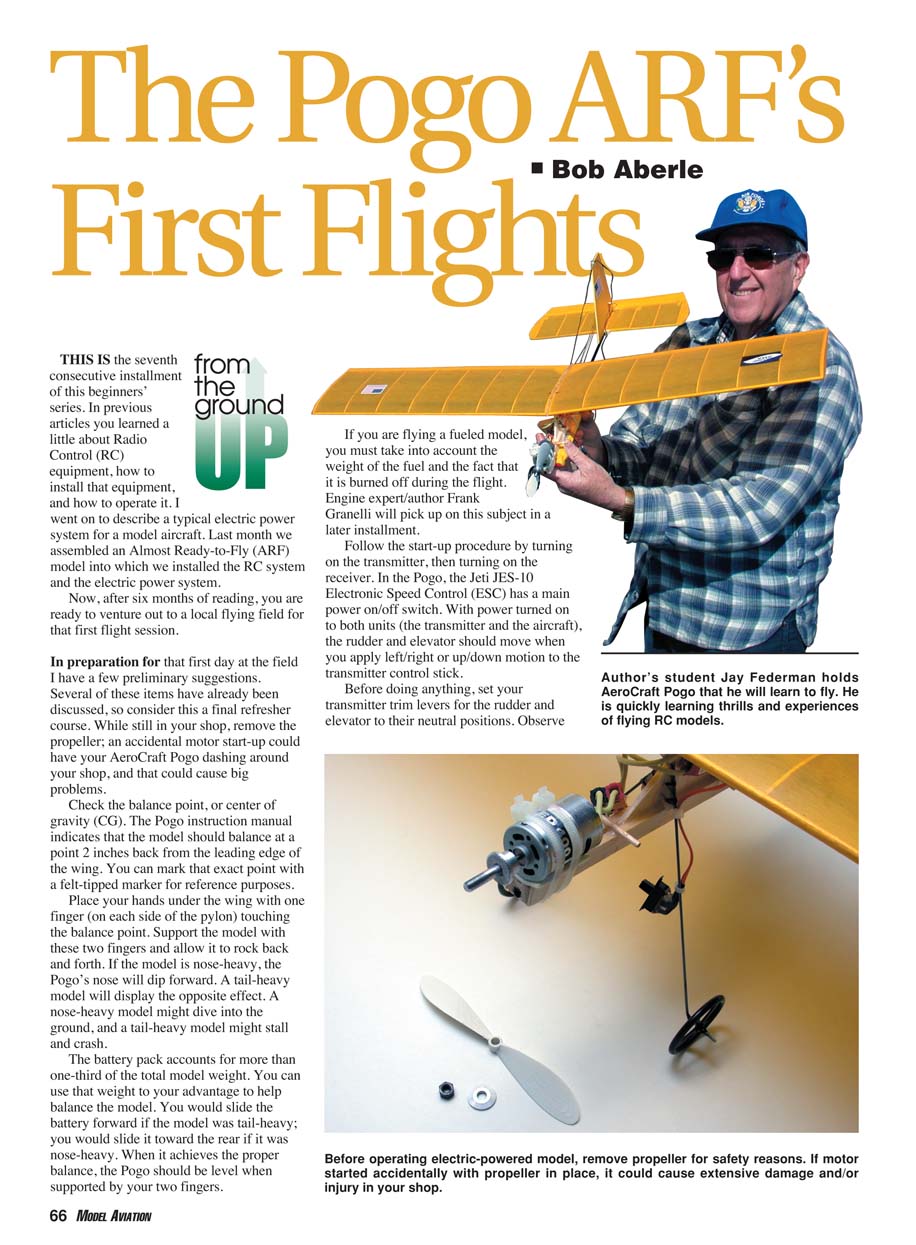
This is the seventh installment of this beginners' series. In previous articles you learned about RC equipment, installation, operation, and a typical electric power system. Last month we assembled an Almost Ready-to-Fly (ARF) model and installed the RC and electric power systems. Now, after six months of reading, you are ready for your first flying-field session.
Pre-flight shop checks
- Remove the propeller while still in your shop. An accidental motor start could send the AeroCraft Pogo dashing about and cause damage.
- Check the balance point (center of gravity, CG). The Pogo manual indicates a balance point 2 inches back from the wing leading edge. Mark that point with a felt-tip marker for reference.
- Support the model with one finger on each side of the pylon at the balance point and rock it gently. A nose-heavy model will dip forward; a tail-heavy model will rock backward. A nose-heavy model may dive; a tail-heavy model may stall.
- The battery pack is more than one-third of the model weight and can be moved to adjust CG. Slide the battery forward if tail-heavy; slide it rearward if nose-heavy. When balanced correctly, the Pogo should be level when supported at the CG.
- If you fly fueled models, remember fuel weight changes during flight; this will be covered in a future installment.
Radio and control checks
- Follow the proper start-up sequence: turn on the transmitter, then turn on the receiver.
- On the Pogo, the Jeti JES-10 Electronic Speed Control (ESC) has a main power switch—ensure it’s on after the receiver is powered.
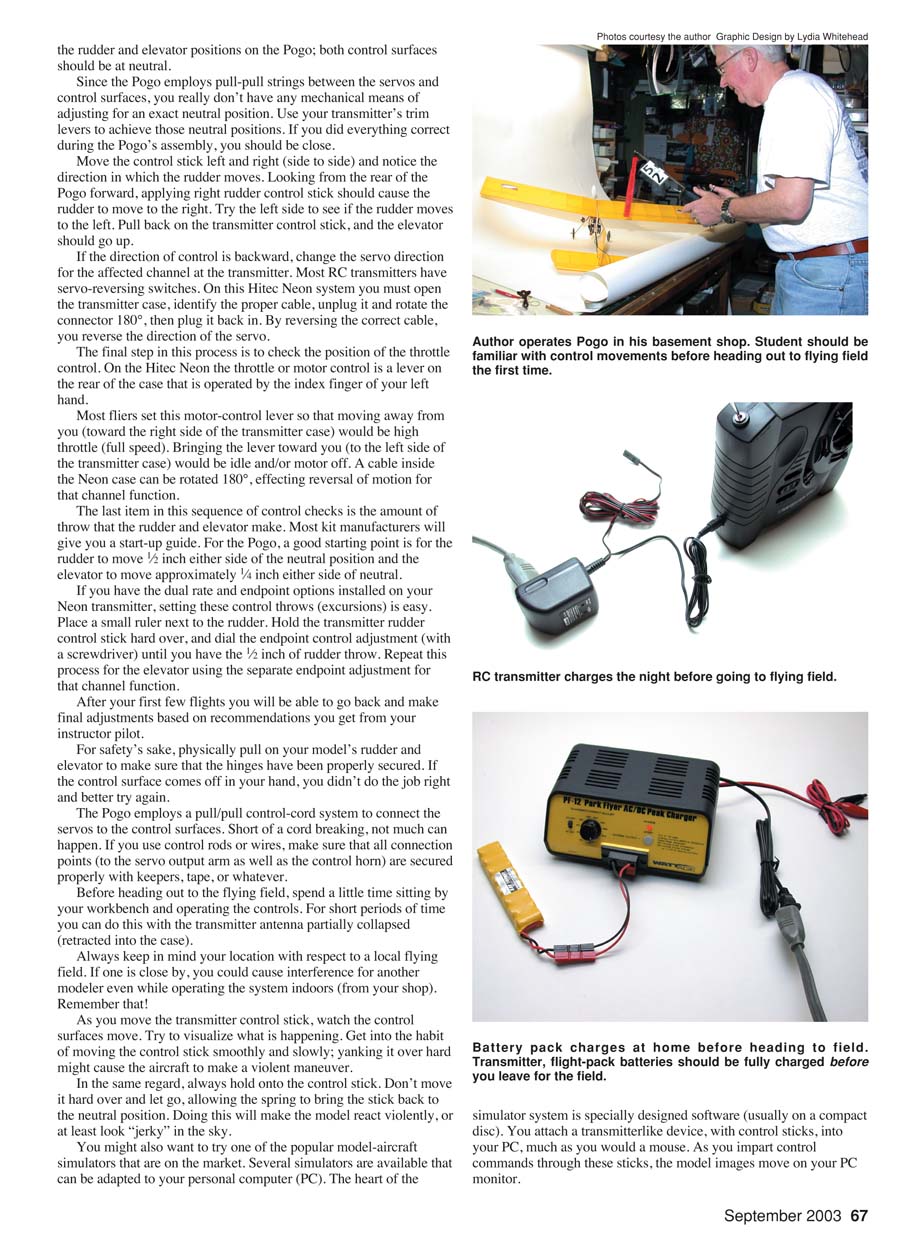
- With power on, verify rudder and elevator movement when you move the transmitter sticks.
- Set transmitter trim levers for rudder and elevator to neutral. Observe the control surfaces; they should be neutral. Because the Pogo uses pull-pull cords between servos and surfaces, mechanical neutral adjustments are limited—use transmitter trims to achieve neutral.
- Verify control directions:
- From behind the Pogo, moving the rudder stick right should move the rudder to the right.
- Pulling back on the elevator stick should raise the elevator.
- If a control is reversed, use your transmitter’s servo-reverse function. On some systems (e.g., Hitec Neon) you must open the transmitter case, rotate the connector 180°, and replug it to reverse servo direction.
- Check throttle orientation. Most fliers set the throttle so moving the lever away from you is high throttle, toward you is idle/off. If needed, reverse the throttle cable inside the transmitter.
- Check control throws: a good starting point for the Pogo is ~1/2 inch travel each side for the rudder and ~1/4 inch each side for the elevator.
- If your transmitter has endpoint/dual-rate controls, adjust endpoints with a small ruler in place and dial to achieve the recommended throws.
- After initial flights, fine-tune throws per your instructor’s recommendations.
- Physically pull on the rudder and elevator to ensure hinges are secure. If a control surface comes off, reattach and secure properly.
- The Pogo’s pull/pull cords are robust; if you use control rods or wires, make sure all connections are secured with keepers or tape.
- Practice operating the controls while seated at your bench. Short practice sessions can be done with the transmitter antenna partially retracted—be mindful that even indoors you may interfere with nearby fliers if the field is close.
- Move sticks smoothly and hold the stick when moving it; don’t shove and let go—this causes jerky, violent model reactions.
Simulator
- Consider using a model-aircraft simulator on your PC. These use software and a transmitter-like controller that connects to your computer. Simulators are realistic and excellent for training before and after initial flights. A future installment will cover simulators in depth.
Batteries, packing, and organization
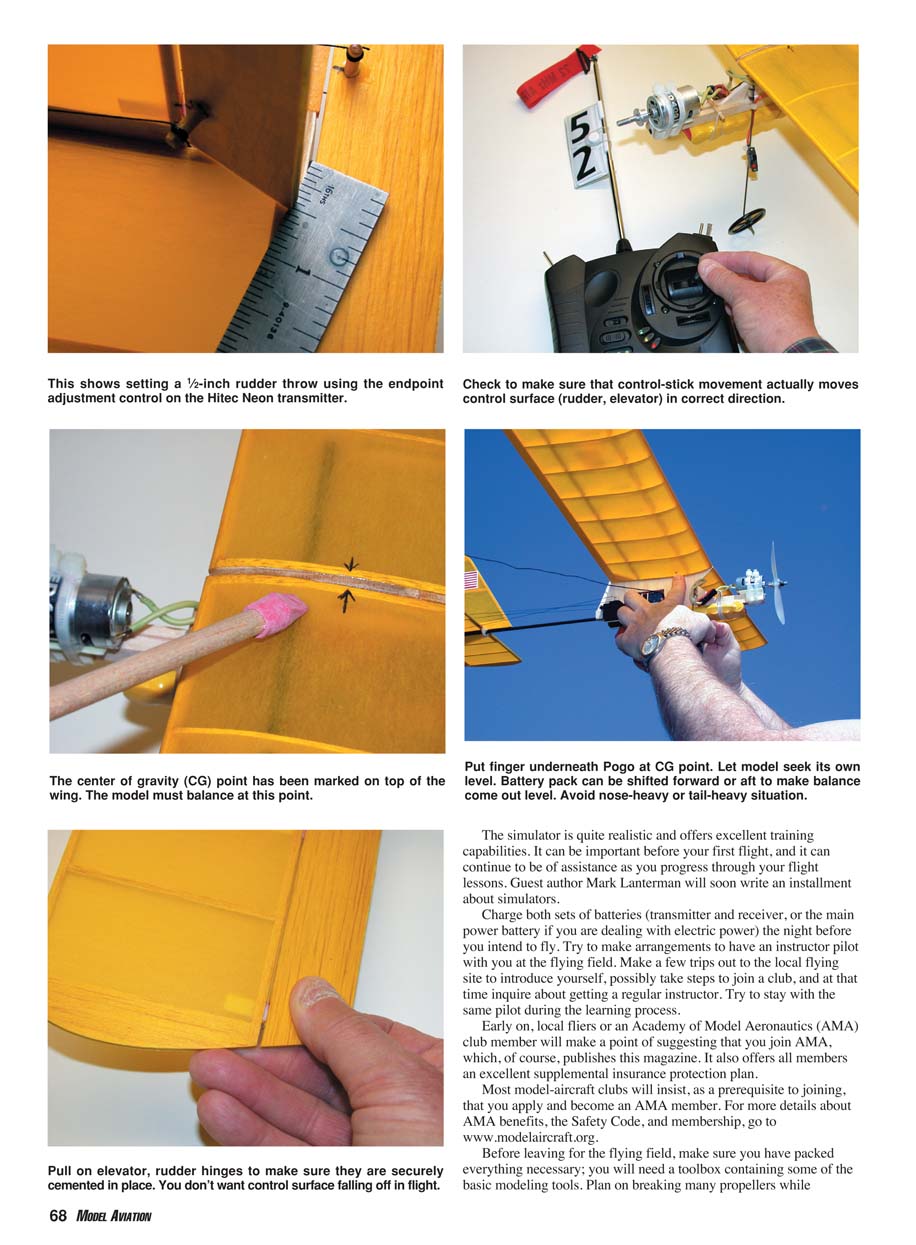
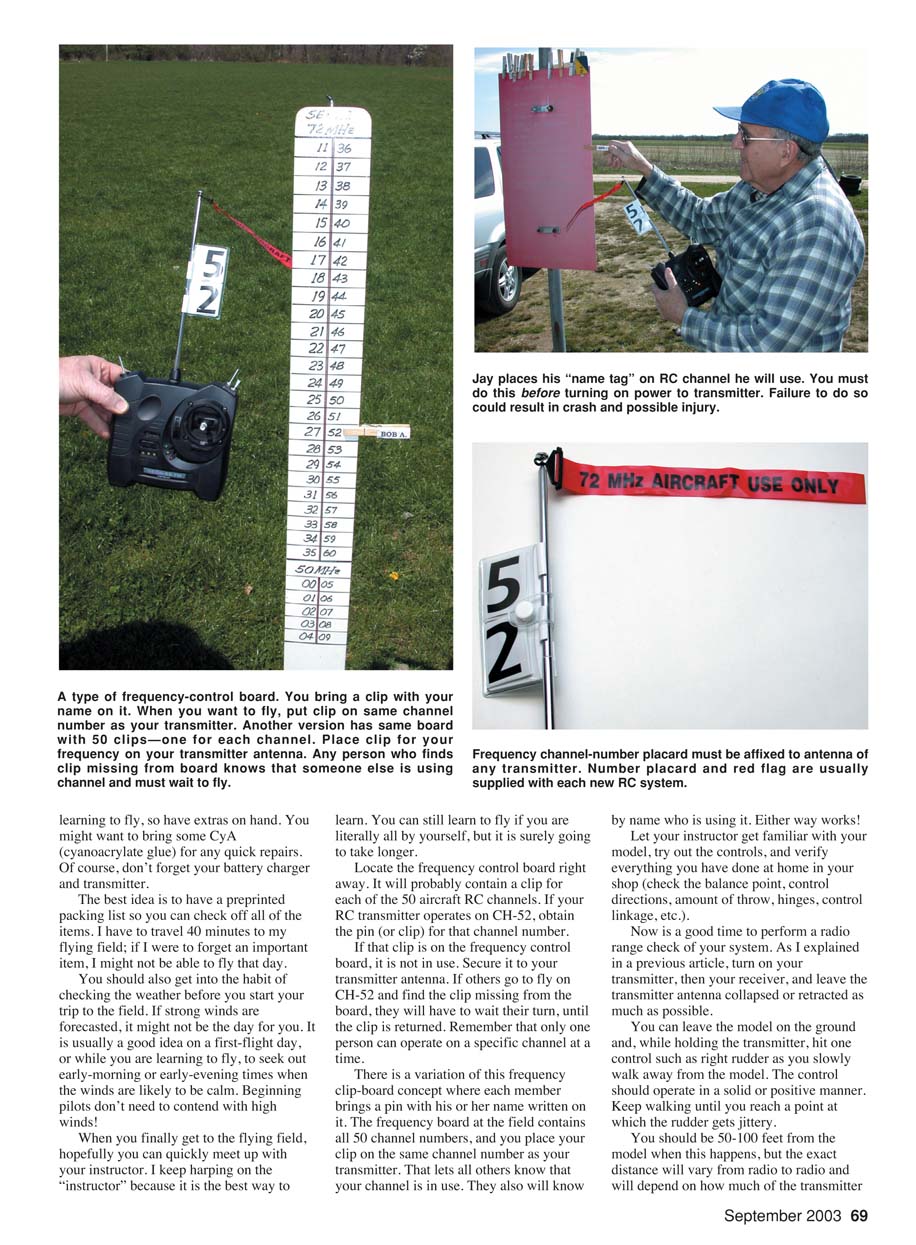
- Charge transmitter and receiver batteries (or main power battery for electric models) the night before flying.
- Plan to fly with an instructor pilot. Visit the local flying site beforehand to introduce yourself, join a club, and arrange for a regular instructor.
- Join the Academy of Model Aeronautics (AMA). Most clubs require AMA membership; it also provides insurance and safety guidance. See www.modelaircraft.org for details.
- Pack a toolbox and a checklist. Essentials:
- Spare propellers (you will likely break many while learning)
- Cyanoacrylate (CA) glue for quick repairs
- Battery charger and spare battery packs (if available)
- Basic modeling tools
- Use a preprinted packing list to avoid forgetting critical items—especially if you travel some distance to the field.
- Check the weather before leaving. For first flights, choose calm conditions—early morning or early evening are often best. Avoid strong winds.
At the flying field
- Meet your instructor and let them inspect the model. They will verify your home checks (CG, control directions, throws, hinges, linkages).
- Locate the frequency control board and claim your channel:
- If your transmitter is on a frequencyed channel (e.g., CH-52), take the clip for that channel and attach it to your transmitter antenna to indicate the channel is in use.
- Some fields use personal pins with names placed on the channel board.
- Perform a radio-range check:
- Turn on transmitter, then receiver; keep the transmitter antenna collapsed.
- With the model on the ground, operate a control (e.g., rudder) and slowly walk away. The control should operate solidly until you reach the point where it becomes jittery—typically 50–100 feet depending on antenna exposure and radio.
- Let your instructor become familiar with your model and controls, and validate your checks.
Instruction methods
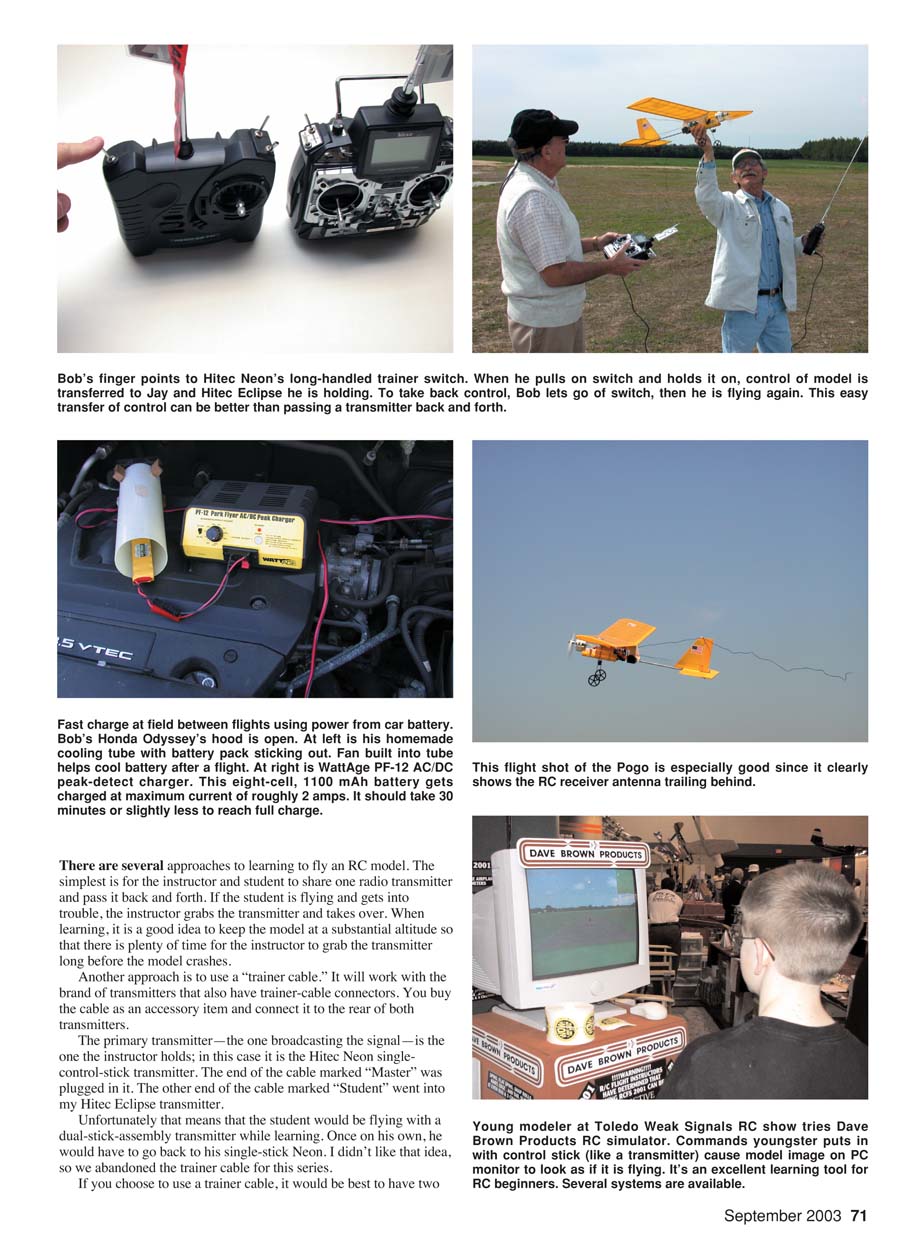
- Shared-transmitter method: instructor and student pass the transmitter back and forth. Instructor must be ready to grab the transmitter if the student gets into trouble.
- Trainer-cable method: connects two transmitters; the instructor’s transmitter is the master. The student’s transmitter plugs into the student port. The instructor can regain control by releasing a long-handled switch. Best used with two identical transmitters to avoid changing control-stick layouts between trainer and solo flying.
- For this series, a trainer cable was abandoned because it required the student to learn on a different transmitter type.
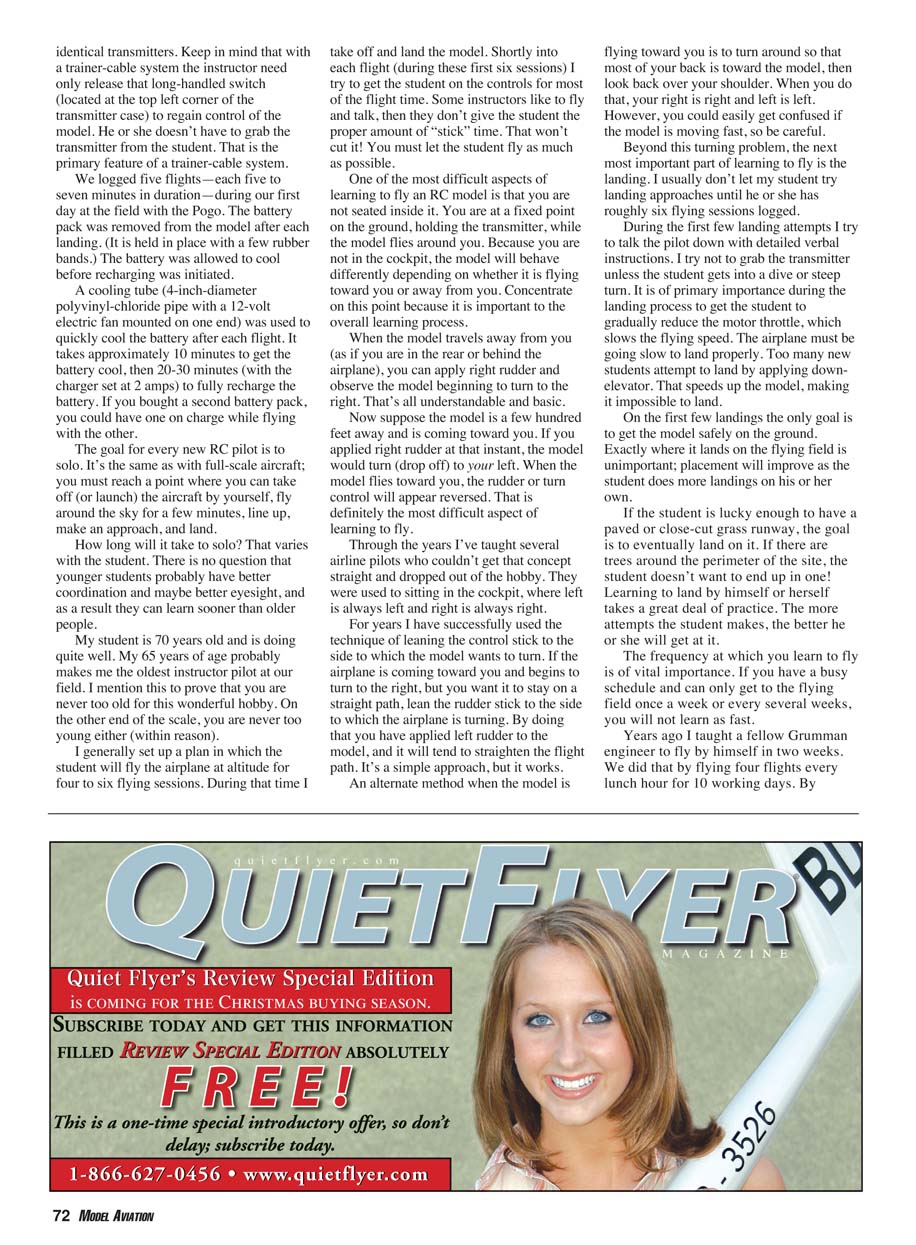
First flights and battery management
- We logged five flights of 5–7 minutes each on the first day. Remove the battery after each landing and allow it to cool before recharging.
- A cooling tube (4-inch PVC pipe with a 12V fan) can speed battery cooling—about 10 minutes to cool, then ~20–30 minutes to recharge at 2 amps. If you have a spare battery, charge one while flying with the other.
- The goal for every new RC pilot is to solo: take off/launch, fly a few minutes, and land safely by yourself.
Instructional progression and soloing
- How long to solo varies by student. Frequent practice shortens learning time; infrequent sessions slow progress.
- A recommended progression:
- First 4–6 sessions: student flies at altitude while instructor handles takeoffs and landings. Get the student hands-on as much as possible during each flight.
- Emphasize altitude so the instructor has time to take control if needed.
- Teach orientation: one of the most difficult concepts is control reversal when the model is coming toward you.
- When the model flies away, right is right; when coming toward you, right appears reversed.
- A useful technique is to lean the control stick toward the side the model is turning to correct the turn (this effectively applies the opposite rudder). Alternatively, briefly turn so your back faces the model, then your left/right correspond normally—use cautiously.
- Landing training:
- Usually wait until roughly six sessions before letting the student attempt full landings.
- Talk the student down with detailed verbal instructions; avoid grabbing the transmitter unless the model is in a dangerous attitude.
- Emphasize gradual throttle reduction to slow the airplane; down-elevator speeds the model up and is a common novice error.
- The initial goal is safe ground contact, not precise placement. With practice, landings will improve.
- Frequency of practice matters. Intensive short sessions (for example, multiple flights per day) accelerate learning far more than infrequent weekly sessions.
Takeoff and hand launch
- Takeoff (ground) is usually easiest when the runway is smooth. Taildraggers are more difficult on the ground than tricycle-geared models.
- Hand launches:
- Be on the transmitter before the instructor launches.
- Practice holding the transmitter in your left hand and launching with your right. Run a few steps and give a firm throw. Immediately get your right hand on the controls.
- Be ready to correct if wind tries to flip the model.
- For larger models, ground takeoff is preferred when possible. On the ground, avoid overcontrolling steering—let the model track until sufficient speed, then rotate.
Post-flight checks
- After flying:
- Revisit your simulator if you have one.
- Recharge batteries for the next session.
- Perform a safety check: pull on hinges, inspect control rods and attachment points.
- Replace old rubber bands used to hold wings—use new bands each field session.
- Inspect propellers for hairline cracks; replace any suspect prop immediately.
- Battery testing procedures will be covered in a future installment.
What’s next
Next month I hope to present a new electric-powered trainer called the "Scratch-One." I’ll provide full-size plans, step-by-step photos, and instructions to transfer the electric power system and the Hitec Neon RC system from the Pogo into the new model.
Questions are welcome.
Bob Aberle
Sources
- RC system: Hitec RCD
12115 Paine St., Poway CA 92064 (858) 748-6948 www.hitecrcd.com
- Pogo aircraft: AeroCraft Ltd.
432 Hamlet Ave., Riverhead NY 11901 (631) 369-9319 www.aerocraftrc.com
- Electric power system: New Creations R/C (Kirk Massey)
Box 496, Willis TX 77378 (936) 856-4630 [email protected] www.newcreations-rc.com
- Simulators: Dave Brown Products
4560 Layhigh Rd., Hamilton OH 45013 (513) 738-1576 www.dbproducts.com
- Tower Hobbies Inc.
Box 9078, Champaign IL 61826 (800) 637-4989 www.towerhobbies.com
Transcribed from original scans by AI. Minor OCR errors may remain.

