
Pointers for New Flight Instructors
The fun of knowing how to fly is sharing
This article is aimed at new RC flight instructors or those who are about to be drafted into flight instruction. Experienced instructors may compare notes, but this is principally for small clubs—some with only 10 or 15 members—that may not have a formal instructor program.
Many clubs have entire squadrons of instructors and established systems. Smaller clubs, however, often need a few pilots to step forward and teach. Teaching RC flight is a noble cause with many rewards; it's satisfying to see a student who soloed a year earlier fly well.
For the purposes of this discussion, assume the new instructor can perform basic aerobatics and recover a model from unusual attitudes, that a buddy box will be used, and that the student, if possible, has practiced on a flight simulator.
Most student-induced unusual attitudes come from overcontrolling the ailerons and ending up in a spiral toward the ground. That is usually an easy recovery.
Preflight and equipment checks
It is crucial that the instructor knows how to check the trainee airplane's control functions and engine setup. For glow engines, find the “sweet spot” on the needle valve. For electrics, check battery charge status, electrical wiring, and other details necessary for a successful flight.
One important detail with electric models is flight duration on a single charge—many end up short of the runway. Use a kitchen timer or stopwatch if necessary.
When I raced sailboats, someone told me winning was 90% details and 10% sailing. This applies even more to RC flying.
Instructor demeanor
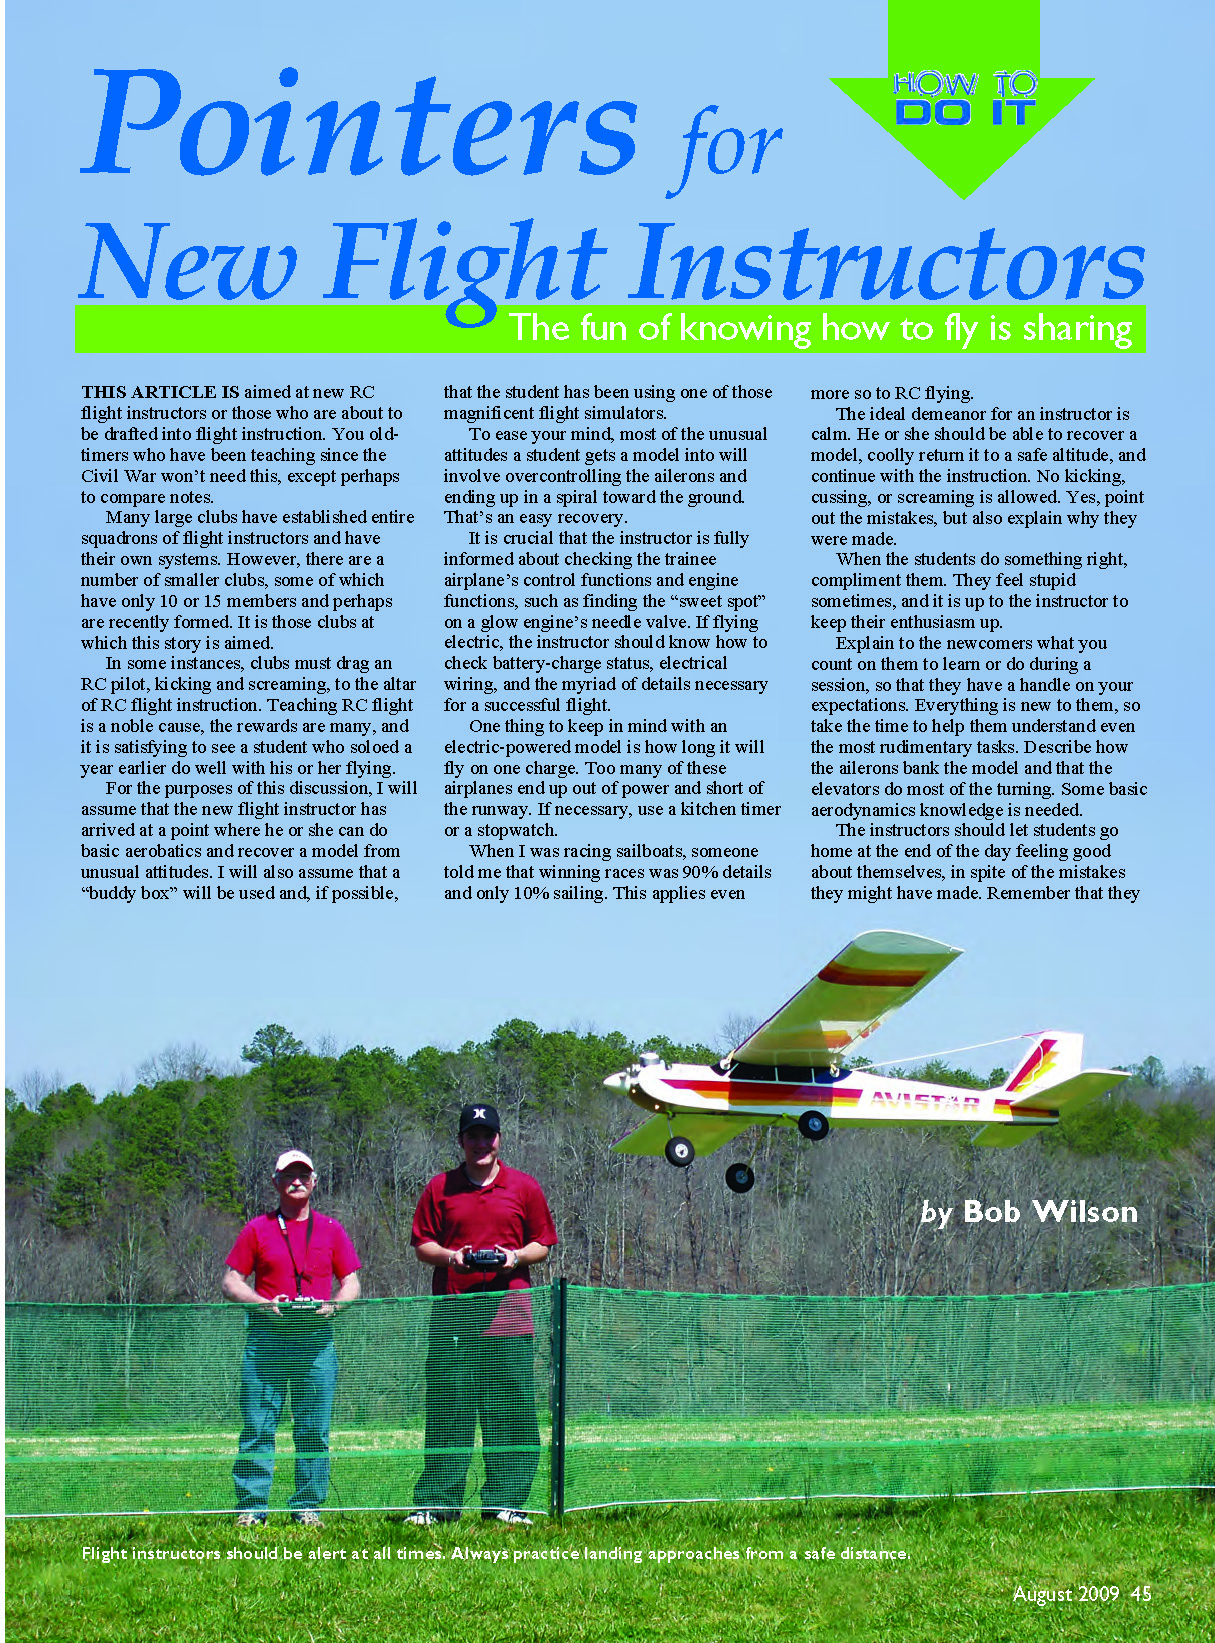
The ideal demeanor for an instructor is calmness. Recover a model coolly, return it to a safe altitude, and continue instruction. No kicking, cussing, or screaming. Point out mistakes, but explain why they were made.
Compliment students when they do things right. They often feel insecure, and it's the instructor's job to keep their enthusiasm up.
Explain at the start of a session what you expect the student to learn or do so they have a clear handle on your goals. Everything is new to them; take time to explain even rudimentary tasks. Describe how the ailerons bank the model and how elevators do most of the turning—some basic aerodynamics knowledge is necessary.
Let students go home feeling good about themselves despite mistakes. Remember that they are learning.
Basic principles and habits
- Safety is the top priority. Fly in a manner that ensures the return of the aircraft intact.
- Know the airplane. Regardless of model design, its setup should be “trainerlike.”
- Know the student. Every beginner’s unique ability is a training tool.
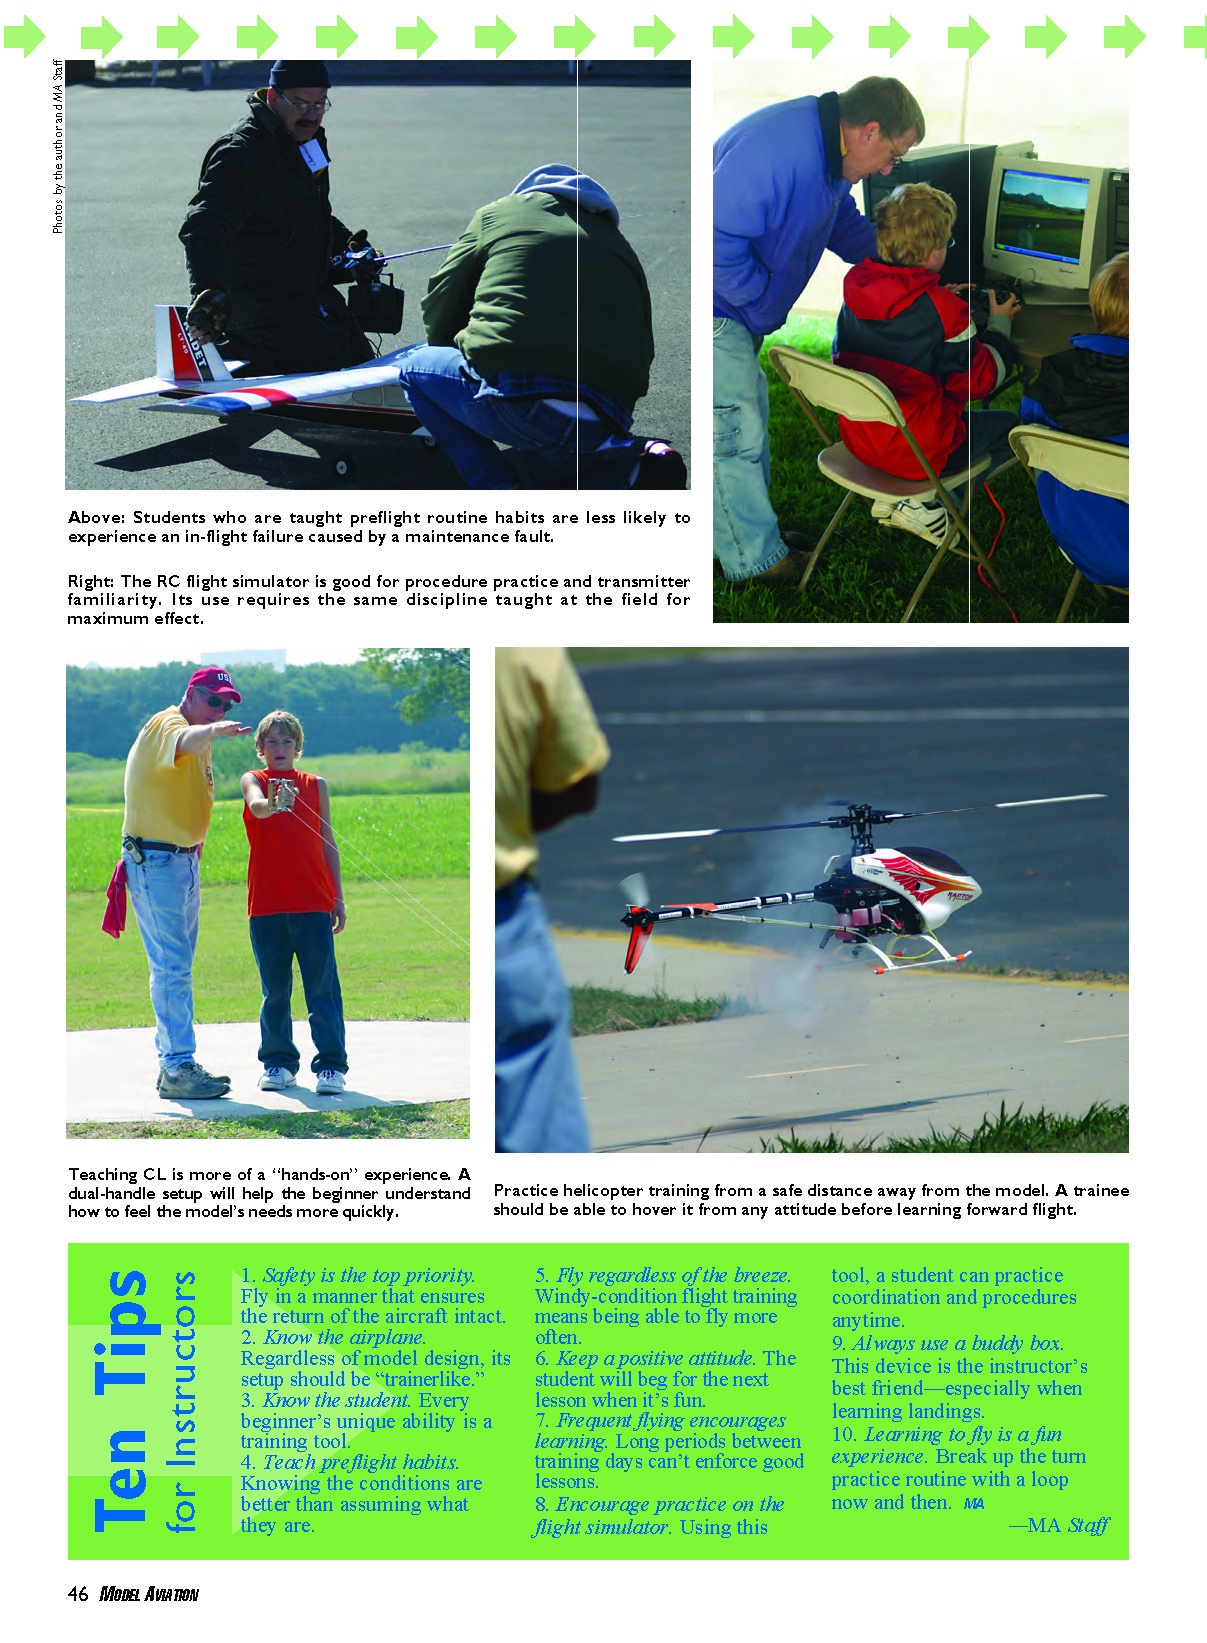
- Teach preflight habits. Knowing the conditions is better than assuming them.
- Fly regardless of the breeze. Windy-condition training allows flying more often.
- Keep a positive attitude. A fun lesson will make the student beg for the next one.
- Frequent flying encourages learning. Long gaps between lessons weaken progress.
- Encourage practice on a flight simulator. It lets students practice coordination and procedures anytime.
- Always use a buddy box. This device is the instructor’s best friend—especially for landings.
- Learning to fly should be fun. Break up routine turn practice with a loop now and then.
—MA Staff
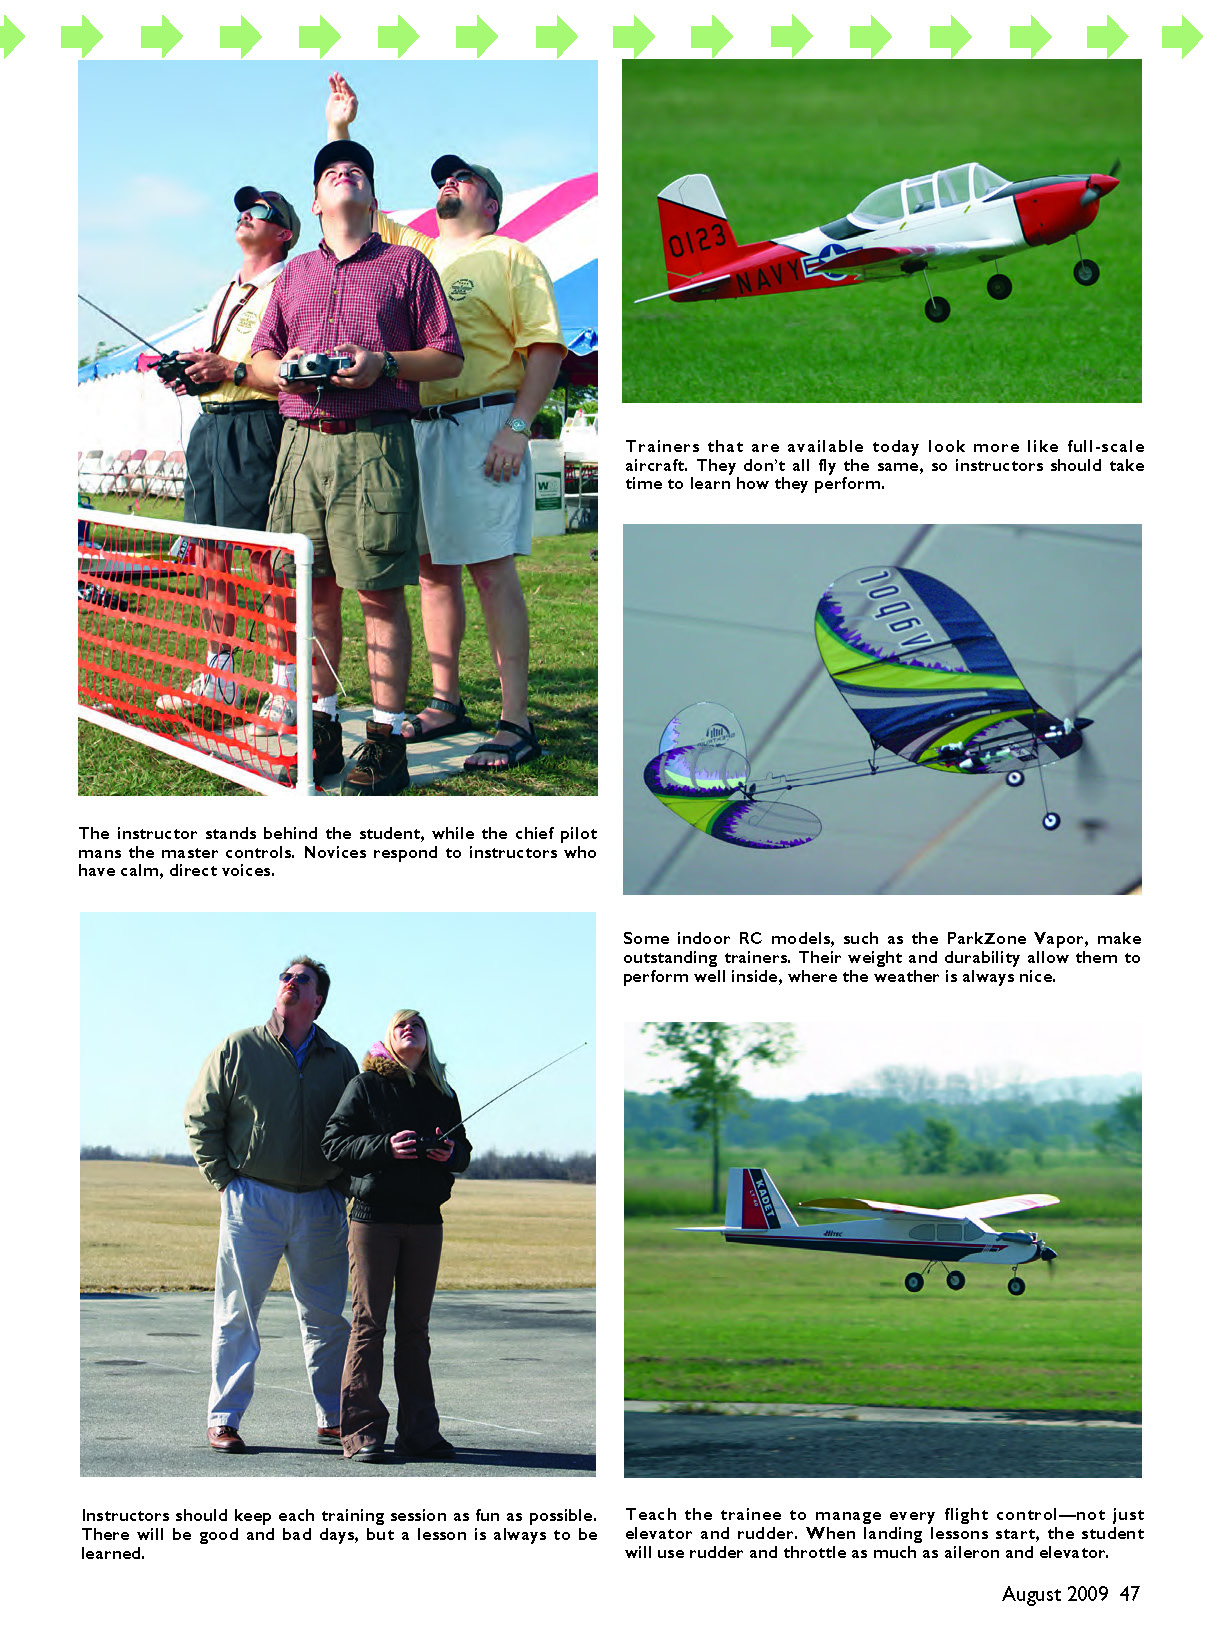
The instructor stands behind the student while the chief pilot mans the master controls. Novices respond best to instructors with calm, direct voices. Keep each session as fun as possible—there will be good and bad days, but each lesson teaches something.
Modern trainers often resemble full-scale aircraft and don’t all fly the same, so take time to learn how your trainer performs. Some indoor models, such as the ParkZone Vapor, make outstanding trainers; their weight and durability allow good indoor practice where the weather is always nice.
Teach trainees to manage every flight control—not just elevator and rudder. During landing lessons the student will use rudder and throttle as much as aileron and elevator. Let them learn from making mistakes; instructors can go home and relax afterward.
For heaven’s sake, don’t let beginners develop a phobia about the wind. Encourage them: “Let’s go up and play in the wind.” Too many experienced pilots won’t fly above 5 mph wind, and that’s not helpful.
Typical instructing routine
Following is the routine I use for instructing new pilots. Comparing notes with other clubs shows this is common practice.
Step One: Get the model to altitude.
- Once there, ask the student to make a left-turn circle only.
- The goal is to make turns without losing or gaining altitude and without allowing the wind to carry the model off.
- Keep flying close so both instructor and pupil can see the airplane and so the student learns to fly the model rather than let the model fly them.
- Maintain an altitude that allows the instructor to recover the aircraft if it dives for the ground.
Each student learns at their own rate. Some become skilled in days, others take months. For slower learners, team them with one or two additional instructors for different perspectives and teacher relief.
Step Two: The dreaded “right turn.”
- This often causes nerves and can be where things fall apart. Patience is essential.
- To break the routine, you might demonstrate snaps or rolls, or—if the student is ready—let them try a loop or two. Still, stick with the basic discipline and keep the student focused.
Step Three: The figure eight.
- By now, the student should have nearly mastered basic left and right turns.
- Use a fixed object on the ground as the center of the figure eight—a building, tree, telephone pole, or simply the flightline position. Avoid using movable objects like cows.
- This stage ties into the next: ensure the student can make smooth turns without gaining or losing altitude and can compensate for wind drift.
Step Four: Landing approaches.
- Teaching landings before soloing reduces the risk of a solo disaster. Good landing habits are critical.
- Use a downwind pattern parallel to the runway, not too high or far out, with a base leg close enough to keep good visual contact with the model.
- Teach that throttle controls descent rate on final approach. Power should be reduced beginning on the downwind leg to establish good power management.
- Start practice with higher approaches, and lower the aircraft as the student builds confidence. At this stage, students should practice approaches—not necessarily full landings—until ready.
- Emphasize go-arounds if the lineup is improper. Don’t let trainees panic and attempt risky landings.
Step Five: Takeoffs.
- If the student hasn’t already attempted takeoffs, they should be ready now. Confidence is higher after approach practice.
- Some trainers have marginal power; teach the student to ease off the elevator as soon as the model breaks ground to build flying speed and airflow over the ailerons.
So, cadet instructors: that’s it. Teach the basic left turn, then the right, then mix them into a figure eight. Next, set up for landing approaches and takeoffs.
Many younger pilots pick up RC flying quickly; others take more time. I’ve had students solo in a couple of days and others who took months. You will gain satisfaction seeing a student’s model take to the air, and teaching may improve your own flying skills.
MA
Bob Wilson [email protected]
Transcribed from original scans by AI. Minor OCR errors may remain.

