
Product Review 2003/04
Tom Sullivan [email protected]
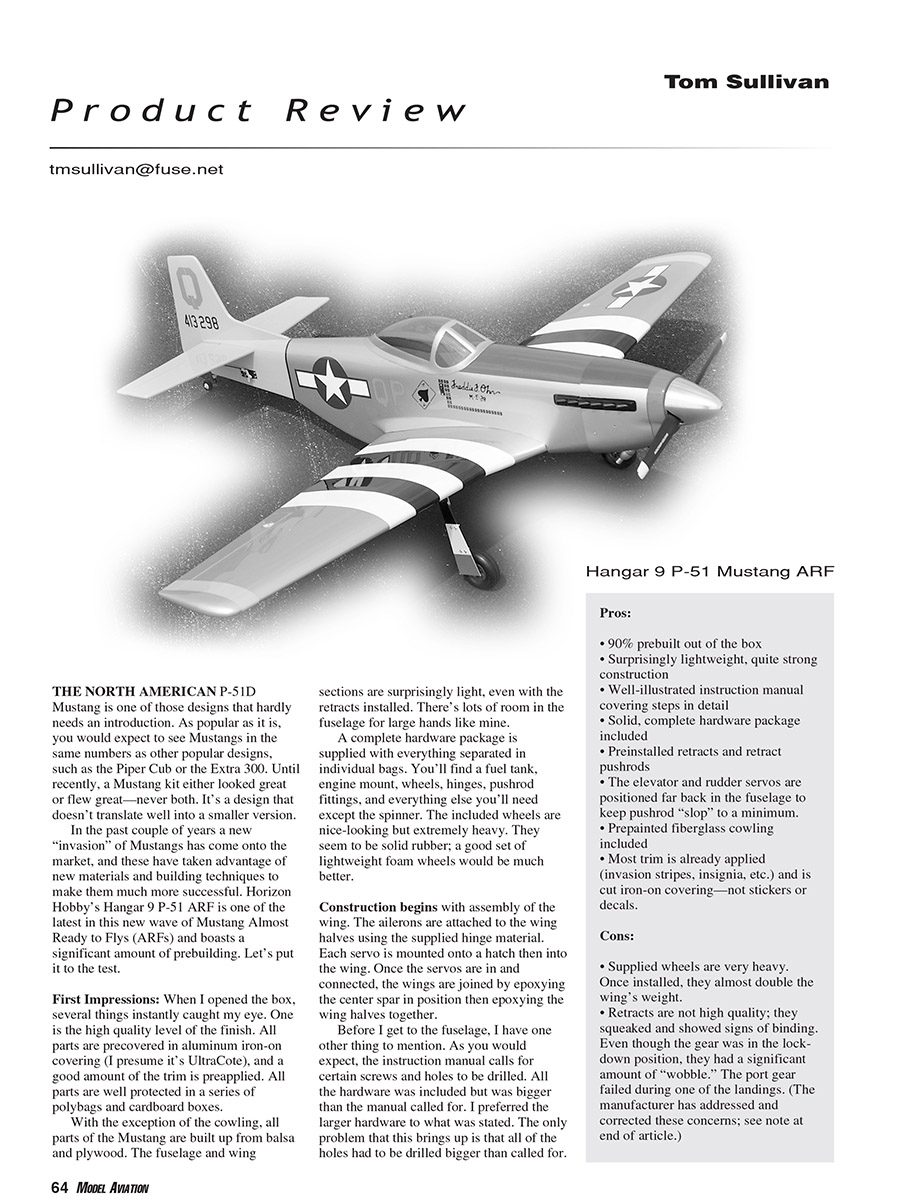
Hangar 9 P-51 Mustang ARF
The North American P-51D Mustang is one of those designs that hardly needs an introduction. As popular as it is, you would expect to see Mustangs in the same numbers as other popular designs, such as the Piper Cub or the Extra 300. Until recently, a Mustang kit either looked great or flew great—never both. It’s a design that doesn’t translate well into a smaller version.
In the past couple of years a new “invasion” of Mustangs has come onto the market, and these have taken advantage of new materials and building techniques to make them much more successful. Horizon Hobby’s Hangar 9 P-51 ARF is one of the latest in this new wave of Mustang Almost Ready to Flys (ARFs) and boasts a significant amount of prebuilding. Let’s put it to the test.
First Impressions
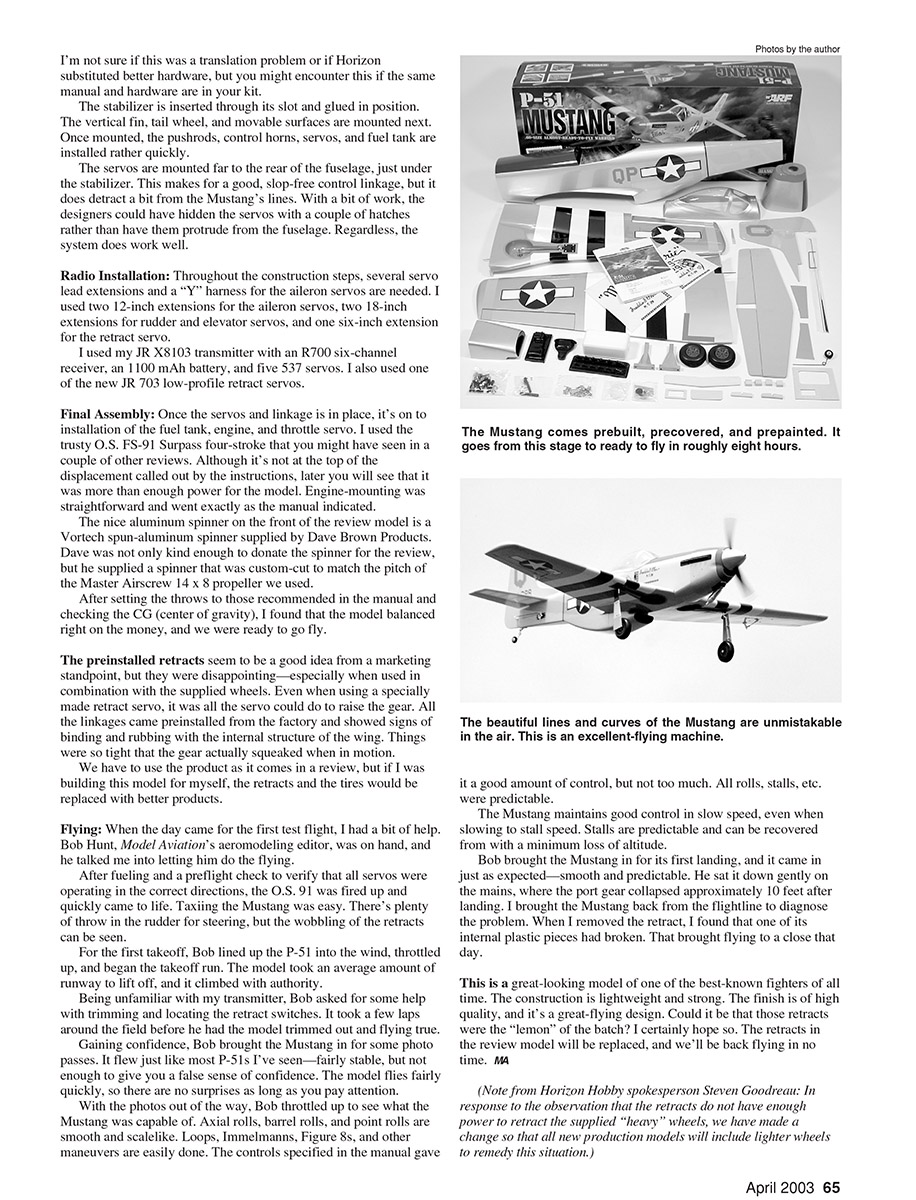
When I opened the box, several things instantly caught my eye. One is the high quality of the finish. All parts are pre-covered in aluminum iron-on covering (I presume it’s UltraCote), and a good amount of the trim is preapplied. All parts are well protected in a series of polybags and cardboard boxes. With the exception of the cowling, all parts of the Mustang are built up from balsa and plywood. The fuselage and wing sections are surprisingly light, even with the retracts installed. There’s lots of room in the fuselage for large hands like mine.
A complete hardware package is supplied with everything separated in individual bags. You’ll find a fuel tank, engine mount, wheels, hinges, pushrod fittings, and everything else you’ll need except the spinner. The included wheels are nice-looking but extremely heavy. They seem to be solid rubber; a good set of lightweight foam wheels would be much better.
Construction begins with assembly of the wing. The ailerons are attached to the wing halves using the supplied hinge material. Each servo is mounted onto a hatch then into the wing. Once the servos are in and connected, the wings are joined by epoxying the center spar in position then epoxying the wing halves together.
One note about the hardware: the instruction manual calls for certain screws and holes to be drilled to specific sizes. All the hardware was included but was larger than the manual called for. I preferred the larger hardware, but that meant all of the holes had to be drilled bigger than stated in the manual. You might encounter this if the same manual and hardware are in your kit.
The stabilizer is inserted through its slot and glued in position. The vertical fin, tail wheel, and movable surfaces are mounted next. Once mounted, the pushrods, control horns, servos, and fuel tank are installed rather quickly. The servos are mounted far to the rear of the fuselage, just under the stabilizer. This makes for a good, slop-free control linkage, but it does detract a bit from the Mustang’s scale lines. With a bit of work, the designers could have hidden the servos with a couple of hatches rather than have them protrude from the fuselage. Regardless, the system does work well.
The model came together quickly, and finishing touches such as installing the canopy, spinner, and cowl are straightforward. With the supplied hardware and prefinished covering, assembly time is considerably less than a typical kit of this size.
Radio Installation
Throughout the construction steps, several servo lead extensions and a "Y" harness for the aileron servos are needed. I used:
- Two 12-inch extensions for the aileron servos
- Two 18-inch extensions for rudder and elevator servos
- One 6-inch extension for the retract servo
I used my JR X8103 transmitter with an R700 six-channel receiver, an 1100 mAh battery, and five 537 servos. I also used one of the new JR 703 low-profile retract servos.
Final Assembly
Once the servos and linkage were in place, I installed the fuel tank, engine, and throttle servo. I used the O.S. FS-91 Surpass four-stroke. Although it's not at the top of the displacement called out by the instructions, it proved more than enough power for the model. Engine mounting was straightforward and followed the manual.
The aluminum spinner on the review model is a Vortech spun-aluminum spinner supplied by Dave Brown Products. Dave supplied a spinner custom-cut to match the pitch of the Master Airscrew 14 x 8 propeller used.
After setting the throws to those recommended in the manual and checking the CG (center of gravity), the model balanced right on the money and was ready to fly.
The preinstalled retracts seem to be a good idea from a marketing standpoint, but they were disappointing—especially when used with the supplied wheels. Even when using a specially made retract servo, it was all the servo could do to raise the gear. All the linkages came preinstalled from the factory and showed signs of binding and rubbing with the internal structure of the wing. Things were so tight that the gear actually squeaked when in motion. If I were building this model for myself, I would replace the retracts and the tires with better products.
Flying
For the first test flight, Bob Hunt, Model Aviation's aeromodeling editor, did the flying. After fueling and confirming all servos operated in the correct directions, the O.S. 91 fired up quickly. Taxiing the Mustang was easy—there's plenty of throw in the rudder for steering, though the wobbling of the retracts was visible.
On takeoff the model used an average amount of runway to lift off and climbed with authority. It took a few laps around the field to trim the model, after which it flew true.
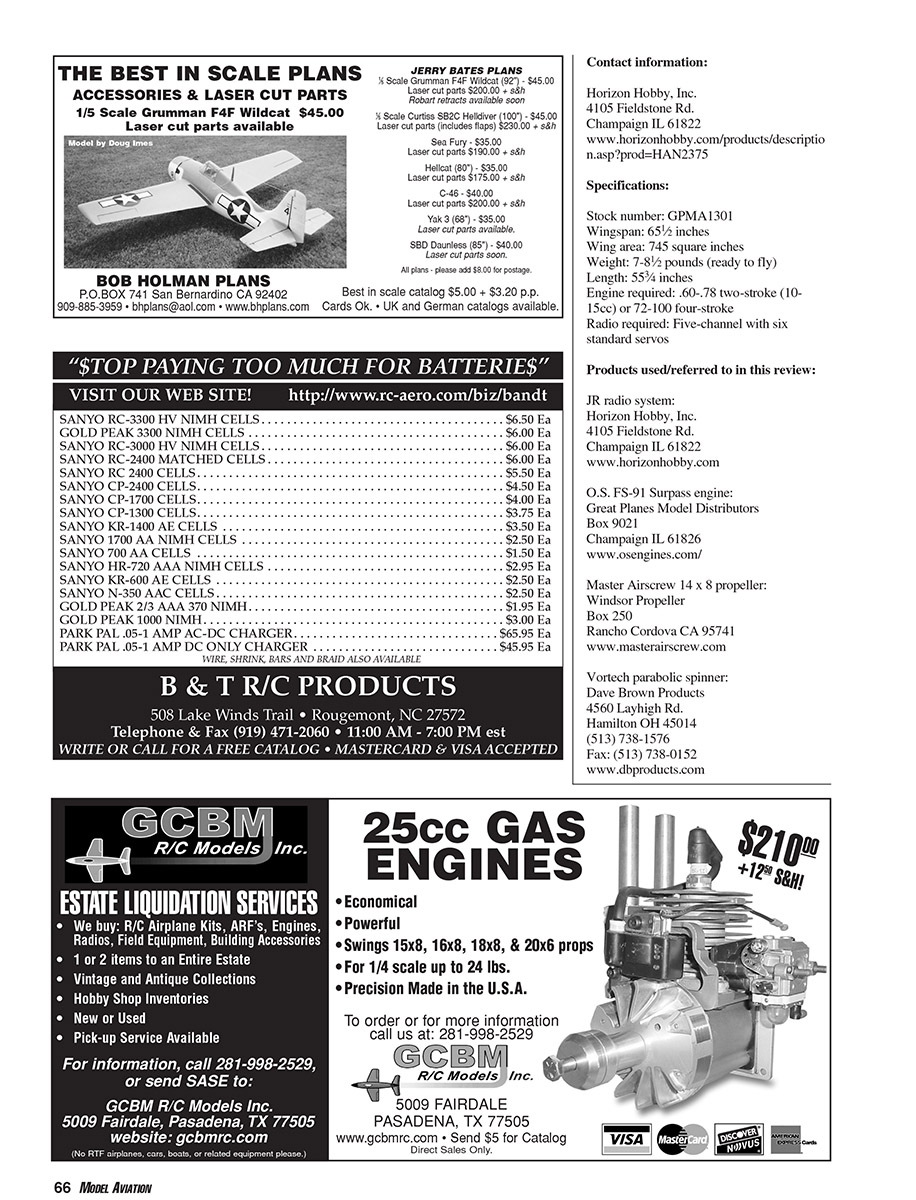
The Mustang flew like most P-51s I’ve seen—fairly stable, but not so docile that you get a false sense of security. It flies fairly quickly, so attention is required. Axial rolls, barrel rolls, and point rolls are smooth and scale-like. Loops, Immelmanns, figure 8s, and other maneuvers are easily done. The control throws specified in the manual gave an appropriate amount of authority—enough for crisp maneuvers, but not excessive. All rolls, stalls, and other maneuvers were predictable.
The Mustang maintains good control at slow speeds, even near stall. Stalls are predictable and recoverable with a minimum loss of altitude.
On the first landing, the Mustang came in smoothly, but the port gear collapsed approximately 10 feet after touchdown. Inspection revealed an internal plastic piece in the retract had broken, ending flying for the day.
This is a great-looking model of one of the best-known fighters of all time. The construction is lightweight and strong, the finish is high quality, and it’s a great-flying design. I hope the retracts on the review model were a one-off problem; the retracts will be replaced and we’ll be back flying.
Pros and Cons
Pros:
- 90% prebuilt out of the box
- Surprisingly lightweight yet strong construction
- Well-illustrated instruction manual covering steps in detail
- Solid, complete hardware package included
- Preinstalled retracts and retract pushrods
- Elevator and rudder servos are positioned far back to minimize pushrod “slop”
- Prepainted fiberglass cowling included
- Most trim is already applied (invasion stripes, insignia, etc.) and is cut iron-on covering—not stickers or decals
Cons:
- Supplied wheels are very heavy; once installed they significantly increase wing weight
- Retracts (on the review model) were not high quality: they squeaked, showed signs of binding, and exhibited wobble. The port gear failed during one landing. (See note from Horizon Hobby below.)
Note from Horizon Hobby
Steven Goodreau, Horizon Hobby spokesperson: In response to the observation that the retracts do not have enough power to retract the supplied heavy wheels, we have made a change so that all new production models will include lighter wheels to remedy this situation.
Contact information
Horizon Hobby, Inc. 4105 Fieldstone Rd. Champaign, IL 61822 www.horizonhobby.com/products/description.asp?prod=HAN2375
Specifications
- Stock number: GPMA1301
- Wingspan: 65½ inches
- Wing area: 745 square inches
- Weight: 7–8½ pounds (ready to fly)
- Length: 53¼ inches
- Engine required: .60–.78 two-stroke (10–15cc) or .72–1.00 four-stroke
- Radio required: Five-channel with six standard servos
Products used/referred to in this review
- JR radio system
Horizon Hobby, Inc. 4105 Fieldstone Rd. Champaign, IL 61822 www.horizonhobby.com
- O.S. FS-91 Surpass engine
Great Planes Model Distributors Box 9021 Champaign, IL 61826 www.osengines.com/
- Master Airscrew 14 x 8 propeller
Windsor Propeller Box 250 Rancho Cordova, CA 95741 www.masterairscrew.com
- Vortech parabolic spinner (Dave Brown Products)
Dave Brown Products 4560 Layhigh Rd. Hamilton, OH 45014 (513) 738-1576 Fax: (513) 738-0152 www.dbproducts.com
Tom Sullivan Product Review [email protected]
Transcribed from original scans by AI. Minor OCR errors may remain.

