
Product Review
Thomas Burdin E-mail: [email protected]
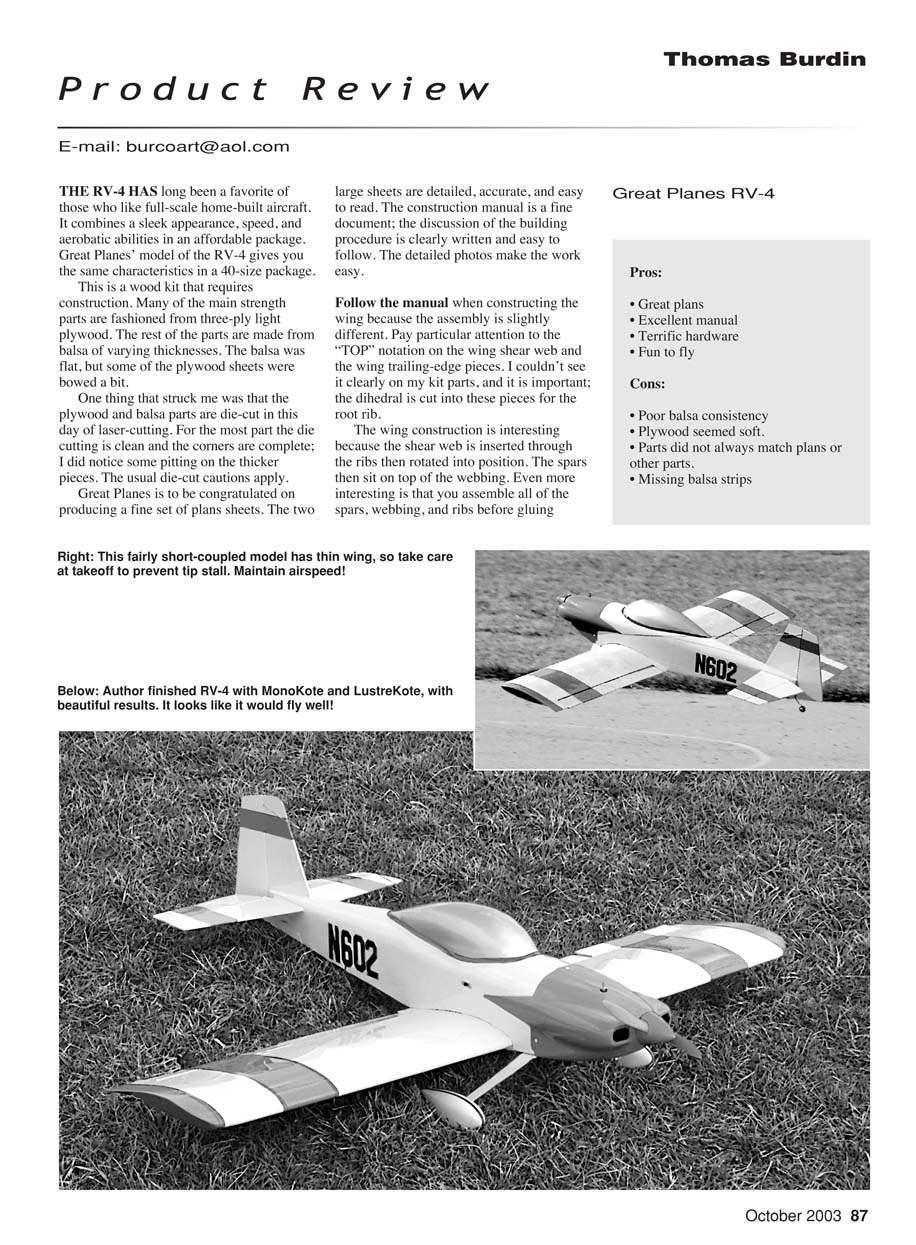
The RV-4 has long been a favorite of those who like full-scale home-built aircraft. It combines a sleek appearance, speed, and aerobatic abilities in an affordable package. Great Planes' model of the RV-4 gives you the same characteristics in a 40-size package.
Great Planes RV-4
Overview
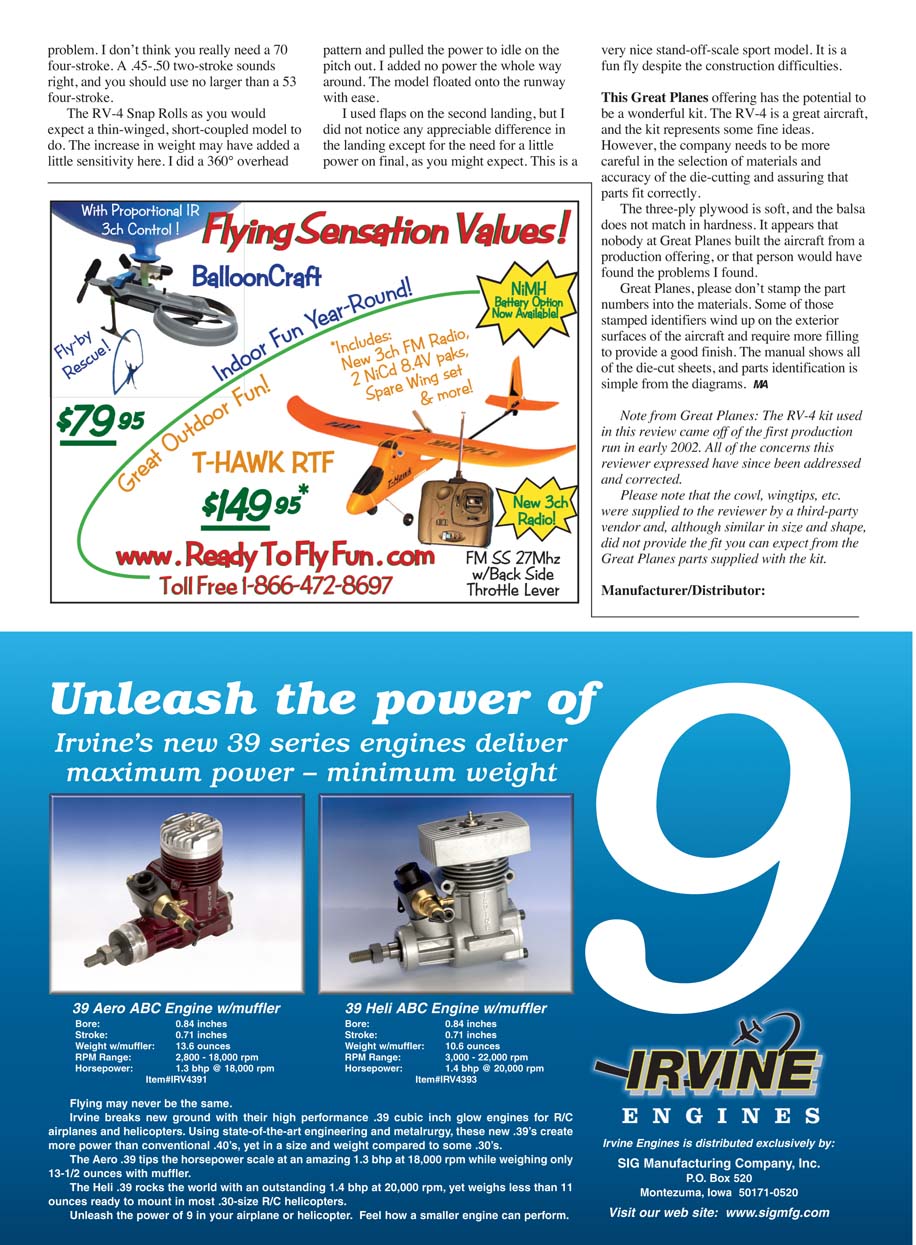
- Wood kit that requires full construction.
- Main strength parts are three-ply light plywood; the rest are balsa of varying thicknesses.
- Some balsa sheets were flat, but a few plywood sheets were bowed.
- Parts are die-cut (not laser-cut); die-cutting is generally clean but a few thicker pieces showed pitting.
- Excellent plans and construction manual: two large detailed plan sheets and a clearly written manual with helpful photos.
Construction notes
- Follow the manual for wing construction—assembly is slightly different than typical kits. Pay particular attention to the "TOP" notation on the wing shear web and the wing trailing-edge pieces (dihedral is cut into these pieces for the root rib).
- Wing assembly: the shear web is inserted through the ribs then rotated into position; spars then sit on top of the webbing. You assemble all spars, webbing, and ribs before gluing. Lay the assembly on the plans for accurate orientation.
- Glue: manual calls for cyanoacrylate (CyA). Thin CyA works on most die-cut pieces, but thicker CyA may be needed to fill gaps.
- Sheeting: start with the upper surface. The 5/32-inch sheeting varies in stiffness—select matching pieces. I found it easier to sheet the wing upside down on the plans, starting glue at the main spar and slowly rolling the wing forward to keep the sheeting flat. The bottom is easier with tape and slow-drying glue.
- Missing parts: four 3/32 x 5/8 x 24-inch trailing-edge strips and a 1/8 x 1/2-inch sub-leading-edge strip were missing from the kit; I purchased them locally.
- Ailerons and flaps: built as a single piece and cut apart after construction. Great Planes provides hinge backup wood and a hardwood piece for control-horn attachment. The plans position for aileron hard points is fine because control rods will come from opposite sides of the servo arm to provide up-and-down movement.
- Flap servo issue: the plans show flap servo arms on opposite sides of the servos. Do not mount flap horns and hard points as shown or you will need a reversing "Y" connector.
- Wingtips: supplied wingtips are molded ABS. The manual suggests gluing the final rib into the ABS wingtip then gluing the assembly to the wing—this is difficult to get straight. I recommend gluing the rib to the end of the wing, then fitting the tip. I substituted Fiberglass Specialties fiberglass wingtips for the supplied ABS.
- Wing join: when joining wing halves there was a gap in the bottom surface joint; either the spar joiner or die-cut angle on the spar webbing was wrong, and I had to reduce dihedral to match halves.
- Fuselage: assemble upside-down on the middle deck. Some die-cut formers (rear former) did not fit per the plans; die-cut slots sometimes prevented proper alignment—some fitting and finagling required.
- Firewall/engine offset: the kit includes two 1/8 plywood firewall die-cut parts. A 3° right-thrust offset is built into the fuselage; you must offset the engine mount to the left to center the propeller. Prepunched holes in the firewall are set up for the included Great Planes engine mount—ensure you glue the firewall correctly so the holes are offset left; otherwise the engine can be severely off-center at the hub.
- Reinforcement: I added cross-grain bracing to all firewall and cowl formers (they are die-cut from balsa with grain horizontal and are susceptible to breakage when sheeting).
- Cockpit formers: front and rear cockpit formers install on an angle; the kit gives no guide for slope. I made plywood angle braces. Measured angles from the plans: rear cockpit 5° from vertical; instrument panel 19° from vertical.
- Tank hatch: the kit includes a top tank hatch but the die-cut hatch cover did not fit properly; I made a new hatch cover.
- Servo-mount area: although doubling for the servo-mount area on the middle deck is shown on the plans, the manual does not mention it. Use the provided wood and double up the aileron/radio fixture areas.
- Pushrods: fuselage sides have precise slots for pushrod guide tubes, but bevel the pushrods with a 1/4-inch rat-tail file so the tubes have a smooth line of travel—this prevents binding of the provided steel pushrods.
- Landing gear/tailwheel: I used fiberglass wheel pants, added toe-in to wheel alignment, and beefed up the tail-wheel system by adding a 1 x 3/32-inch outside-diameter brass tube in the rudder where the steering dog enters to prevent chafing.
- Cowl fitting: I installed the engine at the instructed distance from firewall to thrust washer, but both the supplied ABS cowl and my fiberglass cowl were about 3/4 inch longer than plans indicated. If you line up the rear of the cowl to plans datum lines, the drive washer might be behind the cowl; if you push the cowl forward until the prop washer clears, the cowl may extend over the landing gear. Trim the cowl to match your installation. I recommend Great Planes either make the cowl match the plans or add trimming instructions.
- Lightening holes: the kit provides lightening holes in fuselage sides, but the forward hole under the cowl can leave fabric unsupported and susceptible to puncture. I filled the front hole with scrap plywood so the cowl rests on a hard surface.
- Replacements: I replaced the supplied ABS cowl and wingtips with fiberglass versions; both the fiberglass cowl and ABS cowl have the right-thrust offset built into their shapes so the spinner fits squarely.
- Finishing: MonoKote and LustreKote used for final finish.
- Weight and balance: finished model weighed 6 3/4 pounds (kit predicted 6 1/4). Using an Enya 46 II four-stroke increased nose weight; recommended OS .70 four-stroke would have been heavier. To balance, I strapped the battery pack to the wing mounting plate.
Flight impressions
- Ground handling: good, no bad characteristics.
- Takeoff: clean, controllable tracking; tail came up and liftoff with minimum up-elevator.
- Trim: some left-turn to trim out; don’t be tempted to use more elevator throw than recommended.
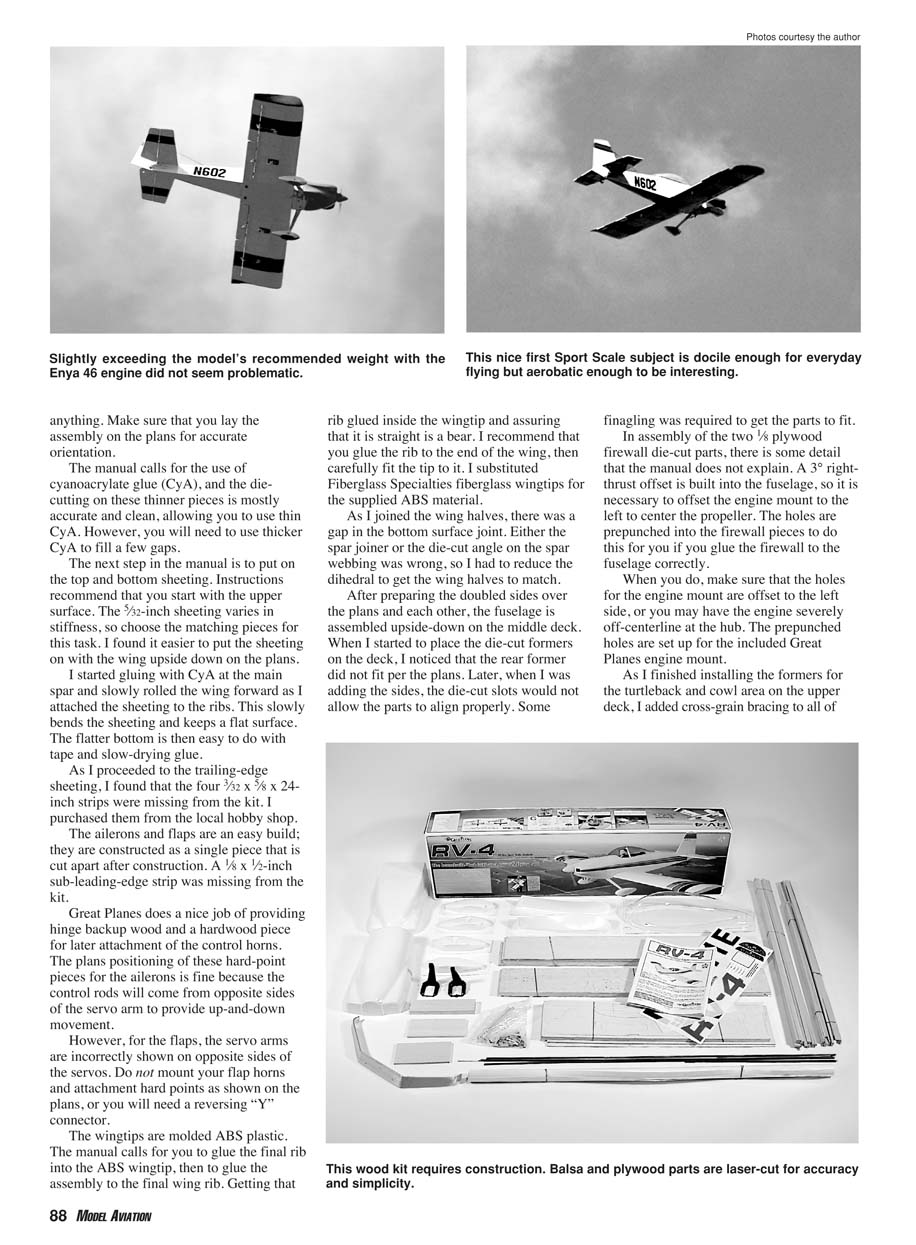
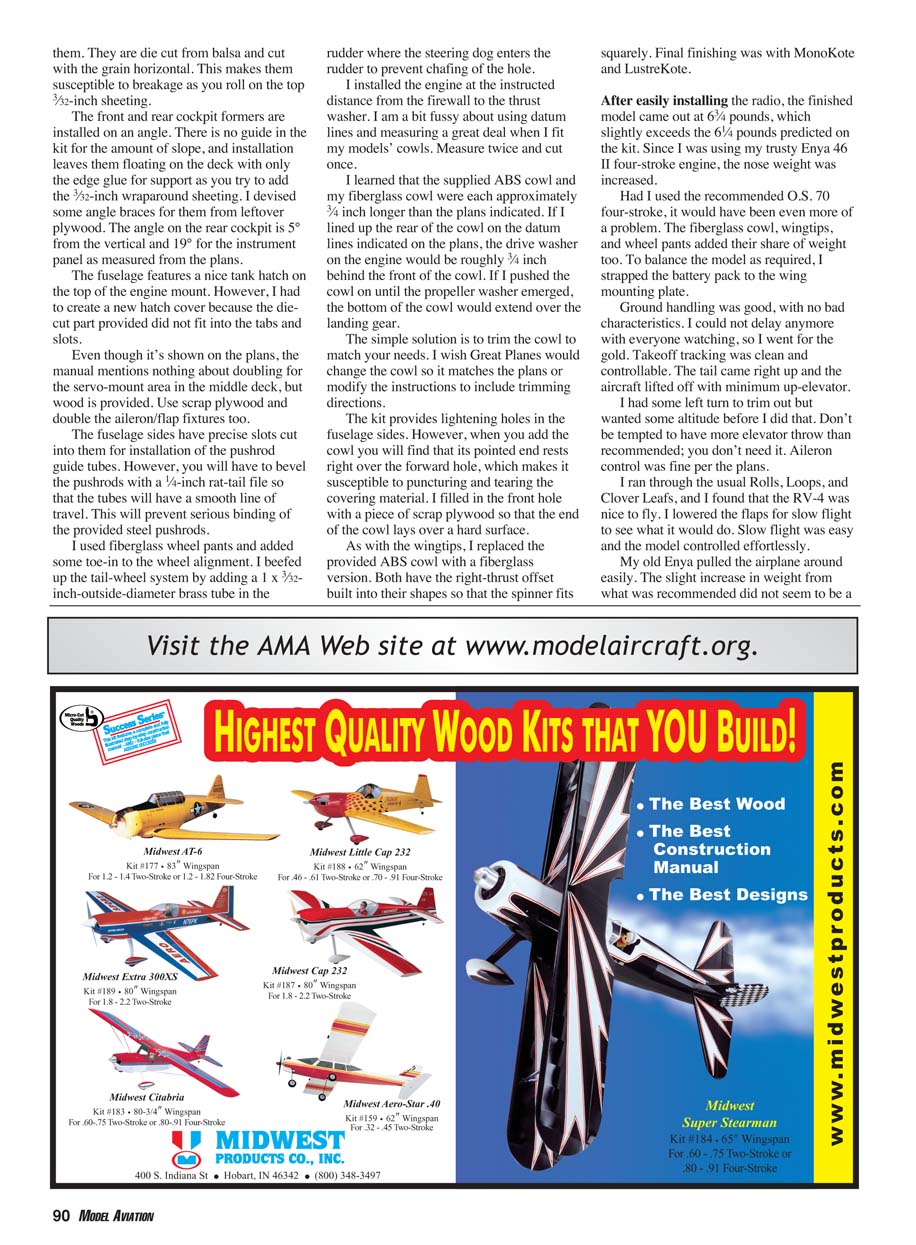
- Maneuvers: rolls, loops, and cloverleafs all handled nicely. RV-4 snap-rolls as expected for a thin-winged, short-coupled model; extra weight may increase sensitivity.
- Slow flight: lowering flaps made slow flight easy and controllable.
- Landings: on a 360° overhead pattern with power to idle on the pitch out, the model floated onto the runway easily. Using flaps on final required a little power but no appreciable difference otherwise.
- Power recommendation: reviewer felt a .45–.50 two-stroke is appropriate and you should use no larger than a .53 four-stroke; a .70 four-stroke is likely larger than necessary.
Summary and recommendations
- The kit has the potential to be a wonderful offering: great plans, an excellent manual, and good hardware. The RV-4 is a great aircraft and the model flies well.
- Main problems encountered: inconsistent balsa hardness, soft three-ply plywood, some die-cut parts not matching plans or mating parts, and missing balsa strips.
- Suggestions for Great Planes:
- Improve selection and consistency of materials.
- Improve die-cut accuracy and part fit checks before shipping.
- Do not stamp part numbers into exterior-facing materials (these stamps can show through and require additional filling).
- Add cowl trimming instructions or adjust cowl dimensions to match plans.
Note from Great Planes: The RV-4 kit used in this review came off the first production run in early 2002. All of the concerns this reviewer expressed have since been addressed and corrected.
Please note that the cowl, wingtips, etc., were supplied to the reviewer by a third-party vendor and, although similar in size and shape, did not provide the fit you can expect from the Great Planes parts supplied with the kit.
Pros / Cons
Pros:
- Great plans
- Excellent manual
- Terrific hardware
- Fun to fly
Cons:
- Poor balsa consistency
- Plywood seemed soft
- Parts did not always match plans or other parts
- Missing balsa strips (some items)
Manufacturer / Distributor
Great Planes Model Manufacturing Company Box 9021 Champaign, IL 61826 (217) 398-8970 www.greatplanes.com/airplanes/gpma0180.html
Specifications
- Model type: Ready-to-build kit
- Wingspan: 54.65 inches
- Wing area: 631.60 square inches
- Length: 49.60 inches
- Recommended weight: 5.75–6.25 pounds
- Review model (ready to fly): 6.75 pounds
- Recommended engine: .40–.52 two-stroke or 48–70 four-stroke (reviewer recommends .45–.50 two-stroke or no larger than a .53 four-stroke)
- Engine used: Enya 46 II four-stroke
- Recommended radio: four- to five-channel, five to seven servos
- Radio used: JR 8103 transmitter, receiver, and seven NES517 servos
- Materials used in construction: Balsa, plywood, ABS cowl, wheel pants
- Stock number: GPMA0180
- Street price: $99.99
Products used in review
- JR 8103 radio system
Horizon Hobby Distributors 4105 Fieldstone Rd. Champaign, IL 61822 (217) 352-1913 http://horizon.hobbyshopnow.com/products/jr.asp
- Enya 46 engine
Model Rectifier Corporation Box 6312 Edison, NJ 08818 (732) 225-2100 www.modelrectifier.com/catalog/item91.html
- Fiberglass cowl, wingtips, wheel pants:
Fiberglass Specialties, Inc. Box 1340 Henderson, TX 75652 (800) 527-1459 www.fiberglassspecialties.com/
- MonoKote / LustreKote finishing products:
Great Planes Model Manufacturing Company www.monokote.com/
Transcribed from original scans by AI. Minor OCR errors may remain.

