
Product Review
Author
Dick Wetzel 514 E. Main St., Bath PA 18014
Product
Neofun Classic
Pros
- Great instruction manual
- Light weight
- Smooth flying characteristics
Cons
- None noted
Overview
It seems that with the popularity of electric park flyers and other small electric radio-controlled models, small glow-engine-powered models—especially Almost Ready to Flys (ARFs)—have been neglected. Norvel, now exclusively distributed by Sig Manufacturing Co. of Montezuma, Iowa, has provided several models to correct this situation.
Although noted for its excellent line of engines (mostly in the .049- to .061-cubic-inch range), Norvel also offers an engine as large as .25 cubic inch and imports 1/2-A-size ARFs under the Neofun label, including the Vision, the Ucan-2, and the Classic, which is the subject of this review. All of these models have a 41-inch wingspan and weigh approximately 24 ounces. For the most part, they are constructed entirely from wood and covered with an iron-on film.
What’s in the box
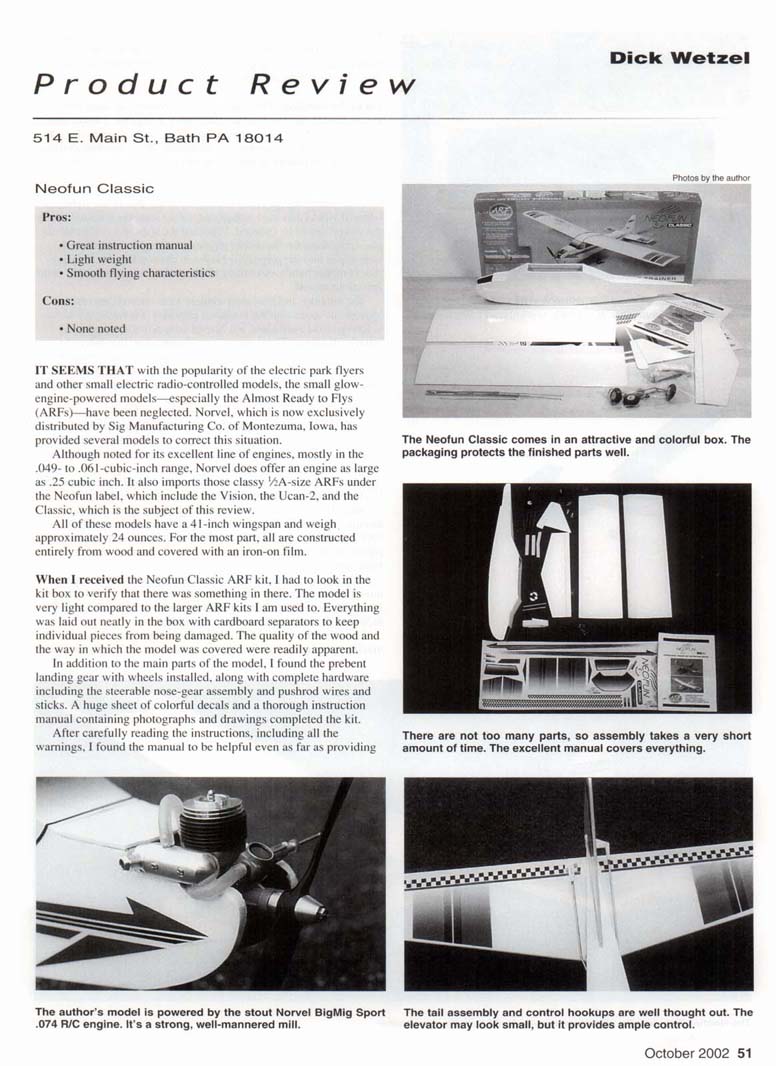
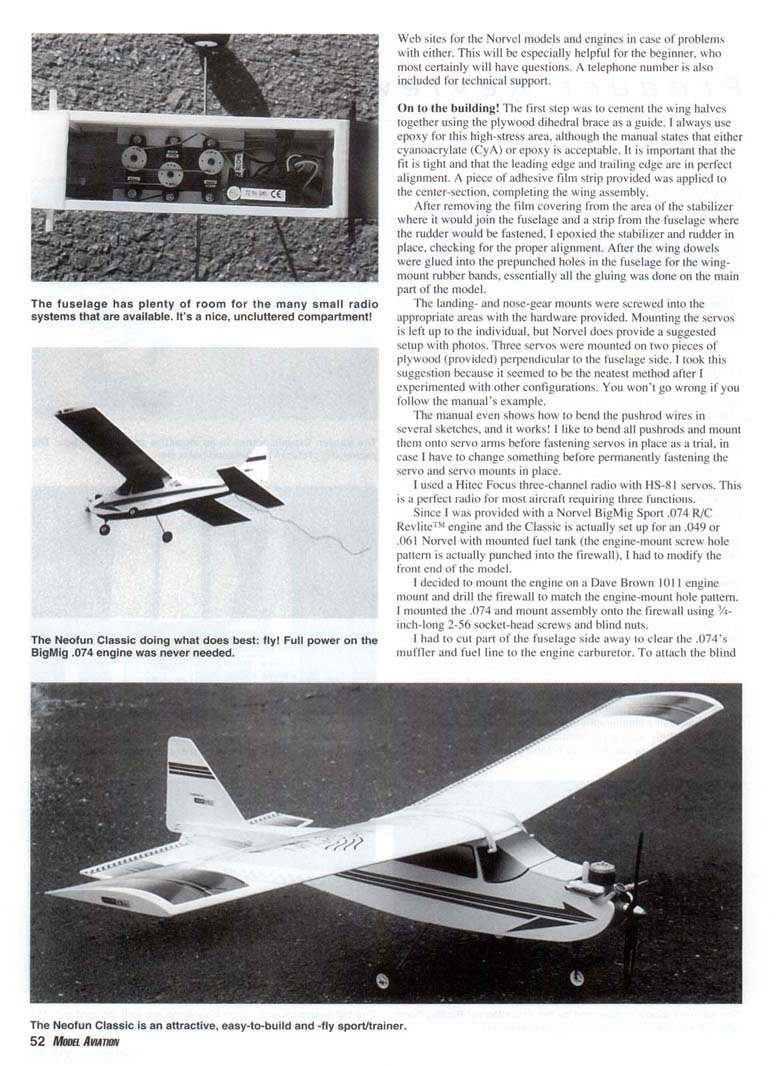
When I received the Neofun Classic ARF kit, I had to look in the box to verify there was something in there—the model is very light compared to the larger ARF kits I am used to. Everything was laid out neatly with cardboard separators to keep individual pieces from being damaged. The quality of the wood and the way the model was covered were readily apparent.
In addition to the main parts, the kit included:
- Prebent landing gear with wheels installed
- Complete hardware, including a steerable nose-gear assembly and pushrod wires and sticks
- A large sheet of colorful decals
- A thorough instruction manual with photographs and drawings
The manual is helpful and includes Web sites for Norvel models and engines, plus a telephone number for technical support—especially useful for beginners.
Building and assembly
After carefully reading the instructions and warnings, I began assembly.
- Wing
- The first step was to cement the wing halves together using the plywood dihedral brace as a guide. I used epoxy for this high-stress area, although the manual states either cyanoacrylate (CyA) or epoxy is acceptable.
- It is important that the fit is tight and that the leading and trailing edges are in perfect alignment. An adhesive film strip provided was applied to the center section, completing the wing assembly.
- Tail surfaces
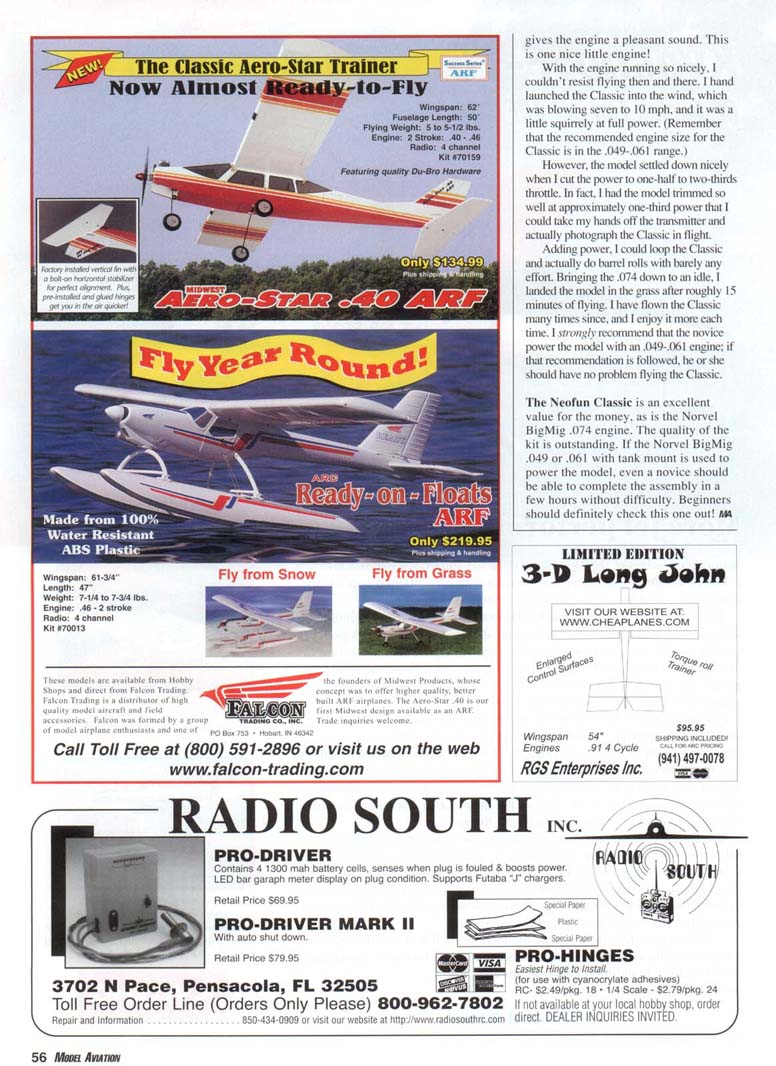
- I removed the film covering from the areas where the stabilizer and rudder would join the fuselage and epoxied them in place, checking alignment.
- Wing dowels and remaining glue work
- After the wing dowels were glued into the prepunched holes in the fuselage for the wing-mount rubber bands, essentially all the gluing was done on the main structure.
- Gear and servos
- The landing- and nose-gear mounts were screwed into place with the hardware provided.
- Mounting the servos is left to the builder, but Norvel provides a suggested setup with photos. I mounted three servos on two pieces of plywood (provided) perpendicular to the fuselage side; it was the neatest method after experimenting with other configurations.
- The manual shows how to bend pushrod wires with several sketches, and it works. I prefer to bend all pushrods and mount them onto servo arms before fastening servos permanently. I used a Hitec Focus three-channel radio with HS-81 servos—an appropriate radio for most three-function aircraft.
- Engine installation and modifications
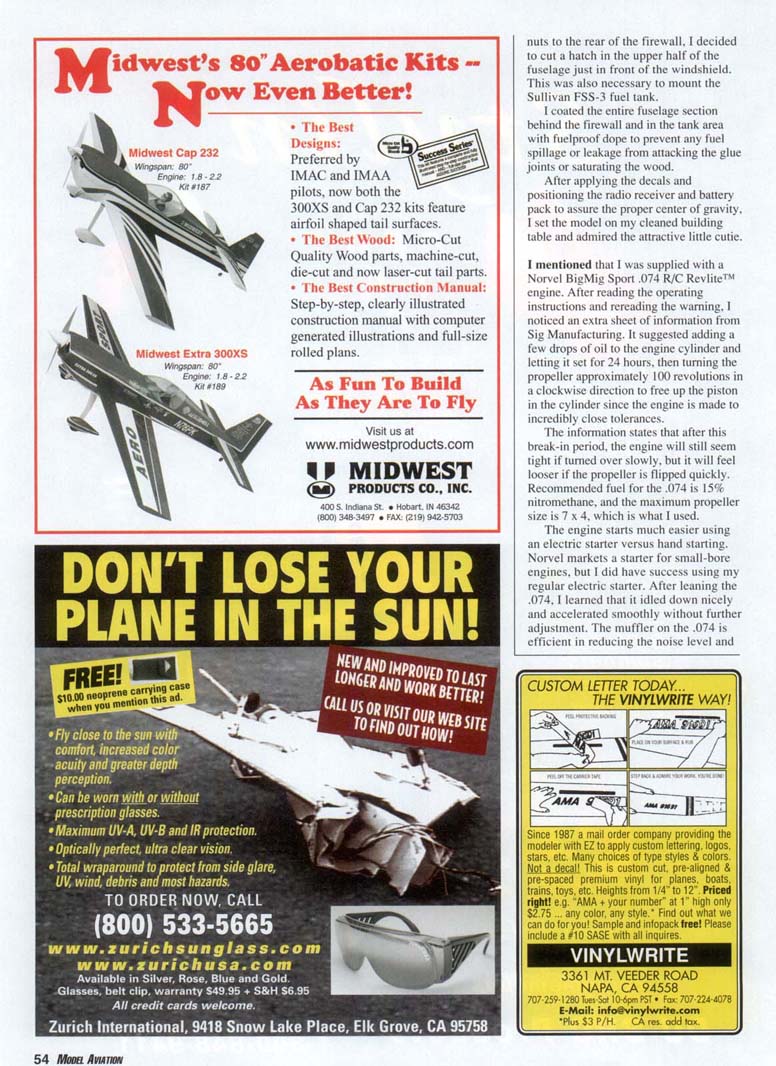
- I was supplied with a Norvel BigMig Sport .074 R/C Revlite engine, while the Classic is actually set up for an .049 or .061 Norvel with a mounted fuel tank (the engine-mount screw-hole pattern is punched into the firewall). To accommodate the .074 I mounted the engine on a Dave Brown 1011 engine mount and drilled the firewall to match the engine-mount hole pattern.
- I mounted the .074 and mount assembly to the firewall using 3/4-inch-long 2-56 socket-head screws and blind nuts. To get the blind nuts to the rear of the firewall I cut a hatch in the upper half of the fuselage just in front of the windshield; this hatch was also necessary to mount the Sullivan FSS-3 fuel tank.
- I had to cut part of the fuselage side to clear the .074's muffler and fuel line to the carburetor. The cowl required a small cut for the muffler but otherwise fit well. To attach the blind nuts I enlarged the holes in the firewall slightly so the blind nuts seated properly and tightened securely.
- I coated the entire fuselage section behind the firewall and in the tank area with fuelproof dope to prevent fuel from attacking glue joints or saturating the wood.
- Radio, power, and balance
- I used a 6-volt gel-cell and a small switch inside the fuselage to power the receiver and servos. The fuel tank is the small Alpha-style tank supplied with the kit.
- After applying decals and positioning the radio receiver and battery pack to assure the proper center of gravity, the model looked very attractive and neat.
Engine break-in and recommended fuel
Sig included an extra sheet of information suggesting adding a few drops of oil to the engine cylinder and letting it set for 24 hours, then turning the propeller approximately 100 revolutions clockwise to free up the piston—useful because the engine is made to incredibly close tolerances. After this break-in period the engine will still seem tight if turned over slowly but will feel looser if the propeller is flipped quickly.
Recommended fuel for the .074 is 15% nitromethane, and the maximum propeller size is 7 x 4, which is what I used. The manual for the Classic recommends 6% nitro fuel with castor oil for break-in if using the smaller Norvel engines; I used 10% nitro with synthetic oil and ran the .074 in for several tanks at a slightly rich mixture.
The engine starts much easier using an electric starter versus hand starting. Norvel markets a starter for small-bore engines, but my regular electric starter worked fine.
Flight impressions
The Classic's light weight made it sprightly. A couple of degrees of downthrust and right thrust made the plane fly straight. For the first flight I set a small amount of up trim and a touch of right aileron differential. Takeoff was brisk and the model climbed out well. The Classic tracks nicely and performs basic sport and trainer maneuvers with ease.
With the .074 mounted and leaned, the engine idled down nicely and accelerated smoothly without further adjustment. The muffler on the .074 is efficient in reducing noise and gives the engine a pleasant sound.
I hand-launched the Classic into a 7–10 mph wind. It was a bit squirrely at full power (remember the recommended engine size for the Classic is .049–.061), but it settled down when I cut power to half or two-thirds. I trimmed the model so well at approximately one-third power that I could take my hands off the transmitter and photograph the Classic in flight. Adding power, I could loop the Classic and do barrel rolls with minimal effort. After about 15 minutes of flying I brought the .074 down to an idle and landed in the grass. I have flown the Classic many times since and enjoy it more each time.
Recommendation and conclusion
I strongly recommend that novices power the model with an .049–.061 engine; if that recommendation is followed, the builder should have no problem flying the Classic. The Neofun Classic is an attractive, easy-to-build-and-fly sport/trainer that suits many small radio systems. The kit quality is outstanding, and the Norvel BigMig .074 engine is a nice little engine. If the Norvel BigMig .049 or .061 with tank mount is used, even a novice should be able to complete assembly in a few hours without difficulty. Beginners should definitely check this one out!
MA
Transcribed from original scans by AI. Minor OCR errors may remain.

