
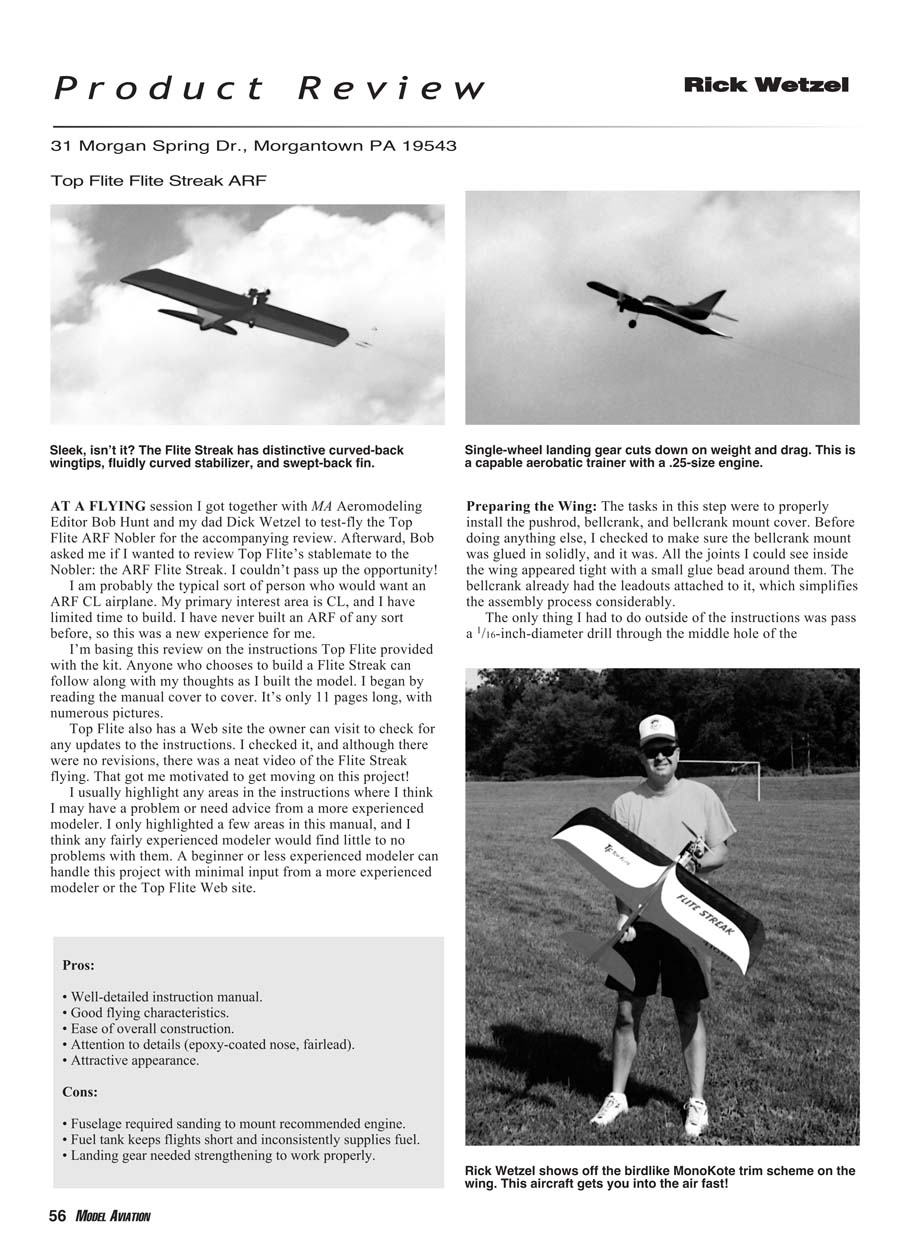
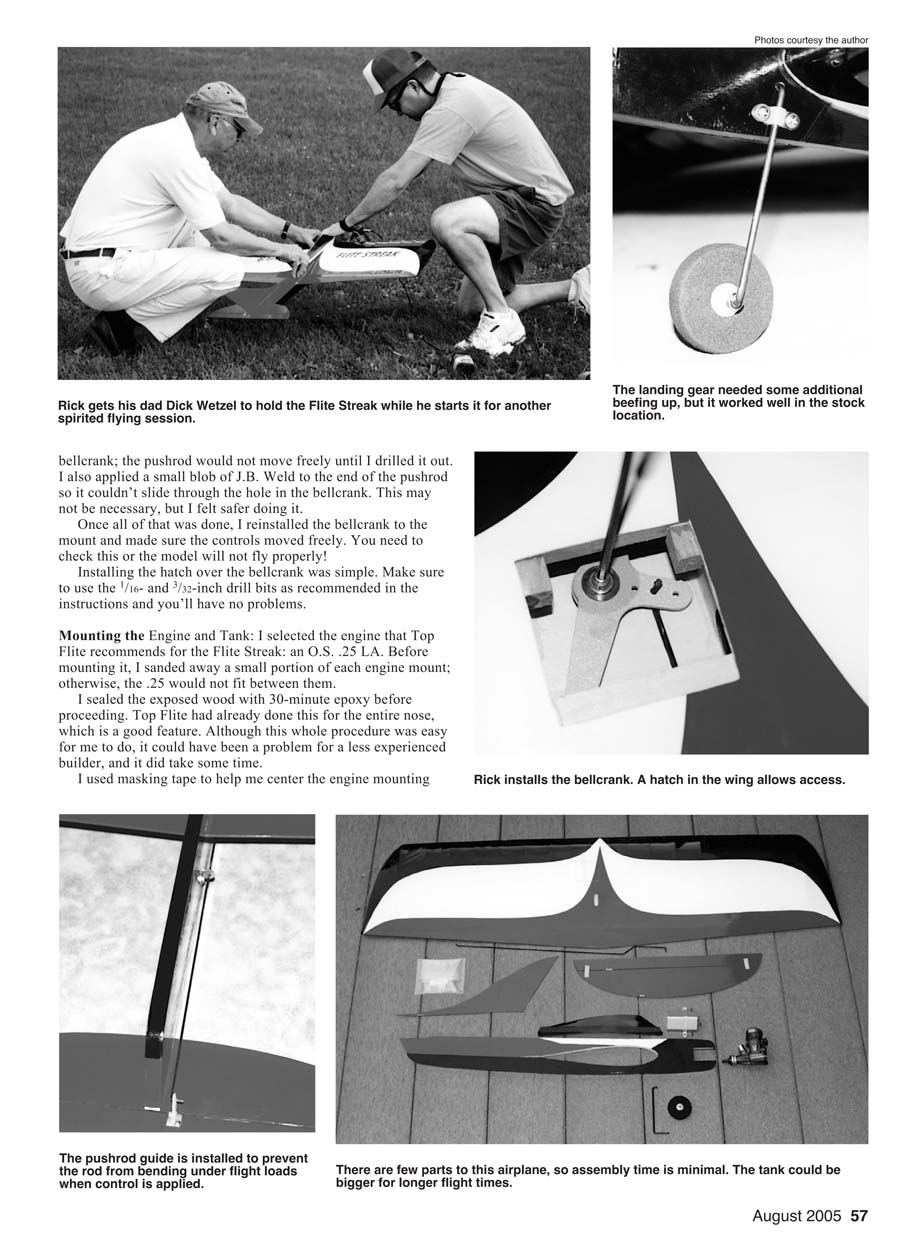
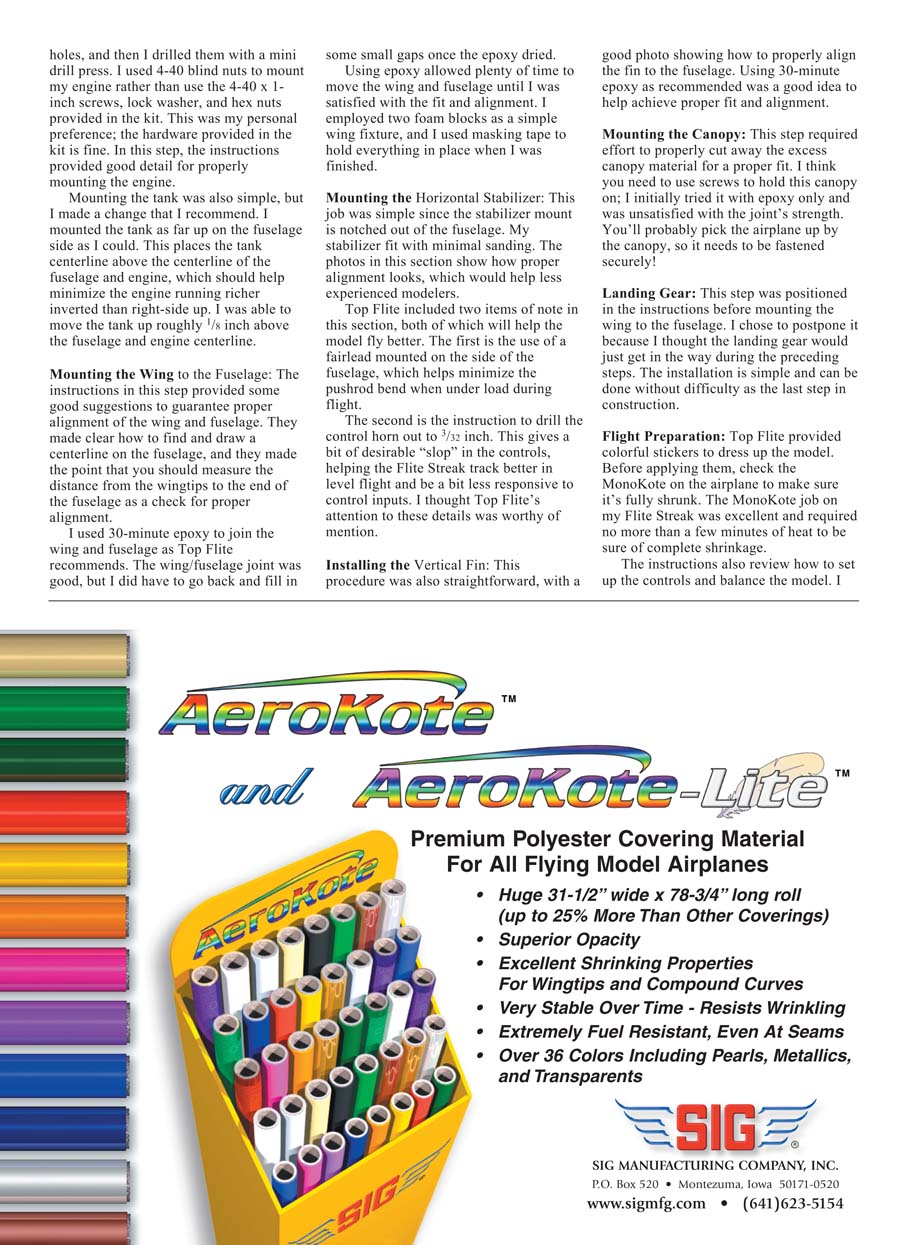

Product Review: Top Flite's Flite Streak CL ARF
Rick Wetzel
AT A FLYING session I got together with MA Aeromodeling Editor Bob Hunt and my dad Dick Wetzel to test-fly the Top Flite ARF Nobler for the accompanying review. Afterward, Bob asked me if I wanted to review Top Flite's stablemate to the Nobler: the ARF Flite Streak. I couldn't pass up the opportunity!
I am probably the typical sort of person who would want an ARF CL airplane. My primary interest area is CL, and I have limited time to build. I have never built an ARF of any sort before, so this was a new experience for me.
I'm basing this review on the instructions Top Flite provided with the kit. Anyone who chooses to build a Flite Streak can follow along with my thoughts as I built the model. I began by reading the manual cover to cover. It's only 11 pages long, with numerous pictures.
Top Flite also has a Web site the owner can visit to check for any updates to the instructions. I checked it, and although there were no revisions, there was a neat video of the Flite Streak flying. That got me motivated to get moving on this project!
I usually highlight any areas in the instructions where I think I may have a problem or need advice from a more experienced modeler. I only highlighted a few areas in this manual, and I think any fairly experienced modeler would find little to no problems with them. A beginner or less experienced modeler can handle this project with minimal input from a more experienced modeler or the Top Flite Web site.
Pros:
- Well-detailed instruction manual.
- Good flying characteristics.
- Ease of overall construction.
- Attention to details (epoxy-coated nose, fairlead).
- Attractive appearance.
Cons:
- Fuselage required sanding to mount recommended engine.
- Fuel tank keeps flights short and inconsistently supplies fuel.
- Landing gear needed strengthening to work properly.
Preparing the Wing:
The tasks in this step were to properly install the pushrod, bellcrank, and bellcrank mount cover. Before doing anything else, I checked to make sure the bellcrank mount was glued in solidly, and it was. All the joints I could see inside the wing appeared tight with a small glue bead around them. The bellcrank already had the leadouts attached to it, which simplifies the assembly process considerably.
The only thing I had to do outside of the instructions was pass a 1/16-inch-diameter drill through the middle hole of the bellcrank; the pushrod would not move freely until I drilled it out. I also applied a small blob of J.B. Weld to the end of the pushrod so it couldn't slide through the hole in the bellcrank. This may not be necessary, but I felt safer doing it.
Once all of that was done, I reinstalled the bellcrank to the mount and made sure the controls moved freely. You need to check this or the model will not fly properly!
Installing the hatch over the bellcrank was simple. Make sure to use the 1/16- and 3/32-inch drill bits as recommended in the instructions and you'll have no problems.
Mounting the Engine and Tank:
I selected the engine that Top Flite recommends for the Flite Streak: an O.S. .25 LA. Before mounting it, I sanded away a small portion of each engine mount; otherwise, the .25 would not fit between them.
I sealed the exposed wood with 30-minute epoxy before proceeding. Top Flite had already done this for the entire nose, which is a good feature. Although this whole procedure was easy for me to do, it could have been a problem for a less experienced builder, and it did take some time.
I used masking tape to help me center the engine mounting holes, and then I drilled them with a mini drill press. I used 4-40 blind nuts to mount my engine rather than use the 4-40 x 1-inch screws, lock washer, and hex nuts provided in the kit. This was my personal preference; the hardware provided in the kit is fine. In this step, the instructions provided good detail for properly mounting the engine.
Mounting the tank was also simple, but I made a change that I recommend. I mounted the tank as far up on the fuselage side as I could. This places the tank centerline above the centerline of the fuselage and engine, which should help minimize the engine running richer inverted than right-side up. I was able to move the tank up roughly 1/8 inch above the fuselage and engine centerline.
Mounting the Wing to the Fuselage:
The instructions in this step provided some good suggestions to guarantee proper alignment of the wing and fuselage. They made clear how to find and draw a centerline on the fuselage, and they made the point that you should measure the distance from the wingtips to the end of the fuselage as a check for proper alignment.
I used 30-minute epoxy to join the wing and fuselage as Top Flite recommends. The wing/fuselage joint was good, but I did have to go back and fill in some small gaps once the epoxy dried.
Using epoxy allowed plenty of time to move the wing and fuselage until I was satisfied with the fit and alignment. I employed two foam blocks as a simple wing fixture, and I used masking tape to hold everything in place when I was finished.
Mounting the Horizontal Stabilizer:
This job was simple since the stabilizer mount is notched out of the fuselage. My stabilizer fit with minimal sanding. The photos in this section show how proper alignment looks, which would help less experienced modelers.
Top Flite included two items of note in this section, both of which will help the model fly better. The first is the use of a fairlead mounted on the side of the fuselage, which helps minimize the pushrod bend when under load during flight.
The second is the instruction to drill the control horn to 3/32 inch. This gives a bit of desirable "slop" in the controls, helping the Flite Streak track better in level flight and be a bit less responsive to control inputs. I thought Top Flite's attention to these details was worthy of mention.
Installing the Vertical Fin:
This procedure was also straightforward, with a good photo showing how to properly align the fin to the fuselage. Using 30-minute epoxy as recommended was a good idea to help achieve proper fit and alignment.
Mounting the Canopy:
This step required effort to properly cut away the excess canopy material for a proper fit. I think you need to use screws to hold this canopy on; I initially tried it with epoxy only and was unsatisfied with the joint's strength. You'll probably pick the airplane up by the canopy, so it needs to be fastened securely!
Landing Gear:
This step was positioned in the instructions before mounting the wing to the fuselage. I chose to postpone it because I thought the landing gear would just get in the way during the preceding steps. The installation is simple and can be done without difficulty as the last step in construction.
Flight Preparation:
Top Flite provided colorful stickers to dress up the model. Before applying them, check the MonoKote on the airplane to make sure it's fully shrunk. The MonoKote job on my Flite Streak was excellent and required no more than a few minutes of heat to be sure of complete shrinkage.
The instructions also review how to set up the controls and balance the model. I used the middle hole in the bellcrank and the third hole away from the stabilizer, and this provided a rapid control response during flight.
My airplane balanced 2¼ inches back from the wing LE—an inch in front of the recommended balance point. I would fly the model a few times before venturing to add tail weight to get to the recommended balance point. I didn't think my model needed it.
Flying:
My initial flights were on a fairly windy day in an open soccer field. I used 57-foot-long, .015-diameter stranded lines and a handle with 4-inch line spacing. My O.S. .25 LA turned a 9 x 6 Master Airscrew wood propeller. I substituted an RSM stack muffler for the stock O.S. muffler to save weight.
I was very pleased with how the airplane flew. If I had to describe it in one word, it would be fast! It tracked straight in level flight and had plenty of response to control inputs. It had little problem handling the gusty 10-15 mph winds.
This is the third Flite Streak I’ve flown. One thing all three did was fly with the outboard wing slightly higher than the inboard wing. I added 1/4 ounce of tip weight, and that seemed to correct the problem on my model.
The O.S. .25 LA is a great engine for this airplane. I would be reluctant to use anything larger, even though the kit instructions indicate that it will handle anything as large as a .40.
This model would be a nice trainer with a .15 engine and minimal throw amounts in the controls. Mounting the tank above the fuselage centerline seemed to help the engine run the same speed right-side up and inverted.
My only complaints about flying are with the fuel tank and landing gear. My flights only lasted roughly 3¼ minutes. I want to fly this model longer! The engine had some trouble drawing fuel for approximately the last 45 seconds of some flights, and I think that's related to the tank as well. It is usable, but it could be improved.
The landing gear became loose after landing in the grass a few times. I epoxied the gear into the hole in the fuselage and applied a second nylon strap. The gear is now rock solid, and it held up well to a number of landings.
The Flite Streak ARF is a good-flying airplane and well worth the cost of the kit and the time you'll put into assembling it. It looks great and is capable of being a Stunt or Combat trainer, and it could even be a first model for a beginner. Any problems with it are minimal and should be easily overcome, even by less experienced modelers. MA
Specifications:
Stock number: TOPA1000 Wingspan: 41.5 inches Wing area: 398 square inches Weight: 24.3 ounces Wing loading: 8.8 ounces/square foot Length: 27 inches Requirements: Two-stroke .25-.40 cu. in. CL engine, control handle, connectors and lines, propeller, spinner, fuel, support equipment
Distributor:
Great Planes Model Distributors Box 9021 Champaign IL 61826 (800) 637-7660 www.top-flite.com/airplanes/topa1000.html
Suppliers:
O.S. .25 LA engine: Great Planes Model Manufacturing Box 9021 Champaign IL 61826 (800) 637-7660 www.osengines.com
RSM Distribution 21899 Heliotrope Ln. Wildomar CA 92595 (909) 678-1406 [email protected]
Transcribed from original scans by AI. Minor OCR errors may remain.

