

Product Review: Top Flite's Nobler CL ARF
Dick Wetzel
514 E. Main St., Bath PA 18014
Top Flite Nobler ARF
I FIRST BECAME acquainted with Top Flite's Nobler in 1961. The George Aldrich design had been winning almost every major competition in the 1950s and beyond, gaining the reputation as one of the most successful CL Stunt models ever. Although I was never a serious competitor in CL Precision Aerobatics, I enjoyed flying my Nobler from 1961 until the early 1980s.
When asked if I would like to do a review of Top Flite's ARF Nobler, I jumped at the chance. I had flown little CL since I was introduced to the RC world in the early 1980s, and I figured that this would be the extra push I needed to get me back into this exciting phase of this great hobby of model airplanes.
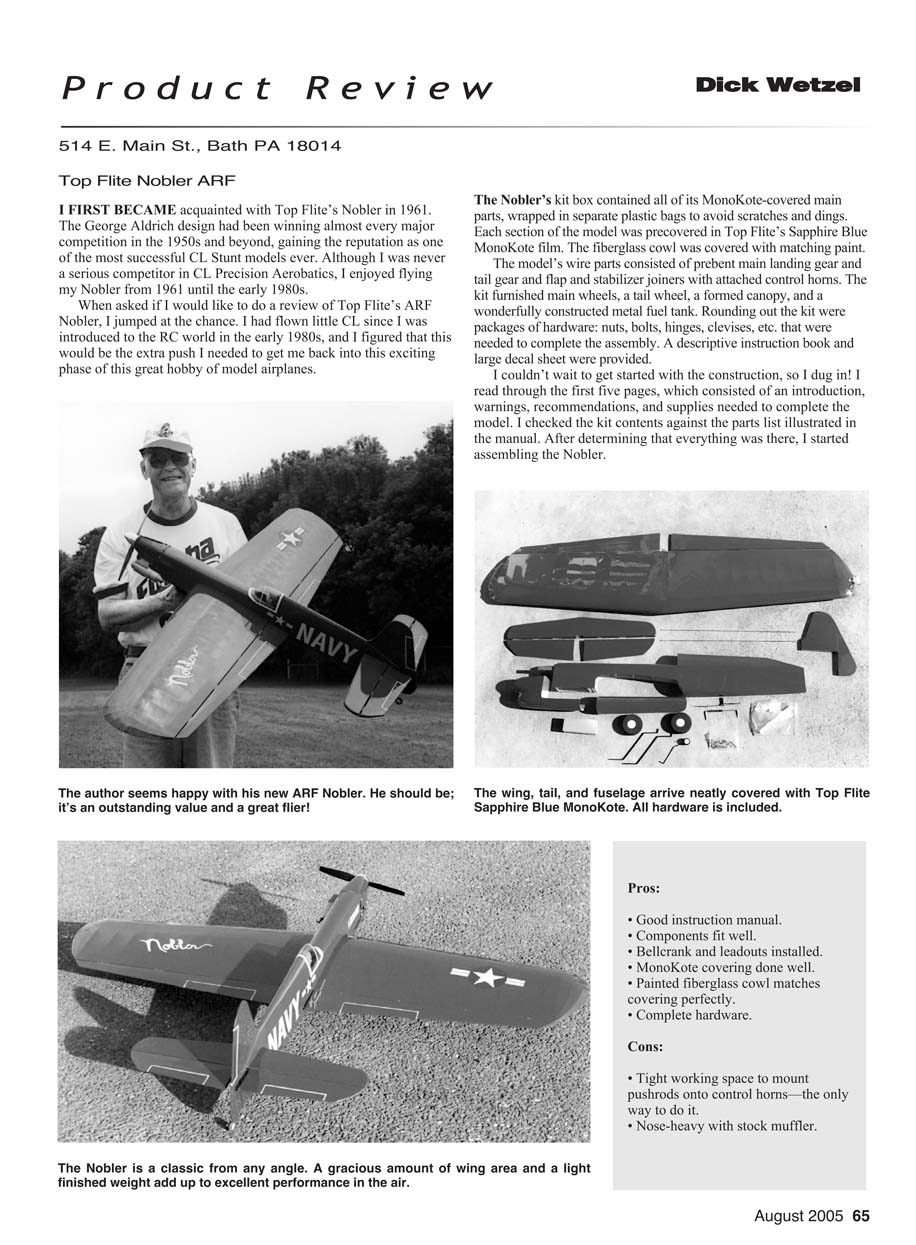
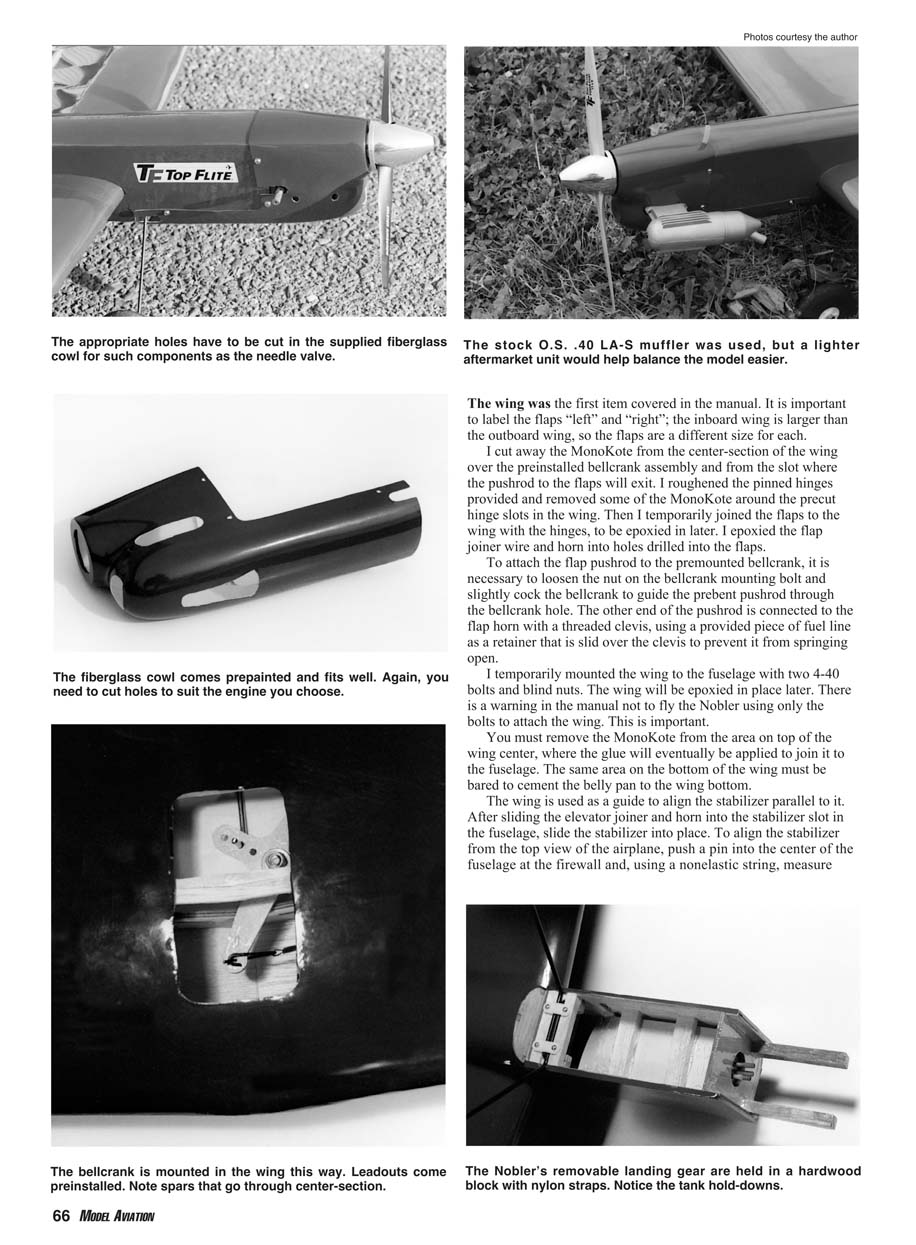
The Nobler's kit box contained all of its MonoKote-covered main parts, wrapped in separate plastic bags to avoid scratches and dings. Each section of the model was precovered in Top Flite's Sapphire Blue MonoKote film. The fiberglass cowl was covered with matching paint.
The model's wire parts consisted of prebent main landing gear and tail gear and flap and stabilizer joiners with attached control horns. The kit furnished main wheels, a tail wheel, a formed canopy, and a wonderfully constructed metal fuel tank. Rounding out the kit were packages of hardware: nuts, bolts, hinges, clevises, etc. that were needed to complete the assembly. A descriptive instruction book and large decal sheet were provided.
I couldn't wait to get started with the construction, so I dug in! I read through the first five pages, which consisted of an introduction, warnings, recommendations, and supplies needed to complete the model. I checked the kit contents against the parts list illustrated in the manual. After determining that everything was there, I started assembling the Nobler.
The wing was the first item covered in the manual. It is important to label the flaps "left" and "right"; the inboard wing is larger than the outboard wing, so the flaps are a different size for each.
I cut away the MonoKote from the center-section of the wing over the preinstalled bellcrank assembly and from the slot where the pushrod to the flaps will exit. I roughened the pinned hinges provided and removed some of the MonoKote around the precut hinge slots in the wing. Then I temporarily joined the flaps to the wing with the hinges, to be epoxied in later. I epoxied the flap joiner wire and horn into holes drilled into the flaps.
To attach the flap pushrod to the premounted bellcrank, it is necessary to loosen the nut on the bellcrank mounting bolt and slightly cock the bellcrank to guide the pre-bent pushrod through the bellcrank hole. The other end of the pushrod is connected to the flap horn with a threaded clevis, using a provided piece of fuel line as a retainer that is slid over the clevis to prevent it from springing open.
I temporarily mounted the wing to the fuselage with two 4-40 bolts and blind nuts. The wing will be epoxied in place later. There is a warning in the manual not to fly the Nobler using only the bolts to attach the wing. This is important.
You must remove the MonoKote from the area on top of the wing center, where the glue will eventually be applied to join it to the fuselage. The same area on the bottom of the wing must be bared to cement the belly pan to the wing bottom.
The wing is used as a guide to align the stabilizer parallel to it. After sliding the elevator joiner and horn into the stabilizer slot in the fuselage, slide the stabilizer into place. To align the stabilizer from the top view of the airplane, push a pin into the center of the fuselage at the firewall and, using a nonelastic string, measure out equal distances from the pin to each stabilizer tip. Make adjustments until both measurements are equal, then tack glue the stabilizer in place with thin CA. Check the stabilizer incidence with a small angle gauge and, when satisfied, permanently glue it with epoxy.
I mounted the rudder hinge to the fuselage and then epoxied the rudder to its hinges. Pull-pull cables are used for the rudder and the elevator. The control system was easy to assemble and functioned smoothly after some minor adjustments to eliminate slop.
The fiberglass cowl fits well and is prepainted. I cut out the necessary openings for cowl mounting and for access to the needle valve and muffler. The stock O.S. .40 LA-S muffler was used, but a lighter aftermarket unit would help balance the model easier.
The metal fuel tank supplied in the kit is well built and fits into the tank bay. I used silicone fuel tubing for all connections and installed a flat plate vent line to avoid any fuel sloshing problems during aggressive maneuvers.
The Nobler's removable landing gear are held in a hardwood block with nylon straps. The main gear are sturdy and the wheel pants, though flexible, fit nicely. The tailwheel assembly is solid and steers via the rudder cable.
Balancing the model proved to be critical. With the stock muffler installed, the center of gravity was slightly nose-heavy, so I added weight to the tail to achieve the recommended balance point. With a lighter muffler the amount of ballast required would be reduced.
Ground handling is straightforward and takeoffs were uneventful. The Nobler tracks well and is responsive to rudder and elevator inputs. The model lifts off at a modest speed and climbs out predictably.
In flight, the Nobler is agile and well balanced for pattern flying. Rolls are axial and clean. Loops are round and true. Stall characteristics are benign with a fairly gentle break. The large control surfaces provide ample authority for precision aerobatics.
Landing the Nobler is easy thanks to good visibility over the nose and a forgiving flare. The landing gear and tailwheel absorbed typical rough-field bumps without difficulty.
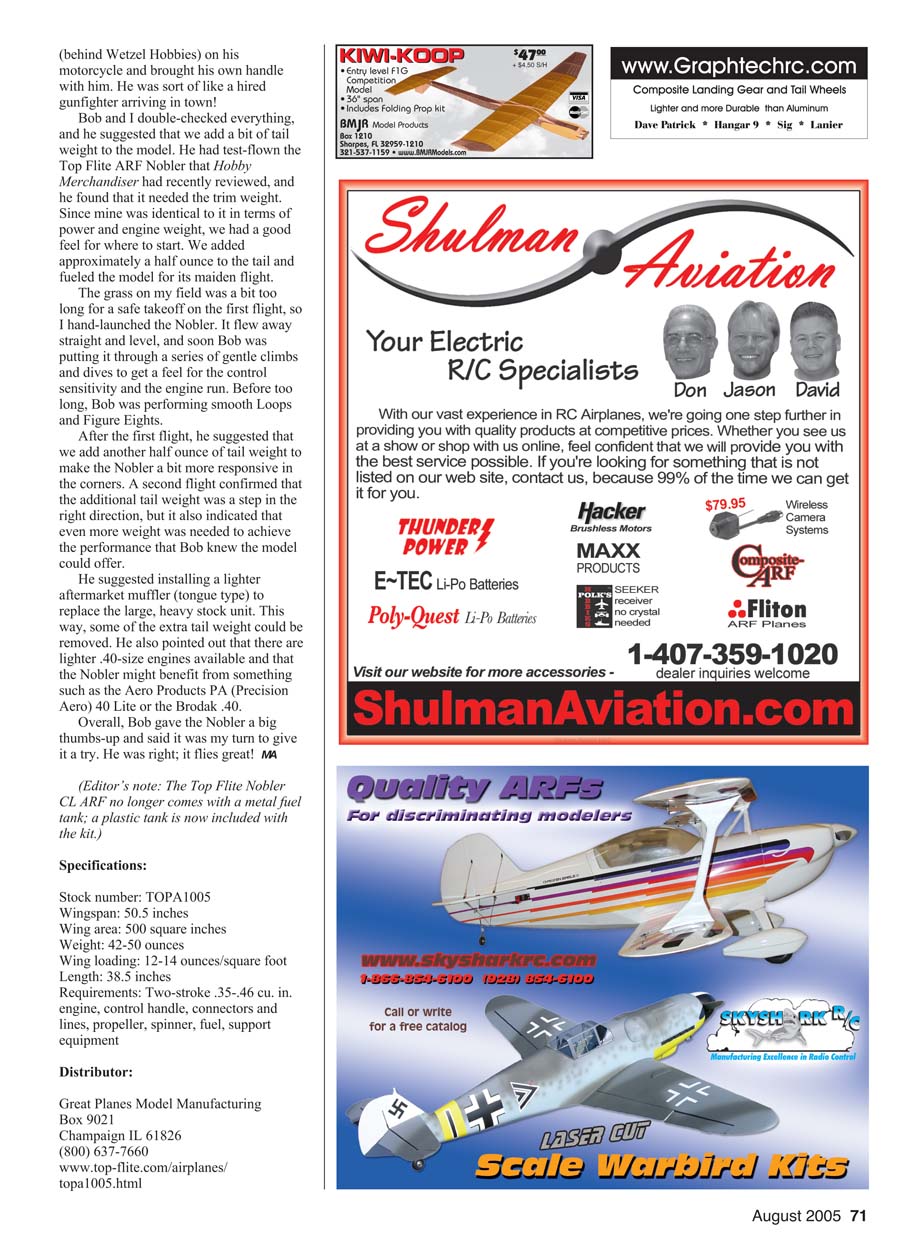
Overall, Top Flite's Nobler CL ARF is a nicely executed model that will appeal to sport and pattern pilots looking for a quality, ready-to-fly airframe. The precovered surfaces, strong hardware, and thoughtful kit engineering make assembly straightforward, and the finished airplane performs well in the intended flight envelope.
Joining the pushrod to the flap horn and the elevator horn proved to be challenging, especially at the flap side. To do this it is necessary to work through the small cockpit opening! The pushrod is made with a threaded clevis on one end, to be attached to the flap horn and a soldered clevis on the elevator end.
Installing the adjustable clevis on the flap horn, under the existing pushrod clevis from the bellcrank attached to the upper hole on the flap horn, was a chore. I had to do it three or four times until I adjusted the clevis properly to have neutral flaps and elevator, and then I had to slide the retainer over the clevises. Whew! It took quite a bit of patience.
I epoxied the hinges into the precut slits in the stabilizer and elevators, and the control system was completed.
Mounting the landing gear, engine, and fuel tank was straightforward. I used an O.S. .40 LA-S engine for power and mounted it on the wood-beam engine mount with the 4-40 bolts and blind nuts provided. I had to file away the engine mount slightly to obtain the proper fit, as suggested in the instruction manual.
After the appropriate holes are cut into the fiberglass cowl for the needle valve, intake air, glow-plug access and air exit, muffler, and landing gear, the cowl is attached to the fuselage using the #2 x 1/4-inch screws provided.
I added a Great Planes 1 3/4-inch aluminum spinner and an 11 x 4 propeller. Then I attached the canopy using 1/4-inch-wide white striping tape, as suggested, and applied most of the decals.
You may have to remove the canopy to adjust the pushrod settings at some point, so it may be wise not to cement the canopy permanently in place.
I checked the model's balance and ran several tanks of fuel through the O.S. .40 LA-S. The Nobler was ready to fly!
Flying: I asked MA Aeromodeling Editor Bob Hunt to test-fly the Nobler since he is a more experienced CL pilot than I am and because he is a friend who lives near me. Bob arrived at my private flying field (behind Wetzel Hobbies) on his motorcycle and brought his own handle with him. He was sort of like a hired gunfighter arriving in town!
Bob and I double-checked everything, and he suggested that we add a bit of tail weight to the model. He had test-flown the Top Flite ARF Nobler that Hobby Merchandiser had recently reviewed, and he found that it needed the trim weight. Since mine was identical to it in terms of power and engine weight, we had a good feel for where to start. We added approximately a half ounce to the tail and fueled the model for its maiden flight.
The grass on my field was a bit too long for a safe takeoff on the first flight, so I hand-launched the Nobler. It flew away straight and level, and soon Bob was putting it through a series of gentle climbs and dives to get a feel for the control sensitivity and the engine run. Before too long, Bob was performing smooth Loops and Figure Eights.
After the first flight, he suggested that we add another half ounce of tail weight to make the Nobler a bit more responsive in the corners. A second flight confirmed that the additional tail weight was a step in the right direction, but it also indicated that even more weight was needed to achieve the performance that Bob knew the model could offer.
He suggested installing a lighter aftermarket muffler (tongue type) to replace the large, heavy stock unit. This way, some of the extra tail weight could be removed. He also pointed out that there are lighter .40-size engines available and that the Nobler might benefit from something such as the Aero Products PA (Precision Aero) 40 Lite or the Brodak .40.
Overall, Bob gave the Nobler a big thumbs-up and said it was my turn to give it a try. He was right; it flies great! MA
(Editor's note: The Top Flite Nobler CL ARF no longer comes with a metal fuel tank; a plastic tank is now included with the kit.)
Specifications:
- Stock number: TOPA1005
- Wingspan: 50.5 inches
- Wing area: 500 square inches
- Weight: 42-50 ounces
- Wing loading: 12-14 ounces/square foot
- Length: 38.5 inches
- Requirements: Two-stroke .35-.46 cu. in. engine, control handle, connectors and lines, propeller, spinner, fuel, support equipment
Distributor:
- Great Planes Model Manufacturing
- Box 9021
- Champaign IL 61826
- (800) 637-7660
- www.top-flite.com/airplanes/topa1005.html
Transcribed from original scans by AI. Minor OCR errors may remain.

