
X10+ Channel Expander
Overview
MA columnist Greg Gimlick contributed this review of the Xtreme Power Systems (XPS) X10+ Channel Expander.
When Greg first saw the X10+ at a trade show, he wondered why he would want one and what it did. After a conversation with Jim Drew, owner and head designer at XPS, he wanted not just one but several.
The X10+ Channel Expander uses a single serial data link from your receiver and allows you to drive up to 11 servos, regardless of your receiver’s native channel count. If you’re using Spektrum, you simply connect a satellite receiver much the same way you would when configuring a flybarless helicopter setup.
Receiver support
The latest firmware update provides dual-receiver (redundancy) support. You can use dual XtremeLink, Futaba SBUS/SBUS2, or Spektrum satellite receivers. When using the dual-receiver option you are limited to 10 channels; the 11th channel becomes the second receiver input. Xtreme Power Systems has received permission to support the new DMSS protocol from JR, which will be added soon.
Programming and manual
A 21-page manual is available online and describes the various programming functions. You can program the X10+ with the onboard programming button and LED, or use the optional Serial Programming device and a computer.
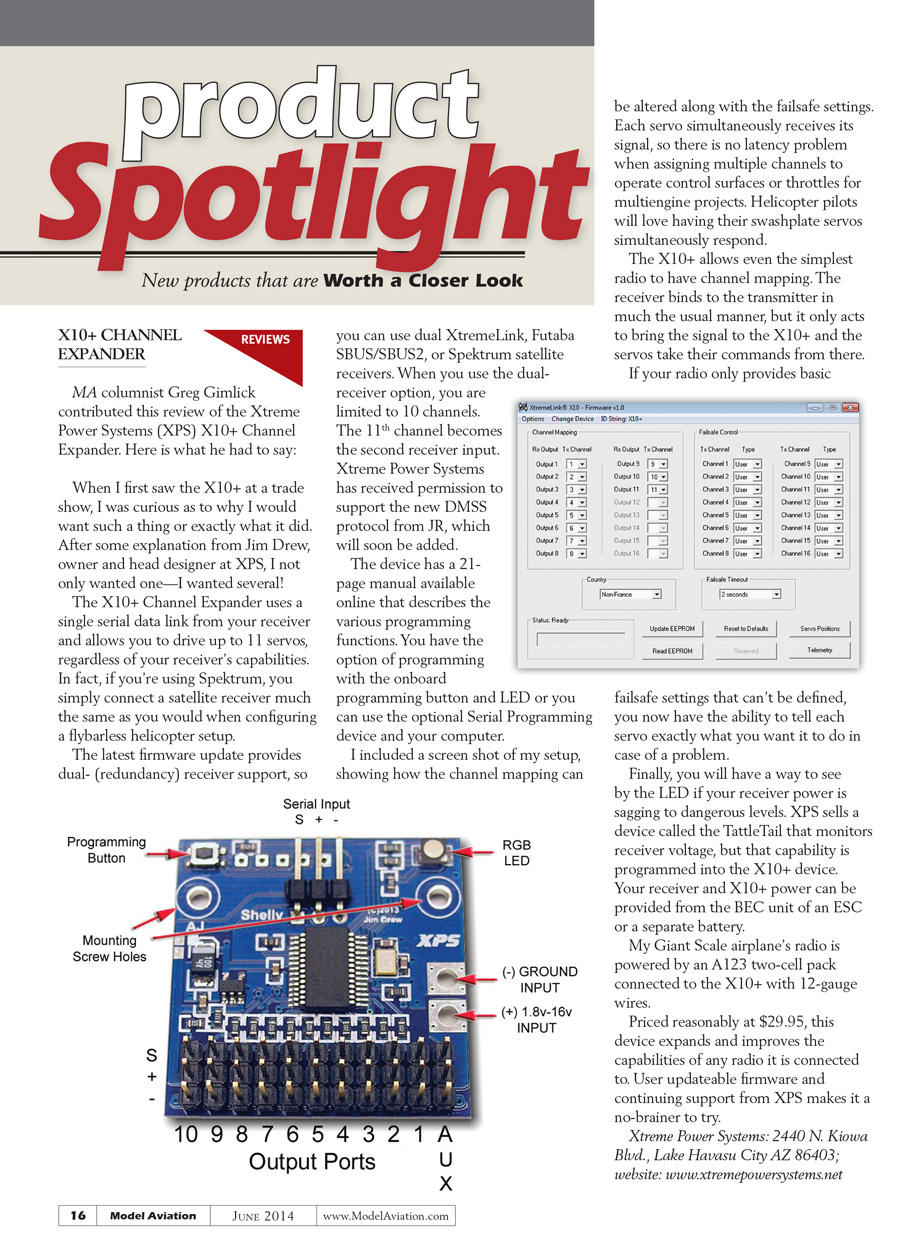
Greg included a screenshot of his setup showing how channel mapping can be altered along with failsafe settings. Each servo receives its signal simultaneously, so there is no latency problem when assigning multiple channels to operate control surfaces or throttles for multiengine projects. Helicopter pilots will appreciate their swashplate servos responding simultaneously.
The X10+ allows even the simplest radio to have channel mapping. The receiver binds to the transmitter in the usual manner, but it only brings the signal to the X10+; the servos take their commands from there. If your radio only provides basic failsafe settings that can’t be defined, the X10+ lets you tell each servo exactly what to do in case of a problem.
Power and monitoring
The X10+ provides an LED indicator to show if receiver power is sagging to dangerous levels. XPS also sells a separate device called the TattleTail that monitors receiver voltage, but that capability is built into the X10+ as well.
Your receiver and the X10+ can be powered from the BEC unit of an ESC or from a separate battery. Greg powers his giant-scale airplane’s radio with an A123 two-cell pack connected to the X10+ with 12-gauge wires.
Price and contact
Priced at $29.95, the X10+ expands and improves the capabilities of any radio it is connected to. User-updateable firmware and ongoing support from XPS make it an easy recommendation.
Xtreme Power Systems: 2440 N. Kiowa Blvd., Lake Havasu City AZ 86403 Website: www.xtremepowersystems.net
Battery Boxes
Product
Retro RC has expanded its line of accessories with new Battery Boxes to help keep things organized. The boxes join the company's glue and tool caddies. They are available in three sizes:
- Holds 18 × 1S 160 mAh batteries
- Holds 12 × 1S 300 mAh batteries
- Holds 8 × 2S 300 mAh batteries
The plywood parts are laser cut. All three sizes are individually priced at $14.99.
Joe Hass contributed the following notes on constructing the Battery Boxes.
Assembly instructions
- Lay out all the parts and review the instructions. The pieces fit together like a jigsaw puzzle, so mistakes are unlikely.
- Optionally sand each piece briefly to remove the slight burn from laser cutting. Use 150- to 220-grit sandpaper. To make sanding easier, lay a full sheet of sandpaper on your work surface, place the part in the middle, and sand the top surface—the flat sheet keeps the part from moving.
- Begin assembly. Even without instructions and pictures, the pieces go together logically.
- After assembling but before gluing, place a rubber band around the box to hold it together and set the box on a flat surface to ensure everything is square.
- Glue using CA or white glue and leave the box on the flat surface until the glue sets.
Finishing
A highly recommended additional step is to spray the entire assembly with clear polyurethane to protect the wood and laser printing and to give a deep, rich finish. Spray outside with plenty of ventilation.
Retro RC: Box 193, Keego Harbor MI 48320; Tel.: (248) 212-9666 Website: www.retrorc.us.com
Xion Wing Locks
Overview
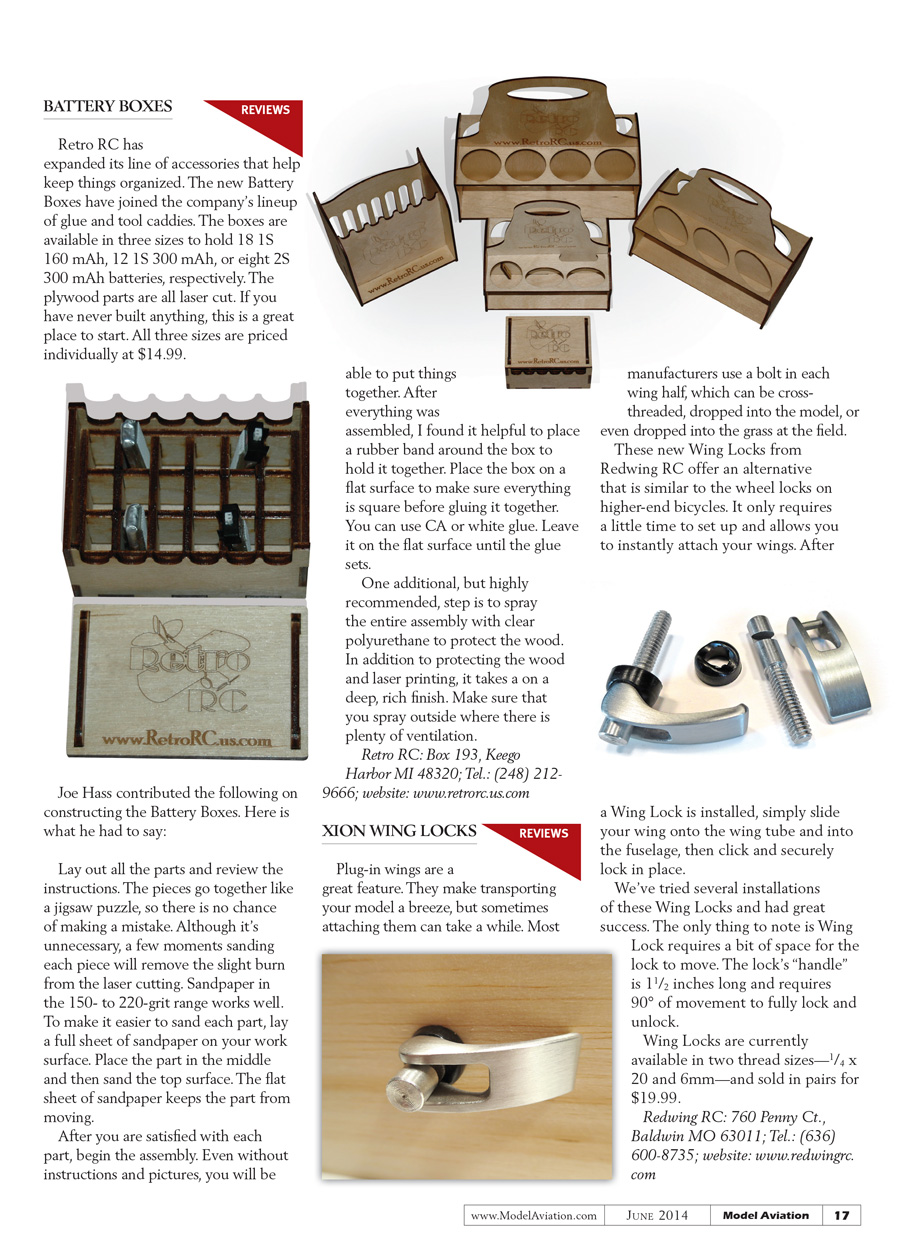
Plug-in wings make transporting your model easier, but attaching them can be time-consuming. Most manufacturers use a bolt in each wing half, which can be cross-threaded or dropped into the model or grass. Redwing RC’s Wing Locks offer an alternative similar to the quick-release wheel locks on higher-end bicycles.
Once a Wing Lock is installed, slide the wing onto the wing tube and into the fuselage, then click to securely lock it in place. Installation takes a little time up front but allows instant attachment thereafter.
Notes
- The Wing Lock requires some space for the lock to move. The lock’s handle is 1-1/2 inches long and requires 90° of movement to fully lock and unlock.
- Tests of several installations showed good success.
Wing Locks are currently available in two thread sizes—1/4 x 20 and 6 mm—and are sold in pairs for $19.99.
Redwing RC: 760 Penny Ct., Baldwin MO 63011; Tel.: (636) 600-8735 Website: www.redwingrc.com
Transcribed from original scans by AI. Minor OCR errors may remain.

