
COLLECTING VINTAGE PLASTIC MODEL AIRPLANE KITS
With the majority of us spending our time constructing and/or flying model aircraft, it’s likely that we also have spent some quality time constructing plastic models. Beyond assembling, painting, and displaying them, collecting plastic models is also a hobby enjoyed by many.
Author Craig Kodera, who is also a pilot and artist, has done a fantastic job of covering all aspects that a collector needs to know about the 1950s and ’60s. The first chapter, titled “Know Your Model Kit Companies,” provides a handy list of kit companies that is broken into three tiers with a little more detail regarding each one. One example would be Comet, which is listed at the top of Tier 2 and states, “beautiful engineering, small presence.”
Chapter two, “Why We Collect,” presents a few theories. One interesting idea is that the hunter-gatherer instinct may play a part. The author also theorizes that the modern-day collector may be after the thrill of pursuit and, if so, the reward of the object is secondary and the item may be given up shortly thereafter.
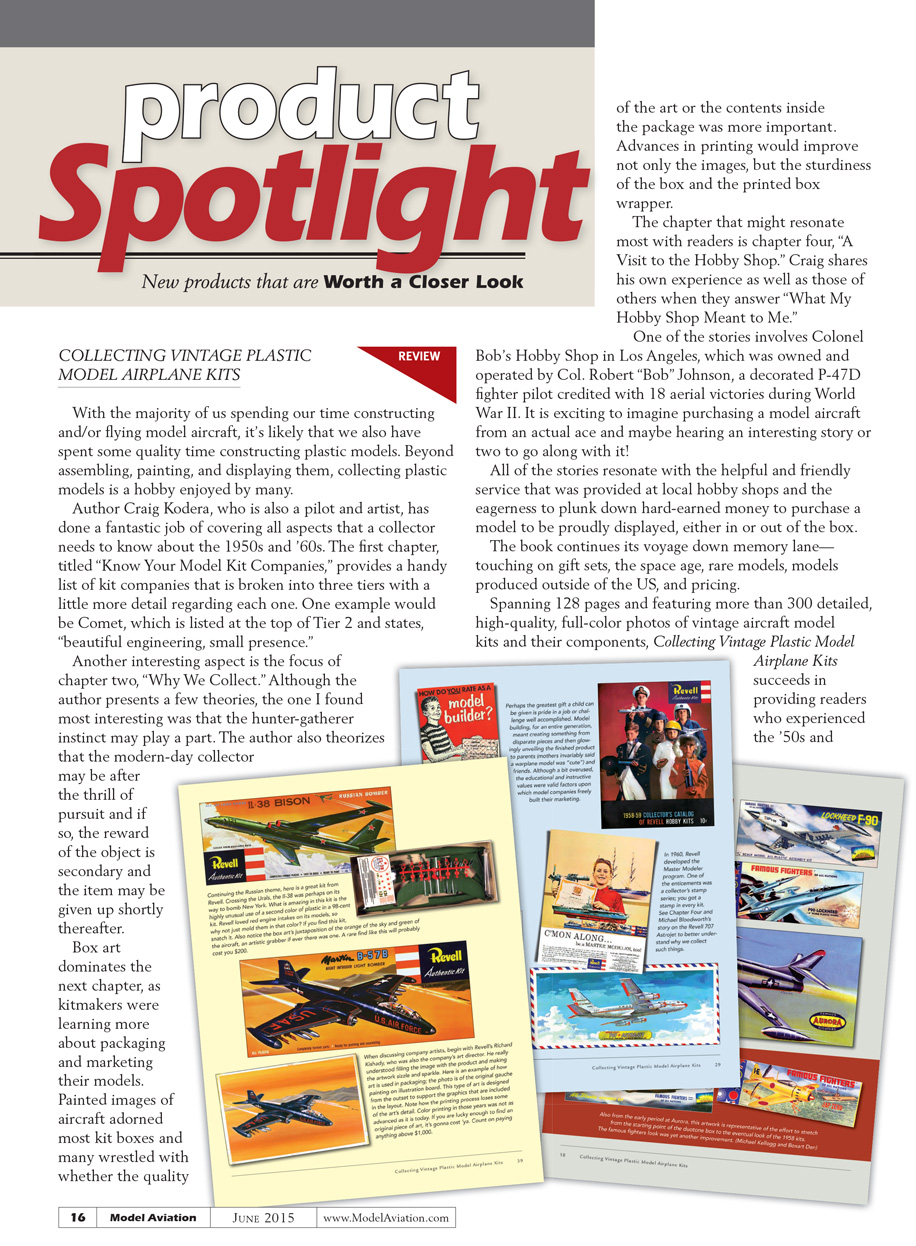
Box art dominates the next chapter, as kitmakers were learning more about packaging and marketing their models. Painted images of aircraft adorned most kit boxes, and many makers wrestled with whether the quality of the art or the contents inside the package was more important. Advances in printing improved not only the images, but the sturdiness of the box and the printed box wrapper.
The chapter that might resonate most with readers is chapter four, “A Visit to the Hobby Shop.” Craig shares his own experience as well as those of others when they answer “What My Hobby Shop Meant to Me.” One story involves Colonel Bob’s Hobby Shop in Los Angeles, owned and operated by Col. Robert “Bob” Johnson, a decorated P-47D fighter pilot credited with 18 aerial victories during World War II. It is exciting to imagine purchasing a model aircraft from an actual ace and maybe hearing an interesting story or two to go along with it.
All of the stories emphasize the helpful and friendly service provided at local hobby shops and the eagerness to plunk down hard-earned money to purchase a model to be proudly displayed, either in or out of the box.
The book continues its voyage down memory lane—touching on gift sets, the space age, rare models, models produced outside of the U.S., and pricing.
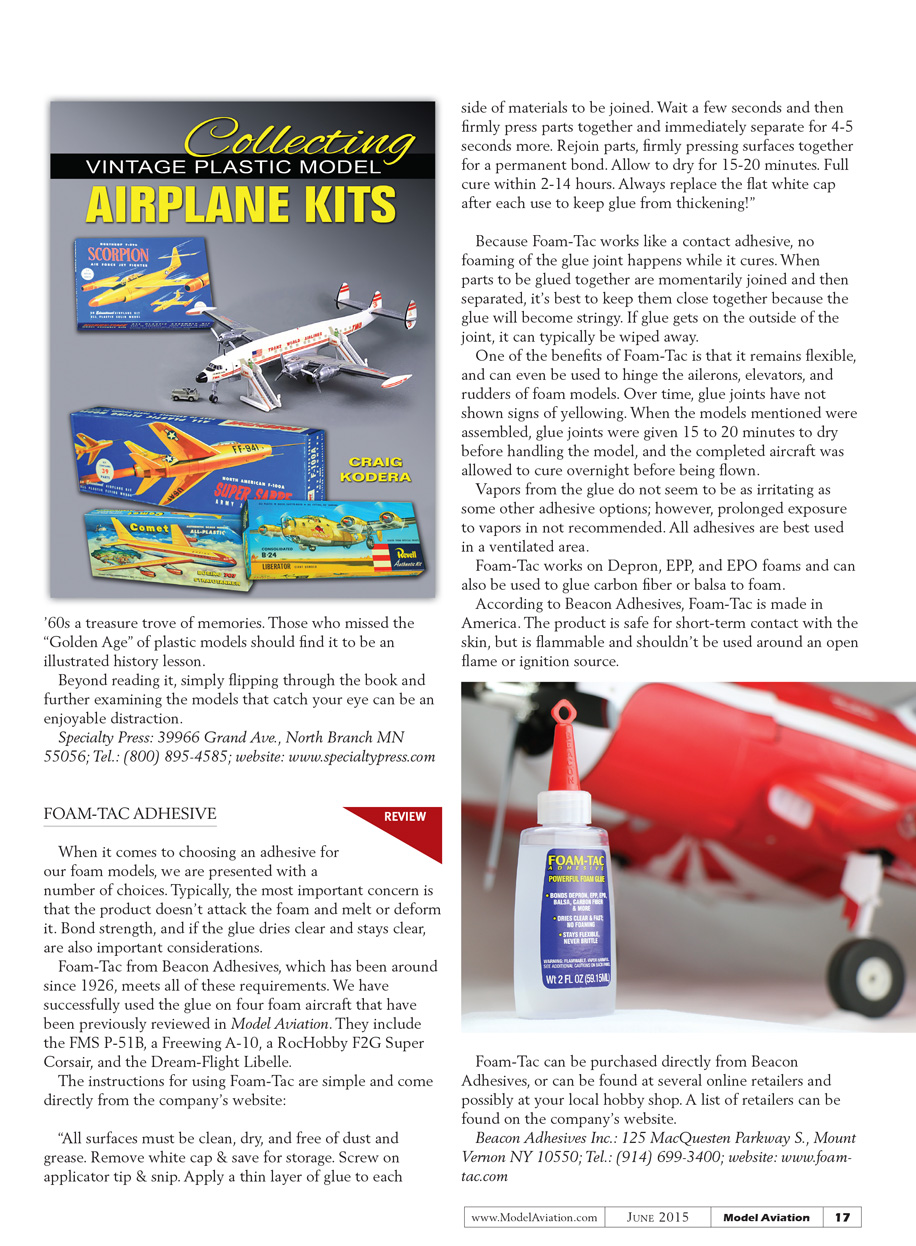
Spanning 128 pages and featuring more than 300 detailed, high-quality, full-color photos of vintage aircraft model kits and their components, Collecting Vintage Plastic Model Airplane Kits succeeds in providing readers who experienced the ’50s and ’60s a treasure trove of memories. Those who missed the “Golden Age” of plastic models should find it to be an illustrated history lesson.
Beyond reading it, simply flipping through the book and examining the models that catch your eye can be an enjoyable distraction.
Publication information
- Specialty Press
- 39966 Grand Ave., North Branch, MN 55056
- Tel.: (800) 895-4585
- Website: www.specialtypress.com
Transcribed from original scans by AI. Minor OCR errors may remain.

