

Volume V: Covering and Paint
Mike Hurley
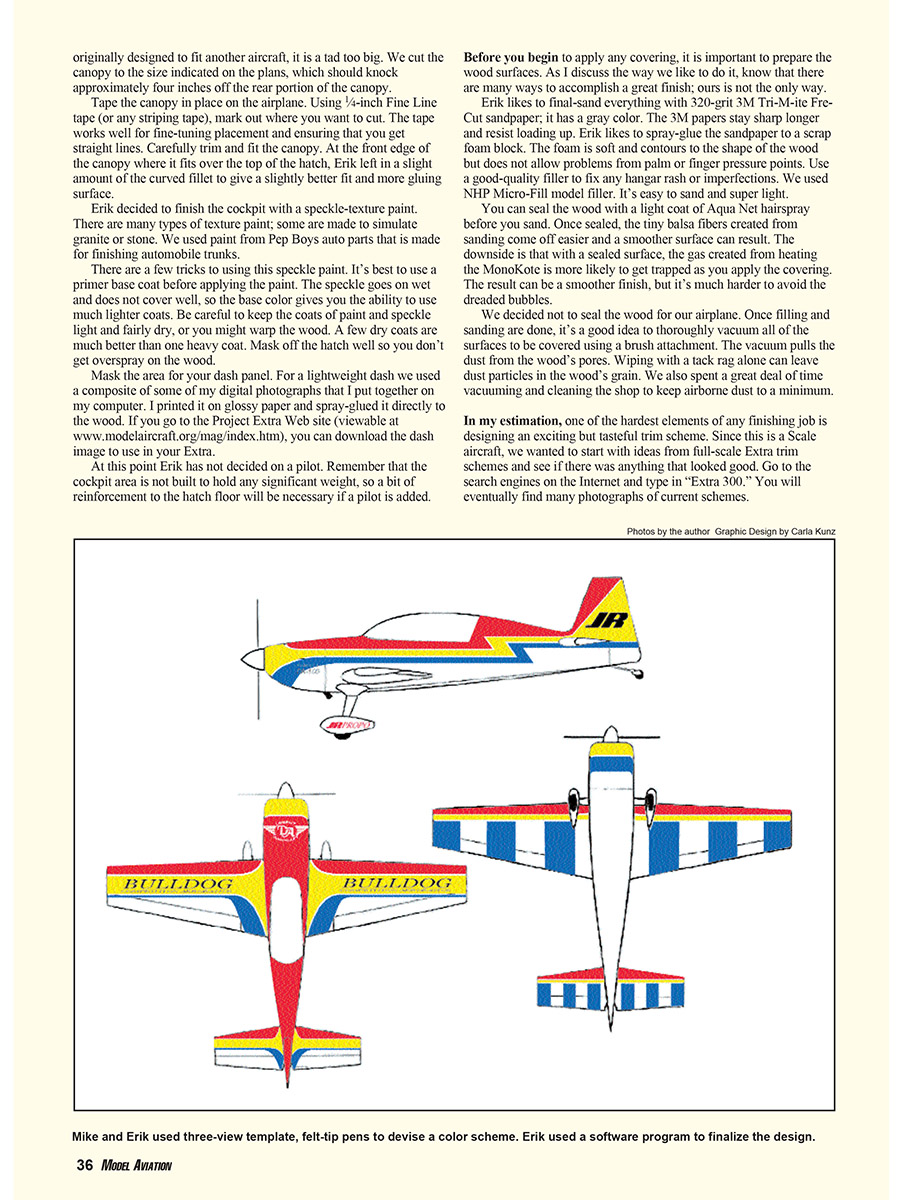
Traditionally, Giant Scale models have used varying methods of finishing, from fiberglass and paint to Stits cloth and dope. Although the results with these methods can be beautiful, many of them are geared more toward appearance than overall final performance. That's not to say we aren't concerned with appearances in Scale Aerobatics (SA), just that we want the airplane to be aesthetically pleasing and remain as light as possible. SA aircraft are finished like most sport airplanes—with iron-on plastic coverings and paint for the fiberglass parts.
Admittedly, there are craftsmen in the modeling community who are better suited to a tutorial on covering, so I'm not going to go too deep into the subject. But I will share several tips and hints for getting a professional-looking finish for an SA airplane. I'll also discuss fitting the canopy and finishing the cockpit, and I'll touch on methods of painting the fiberglass parts. If you want basics, try www.monokote.com/monoinst1.html for MonoKote and http://horizon.hobbyshopnow.com/articles/1115.asp for more on UltraCote.
Most SA modelers use UltraCote- or MonoKote-brand coverings. There has been a long-standing debate about which works better and which is easier to apply. As anybody who has ever finished a model with one of these brands can tell you, it takes a bit of practice to get the knack of working with iron-on coverings no matter which one you choose. The answer to which is easier to use is simple: the one you are used to. Erik Richards and I have more experience with MonoKote, so we will use that.
Before the covering can begin, we have a few last-minute items to finish up. It's time to fit and trim the canopy. Cut the front and rear sections out of the canopy so you can fit it onto the model. Center the canopy side to side as close as possible. Since this canopy was originally designed to fit another aircraft, it is a tad too big. We cut the canopy to the size indicated on the plans, which should knock approximately four inches off the rear portion of the canopy. Tape the canopy in place on the airplane. Using 1/4-inch Fine Line tape (or any striping tape), mark out where you want to cut. The tape works well for fine-tuning placement and ensuring that you get straight lines. Carefully trim and fit the canopy. At the front edge of the canopy where it fits over the top of the hatch, Erik left in a slight amount of the curved fillet to give a slightly better fit and more gluing surface.
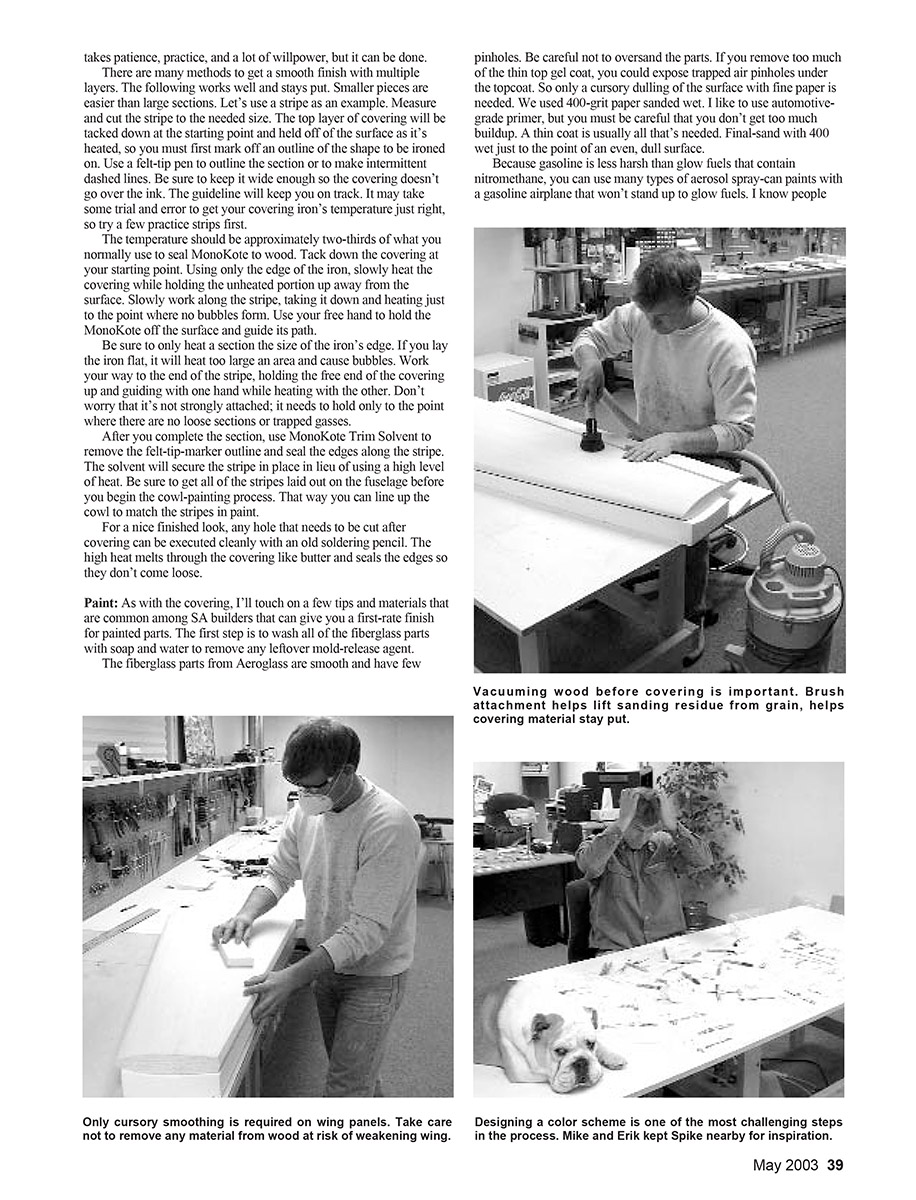
Erik decided to finish the cockpit with a speckle-texture paint. There are many types of texture paint; some are made to simulate granite or stone. We used paint from Pep Boys auto parts that is made for finishing automobile trunks. There are a few tricks to using this speckle paint. It's best to use a primer base coat before applying the paint. The speckle goes on wet and does not cover well, so the base color gives you the ability to use much lighter coats. Be careful to keep the coats of paint and speckle light and fairly dry, or you might warp the wood. A few dry coats are much better than one heavy coat. Mask off the hatch well so you don't get overspray on the wood. Mask the area for your dash panel. For a lightweight dash we used a composite of some of my digital photographs that I put together on my computer. I printed it on glossy paper and spray-glued it directly to the wood. If you go to the Project Extra Web site (viewable at www.modelaircraft.org/mag/index.htm), you can download the dash image to use in your Extra. At this point Erik has not decided on a pilot. Remember that the cockpit area is not built to hold any significant weight, so a bit of reinforcement to the hatch floor will be necessary if a pilot is added.
Before you begin to apply any covering, it is important to prepare the wood surfaces. As I discuss the way we like to do it, know that there are many ways to accomplish a great finish; ours is not the only way.
Erik likes to final-sand everything with 320-grit 3M Tri-M-Ite Free-Cut sandpaper; it has a gray color. The 3M papers stay sharp longer and resist loading up. Erik likes to spray-glue the sandpaper to a scrap foam block. The foam is soft and contours to the shape of the wood but does not allow problems from palm or finger pressure points. Use a good-quality filler to fix any hangar rash or imperfections. We used NHP Micro-Fill model filler. It's easy to sand and super light.
You can seal the wood with a light coat of Aqua Net hairspray before you sand. Once sealed, the tiny balsa fibers created from sanding come off easier and a smoother surface can result. The downside is that with a sealed surface, the gas created from heating the MonoKote is more likely to get trapped as you apply the covering. The result can be a smoother finish, but it's much harder to avoid the dreaded bubbles.
We decided not to seal the wood for our airplane. Once filling and sanding are done, it's a good idea to thoroughly vacuum all of the surfaces to be covered using a brush attachment. The vacuum pulls the dust from the wood's pores. Wiping with a tack rag alone can leave dust particles in the wood's grain. We also spent a great deal of time vacuuming and cleaning the shop to keep airborne dust to a minimum.
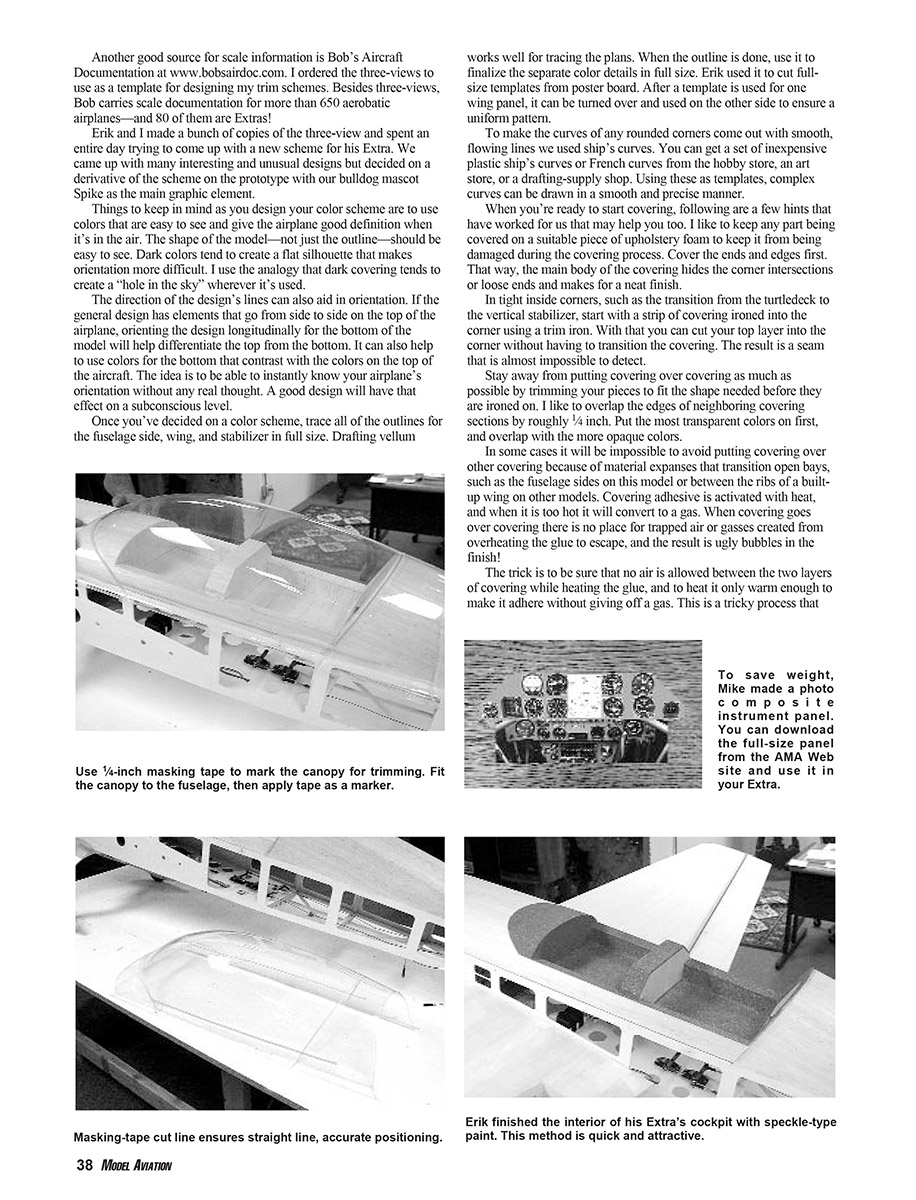
In my estimation, one of the hardest elements of any finishing job is designing an exciting but tasteful trim scheme. Since this is a Scale aircraft, we wanted to start with ideas from full-scale Extra trim schemes and see if there was anything that looked good. Go to the search engines on the Internet and type in "Extra 300." You will eventually find many photographs of current schemes.
Another good source for scale information is Bob’s Aircraft Documentation at www.bobsairdoc.com. I ordered the three-views to use as a template for designing my trim schemes. Besides three-views, Bob carries scale documentation for more than 650 aerobatic airplanes—and 80 of them are Extras!
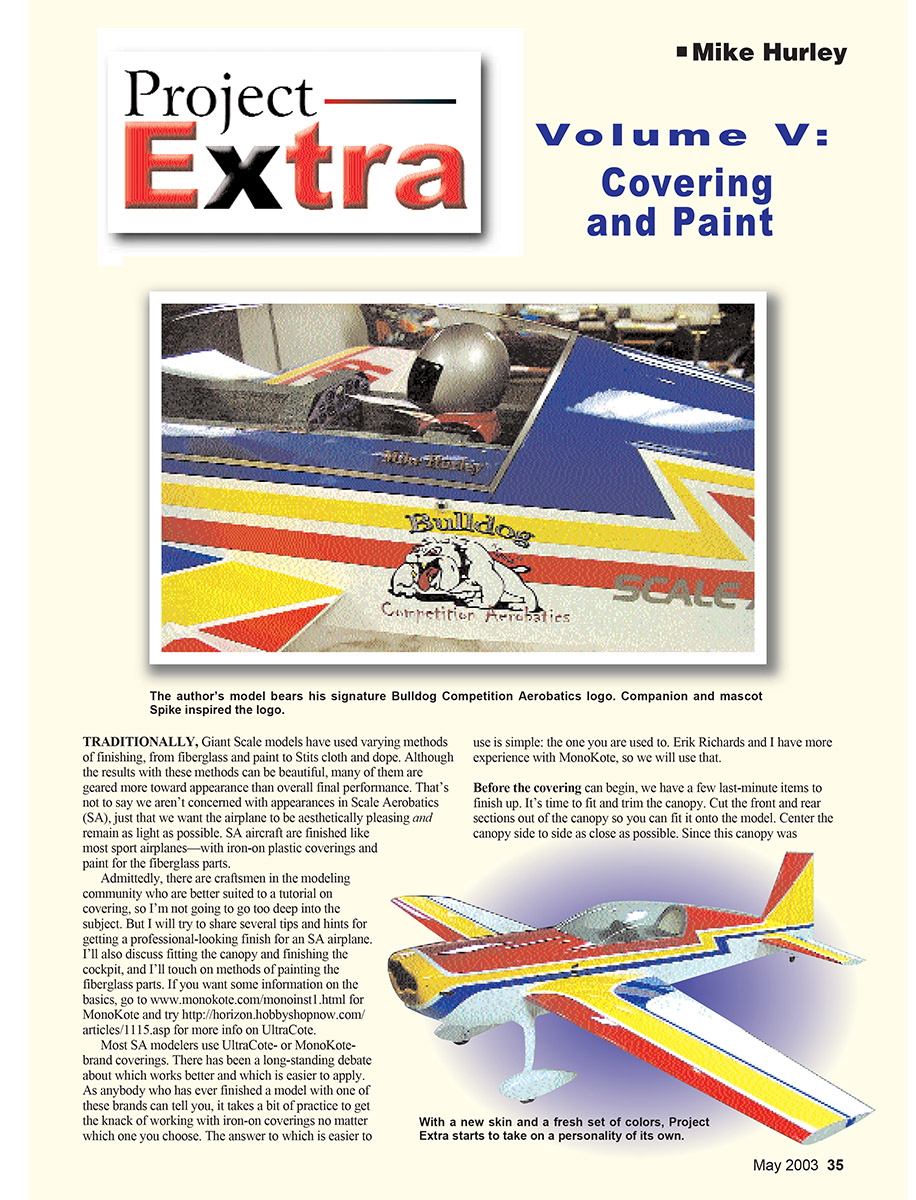
Erik and I made a bunch of copies of the three-view and spent an entire day trying to come up with a new scheme for his Extra. We came up with many interesting and unusual designs but decided on a derivative of the scheme on the prototype with our bulldog mascot Spike as the main graphic element.
Things to keep in mind as you design your color scheme:
- Use colors that are easy to see and give the airplane good definition when it’s in the air. The shape of the model—not just the outline—should be easy to see.
- Dark colors tend to create a flat silhouette that makes orientation more difficult. Dark covering can create a “hole in the sky.”
- The direction of the design’s lines can aid orientation. If the top has side-to-side elements, orient the bottom longitudinally to differentiate top from bottom.
- Use contrasting colors top and bottom so orientation is instantly recognizable, ideally on a subconscious level.
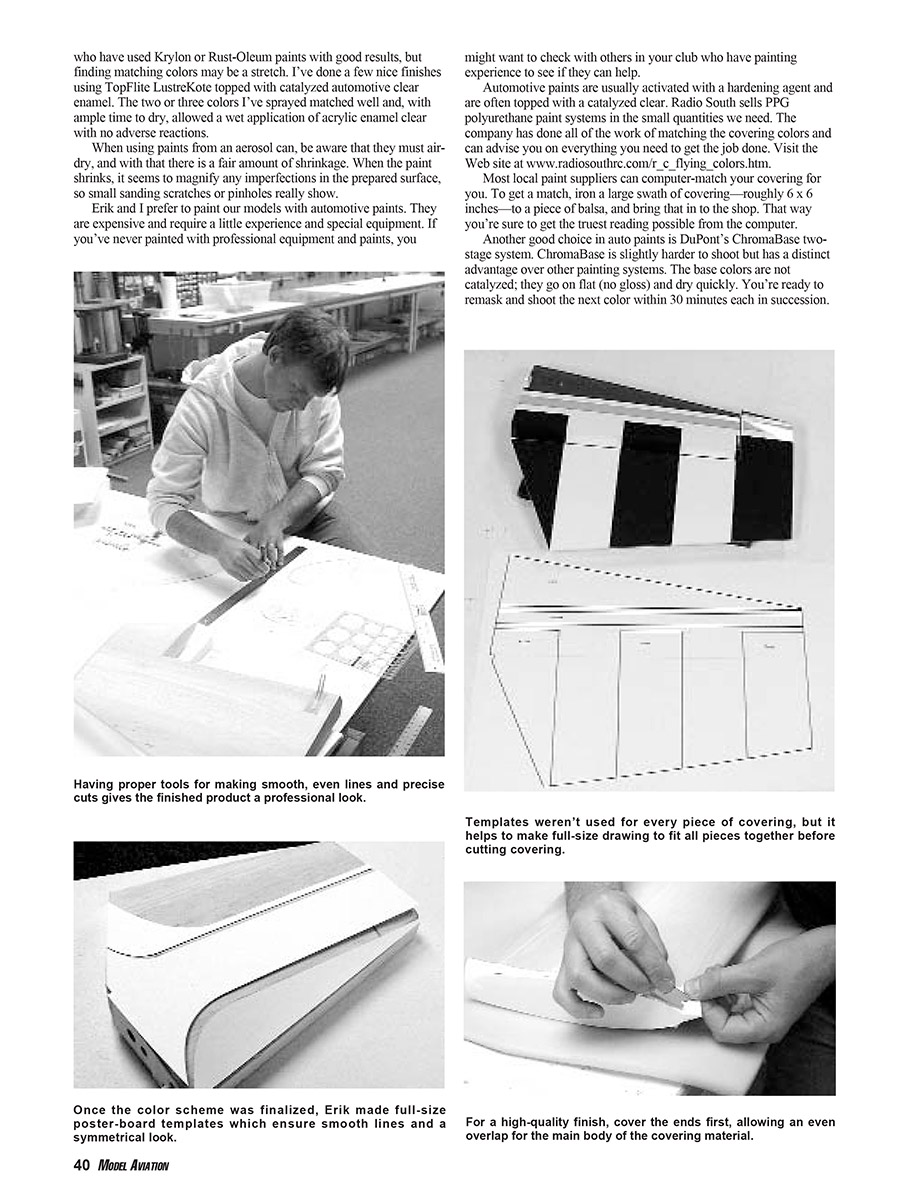
Once you’ve decided on a color scheme, trace all of the outlines for the fuselage side, wing, and stabilizer in full size. Drafting vellum works well for tracing the plans. When the outline is done, use it to finalize the separate color details in full size. Erik used it to cut full-size templates from poster board. After a template is used for one wing panel, it can be turned over and used on the other side to ensure a uniform pattern.
To make the curves of any rounded corners come out with smooth, flowing lines we used ship’s curves. You can get a set of inexpensive plastic ship’s curves or French curves from the hobby store, an art store, or a drafting-supply shop. Using these as templates, complex curves can be drawn in a smooth and precise manner.
When you’re ready to start covering, following are a few hints that have worked for us and may help you:
- Keep any part being covered on a suitable piece of upholstery foam to keep it from being damaged during the covering process.
- Cover the ends and edges first. That way, the main body of the covering hides the corner intersections or loose ends and makes for a neat finish.
- In tight inside corners, such as the transition from the turtledeck to the vertical stabilizer, start with a strip of covering ironed into the corner using a trim iron. With that you can cut your top layer into the corner without having to transition the covering. The result is a seam that is almost impossible to detect.
- Stay away from putting covering over covering as much as possible by trimming your pieces to fit the shape needed before they are ironed on. I like to overlap the edges of neighboring covering sections by roughly 1/8 inch. Put the most transparent colors on first, and overlap with the more opaque colors.
In some cases it will be impossible to avoid putting covering over other covering because of material expanses that transition open bays, such as the fuselage sides on this model or between the ribs of a built-up wing on other models. Covering adhesive is activated with heat, and when it is too hot it will convert to a gas. When covering goes over covering there is no place for trapped air or gasses created from overheating the glue to escape, and the result is ugly bubbles in the finish.
The trick is to be sure that no air is allowed between the two layers of covering while heating the glue, and to heat it only warm enough to make it adhere without giving off a gas. This is a tricky process that takes patience, practice, and a lot of willpower, but it can be done.
There are many methods to get a smooth finish with multiple layers. The following works well and stays put:
- Smaller pieces are easier than large sections. Let’s use a stripe as an example. Measure and cut the stripe to the needed size.
- Mark off an outline of the shape to be ironed on with a felt-tip pen or intermittent dashed lines. Keep it wide enough so the covering doesn’t go over the ink.
- The temperature should be approximately two-thirds of what you normally use to seal MonoKote to wood. Tack down the covering at your starting point.
- Using only the edge of the iron, slowly heat the covering while holding the unheated portion up away from the surface. Slowly work along the stripe, taking it down and heating just to the point where no bubbles form. Use your free hand to hold the MonoKote off the surface and guide its path.
- Be sure to only heat a section the size of the iron’s edge. If you lay the iron flat, it will heat too large an area and cause bubbles.
- After you complete the section, use MonoKote Trim Solvent to remove the felt-tip-marker outline and seal the edges along the stripe. The solvent will secure the stripe in place in lieu of using a high level of heat.
Be sure to get all of the stripes laid out on the fuselage before you begin the cowl-painting process. That way you can line up the cowl to match the stripes in paint.
For a nice finished look, any hole that needs to be cut after covering can be executed cleanly with an old soldering pencil. The high heat melts through the covering like butter and seals the edges so they don’t come loose.
Paint
As with the covering, I’ll touch on a few tips and materials that are common among SA builders that can give you a first-rate finish for painted parts. The first step is to wash all of the fiberglass parts with soap and water to remove any leftover mold-release agent.
The fiberglass parts from Aeroglass are smooth and have few pinholes. Be careful not to oversand the parts. If you remove too much of the thin top gel coat, you could expose trapped air pinholes under the topcoat. So only a cursory dulling of the surface with fine paper is needed. We used 400-grit paper sanded wet. I like to use automotive-grade primer, but you must be careful that you don’t get too much buildup. A thin coat is usually all that is needed. Final-sand with 400 wet just to the point of an even, dull surface.
Because gasoline is less harsh than glow fuels that contain nitromethane, you can use many types of aerosol spray-can paints with a gasoline airplane that won’t stand up to glow fuels. I know people who use lacquer and enamel in spray cans for gasoline engines with no problems. If you plan to use spray-can paint on a glow-powered model, consult the paint manufacturer for fuel resistance. For a durable finish on fiberglass parts, I prefer high-build polyurethane primers and two-part urethane topcoats when budget and equipment allow.
A common painting sequence is:
- Wash and degrease the part.
- Scuff-sand the surface lightly with 400-grit wet paper.
- Apply a thin coat of automotive-grade primer; let dry and sand lightly.
- Apply a second light primer coat if needed, then final wet-sand with 400 to 600 grit to a dull finish.
- Apply color coats in thin, even passes; multiple light coats are better than one heavy coat.
- Allow sufficient cure time between coats and before handling.
Be careful about pinholes. A bit of block filler or a skim-coat of filler primer will fill small pinholes, but don’t overdo it. Overfilling and excessive sanding can remove the gel coat and create problems. If you encounter larger pinholes, repair them with a small amount of lightweight filler or a thin fiberglass patch, then feather and prime.
When masking for multi-color schemes, use low-tack masking tape and remove it while the paint is still slightly tacky to avoid peeling. For sharp stripe lines, use fine-line tape and press it down well. Allow paint to flash between coats to reduce the chance of lifting when the tape is removed.
A final clear coat can add gloss and protection. If you use a clear, follow the manufacturer’s recommendations regarding compatibility with the basecoat and proper cure times. A thin, even application is better than a heavy wet coat that can sag or wrinkle.
Some modelers have used Krylon or Rust-Oleum aerosol paints with good results, but finding matching colors may be a stretch. I’ve done a few nice finishes using TopFlite LustreKote topped with catalyzed automotive clear enamel. The colors matched well and, with ample time to dry, allowed a wet application of acrylic enamel clear with no adverse reactions.
When using paints from an aerosol can, be aware that they must air-dry, and with that there is a fair amount of shrinkage. When the paint shrinks, it tends to magnify any imperfections in the prepared surface, so small sanding scratches or pinholes really show.
Erik and I prefer to paint our models with automotive paints. They are expensive and require a little experience and special equipment. If you’ve never painted with professional equipment and paints, you might want to check with others in your club who have painting experience to see if they can help.
Automotive paints are usually activated with a hardening agent and are often topped with a catalyzed clear. Radio South sells PPG polyurethane paint systems in the small quantities we need. The company has done all of the work of matching the covering colors and can advise you on everything you need to get the job done. Visit www.radiosouthrc.com/r_c_flying_colors.htm.
Most local paint suppliers can computer-match your covering for you. To get a match, cut in a large swath of covering—roughly 6 x 6 inches—to a piece of balsa and bring that into the shop. That way you’re sure to get the truest reading possible from the computer.
Another good choice in auto paints is DuPont’s ChromaBase two-stage system. ChromaBase is slightly harder to shoot but has a distinct advantage: the base colors are not catalyzed; they go on flat (no gloss) and dry quickly. You’re ready to remask and shoot the next color within about 30 minutes. Because you need not worry about gloss, the colors can go on thin—just enough for even coverage—meaning you also keep the weight down. That last layer is an activated clear that gives a smooth, high-gloss finish. Expect to spend $200–$300 for all of the supplies you'll need from your local automotive paint store.
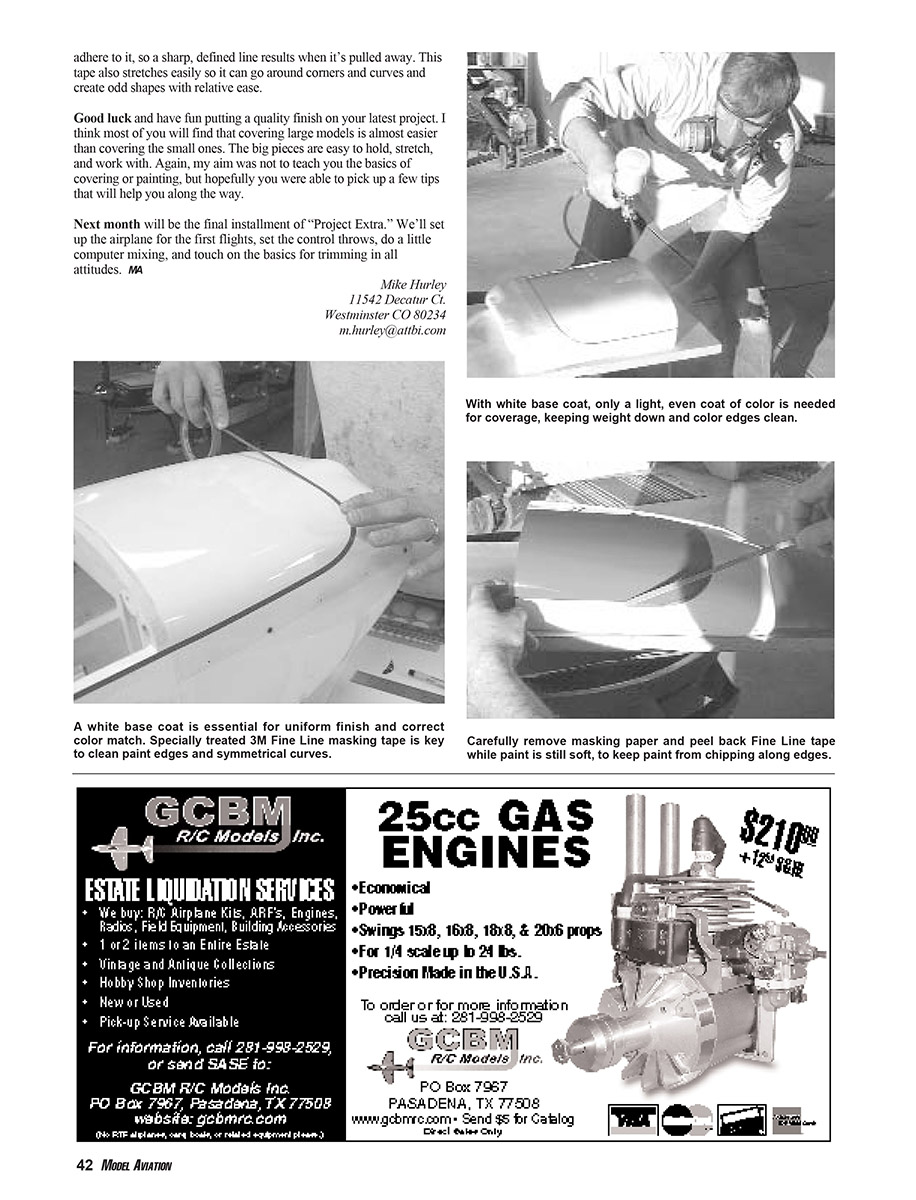
Be sure to paint in a well-ventilated area. I recommend using a good-quality charcoal-type respirator. If you're painting yellows or any colors that have some transparency, it's best to shoot over a white base. A white primer would be ideal, but that may be hard to find. You can do a light but even coat of white base paint before you add the colors.
For perfect lines on all of your stripes, use 3M Scotch Fine Line masking and striping tape. It is specially treated to make the paint adhere to it, so a sharp, defined line results when it’s pulled away. This tape also stretches easily so it can go around corners and curves and create odd shapes with relative ease.
Good luck and have fun putting a quality finish on your latest project. I think most of you will find that covering large models is almost easier than covering the small ones. The big pieces are easy to hold, stretch, and work with. Again, my aim was not to teach you the basics of covering or painting, but hopefully you were able to pick up a few tips that will help you along the way.
Next month will be the final installment of “Project Extra.” We’ll set up the airplane for the first flights, set the control throws, do a little computer mixing, and touch on the basics for trimming in all attitudes.
MA
Mike Hurley 11542 Decatur Ct. Westminster, CO 80234 [email protected]
Transcribed from original scans by AI. Minor OCR errors may remain.

