
94 MODEL AVIATION
[[email protected]]
Radio Control Aerobatics Albert and A.C. Glenn
Be an aircraft “Whisperer”
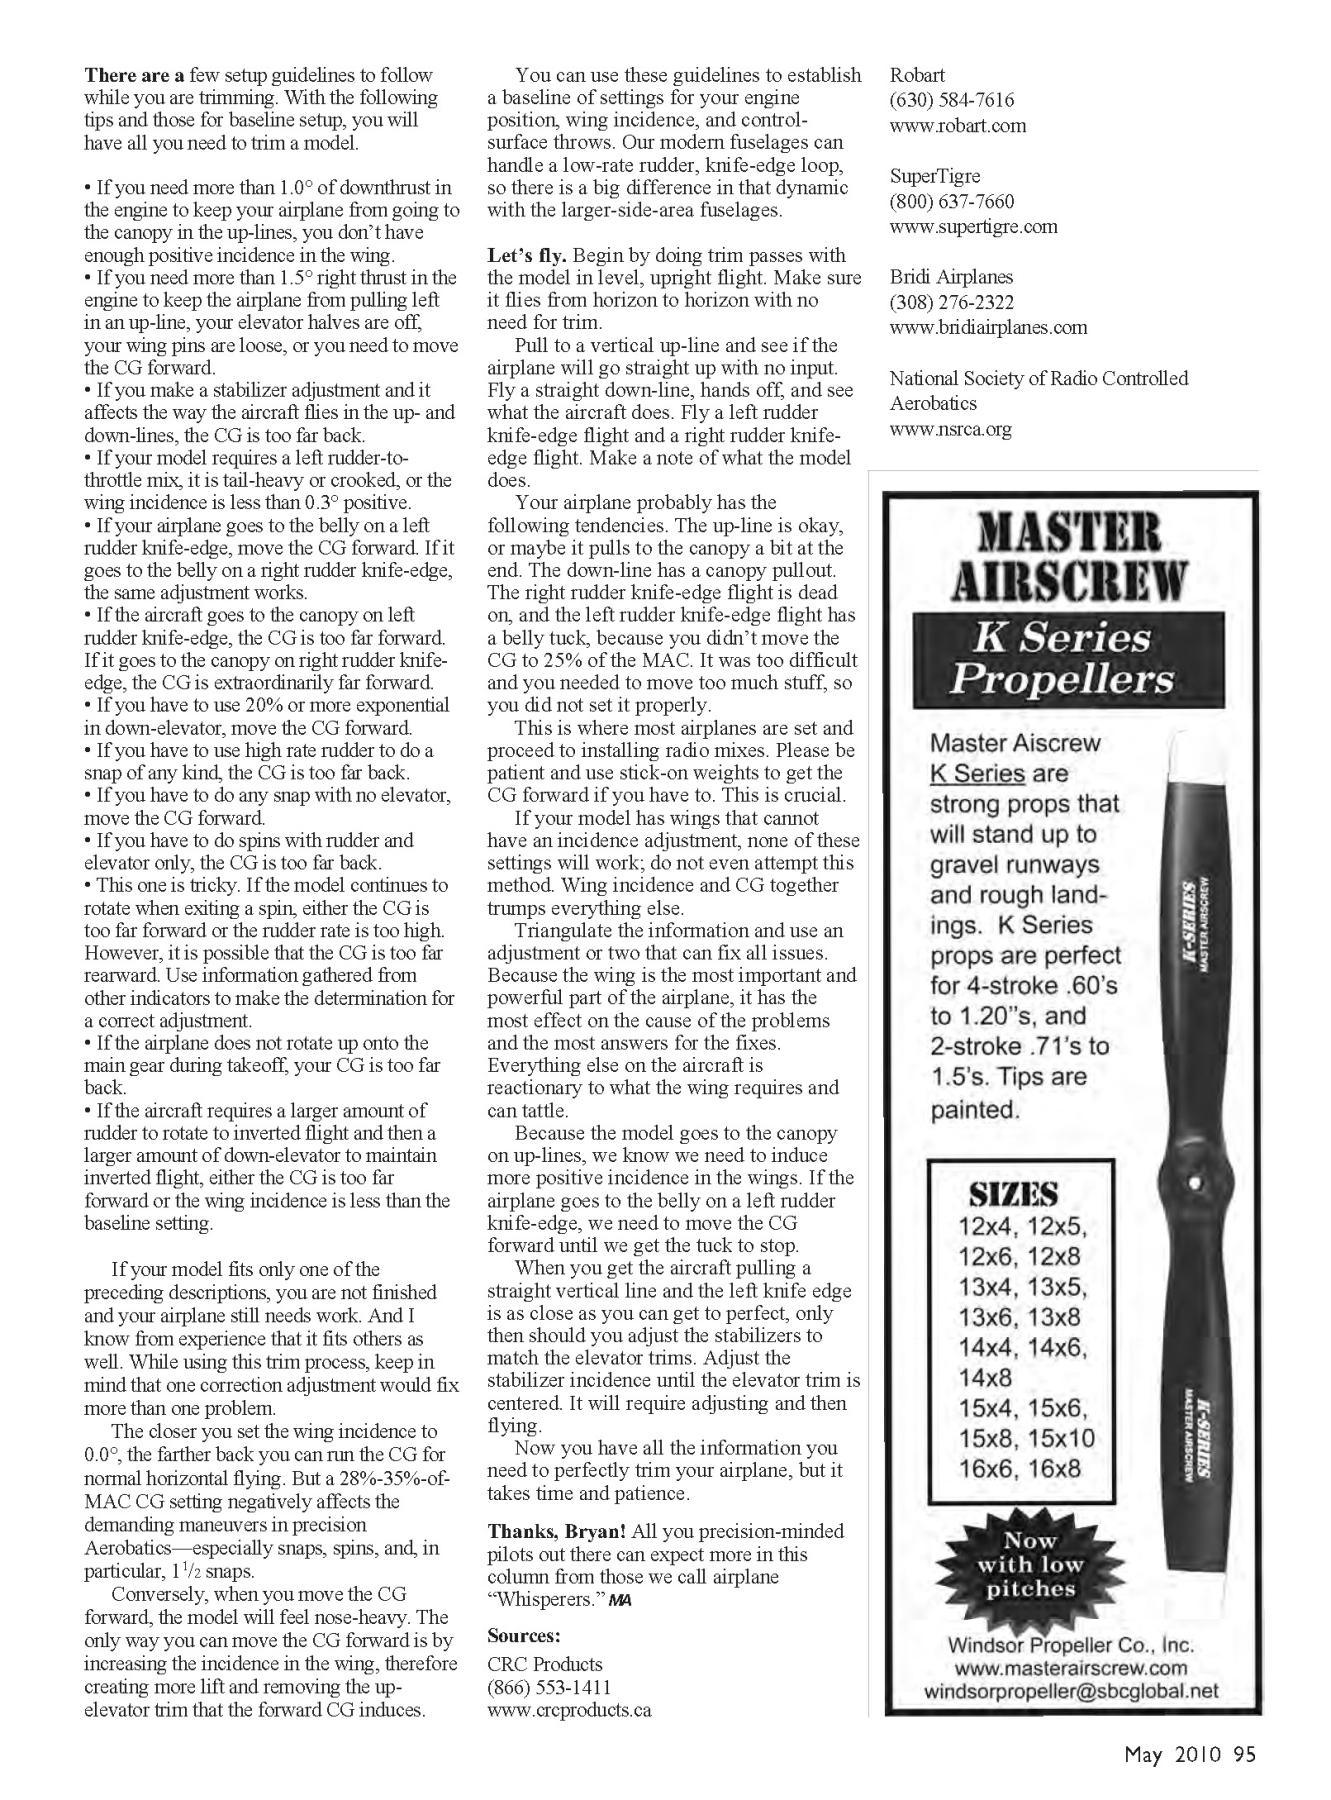
Above: A Robart incidence meter is essential for finding and setting
the baseline positions of the engine, wing, and stabilizer. This
Smaragd model has adjustable wing and stabilizers.
Right: A CRC Products throw meter is used for checking how many
degrees a control surface moves. It can also indicate when a servo is
losing its ability to center.
Following is the last installment on
trimming by Bryan Hebert, who is a model
designer and builder.
You will need an incidence meter and a throw
meter. Meter reading is only used as a
baseline to let you know where you began and
to make adjustments according to what your
model requires to fly true.
If we look at an airplane’s surfaces,
triangulating the information from the flight
and where the surfaces rest, we can decipher
what deficiencies are in the setup. Then we
can make improvements from precise,
repeatable measurements and by using
feedback from the maneuvers after we have
flown the aircraft.
Knowing thrustline on the model is
crucial. It is the baseline for all measurements
and is necessary to be able to duplicate this
zero measurement; we will call this the “zero
line.” The dynamic between the wing
incidence and CG is the most important
adjustment—95% of all trimming.
For your airplane’s initial settings, adjust
the wings 0.5° positive to the thrustline, or
zero line. Set the motor 0.5°-1.0° negative, or
downthrust, from the zero line, and set motor
right thrust at 0.5°-1.0° right of the fuselage
centerline.
Set the CG at 25% of the Mean
Aerodynamic Chord (MAC). If it is
adjustable, set the stabilizer at 0.0°.
When completing the process of
trimming, it will most likely have a slight
positive incidence. These are a must to
establish a baseline for my triangulation
method of trimming. This method will not
work properly with any other settings. Avoid
choosing which parameters you will follow;
it could make this trimming procedure
confusing.
Fixed-gear drag causes at least one to
1%-2% of up-trim measured from the normal
total elevator throw, and this is where most of
our trouble begins in the up-lines. It is also
the reason why the rear CG is so prevalent on
most setups. It can be overcome by
increasing positive incidence in the wing.
When you increase incidence, you will
usually have to move the CG forward. This
increases the power and effectiveness of all
control surfaces (decreasing sensitivity of
these surfaces), therefore generating more lift
while flying level.
Since a positive incidence adjustment
makes the model climb on horizontal lines,
this is where we see the effect of the wing
adjustment on the airplane’s flight.
Next is down-trim. It will correct the
canopy pull in verticals, up-lines, and downlines.
However, it can be frustrating to get a
perfect pull-free down-line.
As a foundational rule, the wing is the
most powerful and important adjustment; we
want the stabilizer and rudder to lift as little
as possible. We are trying to trim the attitude
and flying direction of the wing, allowing the
stabilizer and rudder to steer the wing and
fuselage.
The Joe Bridi Dirty Birdy is a
vintage RC Aerobatics favorite. Bill
Miller, former Aerobatics pilot, Scale
pilot, and builder, constructed
this version that has a tunedpipe
SuperTigre .61,
Rohm Air retracts,
and Kraft wheels.
05sig3.QXD_00MSTRPG.QXD 3/24/10 2:47 PM Page 94
There are a few setup guidelines to follow
while you are trimming. With the following
tips and those for baseline setup, you will
have all you need to trim a model.
• If you need more than 1.0° of downthrust in
the engine to keep your airplane from going to
the canopy in the up-lines, you don’t have
enough positive incidence in the wing.
• If you need more than 1.5° right thrust in the
engine to keep the airplane from pulling left
in an up-line, your elevator halves are off,
your wing pins are loose, or you need to move
the CG forward.
• If you make a stabilizer adjustment and it
affects the way the aircraft flies in the up- and
down-lines, the CG is too far back.
• If your model requires a left rudder-tothrottle
mix, it is tail-heavy or crooked, or the
wing incidence is less than 0.3° positive.
• If your airplane goes to the belly on a left
rudder knife-edge, move the CG forward. If it
goes to the belly on a right rudder knife-edge,
the same adjustment works.
• If the aircraft goes to the canopy on left
rudder knife-edge, the CG is too far forward.
If it goes to the canopy on right rudder knifeedge,
the CG is extraordinarily far forward.
• If you have to use 20% or more exponential
in down-elevator, move the CG forward.
• If you have to use high rate rudder to do a
snap of any kind, the CG is too far back.
• If you have to do any snap with no elevator,
move the CG forward.
• If you have to do spins with rudder and
elevator only, the CG is too far back.
• This one is tricky. If the model continues to
rotate when exiting a spin, either the CG is
too far forward or the rudder rate is too high.
However, it is possible that the CG is too far
rearward. Use information gathered from
other indicators to make the determination for
a correct adjustment.
• If the airplane does not rotate up onto the
main gear during takeoff, your CG is too far
back.
• If the aircraft requires a larger amount of
rudder to rotate to inverted flight and then a
larger amount of down-elevator to maintain
inverted flight, either the CG is too far
forward or the wing incidence is less than the
baseline setting.
If your model fits only one of the
preceding descriptions, you are not finished
and your airplane still needs work. And I
know from experience that it fits others as
well. While using this trim process, keep in
mind that one correction adjustment would fix
more than one problem.
The closer you set the wing incidence to
0.0°, the farther back you can run the CG for
normal horizontal flying. But a 28%-35%-of-
MAC CG setting negatively affects the
demanding maneuvers in precision
Aerobatics—especially snaps, spins, and, in
particular, 11/2 snaps.
Conversely, when you move the CG
forward, the model will feel nose-heavy. The
only way you can move the CG forward is by
increasing the incidence in the wing, therefore
creating more lift and removing the upelevator
trim that the forward CG induces.
You can use these guidelines to establish
a baseline of settings for your engine
position, wing incidence, and controlsurface
throws. Our modern fuselages can
handle a low-rate rudder, knife-edge loop,
so there is a big difference in that dynamic
with the larger-side-area fuselages.
Let’s fly. Begin by doing trim passes with
the model in level, upright flight. Make sure
it flies from horizon to horizon with no
need for trim.
Pull to a vertical up-line and see if the
airplane will go straight up with no input.
Fly a straight down-line, hands off, and see
what the aircraft does. Fly a left rudder
knife-edge flight and a right rudder knifeedge
flight. Make a note of what the model
does.
Your airplane probably has the
following tendencies. The up-line is okay,
or maybe it pulls to the canopy a bit at the
end. The down-line has a canopy pullout.
The right rudder knife-edge flight is dead
on, and the left rudder knife-edge flight has
a belly tuck, because you didn’t move the
CG to 25% of the MAC. It was too difficult
and you needed to move too much stuff, so
you did not set it properly.
This is where most airplanes are set and
proceed to installing radio mixes. Please be
patient and use stick-on weights to get the
CG forward if you have to. This is crucial.
If your model has wings that cannot
have an incidence adjustment, none of these
settings will work; do not even attempt this
method. Wing incidence and CG together
trumps everything else.
Triangulate the information and use an
adjustment or two that can fix all issues.
Because the wing is the most important and
powerful part of the airplane, it has the
most effect on the cause of the problems
and the most answers for the fixes.
Everything else on the aircraft is
reactionary to what the wing requires and
can tattle.
Because the model goes to the canopy
on up-lines, we know we need to induce
more positive incidence in the wings. If the
airplane goes to the belly on a left rudder
knife-edge, we need to move the CG
forward until we get the tuck to stop.
When you get the aircraft pulling a
straight vertical line and the left knife edge
is as close as you can get to perfect, only
then should you adjust the stabilizers to
match the elevator trims. Adjust the
stabilizer incidence until the elevator trim is
centered. It will require adjusting and then
flying.
Now you have all the information you
need to perfectly trim your airplane, but it
takes time and patience.
Thanks, Bryan! All you precision-minded
pilots out there can expect more in this
column from those we call airplane
“Whisperers.” MA
Sources:
CRC Products
(866) 553-1411
www.crcproducts.ca
Robart
(630) 584-7616
www.robart.com
SuperTigre
(800) 637-7660
www.supertigre.com
Bridi Airplanes
(308) 276-2322
www.bridiairplanes.com
National Society of Radio Controlled
Aerobatics
www.nsrca.org

Edition: Model Aviation - 2010/05
Page Numbers: 94,95
Edition: Model Aviation - 2010/05
Page Numbers: 94,95
94 MODEL AVIATION
[[email protected]]
Radio Control Aerobatics Albert and A.C. Glenn
Be an aircraft “Whisperer”
Above: A Robart incidence meter is essential for finding and setting
the baseline positions of the engine, wing, and stabilizer. This
Smaragd model has adjustable wing and stabilizers.
Right: A CRC Products throw meter is used for checking how many
degrees a control surface moves. It can also indicate when a servo is
losing its ability to center.
Following is the last installment on
trimming by Bryan Hebert, who is a model
designer and builder.
You will need an incidence meter and a throw
meter. Meter reading is only used as a
baseline to let you know where you began and
to make adjustments according to what your
model requires to fly true.
If we look at an airplane’s surfaces,
triangulating the information from the flight
and where the surfaces rest, we can decipher
what deficiencies are in the setup. Then we
can make improvements from precise,
repeatable measurements and by using
feedback from the maneuvers after we have
flown the aircraft.
Knowing thrustline on the model is
crucial. It is the baseline for all measurements
and is necessary to be able to duplicate this
zero measurement; we will call this the “zero
line.” The dynamic between the wing
incidence and CG is the most important
adjustment—95% of all trimming.
For your airplane’s initial settings, adjust
the wings 0.5° positive to the thrustline, or
zero line. Set the motor 0.5°-1.0° negative, or
downthrust, from the zero line, and set motor
right thrust at 0.5°-1.0° right of the fuselage
centerline.
Set the CG at 25% of the Mean
Aerodynamic Chord (MAC). If it is
adjustable, set the stabilizer at 0.0°.
When completing the process of
trimming, it will most likely have a slight
positive incidence. These are a must to
establish a baseline for my triangulation
method of trimming. This method will not
work properly with any other settings. Avoid
choosing which parameters you will follow;
it could make this trimming procedure
confusing.
Fixed-gear drag causes at least one to
1%-2% of up-trim measured from the normal
total elevator throw, and this is where most of
our trouble begins in the up-lines. It is also
the reason why the rear CG is so prevalent on
most setups. It can be overcome by
increasing positive incidence in the wing.
When you increase incidence, you will
usually have to move the CG forward. This
increases the power and effectiveness of all
control surfaces (decreasing sensitivity of
these surfaces), therefore generating more lift
while flying level.
Since a positive incidence adjustment
makes the model climb on horizontal lines,
this is where we see the effect of the wing
adjustment on the airplane’s flight.
Next is down-trim. It will correct the
canopy pull in verticals, up-lines, and downlines.
However, it can be frustrating to get a
perfect pull-free down-line.
As a foundational rule, the wing is the
most powerful and important adjustment; we
want the stabilizer and rudder to lift as little
as possible. We are trying to trim the attitude
and flying direction of the wing, allowing the
stabilizer and rudder to steer the wing and
fuselage.
The Joe Bridi Dirty Birdy is a
vintage RC Aerobatics favorite. Bill
Miller, former Aerobatics pilot, Scale
pilot, and builder, constructed
this version that has a tunedpipe
SuperTigre .61,
Rohm Air retracts,
and Kraft wheels.
05sig3.QXD_00MSTRPG.QXD 3/24/10 2:47 PM Page 94
There are a few setup guidelines to follow
while you are trimming. With the following
tips and those for baseline setup, you will
have all you need to trim a model.
• If you need more than 1.0° of downthrust in
the engine to keep your airplane from going to
the canopy in the up-lines, you don’t have
enough positive incidence in the wing.
• If you need more than 1.5° right thrust in the
engine to keep the airplane from pulling left
in an up-line, your elevator halves are off,
your wing pins are loose, or you need to move
the CG forward.
• If you make a stabilizer adjustment and it
affects the way the aircraft flies in the up- and
down-lines, the CG is too far back.
• If your model requires a left rudder-tothrottle
mix, it is tail-heavy or crooked, or the
wing incidence is less than 0.3° positive.
• If your airplane goes to the belly on a left
rudder knife-edge, move the CG forward. If it
goes to the belly on a right rudder knife-edge,
the same adjustment works.
• If the aircraft goes to the canopy on left
rudder knife-edge, the CG is too far forward.
If it goes to the canopy on right rudder knifeedge,
the CG is extraordinarily far forward.
• If you have to use 20% or more exponential
in down-elevator, move the CG forward.
• If you have to use high rate rudder to do a
snap of any kind, the CG is too far back.
• If you have to do any snap with no elevator,
move the CG forward.
• If you have to do spins with rudder and
elevator only, the CG is too far back.
• This one is tricky. If the model continues to
rotate when exiting a spin, either the CG is
too far forward or the rudder rate is too high.
However, it is possible that the CG is too far
rearward. Use information gathered from
other indicators to make the determination for
a correct adjustment.
• If the airplane does not rotate up onto the
main gear during takeoff, your CG is too far
back.
• If the aircraft requires a larger amount of
rudder to rotate to inverted flight and then a
larger amount of down-elevator to maintain
inverted flight, either the CG is too far
forward or the wing incidence is less than the
baseline setting.
If your model fits only one of the
preceding descriptions, you are not finished
and your airplane still needs work. And I
know from experience that it fits others as
well. While using this trim process, keep in
mind that one correction adjustment would fix
more than one problem.
The closer you set the wing incidence to
0.0°, the farther back you can run the CG for
normal horizontal flying. But a 28%-35%-of-
MAC CG setting negatively affects the
demanding maneuvers in precision
Aerobatics—especially snaps, spins, and, in
particular, 11/2 snaps.
Conversely, when you move the CG
forward, the model will feel nose-heavy. The
only way you can move the CG forward is by
increasing the incidence in the wing, therefore
creating more lift and removing the upelevator
trim that the forward CG induces.
You can use these guidelines to establish
a baseline of settings for your engine
position, wing incidence, and controlsurface
throws. Our modern fuselages can
handle a low-rate rudder, knife-edge loop,
so there is a big difference in that dynamic
with the larger-side-area fuselages.
Let’s fly. Begin by doing trim passes with
the model in level, upright flight. Make sure
it flies from horizon to horizon with no
need for trim.
Pull to a vertical up-line and see if the
airplane will go straight up with no input.
Fly a straight down-line, hands off, and see
what the aircraft does. Fly a left rudder
knife-edge flight and a right rudder knifeedge
flight. Make a note of what the model
does.
Your airplane probably has the
following tendencies. The up-line is okay,
or maybe it pulls to the canopy a bit at the
end. The down-line has a canopy pullout.
The right rudder knife-edge flight is dead
on, and the left rudder knife-edge flight has
a belly tuck, because you didn’t move the
CG to 25% of the MAC. It was too difficult
and you needed to move too much stuff, so
you did not set it properly.
This is where most airplanes are set and
proceed to installing radio mixes. Please be
patient and use stick-on weights to get the
CG forward if you have to. This is crucial.
If your model has wings that cannot
have an incidence adjustment, none of these
settings will work; do not even attempt this
method. Wing incidence and CG together
trumps everything else.
Triangulate the information and use an
adjustment or two that can fix all issues.
Because the wing is the most important and
powerful part of the airplane, it has the
most effect on the cause of the problems
and the most answers for the fixes.
Everything else on the aircraft is
reactionary to what the wing requires and
can tattle.
Because the model goes to the canopy
on up-lines, we know we need to induce
more positive incidence in the wings. If the
airplane goes to the belly on a left rudder
knife-edge, we need to move the CG
forward until we get the tuck to stop.
When you get the aircraft pulling a
straight vertical line and the left knife edge
is as close as you can get to perfect, only
then should you adjust the stabilizers to
match the elevator trims. Adjust the
stabilizer incidence until the elevator trim is
centered. It will require adjusting and then
flying.
Now you have all the information you
need to perfectly trim your airplane, but it
takes time and patience.
Thanks, Bryan! All you precision-minded
pilots out there can expect more in this
column from those we call airplane
“Whisperers.” MA
Sources:
CRC Products
(866) 553-1411
www.crcproducts.ca
Robart
(630) 584-7616
www.robart.com
SuperTigre
(800) 637-7660
www.supertigre.com
Bridi Airplanes
(308) 276-2322
www.bridiairplanes.com
National Society of Radio Controlled
Aerobatics
www.nsrca.org

