
RADIO CONTROL COMBAT
Greg Rose, 1312 NW 196th St., Edmond OK 73003
OPEN COMBAT has been growing at a fantastic rate in the last several years. One of the reasons it has been so successful is that the models can be built very quickly, decreasing the amount of time you have to invest in the model you fly.
The first goal is to find a competitive design — e.g., not a wallowing dog in the air. The rest of the goals (in order of most people's preference) are:
- Be quick to build.
- Be cheap.
- Be durable.
Toward those ends, several fliers have been looking at building their models with inexpensive plastic materials. Examples include:
- Corrugated plastic (Coroplast™)
- Polyethylene foam
- PVC (polyvinyl chloride) pipe
- HDPE (high-density polyethylene)
Although most modelers are familiar with balsa, plywood, and polystyrene foam, many builders are unfamiliar with some of these newer materials — how they cut, how they fasten, and generally how to build with them.
As more modelers try alternate materials, several have found them extremely frustrating to work with; I have been one of those people. This column, and future columns as time and space permit, will be dedicated to building tips for alternate materials.
Selecting which material to discuss first was easy: my attempt to make a Coroplast™ wing was a total disaster! With my model overweight and coming apart at the seams, I admitted to myself and to others that I needed help. The people at SPAD (Simple Plastic Airplane Designs) came to my assistance.
Coroplast™, a corrugated polyethylene used extensively in the sign industry, looks much like corrugated cardboard in its structure, but is very durable. For more than a decade, U.S. Core and the Airplane Factory have recognized the potential for making wings from corrugated plastic. However, most of those designs were quite heavy when compared to their balsa or foam counterparts; therefore, they required larger, heavier engines.
More recently, several Combat fliers have spearheaded the development of Open Combat designs that use lighter versions of these materials, allowing competitive models that meet the weight and power requirements of Class B Open and even Class A Open Combat.
I called SPAD and asked for a crash course in building with Coroplast™ and was invited to "come on up" and see how they do it.
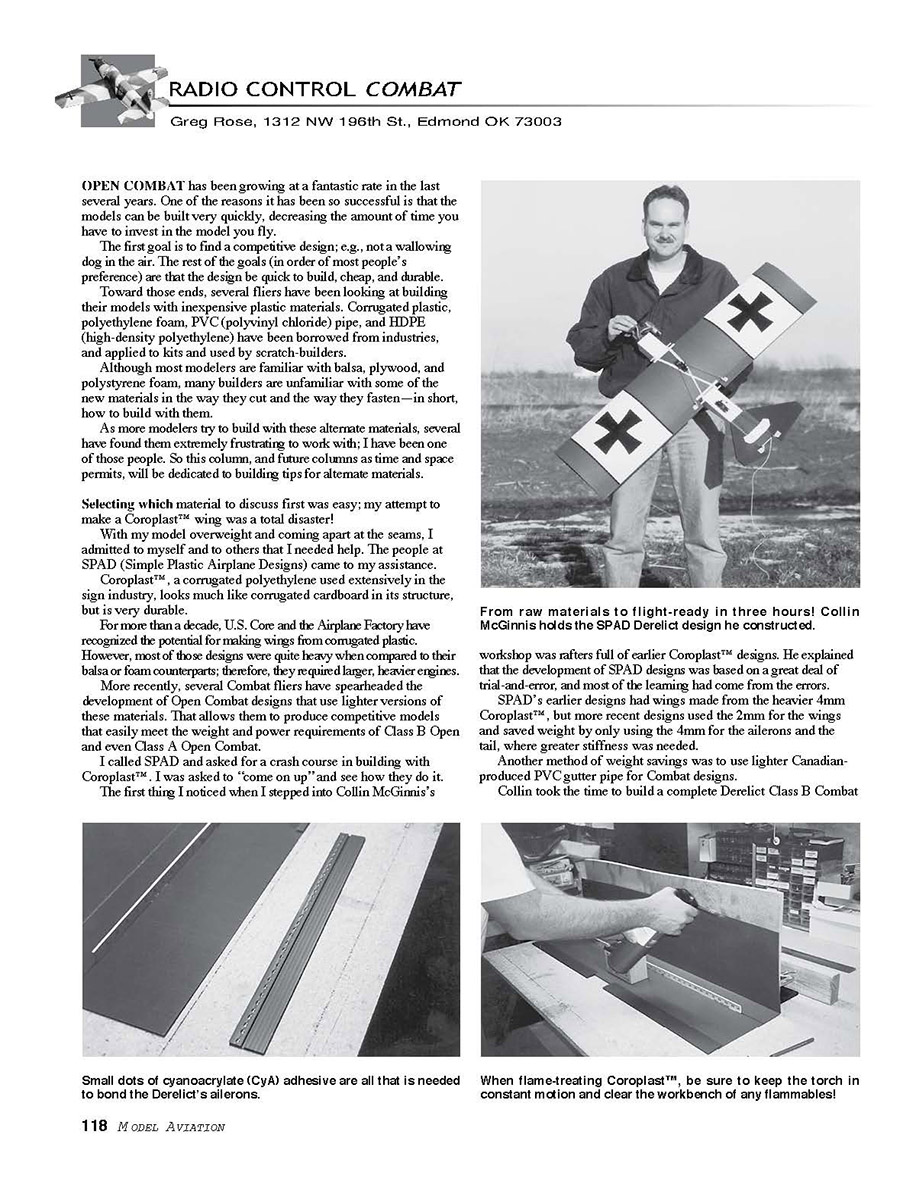
The first thing I noticed when I stepped into Collin McGinnis's workshop was rafters full of earlier Coroplast™ designs. He explained that SPAD's development was based on a great deal of trial and error, and most of the learning had come from the errors.
SPAD's earlier designs used 4mm Coroplast™ for wings, but more recent designs use 2mm for the wings and save weight by using 4mm only for ailerons and tail surfaces, where greater stiffness is needed. Another method of weight savings was using lighter Canadian-produced PVC gutter pipe for Combat designs.
Collin took the time to build a complete Derelict Class B Combat model and let me take notes and photographs of each step. Coroplast™ can generally be purchased locally at sign companies. Although many carry only the heavier 4mm in stock, they will often order the 2mm. With a four-ounce difference between a Derelict wing built with 4mm material and one built with 2mm, it's important to choose the proper thickness.
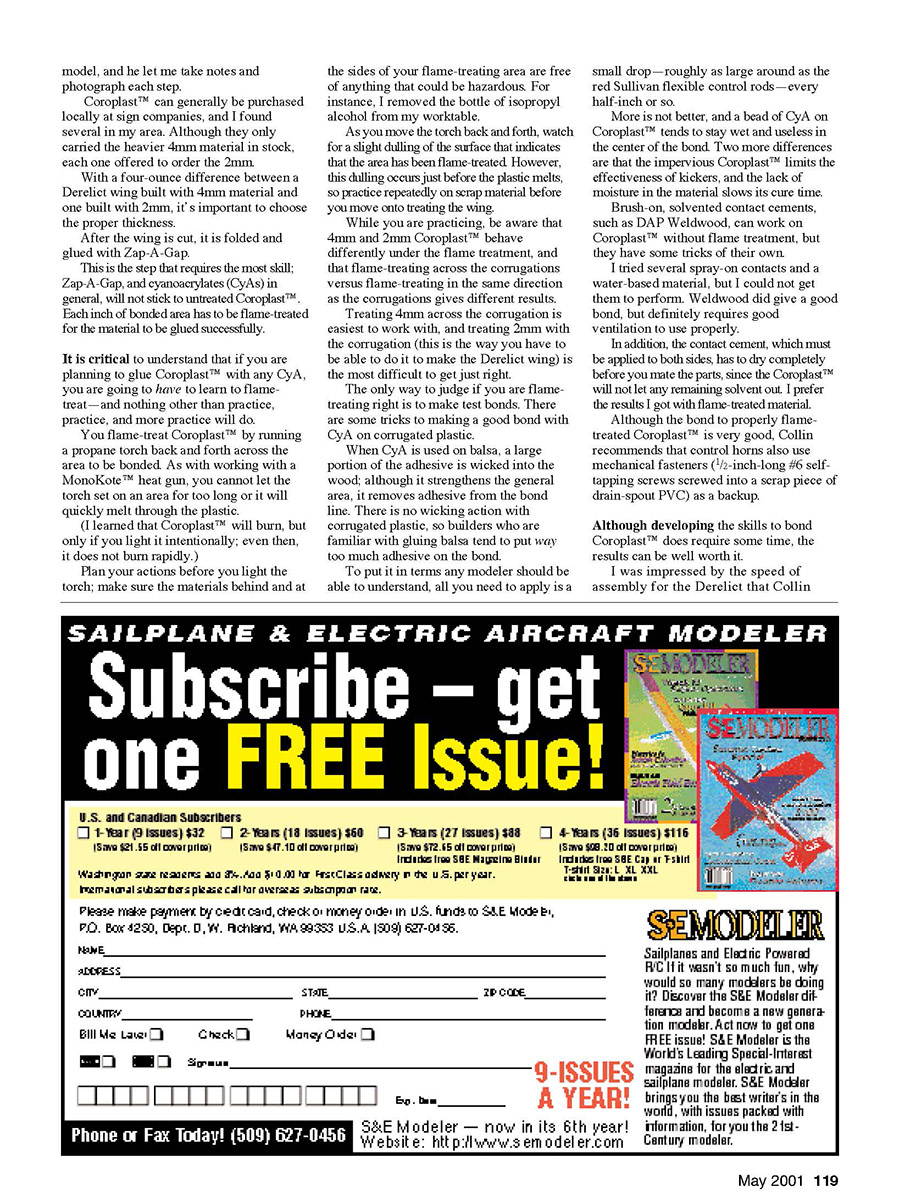
After the wing is cut, it is folded and glued with Zap-A-Gap. This is the step that requires the most skill: Zap-A-Gap and cyanoacrylates (CyAs) in general will not stick to untreated Coroplast™. Each inch of bonded area has to be flame-treated for the adhesive to bond successfully.
It is critical to understand that if you plan to glue Coroplast™ with any CyA, you must learn to flame-treat — and nothing other than practice, practice, and more practice will do.
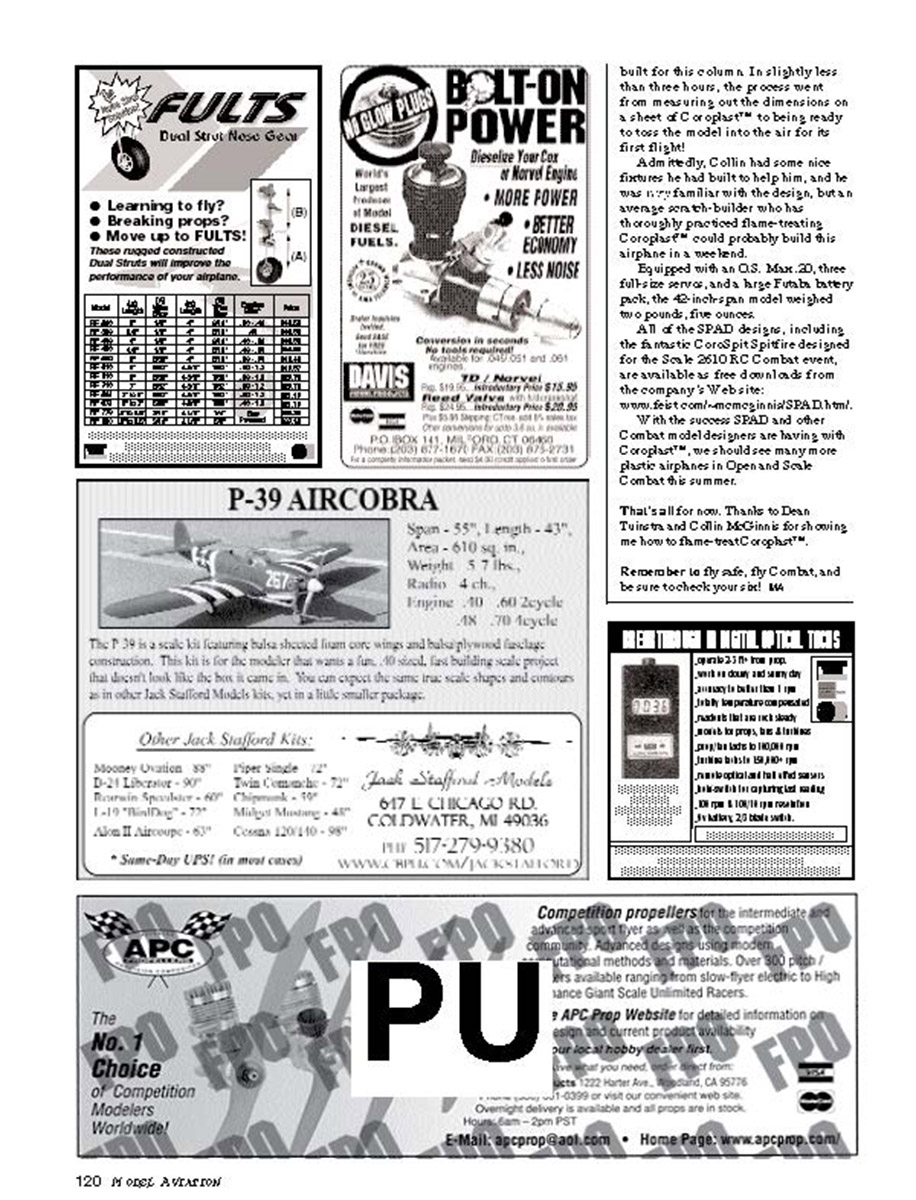
Flame-treat Coroplast™ by running a propane torch back and forth across the area to be bonded. As with working with a MonoKote™ heat gun, do not let the torch remain on any one area too long or it will quickly melt through the plastic.
(Note: Coroplast™ will burn, but only if you light it intentionally; even then, it does not burn rapidly.)
Plan your actions before you light the torch; make sure the materials behind and beside your flame-treating area are free of anything hazardous. For instance, remove flammable liquids (I removed a bottle of isopropyl alcohol from my worktable).
As you move the torch back and forth, watch for a slight dulling of the surface that indicates the area has been flame-treated. However, this dulling occurs just before the plastic melts, so practice repeatedly on scrap material before you move on to treating the wing.
While you practice, be aware that 4mm and 2mm Coroplast™ behave differently under flame treatment, and that flame-treating across the corrugations versus in the same direction as the corrugations gives different results.
- Treating 4mm across the corrugation is easiest to work with.
- Treating 2mm with the corrugation (this is how you must do it to make the Derelict wing) is the most difficult to get just right.
The only way to judge if you are flame-treating correctly is to make test bonds. There are some tricks to making a good bond with CyA on corrugated plastic:
- Because Coroplast™ is impervious, there is no wicking action as with balsa. Builders accustomed to gluing balsa often apply way too much adhesive on Coroplast™.
- All you need is a small drop — roughly the diameter of a red Sullivan flexible control rod — every half-inch or so. More is not better.
- A bead of CyA on Coroplast™ tends to stay wet and useless in the center of the bond if overapplied.
- Kickers (accelerators) are less effective on impervious Coroplast™, and the lack of moisture in the material slows CyA cure time.
Brush-on, solvented contact cements such as DAP Weldwood can work on Coroplast™ without flame treatment, but they have their own requirements. I tried several spray-on contacts and a water-based material without success. Weldwood gave a good bond but requires good ventilation to use properly. In addition, the contact cement must be applied to both sides and allowed to dry completely before mating the parts, since the Coroplast™ will not let any remaining solvent out. I prefer the results I got with flame-treated material.
Although the bond to properly flame-treated Coroplast™ is very good, Collin recommends using mechanical fasteners for control horns as a backup: 1/2-inch-long #6 self-tapping screws screwed into a scrap piece of drain-spout PVC.
Developing the skills to bond Coroplast™ does require time, but the results can be well worth it. I was impressed by the speed of assembly for the Derelict Collin built for this column. In slightly less than three hours, the process went from measuring out the dimensions on a sheet of Coroplast™ to being ready to toss the model into the air for its first flight!
Admittedly, Collin had some nice fixtures and was very familiar with the design, but an average scratch-builder who has thoroughly practiced flame-treating Coroplast™ could probably build this airplane in a weekend.
Equipped with an O.S. Max .20, three Futaba servos, and a brass Futaba battery pack, the 42-inch-span model weighed 2 pounds, 5 ounces.
All SPAD designs, including the CoroSplit Spitfire designed for the Sink 2610 RC Combat event, are available as free downloads from the company's website: www.feist.com/memcomins/SPAD.html.
With the success SPAD and other Combat designers are having with Coroplast™, we should see many more plastic airplanes in Open and Scale Combat this summer.
Thanks to Dean Tunstall and Collin McGinnis for showing me how to flame-treat Coroplast™.
Remember to fly safe, fly Combat, and be sure to check your field rules!
— Greg Rose
Transcribed from original scans by AI. Minor OCR errors may remain.

