
RADIO CONTROL COMBAT
By
Greg Rose 1312 NW 196th St., Edmond OK 73003
Season recap
By the time this column reaches print, the 2003 Radio Control (RC) Combat season will have drawn to a close. It was a great season with record-setting activity in Open and Scale Combat.
The season saw Slow and Survivable Combat (SSC) come into its own, with dozens of events being held across the United States. The 2003 season had more than 93 sanctioned Combat events in 28 states.
The 2003 National Aeromodeling Championships (Nats) in Muncie, Indiana, saw Open Class B Combat become the third most popular event in the entire discipline (and we are aiming higher in 2004!).
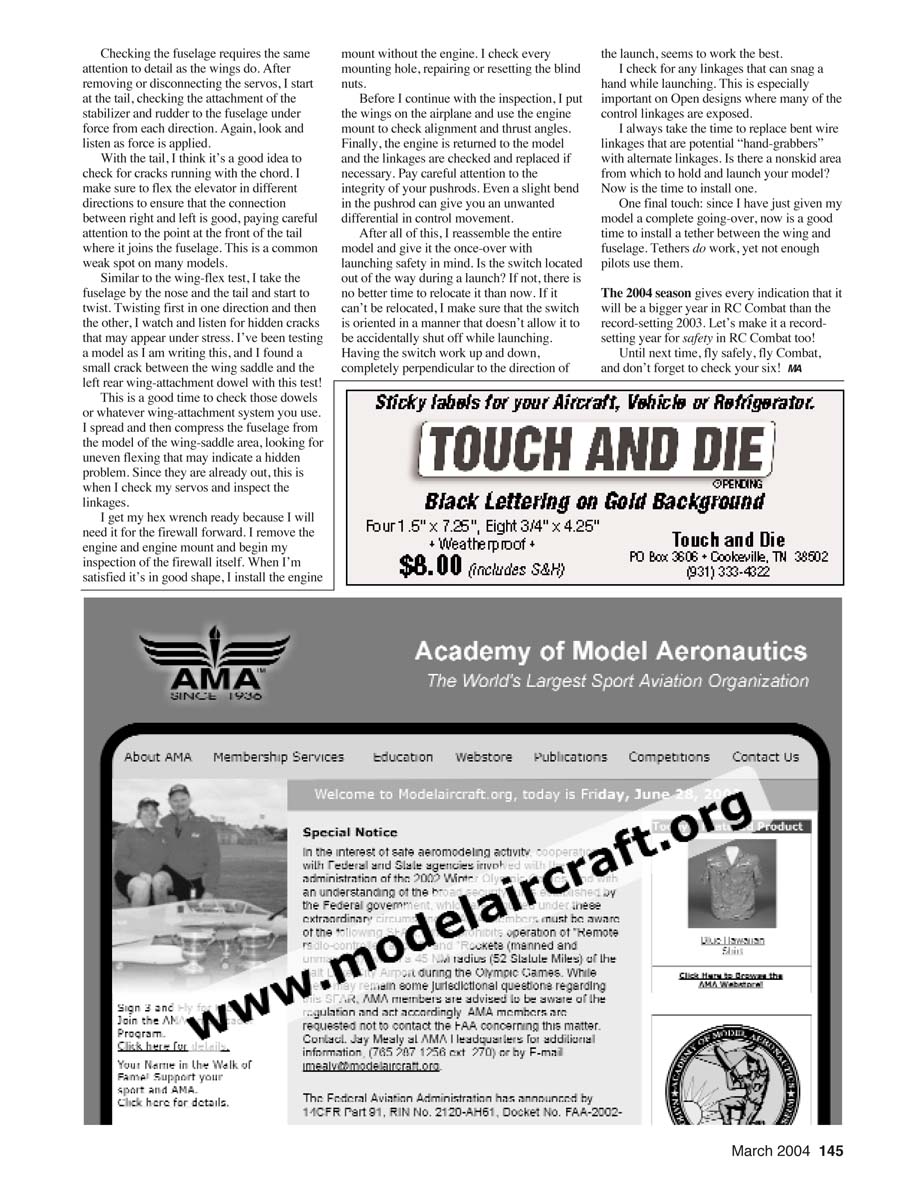
As a result of all that flying and fun, many models have seen dozens of rounds and have been bumped, bruised, and whacked countless times during the year. Now, between the 2003 and the 2004 season, while the skies are calm, it is a good time to perform critical inspection and repair of your Combat models. Do it before this year’s season gets into full swing.
General inspection philosophy
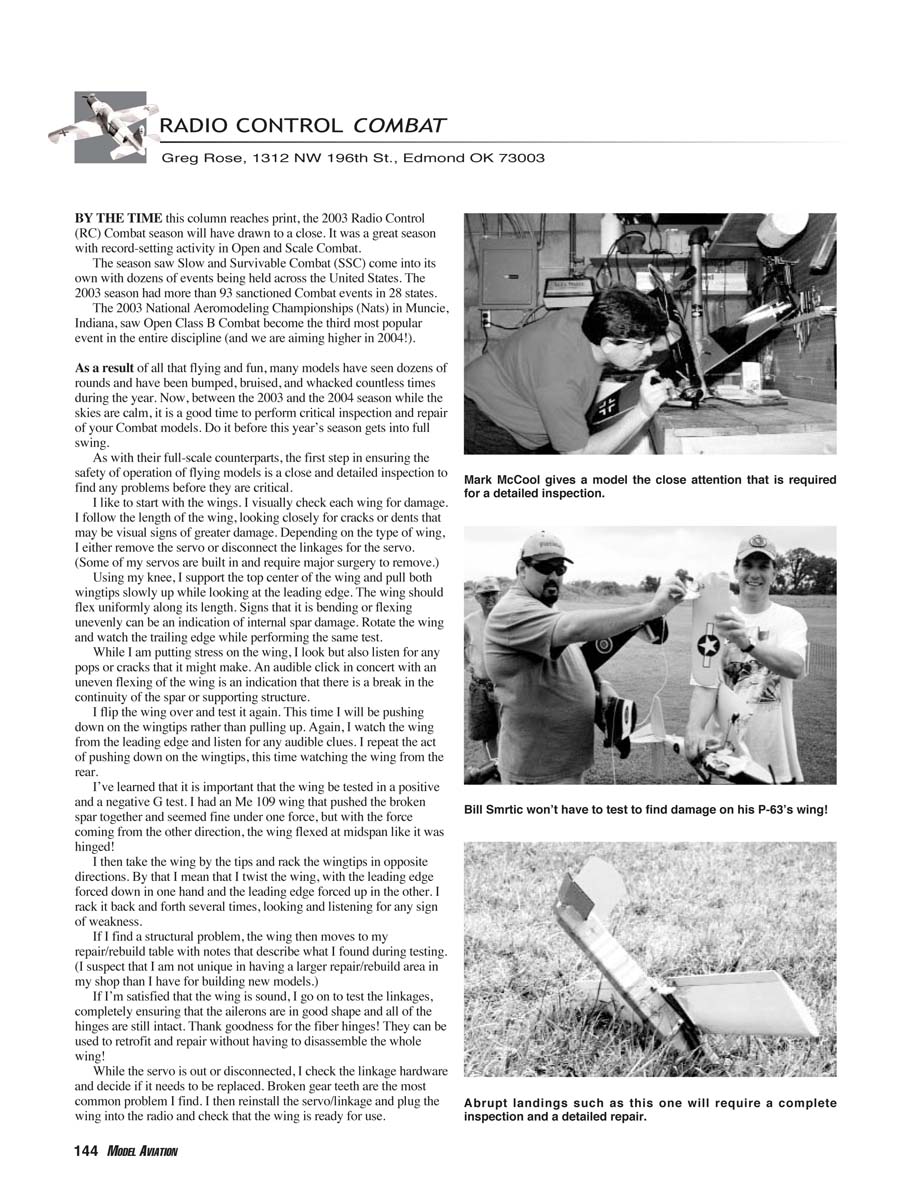
As with their full-scale counterparts, the first step in ensuring the safety of operation of flying models is a close and detailed inspection to find any problems before they become critical.
I like to start with the wings.
Inspecting the wings
- Visually inspect each wing for damage. Follow the length of the wing, looking closely for cracks or dents that may be visual signs of greater damage.
- Remove the servo or disconnect the linkages for the servo when possible. (Some servos are built in and require major surgery to remove.)
- Support the top center of the wing (I use my knee) and pull both wingtips slowly up while watching the leading edge. The wing should flex uniformly along its length. Uneven bending or flexing can indicate internal spar damage.
- Rotate the wing and watch the trailing edge while performing the same test.
- While stressing the wing, look and listen for any pops or cracks. An audible click combined with uneven flexing indicates a break in the continuity of the spar or supporting structure.
- Flip the wing over and test again by pushing down on the wingtips. Watch from the leading edge and then from the rear, listening for audible clues.
- Test the wing in both positive and negative G directions. I had a Me-109 wing that pushed the broken spar together and seemed fine under one force, but with the force coming from the other direction the wing flexed at midspan like it was hinged.
- Take the wing by the tips and rack the wingtips in opposite directions (twist the wing with the leading edge forced down in one hand and up in the other). Rack it back and forth several times, observing and listening for signs of weakness.
If a structural problem is found, move the wing to the repair/rebuild table with notes describing what you found. If the wing is sound, test the linkages and ensure the ailerons and hinges are intact. Fiber hinges are especially helpful for retrofit and repair without disassembling the whole wing.
While the servo is out or disconnected, check the linkage hardware and replace if necessary. Broken gear teeth are the most common problem I find. Reinstall the servo/linkage, plug the wing into the radio, and check that the wing is ready for use.
Inspecting the fuselage and tail
Checking the fuselage requires the same attention to detail as the wings. After removing or disconnecting the servos, start at the tail, checking the attachment of the stabilizer and rudder to the fuselage under force from each direction. Again, look and listen as force is applied.
Check for cracks running with the chord. Flex the elevator in different directions to ensure the connection between right and left is good, paying careful attention to the point at the front of the tail where it joins the fuselage—this is a common weak spot on many models.
Similar to the wing-flex test, take the fuselage by the nose and tail and twist, first in one direction and then the other, watching and listening for hidden cracks that may appear under stress. This test can reveal small cracks you might otherwise miss (I found a small crack between the wing saddle and the left rear wing-attachment dowel while testing a model).
This is a good time to check dowels or whatever wing-attachment system you use. Spread and compress the fuselage in the wing-saddle area, looking for uneven flexing that may indicate a hidden problem. Since the servos are already out, inspect the servos and linkages now.
Firewall, engine mount, and alignment
Get your hex wrench ready because you will need it for the firewall forward. Remove the engine and engine mount and begin inspection of the firewall itself. When satisfied the firewall is in good shape, install the engine mount without the engine. Check every mounting hole, repairing or resetting blind nuts as necessary.
Before proceeding further, put the wings on the airplane and use the engine mount to check alignment and thrust angles. Finally, return the engine to the model and check linkages, replacing them if necessary. Pay careful attention to the integrity of your pushrods— even a slight bend can give you an unwanted differential in control movement.
Final assembly and launch safety
After all of this, reassemble the entire model and give it a once-over with launching safety in mind.
- Is the switch located out of the way during a launch? If not, relocate it now. If it can't be relocated, orient the switch so it cannot be accidentally shut off while launching. A switch that works up and down, perpendicular to the direction of launch, seems to work best.
- Check for any linkages that can snag a hand while launching, especially on Open designs where many control linkages are exposed.
- Replace bent wire linkages that are potential "hand-grabbers" with alternate linkages.
- Install a nonskid area from which to hold and launch your model if you don't already have one.
- Install a tether between the wing and fuselage. Tethers do work, yet not enough pilots use them.
Closing
The 2004 season gives every indication that it will be even bigger than the record-setting 2003. Let's make it a record-setting year for safety in RC Combat too!
Until next time, fly safely, fly Combat, and don't forget to check your six!
MA
Transcribed from original scans by AI. Minor OCR errors may remain.

