
RADIO CONTROL GIANTS
Sal Calvagna 1335 Broadway Ave., Holbrook NY 11741 E-mail: [email protected]
UNTIL RECENTLY, if you needed markings, insignia, or decals for your model, you had to turn to those who are in the business of making them. Specialized sign-making equipment was needed, and few modelers had the resources to take on the task themselves.
There are great decals available from hobby manufacturers, but occasionally I have settled on the wrong size, type, or color because the right ones weren't available and I didn't want to spend a small fortune to make it right.
Times have changed, and the ability to successfully make your own decals has dramatically improved. Below I explain how to make your own markings. The process I used to produce nose art for a Ziroli P-47 from a photograph in a book required a digital camera, a home computer with an ink-jet color printer, special decal paper, and Krylon or a suitable clear-coat spray paint.
Materials and tools
- Digital camera (2-megapixel or better is fine) or scanner
- Home computer (PC) with image-editing/basic photo software
- Color ink-jet printer
- Decal paper: water-transfer or vinyl (clear or white water-transfer paper)
- Clear-coat spray (Krylon or other; UV-protective options available)
A digital camera provides instant photos you can repeat until you get the desired result and easily download to your PC. Scanners can also be used, but digital photos are convenient and work well with basic computer programs for cropping and color/brightness adjustments.
Choosing decal paper
- Water-transfer vs. vinyl (adhesive-backed) is a personal choice; both are widely used.
- Water-transfer paper comes in clear or white sheets. Ink-jet printers cannot print white, so if your artwork contains white areas, use the white water-transfer paper. If there is no white in the design, you can use clear paper.
Finding and capturing artwork
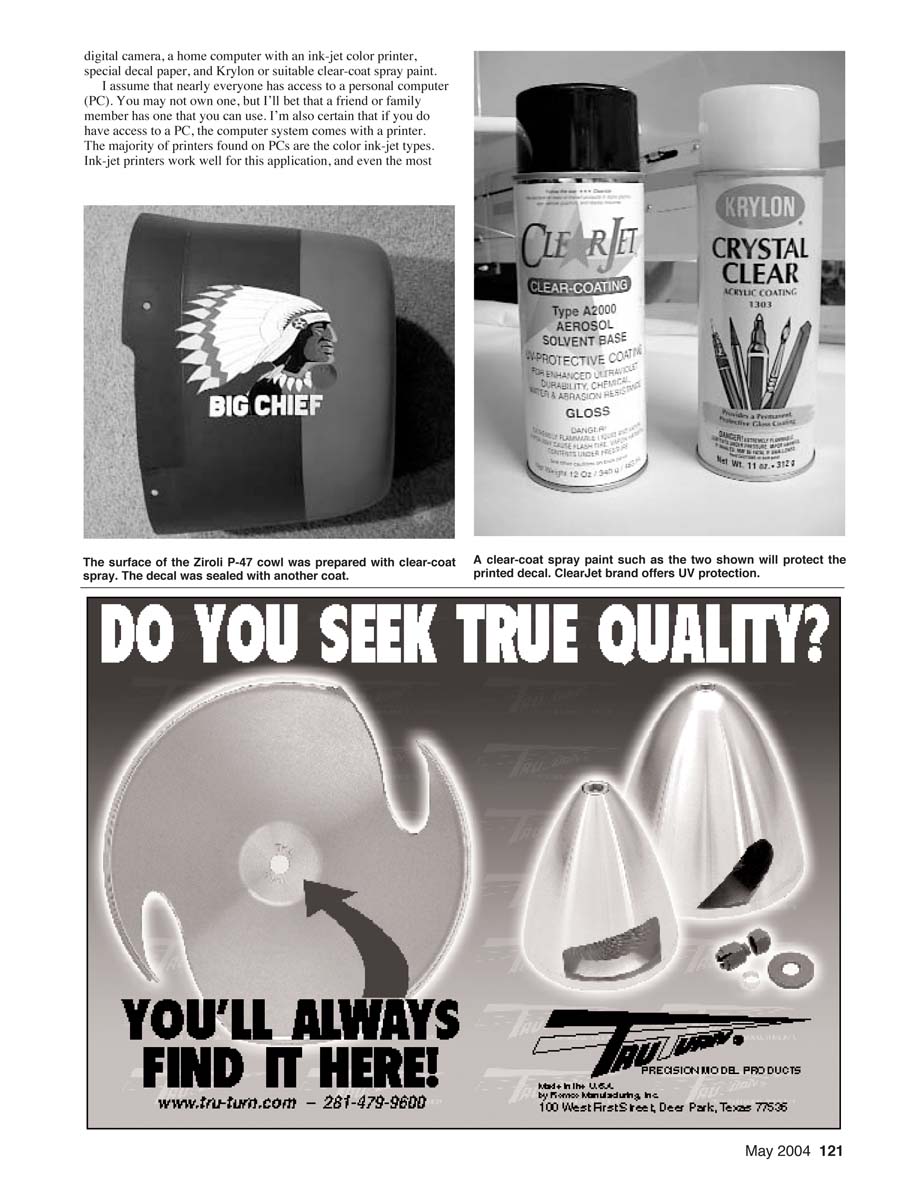
- Locate the markings, emblems, or insignia you want in books, posters, on full-scale aircraft, or on the Internet.
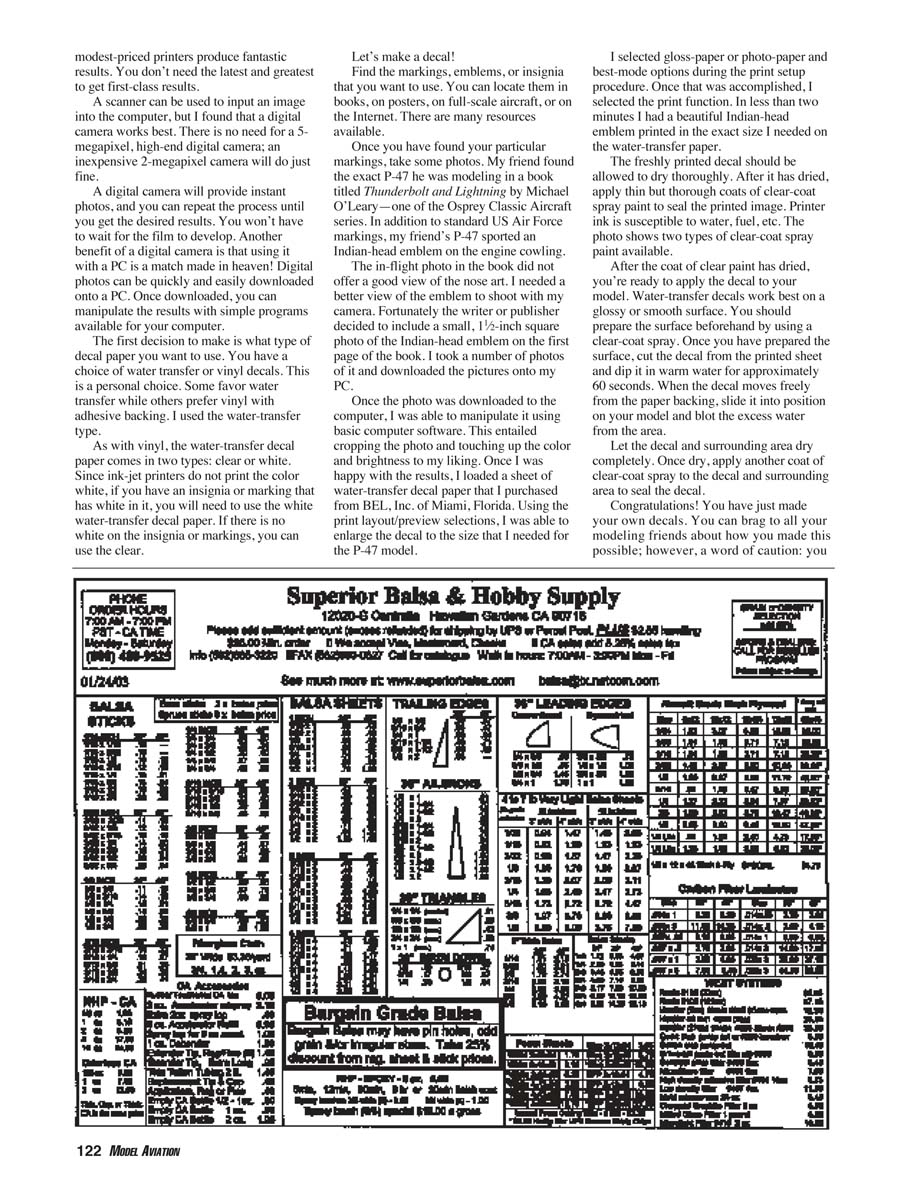
- Examples: For a P-47 nose art, I found the exact Indian-head emblem in a book (Thunderbolt and Lightning by Michael O'Leary, Osprey Classic Aircraft series). The book included a small 1½-inch square photo of the emblem that I photographed with my digital camera.
- Take multiple photos to ensure you capture a clean, well-lit image; download the best ones to your PC.
Preparing and printing the decal
- Open the photo on your computer and crop to the artwork. Adjust color and brightness as needed.
- Load the water-transfer decal paper into your ink-jet printer (follow the paper manufacturer’s instructions for orientation).
- Use print layout/preview to scale the image to the size required for your model.
- Select gloss/photo paper and the best print-quality mode in the printer setup.
- Print the decal. Allow the freshly printed sheet to dry thoroughly.
I used water-transfer decal paper purchased from BEL, Inc. (see supplier info below).
Sealing and applying decals
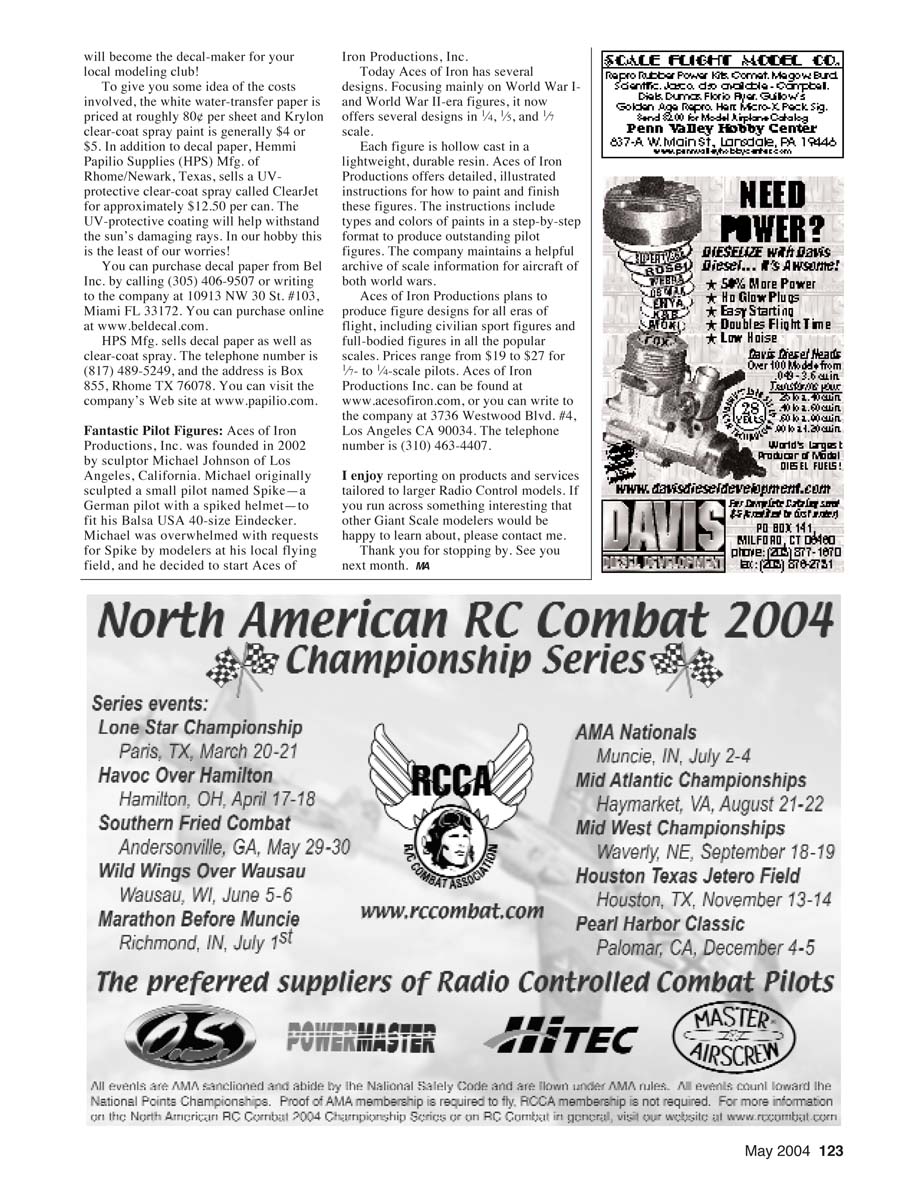
- After the printed decal has dried, apply thin coats of clear-coat spray to seal the printed image (printer ink is susceptible to water, fuel, etc.). Allow the clear coats to dry.
- Prepare the model surface by applying a clear-coat spray so the surface is glossy or smooth (water-transfer decals adhere best to smooth/glossy surfaces).
- Cut the decal from the sheet and dip it in warm water for approximately 60 seconds.
- When the decal slides freely from its backing, position it on the model and blot away excess water.
- Let the decal and surrounding area dry completely.
- Apply another coat of clear-coat spray to the decal and surrounding area to seal it.
Tips and cautions
- Ensure each layer of clear coat is thoroughly dry before proceeding.
- Printer ink can be damaged by water or fuels—sealing is essential.
- Beware: once you can make good decals, you'll probably become the decal-maker for your club!
Costs and suppliers
- White water-transfer paper: roughly $0.80 per sheet.
- Krylon clear-coat spray: generally $4–$5 per can.
- UV-protective clear-coat (ClearJet from HPS): approximately $12.50 per can.
Suppliers:
- Bel, Inc. (BEL Decal)
- Phone: (305) 406-9507
- Address: 10913 NW 30 St. #103, Miami FL 33172
- Web: www.beldecal.com
- HPS Mfg. (Papilio)
- Phone: (817) 489-5249
- Address: Box 855, Rhome TX 76078
- Web: www.papilio.com
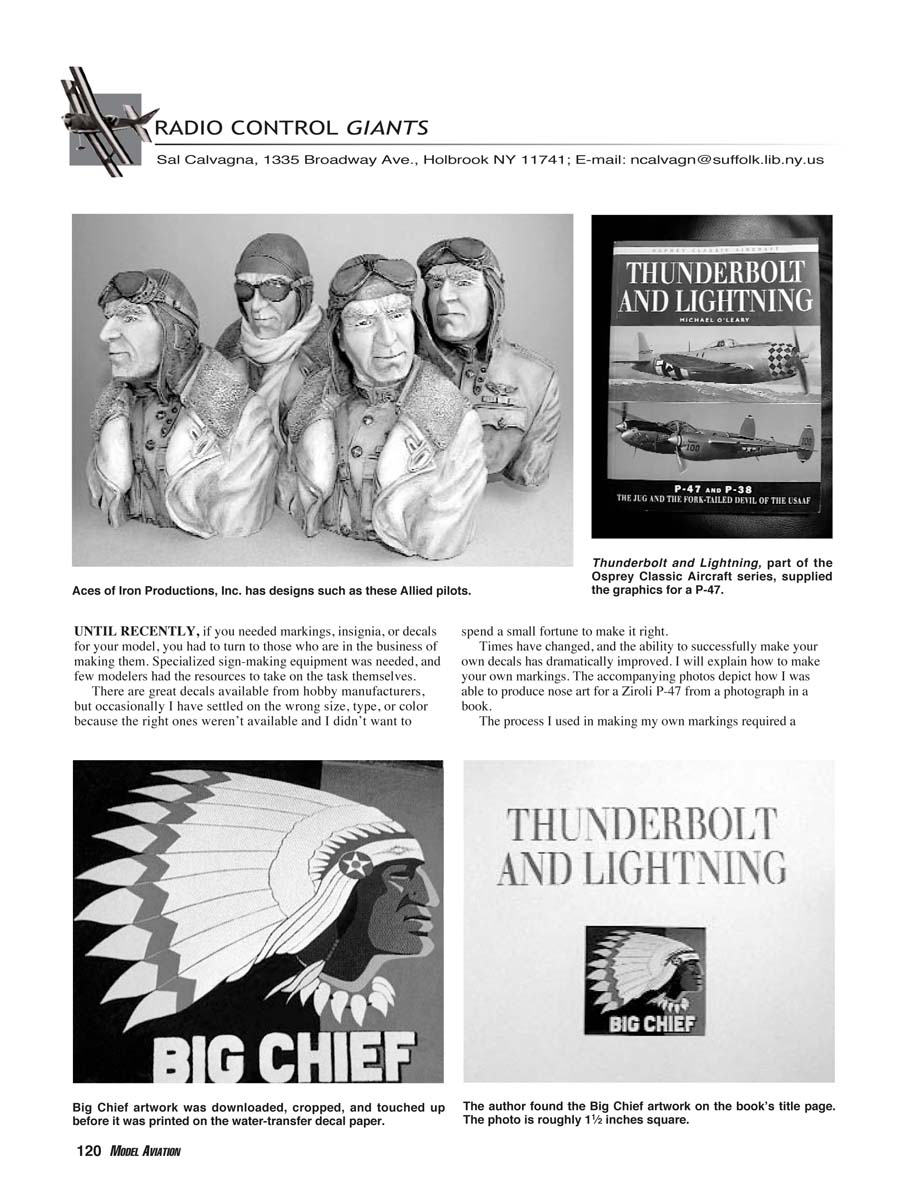
Fantastic Pilot Figures
Aces of Iron Productions, Inc. was founded in 2002 by sculptor Michael Johnson of Los Angeles, California. Michael originally sculpted a small pilot named Spike—a German pilot with a spiked helmet—to fit his Balsa USA 40-size Eindecker. Demand led him to form Aces of Iron Productions.
- Focus: World War I and World War II-era figures.
- Scales: 1/4, 1/5, and 1/6.
- Construction: Each figure is hollow cast in a lightweight, durable resin.
- Support: Detailed, illustrated instructions for painting and finishing (step-by-step paint types and colors). The company also maintains an archive of scale information for aircraft of both world wars.
- Plans: Produce designs for all eras of flight, including civilian sport figures and full-bodied figures in popular scales.
- Prices: $19–$27 for 1/6- to 1/4-scale pilots.
Contact Aces of Iron Productions, Inc.
- Web: www.acesofiron.com
- Address: 3736 Westwood Blvd. #4, Los Angeles CA 90034
- Phone: (310) 463-4407
I enjoy reporting on products and services tailored to larger radio-control models. If you run across something interesting that other giant-scale modelers would like to know about, please contact me.
Thank you for stopping by. See you next month. MA
Transcribed from original scans by AI. Minor OCR errors may remain.

