
Making balsa skins for a foam-core wing
By Sal Calvagna [[email protected]]
It's nearly May and spring has sprung. It's time to finish those winter projects and get ready for the flying season.
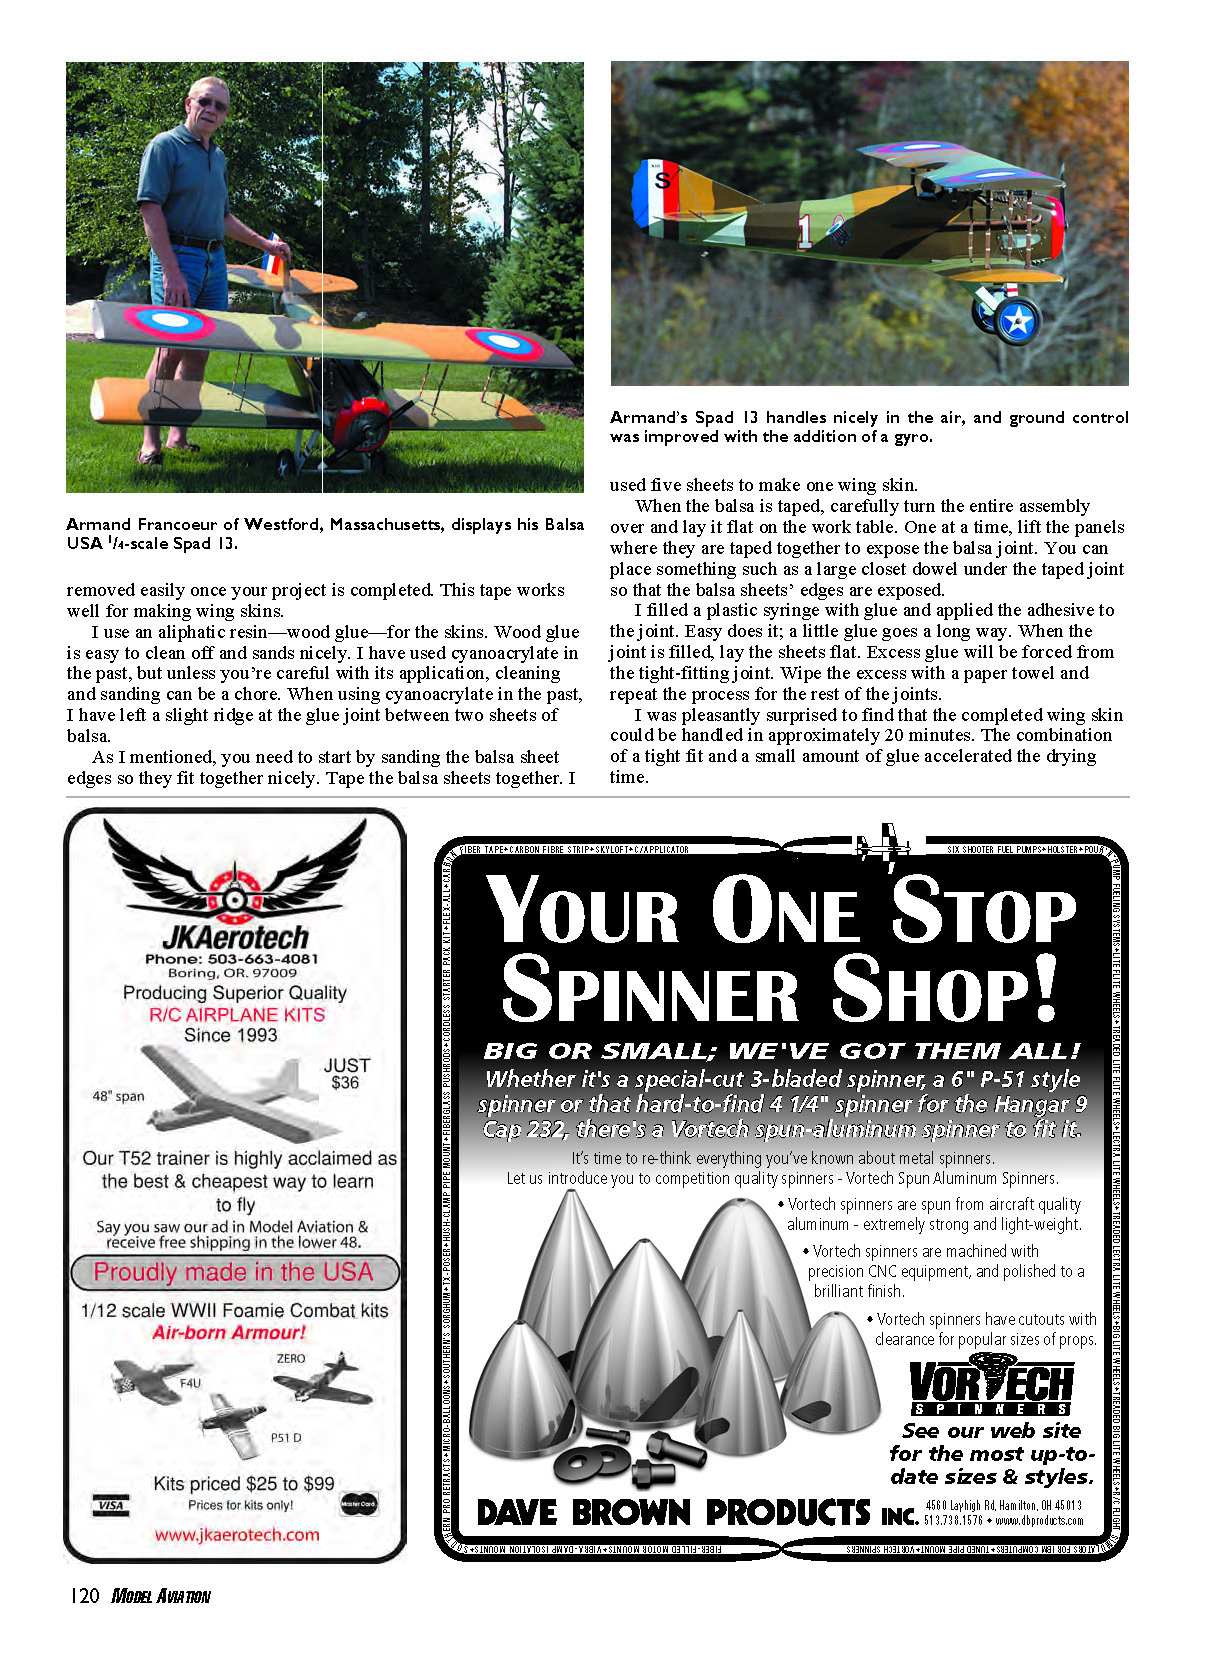
I'm working on a 1/4-scale model that uses foam-core wing panels. I thought it appropriate to photograph and document some of the building techniques I use; I hope you find them helpful.
Expanded-bead foam for models has been around for a number of years. Some modelers like to use foam, while others prefer the traditional stick-building method. Whether it's foam or balsa, we all intend to achieve a model that flies well.
Foam has some excellent advantages: it's strong, inexpensive, and easy to work with. Additionally, foam wings consist of few parts and are extremely accurate when made correctly. I'll write more about foam-wing construction in the coming months.
Following is the way I made the balsa skins for this particular project. Modelers who have more experience than I do employ other methods using many different types of materials.
The wing I will cover has an 88-inch span. Not counting the wingtips, the actual foam span is roughly 80 inches. I chose 3/32" x 4" x 42" balsa sheets to make the wing skins. You can purchase balsa sheets in common lengths of 36", 42", and 48". I purchased mine from Balsa USA.
Materials
- 3/32" x 4" x 42" balsa sheets (five sheets per wing skin)
- 3M ScotchBlue Painter's Tape (medium adhesion)
- Aliphatic resin (wood glue)
- Optional: cyanoacrylate (CA) for other uses
- Plastic syringe for applying glue
- Large closet dowel or similar to support joints while gluing
- Paper towels for cleanup
- Sandpaper for trimming sheet edges
Preparing the balsa sheets
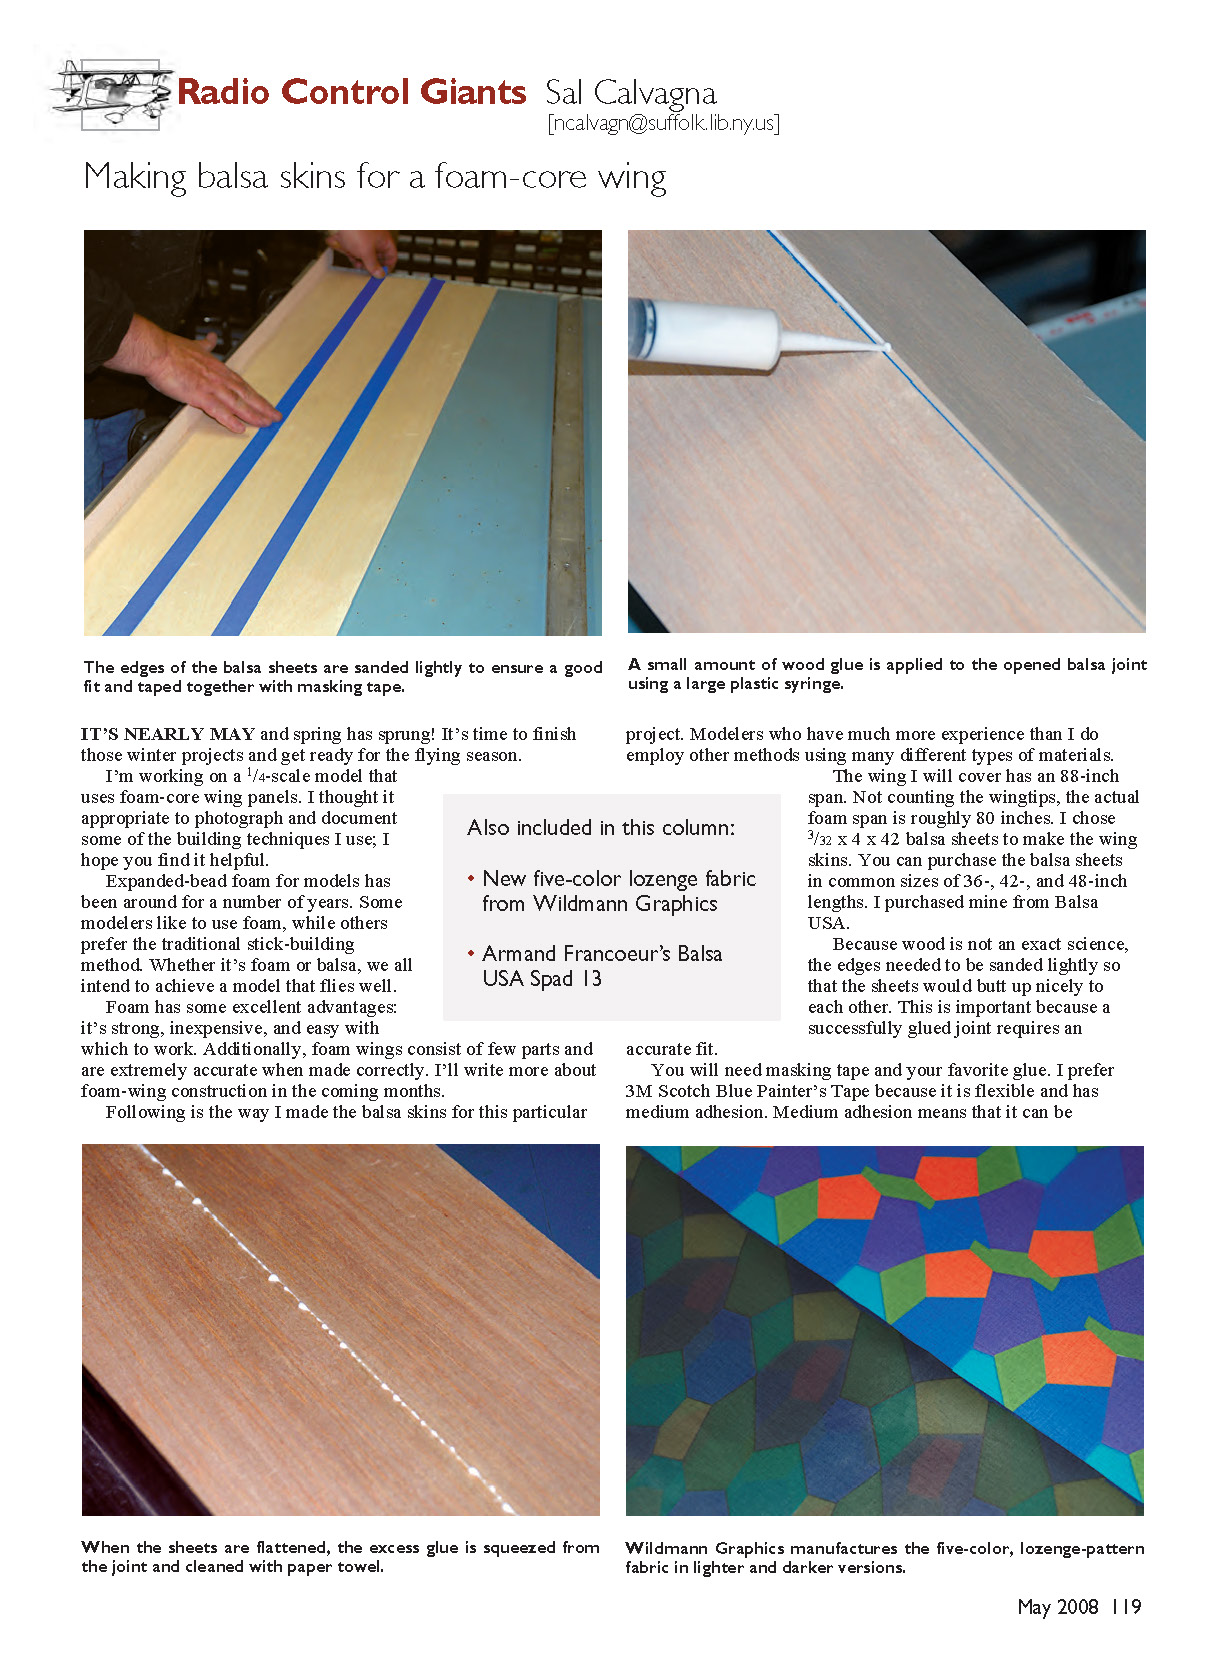
Because wood is not an exact science, the sheet edges need to be sanded lightly so the sheets butt up nicely to each other. A successful glued joint requires an accurate fit.
Tape the balsa sheets together. I used five sheets to make one wing skin. When the balsa is taped, carefully turn the entire assembly over and lay it flat on the work table. One at a time, lift the panels where they are taped together to expose the balsa joint. You can place something such as a large closet dowel under the taped joint so the balsa sheets' edges are exposed.
Gluing the joints
- Fill a plastic syringe with aliphatic resin (wood glue). A little goes a long way.
- Lift the taped joint and apply a small bead of glue into the joint with the syringe.
- Lay the sheets flat. Excess glue will be forced from the tight-fitting joint.
- Wipe off excess glue with a paper towel.
- Repeat the process for each joint until the entire skin is glued.
I prefer 3M ScotchBlue Painter's Tape because it is flexible and has medium adhesion, meaning it can be removed easily once your project is completed. I use aliphatic resin (wood glue) for the skins because it is easy to clean off and sands nicely. I have used cyanoacrylate in the past, but unless you're careful with its application, cleaning and sanding can be a chore; CA can leave a slight ridge at the glue joint between two sheets of balsa.
I was pleasantly surprised to find that the completed wing skin could be handled in approximately 20 minutes. The combination of a tight fit and a small amount of glue accelerates the drying time.
Transcribed from original scans by AI. Minor OCR errors may remain.

