
Radio Control Giants
Sal Calvagna [[email protected]]
An RC Giants spy reports from Balsa USA
Also included in this column:
- Taut-fabric covering secret
- Servo requirement tips
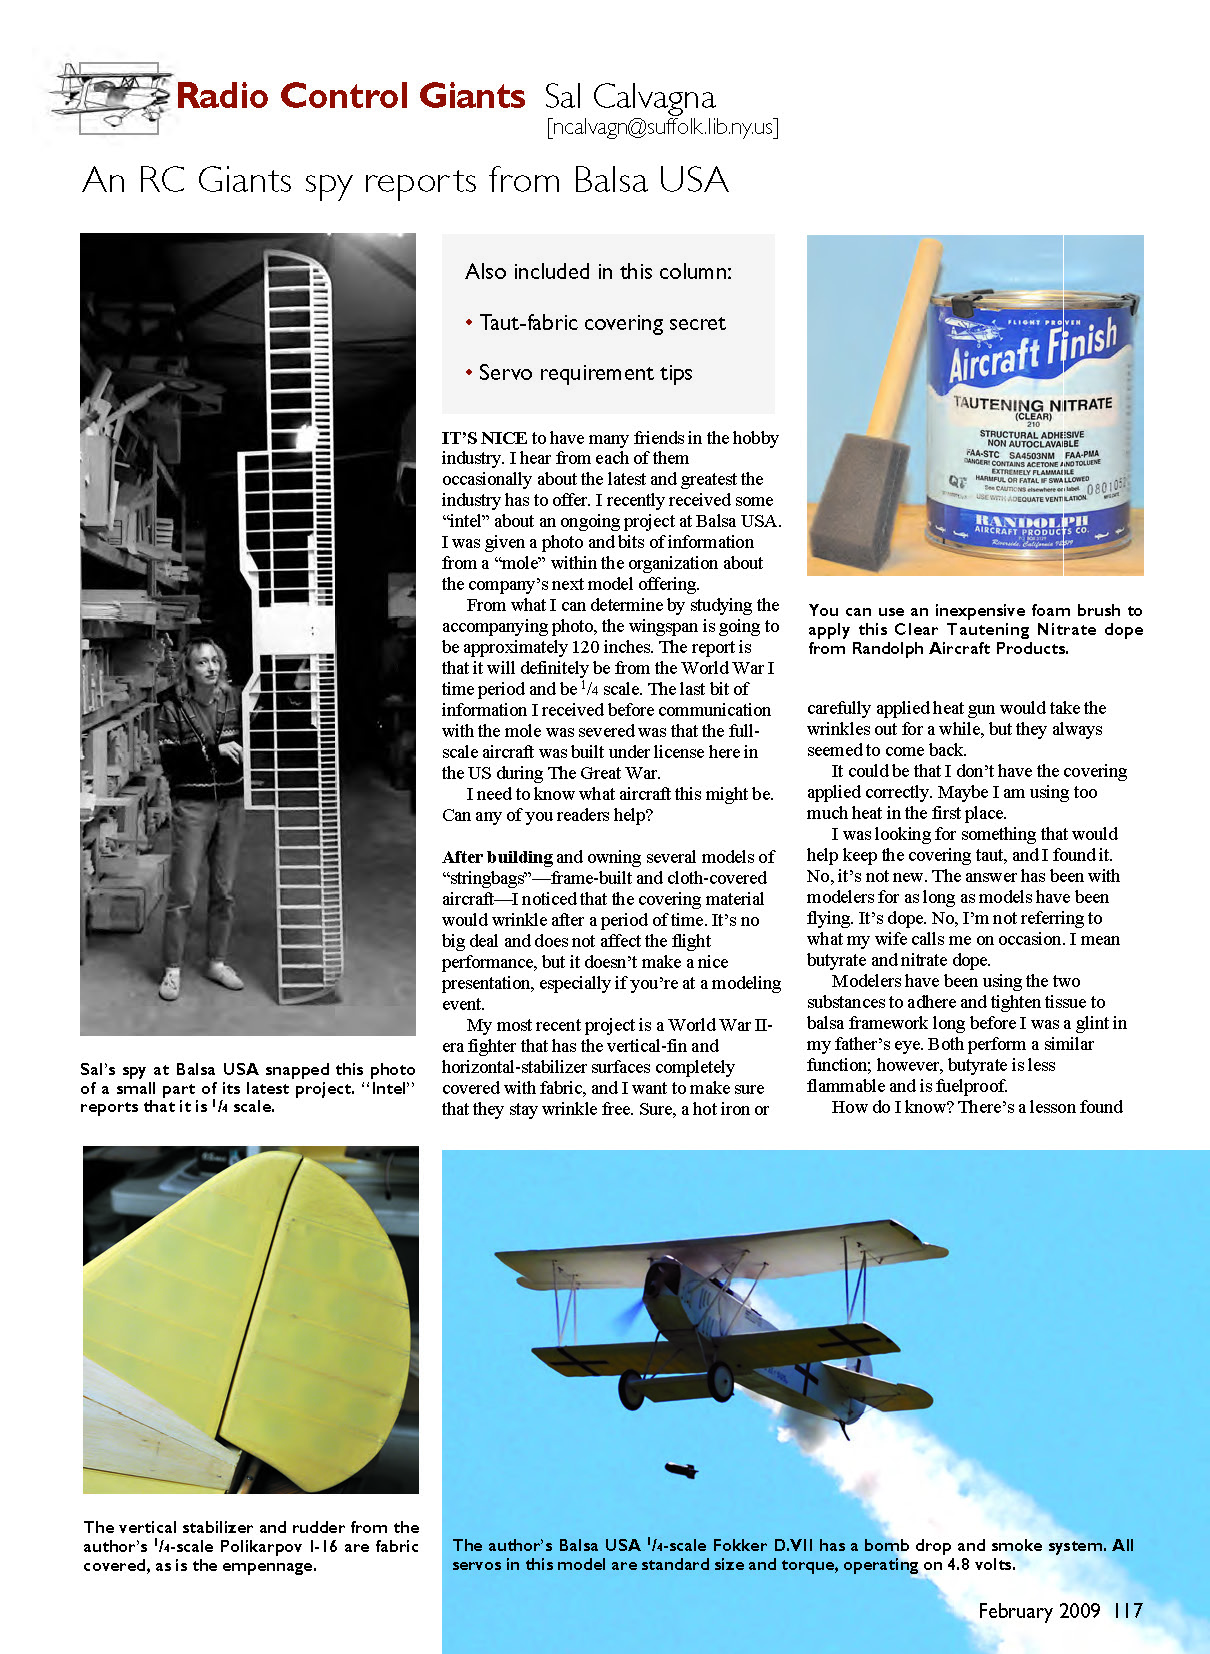
It's nice to have many friends in the hobby industry. I hear from each of them occasionally about the latest and greatest the industry has to offer. I recently received some "intel" about an ongoing project at Balsa USA. I was given a photo and bits of information from a "mole" within the organization about the company's next model offering.
From what I can determine by studying the accompanying photo, the wingspan is going to be approximately 120 inches. The report is that it will definitely be from the World War I time period and be 1/4 scale. The last bit of information I received before communication with the mole was severed was that the full-scale aircraft was built under license here in the U.S. during the Great War. I need to know what aircraft this might be. Can any of you readers help?
After building and owning several models of "stringbags"—frame-built and cloth-covered aircraft—I noticed that the covering material would wrinkle after a period of time. It's no big deal and does not affect the flight performance, but it doesn't make a nice presentation, especially if you're at a modeling event.
My most recent project is a World War II-era fighter that has the vertical-fin and horizontal-stabilizer surfaces completely covered with fabric, and I want to make sure that they stay wrinkle free. Sure, a hot iron or carefully applied heat gun would take the wrinkles out for a while, but they always seemed to come back.
It could be that I don't have the covering applied correctly. Maybe I am using too much heat in the first place.
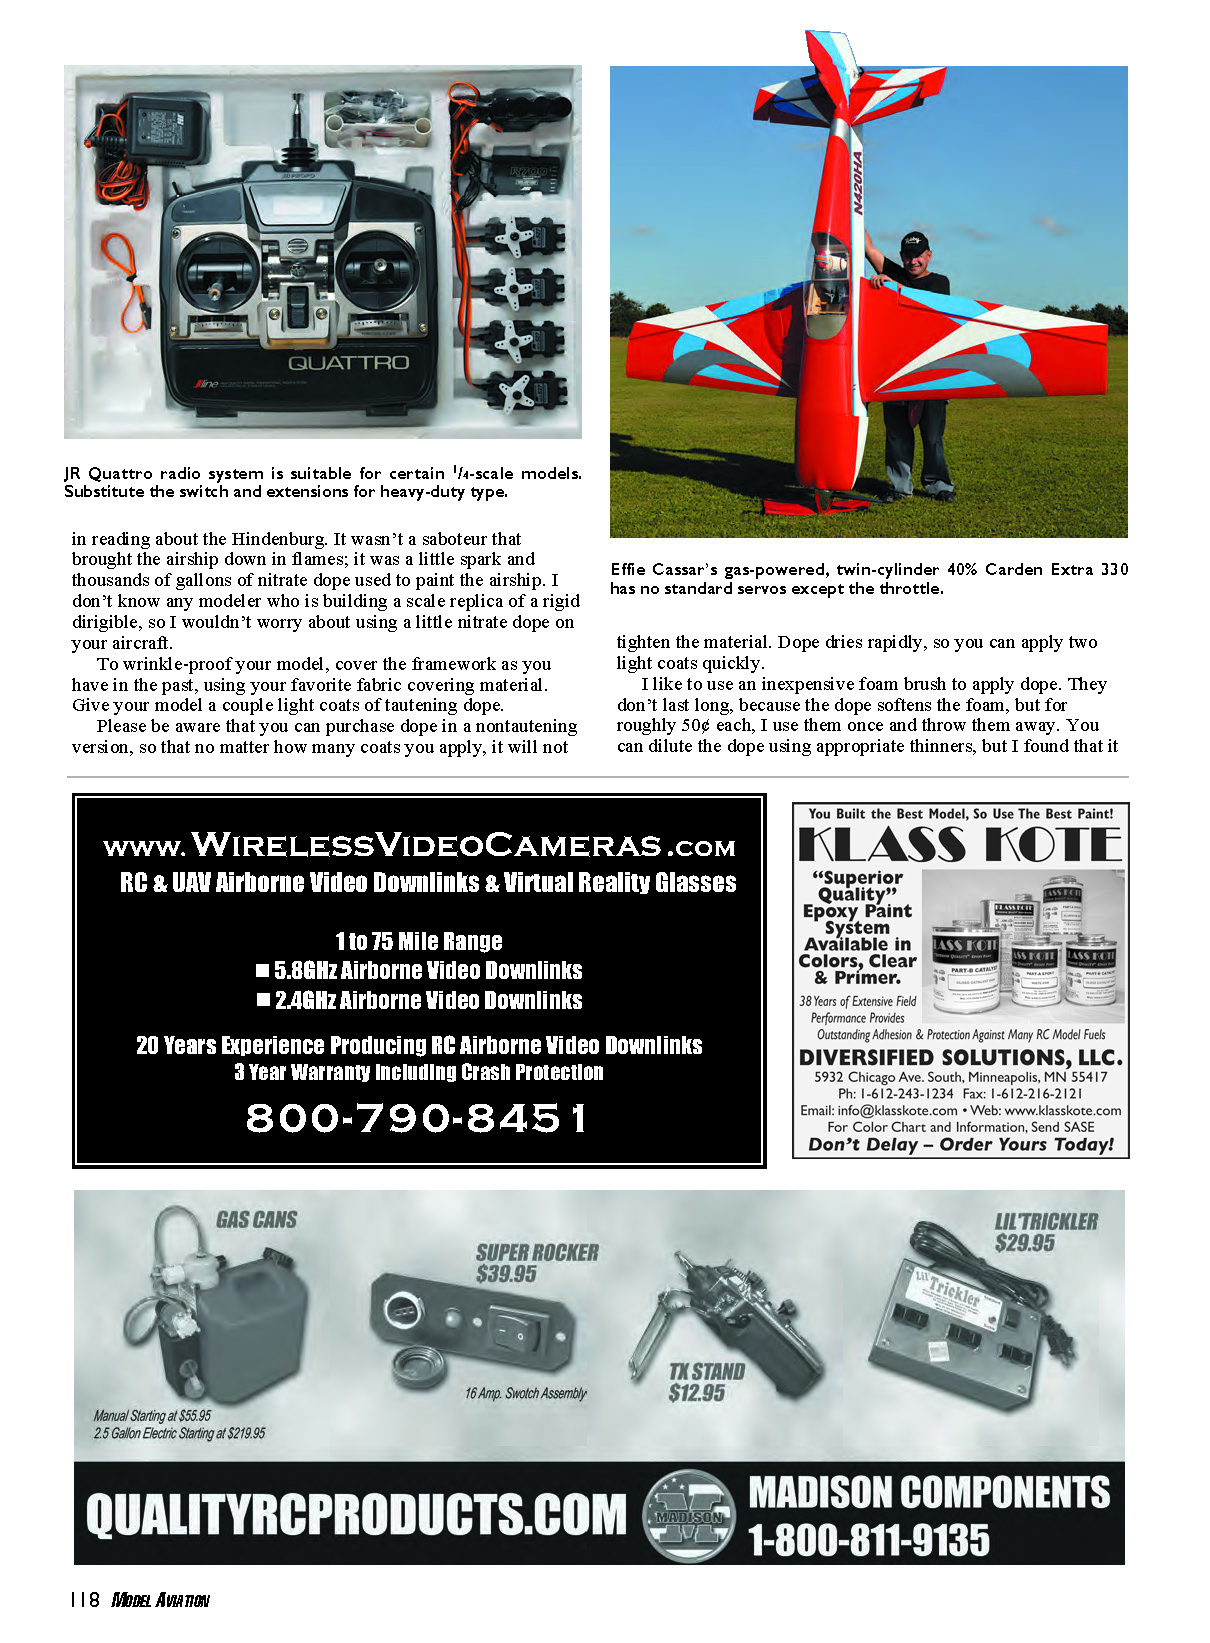
I was looking for something that would help keep the covering taut, and I found it. No, it's not new. The answer has been with modelers for as long as models have been flying. It's dope. No, I'm not referring to what my wife calls me on occasion. I mean butyrate and nitrate dope. Modelers have been using the two substances to adhere and tighten tissue to balsa framework long before I was a glint in my father's eye. Both perform a similar function; however, butyrate is less flammable and is fuelproof. How do I know? There's a lesson found in reading about the Hindenburg. It wasn't a saboteur that brought the airship down in flames; it was a little spark and thousands of gallons of nitrate dope used to paint the airship. I don't know any modeler who is building a scale replica of a rigid dirigible, so I wouldn't worry about using a little nitrate dope on your aircraft.
To wrinkle-proof your model, cover the framework as you have in the past, using your favorite fabric covering material. Give your model a couple light coats of tautening dope.
Please be aware that you can purchase dope in a non-tautening version, so that no matter how many coats you apply, it will not tighten the material. Dope dries rapidly, so you can apply two light coats quickly.
I like to use an inexpensive foam brush to apply dope. They don't last long, because the dope softens the foam, but for roughly 50¢ each, I use them once and throw them away. You can dilute the dope using appropriate thinners, but I found that it applies fine using the foam brush. Remember, the more dope you apply, the more it will shrink the fabric. If you apply too much, you can warp wings and distort stringers. Once you're done with applying the dope, you can finish your model with your favorite paint.
You can apply butyrate over nitrate, but never nitrate on top of butyrate. The two products can be found for sale from Sig Manufacturing.
If you apply dope to your model in your shop or basement, make sure you have adequate ventilation. In addition to the safety and health risks involved, this stuff can stink up your house in no time, and you'll find your better half using words to describe you, such as "dope."
Many RC Giant aircraft kits and/or plans come with detailed information about how to construct the model, but some do not include information about what size servos you need to fly it safely and successfully. I thought I would chime in with what size servos I use in my models.
The opinions stated here are not based on scientific data and testing. These are my thoughts supported by 25 years of building and flying larger models.
Many radio systems are sold as a complete package, meaning that they include a transmitter, receiver, batteries, slow charger, and switch harness. More often than not, the receiver battery is usually in the 600 mAh to 800 mAh range, and the servos are of standard size and torque. This standard radio system is ideally suited for use in 40- to 60-size models.
While the transmitter and receiver could be used in larger airplanes, the servos and receiver battery may not be appropriate. What size servos do you need to fly larger models?
This simple question has varied answers. First it depends on what type and what size aircraft you intend to fly. A 1/4-scale Cub with a 108-inch wingspan can use all standard-size servos.
Understand that a standard servo for our application is ball-bearing supported, a standard size, and has an output of approximately 45 ounce-inches of torque at 4.8 volts. Many manufacturers offer this type of servo. Hitec has an HS-425, Futaba has its S3004, and JR offers the S537. These are all excellent, standard, ball-bearing-supported units. In the 1/4-scale Cub, one servo would be used for each aileron, rudder, elevator half, and throttle—a total of six.
Other models in which a standard-size servo works well are any of the 1/4-scale World War I aircraft. These are slower, use less horsepower, and can safely operate with standard servos.
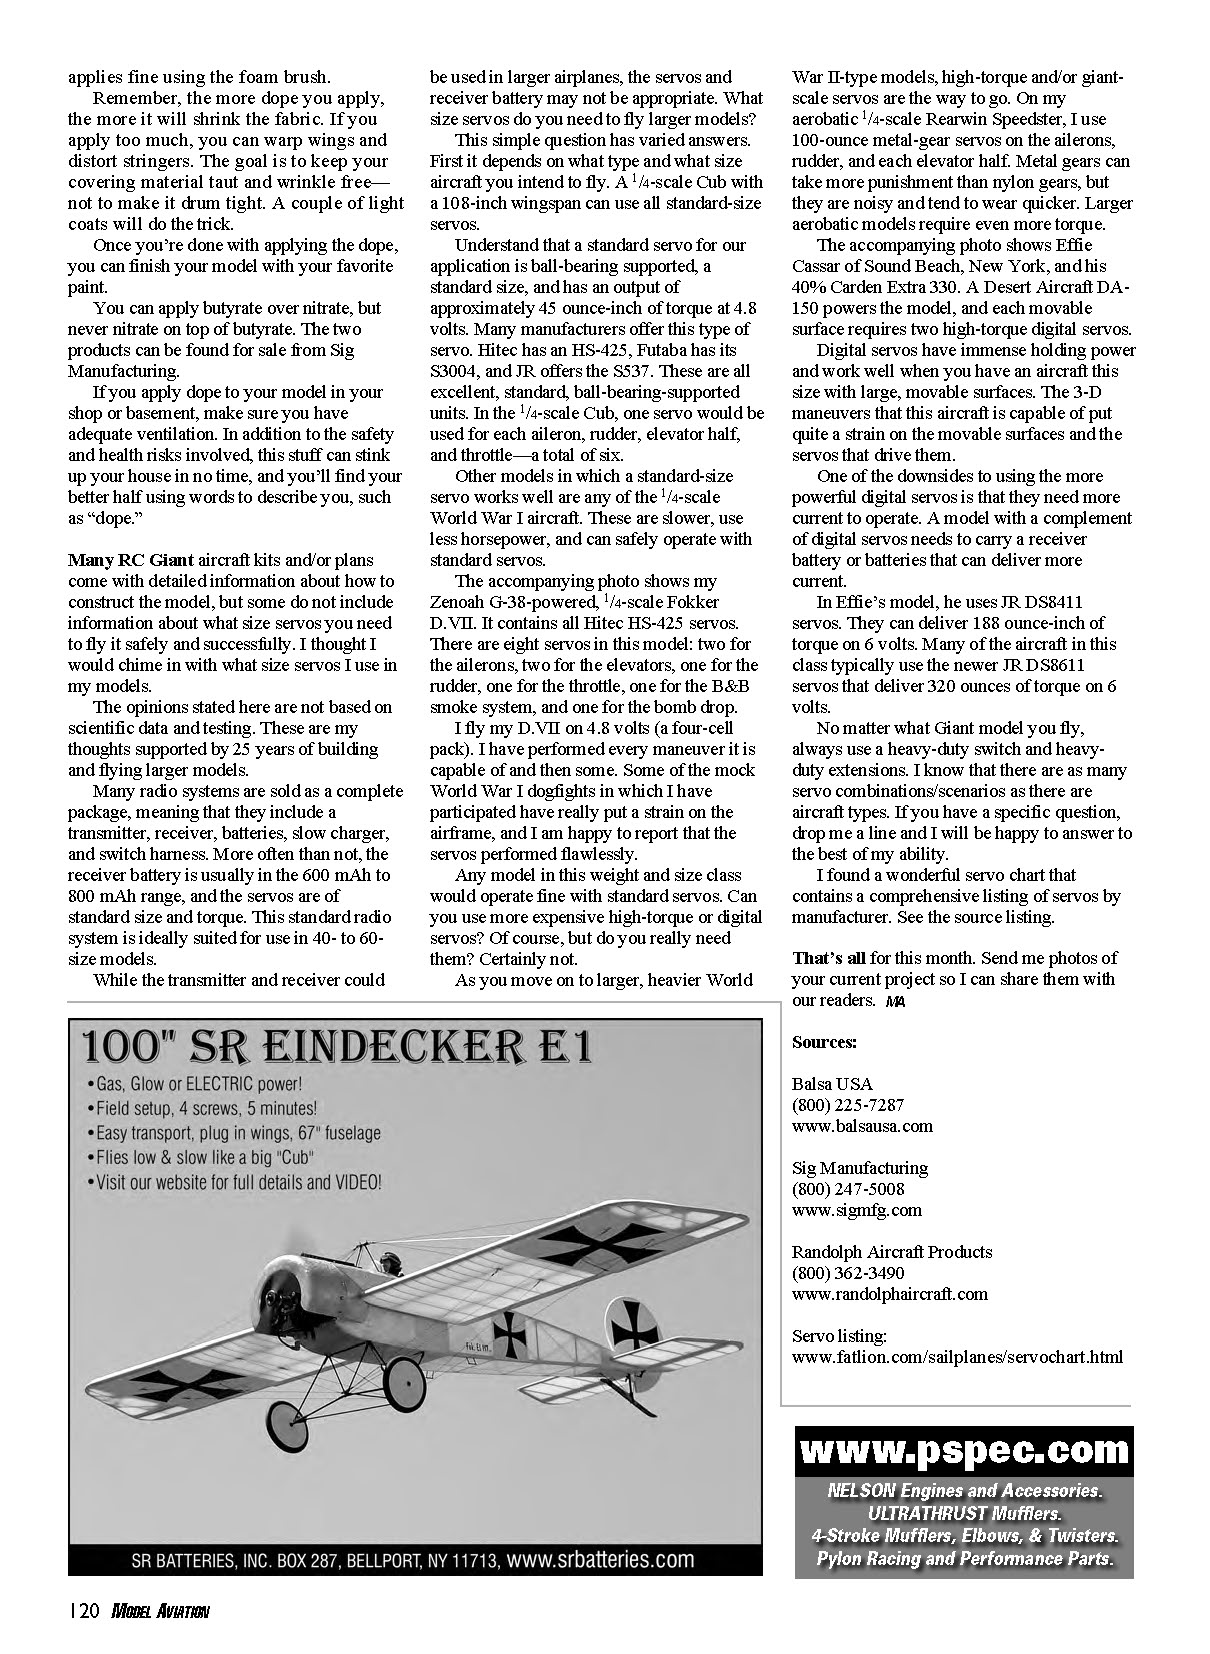
The accompanying photo shows my Zenoah G-38-powered, 1/4-scale Fokker D.VII. It contains all Hitec HS-425 servos. There are eight servos in this model:
- two for the ailerons
- two for the elevators
- one for the rudder
- one for the throttle
- one for the B&B smoke system
- one for the bomb drop
I fly my D.VII on 4.8 volts (a four-cell pack). I have performed every maneuver it is capable of and then some. Some of the mock World War I dogfights in which I have participated have really put a strain on the airframe, and I am happy to report that the servos performed flawlessly.
Any model in this weight and size class would operate fine with standard servos. Can you use more expensive high-torque or digital servos? Of course, but do you really need them? Certainly not.
As you move on to larger, heavier World War II–type models, high-torque and/or giant-scale servos are the way to go. On my aerobatic 1/4-scale Rearwin Speedster, I use 100 oz-in metal-gear servos on the ailerons, rudder, and each elevator half. Metal gears can take more punishment than nylon gears, but they are noisy and tend to wear quicker. Larger aerobatic models require even more torque.
The accompanying photo shows Effie Cassar of Sound Beach, New York, and his 40% Carden Extra 330. A Desert Aircraft DA-150 powers the model, and each movable surface requires two high-torque digital servos.
Digital servos have immense holding power and work well when you have an aircraft this size with large, movable surfaces. The 3-D maneuvers that this aircraft is capable of put quite a strain on the movable surfaces and the servos that drive them.
One of the downsides to using the more powerful digital servos is that they need more current to operate. A model with a complement of digital servos needs to carry a receiver battery or batteries that can deliver more current.
In Effie's model he uses JR DS8411 servos. They can deliver 188 ounce-inches of torque on 6 volts. Many of the aircraft in this class typically use the newer JR DS8611 servos that deliver 320 ounce-inches of torque on 6 volts.
No matter what Giant model you fly, always use a heavy-duty switch and heavy-duty extensions. I know that there are as many servo combinations/scenarios as there are aircraft types. If you have a specific question, drop me a line and I will be happy to answer to the best of my ability.
I found a wonderful servo chart that contains a comprehensive listing of servos by manufacturer. See the source listing.
That's all for this month. Send me photos of your current project so I can share them with our readers. MA
Sources:
- Balsa USA — (800) 225-7287 — www.balsausa.com
- Sig Manufacturing — (800) 247-5008 — www.sigmfg.com
- Randolph Aircraft Products — (800) 362-3490 — www.randolphaircraft.com
Servo listing:
Transcribed from original scans by AI. Minor OCR errors may remain.

