
RADIO CONTROL HELICOPTERS
Eric Hawkinson 319 Yellowstone Ave., Billings MT 59101 E-mail: [email protected]
It's another great month for flying RC (Radio Control) helicopters! It's also a good time for building and/or maintaining for most "Northerners," since it's likely to be unfriendly outside for flying.
Modelers are often asked if it's possible to fly during cooler weather—if the helicopter can "take it" in temperatures just above freezing. I tell people that the only weak link with their helicopters in cold weather is the pilot—it's not possible to fly well if your thumbs have lost all feeling!
If you are comfortable flying in the weather, go ahead and fly. The lower temperature means a lower "density altitude."
Density altitude describes how much air is in the air, to paraphrase my pal Rick Allison. The colder it is, the more dense the air is at any given actual altitude. Cold weather and the accompanying denser air is good for engines and airfoils.
The engines gain three advantages:
- Cooler air blows over them for better cooling.
- The air is denser.
- There is more "air" (oxygen) in the mixture, so you need to richen the needle as temperatures drop to keep the fuel/oxygen ratio at the optimum setting.
Think of it as a climatic supercharger, allowing a denser fuel/air mix in the chamber. This allows the engine to put out more power than it will in warmer and leaner times.
Blades benefit because they are flying in denser air, giving them more "bite" at any given angle of attack. I suspect there is a point where you should be concerned about fiberglass or carbon blades becoming brittle in extreme cold, but I doubt you would fly in such temperatures. Qualified engineers can feel free to write me and let me know the scoop on that situation.
There are other parts on your helicopter besides engines and blades, and some of them need attention if you want to fly in cold weather:
- Gyros: When the mercury drops below approximately 50°F, pay close attention to your gyro—especially modern heading-hold types. They come with instructions warning you to let the gyro acclimate to the flying conditions. If you take your helicopter out of your warm house and transport it to the field in a warm vehicle, you should let it sit outside for 10–15 minutes so the gyro can stabilize at the current temperature. Failure to do so can—and will—cause you grief.
- Batteries: Battery packs have no love for cold weather. They will work, but watch them even more closely than in warm temperatures. All batteries I know of lose capacity as the thermometer drops. It's not wise to fly without checking your packs anyway—even in warm weather. It is foolish to make assumptions about remaining capacity when it's cold out.
If you watch the batteries, let the gyro acclimate, and richen the needle on your engine, you can enjoy your favorite sport at freezing temperatures or slightly below. Just remember that you're doing this for fun, so don't get frostbitten and don't try to fly if you can't feel your thumbs!
Raytek® Retake:
I wrote about the Raytek® infrared thermometers in the October 2000 column. I have word that Horizon Hobby has picked up the Raytek® line, so you or your dealer now have at least two places to get these nice engine-tuning tools. (Horizon and HeliProz distribute the Raytek® thermometers to dealers, and both have retail sales divisions.)
Great Planes announced that it distributes a similar device. It's a bit more expensive than Raytek®, but it should be easy to find at your local dealer with Great Planes' vast distribution network. Whichever device you get, you'll have less guessing and more consistency when tuning engines.
Painting canopies:
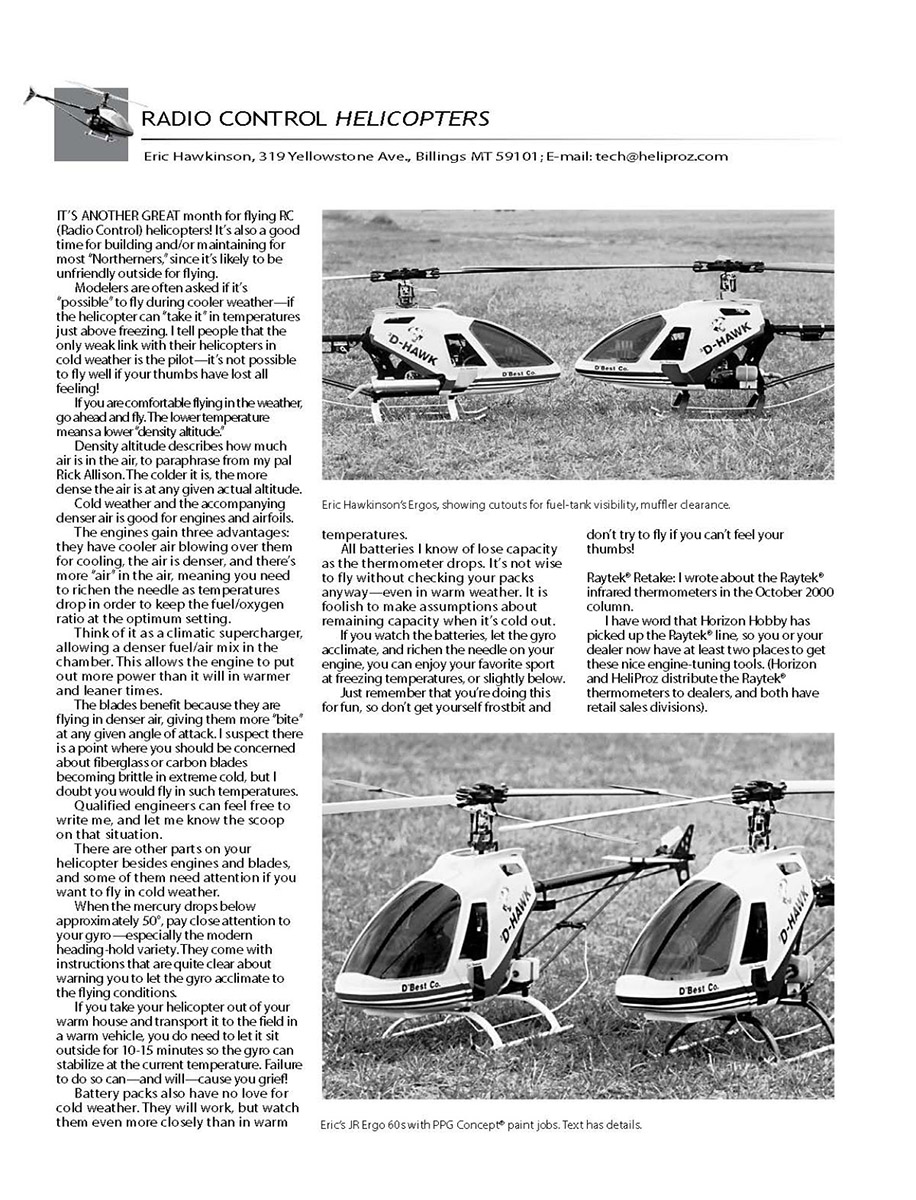
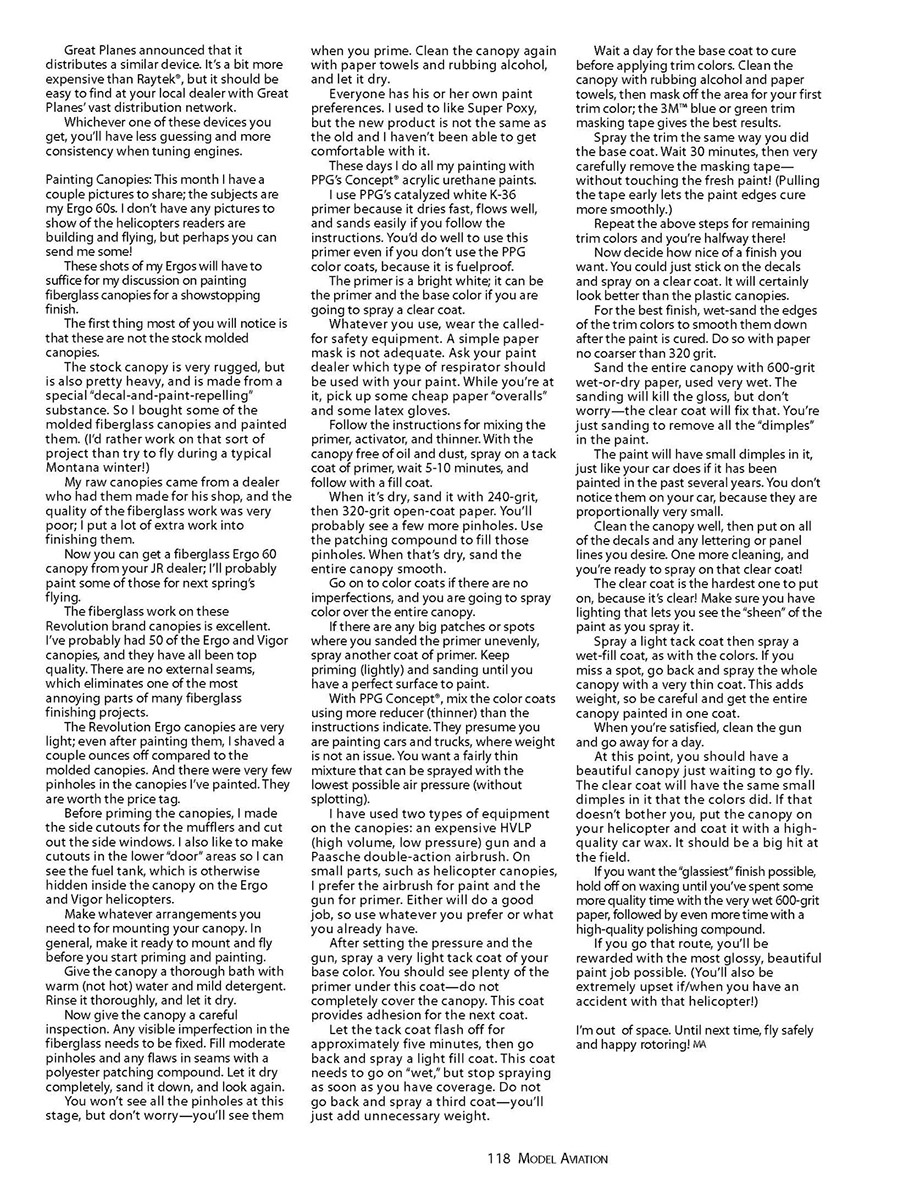
This month I have a couple pictures to share; the subjects are my Ergo 60s. I don't have any pictures to show of helicopters readers are building and flying, but perhaps you can send me some!
These shots of my Ergos will have to suffice for my discussion on painting fiberglass canopies for a show-stopping finish.
The first thing most of you will notice is that these are not the stock molded canopies. The stock canopy is very rugged, but is also pretty heavy and is made from a special "decal-and-paint-repelling" substance. So I bought some molded fiberglass canopies and painted them. (I'd rather work on that sort of project than try to fly during a typical Montana winter!)
My raw canopies came from a dealer who had them made for his shop, and the quality of the fiberglass work was very poor; I put a lot of extra work into finishing these. Now you can get a fiberglass Ergo 60 canopy from your JR dealer; I'll probably paint some of those for next spring's flying.
The fiberglass work on the Revolution brand canopies is excellent. I've probably had 50 of the Ergo and Vigor canopies, and they have all been top quality. There are no external seams, which eliminates one of the most annoying parts of many fiberglass finishing projects. The Revolution Ergo canopies are very light; even after painting them, I shaved a couple ounces off compared to the molded canopies. There were very few pinholes in the canopies I've painted. They are worth the price tag.
Preparation and cutting:
- Before priming the canopies, make the side cutouts for the mufflers and cut out the side windows.
- I also like to make cutouts in the lower "door" areas so I can see the fuel tank, which is otherwise hidden inside the canopy on the Ergo and Vigor helicopters.
- Make whatever arrangements you need to for mounting your canopy. In general, make it ready to mount and fly before you start priming and painting.
Cleaning and inspection:
- Give the canopy a thorough bath with warm (not hot) water and mild detergent. Rinse thoroughly and let it dry.
- Inspect carefully. Any visible imperfection in the fiberglass needs to be fixed. Fill moderate pinholes and any flaws in seams with a polyester patching compound. Let it dry completely, sand it down, and inspect again.
- You won't see all the pinholes at this stage—don't worry; you'll see them when you prime.
- Clean the canopy again with paper towels and rubbing alcohol, and let it dry.
Paint selection and safety:
- Everyone has his or her own paint preferences. I used to like Super Poxy, but the new product is not the same as the old and I haven't been able to get comfortable with it.
- These days I do all my painting with PPG's Concept acrylic urethane paints. I use PPG's catalyzed white K-36 primer because it dries fast, flows well, and sands easily if you follow the instructions. Use this primer even if you don't use the PPG color coats, because it is fuel-proof.
- The primer is a bright white; it can be the primer and the base color if you are going to spray a clear coat.
- Whatever you use, wear the called-for safety equipment. A simple paper mask is not adequate. Ask your paint dealer which type of respirator should be used with your paint. While you're at it, pick up some cheap paper "overalls" and some latex gloves.
Priming and sanding:
- Follow the instructions for mixing the primer, activator, and thinner.
- With the canopy free of oil and dust, spray on a tack coat of primer, wait 5–10 minutes, and follow with a full coat.
- When it's dry, sand with 240-grit, then 320-grit open-coat paper. You'll probably see a few more pinholes—use patching compound to fill them. When that's dry, sand the entire canopy smooth.
- If there are any big patches or spots where you sanded the primer unevenly, spray another coat of primer. Keep priming (lightly) and sanding until you have a perfect surface to paint.
Color coats and equipment:
- With PPG Concept, mix the color coats using more reducer (thinner) than the instructions indicate. They presume you are painting cars and trucks, where weight is not an issue. You want a fairly thin mixture that can be sprayed with the lowest possible air pressure (without spotting).
- Equipment I've used: an expensive HVLP (high volume, low pressure) gun and a Paasche double-action airbrush. On small parts such as helicopter canopies, I prefer the airbrush for paint and the gun for primer. Either will do a good job.
- After setting the pressure and the gun, spray a very light tack coat of your base color. You should still see plenty of primer under this coat—do not completely cover the canopy. This coat provides adhesion for the next coat.
- Let the tack coat flash off for approximately five minutes, then spray a light full coat. This coat needs to go on "wet," but stop spraying as soon as you have coverage. Do not go back and spray a third coat—you'll just add unnecessary weight.
- Wait a day for the base coat to cure before applying trim colors. Clean the canopy with rubbing alcohol and paper towels, then mask off the area for your first trim color; the 3M® blue or green trim masking tape gives the best results.
- Spray the trim the same way you did the base coat. Wait 30 minutes, then very carefully remove the masking tape—without touching the fresh paint! Pulling the tape early lets the paint edges cure more smoothly.
- Repeat the above steps for remaining trim colors.
Finishing:
- Decide how nice a finish you want. You could just stick on the decals and spray on a clear coat. It will certainly look better than the plastic canopies.
- For the best finish, wet-sand the edges of the trim colors to smooth them down after the paint is cured. Do so with paper no coarser than 320 grit.
- Sand the entire canopy with 600-grit wet-or-dry paper, used very wet. The sanding will kill the gloss, but don't worry—the clear coat will fix that. You're just sanding to remove all the "dimples" in the paint.
- Clean the canopy well, then put on all of the decals and any lettering or panel lines you desire. Once more cleaning, you're ready to spray the clear coat.
Clear coat:
- The clear coat is the hardest one to put on, because it's clear. Make sure you have lighting that lets you see the "sheen" of the paint as you spray it.
- Spray a light tack coat then a wet-full coat, as with the colors. If you miss a spot, go back and spray the whole canopy with a very thin coat. This adds weight, so be careful and get the entire canopy painted in one coat.
- When you're satisfied, clean the gun and go away for a day.
Final polishing and waxing:
- At this point, you should have a beautiful canopy just waiting to go fly. The clear coat will have the same small dimples in it that the colors did. If that doesn't bother you, put the canopy on your helicopter and coat it with a high-quality car wax. It should be a big hit at the field.
- If you want the "glassiest" finish possible, hold off on waxing until you've spent more time with very wet 600-grit paper, followed by even more time with a high-quality polishing compound. You'll be rewarded with the most glossy, beautiful paint job possible (and you'll be extra upset if/when you have an accident with that helicopter).
I'm out of space. Until next time, fly safely and happy rotoring!
Eric Hawkinson
Transcribed from original scans by AI. Minor OCR errors may remain.

