


RADIO CONTROL HELICOPTERS
Dan Williams 27 Treeline Dr., Liverpool NY 13090 E-mail: [email protected]
Greetings
Greetings from the great, white North! Although this issue will come out when spring has sprung and the smell of nitro is in the air, I’m writing this during one of the more spectacular winter lake-effect snowstorms I’ve seen in Syracuse. We can get a pile of snow in a hurry or nothing at all, depending on wind direction. After a snowy start to December, we had quite the warm-up near the holidays. A lot of helicopter flying was done. It’s nice to thaw the thumbs and get a little airtime.
It’s been a while since I’ve written about the basics. Writing material gets a little lean in the wintertime. This is for the newbies.
I’m assuming you’ve been practicing hovering and getting in some forward flight to make things interesting. Yeah, I know — how long can you go just flying your helicopter around like an airplane? Airplane pilots get to do some rudimentary aerobatics fairly early. This month I’ll go over the roll. It’s time to get the nerves fired up and do some!
Getting ready for aerobatics
Before charging out to the field, some setup issues need to be resolved. You need to set up what is called Idle Up or Stunt mode. I’m going to call it Idle Up. You get to use that little switch you were told not to touch while you were learning to hover.
The term “Idle Up” is slightly misleading; it doesn’t bring the idle up. It basically makes it disappear altogether. Right now, with the Idle Up switch in the Normal position, low left stick brings the engine throttle to idle. You need Normal to start it. Once airborne, this idle at low stick is no longer necessary until you land.
We’re going to take advantage of the programming in the transmitter to set up new curves for the engine and for blade pitch. I’m not going to go into intimate detail about how to do the programming on each individual transmitter — that would take a really long column.
Idle Up (Stunt) — pitch and throttle curves
First, let’s discuss how we want the pitch curve. To accomplish a loop or a roll, negative pitch is needed during the inverted part of the maneuver. I usually set up models for Idle Up 1 to have approximately:
- Low stick — throttle 50%, pitch −5°
- One-quarter stick (from low) — throttle 30–40%, pitch 0°
- Half stick — throttle 50%, pitch +5°
- Three-quarters stick — throttle 60–70%, pitch +7°
- Full stick — throttle 90–100%, pitch +9° or +10°
From half stick and above, the settings will remain the same as the Normal settings. We want to preserve the “hover at half stick” point so that hovering remains comfortable in that range for the newer pilot.
We will need power from the engine while inverted, so the throttle will have to come back up as the stick is brought down to the low position — hence the label “Idle Up.” During Idle Up, the throttle at low stick is roughly the same percentage as it is for hover at half stick. The helicopter will almost hover inverted at low stick now, so the same engine power is necessary. At half stick and above, the engine throttle settings remain the same as the Normal throttle curve.
Programming notes
When programming, you might have to turn on your radio’s Idle Up or Stunt function, and you might have to turn on the program points for one-quarter and three-quarters stick for a five-point throttle and pitch curve. If you’re trying to set up one of the lower-end, entry-level radios that only have low, hover, and high program points, you may not get good results. You’ll have to try and see.
You won’t have the adjustability that can be obtained with five-point curves; as a result, there may be an engine overspeed problem when the stick is at the one-quarter position. With the reasonable cost of radios such as the JR 8103 and the Futaba 8U, it might be best to consider one of these now that aerobatics and 3-D are in the near future.
Gyro setup
The gyro setup will have to be adjusted from what is used in the Normal switch position. If Revolution Mixing is used for your particular gyro, the mixing will want to be close to 0 at one-quarter stick, and the setting at low stick will be the same as the setting already being used at half stick. That is because the head is producing torque at low stick, even with negative pitch in the blades.
This may seem strange at first, but even with negative pitch the direction of torque is the same, so the tail-rotor torque compensation should be the same. If you have a heading-hold gyro, follow the procedures in your gyro instructions.
Cyclic throw adjustments
At this point it would be really nice to have someone who is more experienced take the machine out for a test fly. Most helicopters used for learning have a docile setup mode in the cyclic to make it soft and unresponsive because a new pilot tends to overcontrol.
The cyclic ATV (aileron and elevator) throw is probably going to have to be increased from that used for basic hovering. The instructions for the helicopter should show the percentages and setup used for aerobatics. Follow them first.
The cyclic throws may have been scaled back to 70% or 80% for hovering. Bring them up to 100%. If your particular radio has separate cyclic ATV throws for Normal and Idle Up, leave the throws where they are for Normal and adjust the Idle Up throws to 100%. If there are mechanical changes necessary for aerobatics, follow your instruction manual for those.
Doing a roll with reduced throws ends up being a very slow roll, which is rather unnerving for a new aerobatic pilot. Doing a loop with that setup will probably mean that the helicopter gets stuck inverted with no forward speed. I don’t think you’ll be ready for inverted hovering quite yet. Get some help here if you can. Also, do some simulator practice first to get used to what to do — especially how to bail out when things go bad.
Pre-flight checks and first flights
After checking things extremely carefully, get the helicopter up in the air and make sure everything feels okay. Fly around a bit and get used to flipping the Idle Up switch on and off while flying. The machine may feel a bit different even in Normal mode, depending on what changes were made. Get used to it.
Practice a bit, flying the helicopter in fast forward flight. Try to keep it straight and fast for a fairly long distance across the field. Also, altitude is going to be your friend, so get the model up in the air to allow for a recovery if things go screwy.
The basic roll — how to do it
The ideal roll will have the helicopter rolling on the roll axis without pitching up or down, or losing any altitude or forward speed. It will look as if it rolled on a wire. Your first rolls probably won’t look that way; they may look more like barrel rolls.
Once you’re comfortable flying around in fast forward flight at a good altitude, make a turn into the wind and bring the helicopter across the field for a roll. The idea is for the helicopter to be halfway through the roll, inverted, as it passes in front of you.
Follow these steps:
- Set up in fast forward flight across the field, at altitude.
- Make a turn into the wind so you’ll pass in front of yourself.
- When the helicopter is coming at you, push the right stick all the way to the right (full aileron) without any up or down stick.
- As the helicopter approaches rolling on its side, reduce pitch on the left stick. Ideally, you should be at 0° pitch (one-quarter left stick) when the helicopter is on its side.
- As the helicopter goes inverted, continue reducing pitch until the model is fully inverted and has a good amount of negative pitch to keep it from falling.
- Maintain full right aileron throughout the roll.
- As the helicopter comes back on its side, increase pitch to 0° again.
- As it returns to upright forward flight, increase pitch to your forward-flight pitch (somewhat less than hover pitch).
Smoothness is the key. Apply pitch changes smoothly as the helicopter rolls. Don’t panic!
If the helicopter starts to lose altitude while inverted, increase negative pitch. If it starts climbing inverted, reduce negative pitch. If the helicopter tries to slow down or the nose pitches away from the ground, use a bit of back cyclic (up-elevator) to keep it from slowing and stopping.
If the helicopter rolls too slowly (takes more than roughly two seconds), increase the roll rate. If the throws are at maximum without mechanical binding, consider a different set of flybar paddles or a shorter flybar. If there are flybar weights, move them in — and don’t forget to keep things balanced.
Walt’s Hobby, the Lama, and heli-cam
Just before the holidays, Walt’s Hobby — the local Syracuse hobby shop — had a special all-day sale. Walt invited some manufacturers, distributors, and representatives in to show off their stuff, along with local clubs that use the shop for meetings.
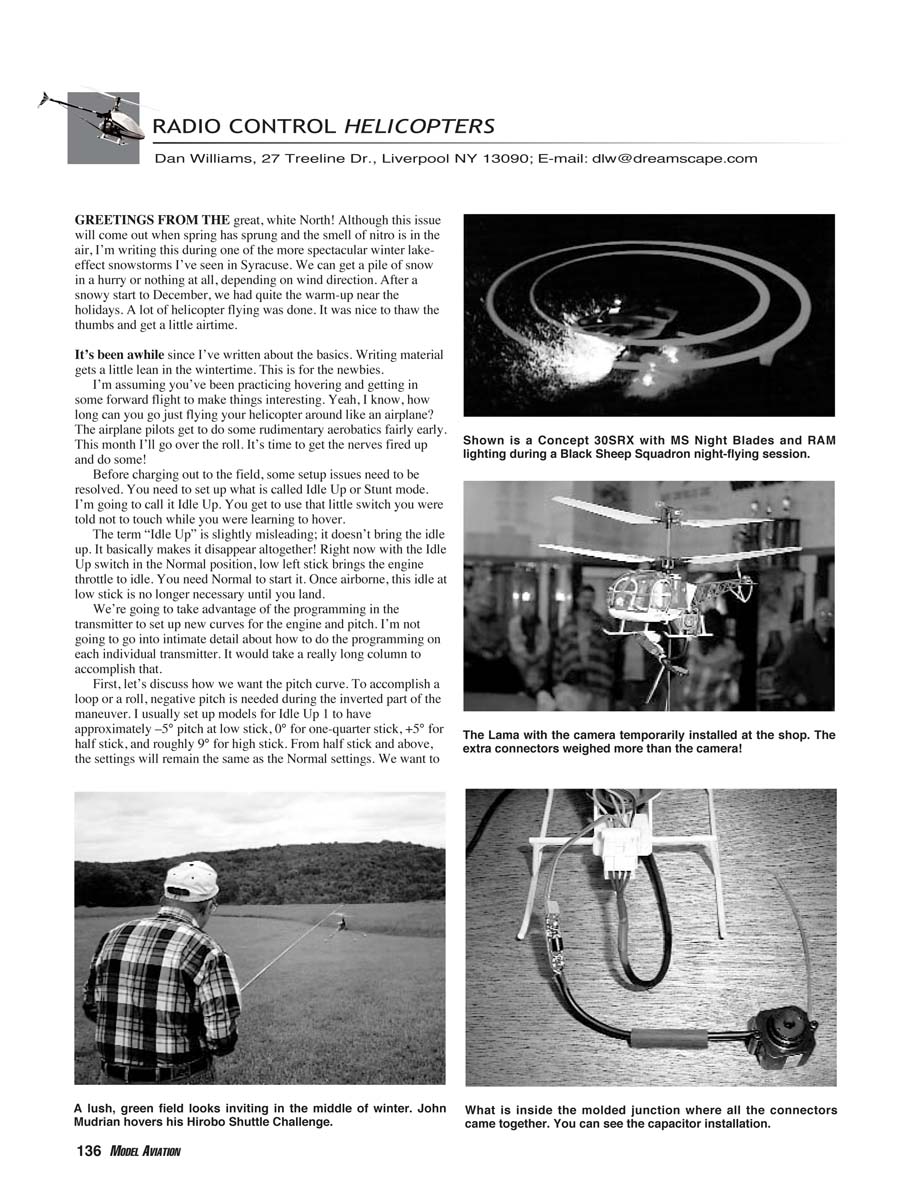
Jeff Green of Model Rectifier Corporation/Altech Marketing (www.modelrectifier.com) came up to Syracuse to show some products. He brought a Hirobo XRB Lama to demonstrate some indoor flying. He worked diligently, showing kids and adults how to hover. Jeff is a master of this little model, and he does a great job of showing the inexperienced the ropes of hovering.
Then we started to play. Give adults something to play with, and things can get out of hand. We had fun flying the Lama, but we got bored and had to make things interesting. We mounted a new wireless camera (sold at the shop) to the skid. The camera/transmitter runs on a 9-volt battery. All that weight was too much for the Lama, and we couldn’t get it out of ground effect. We had to get rid of the battery.
The wireless-camera kit comes with a wall-wart 9-volt power supply that can be used. I cut the connector off and wired the miniature twin-lead and ran that up the tether wire to the Lama. We were cooking. We fastened the camera to the skid with some zip ties, and we were in business. The Lama had no problem hovering. Some of the guys were racing electric RC cars on the indoor track, and we were playing heli-cam.
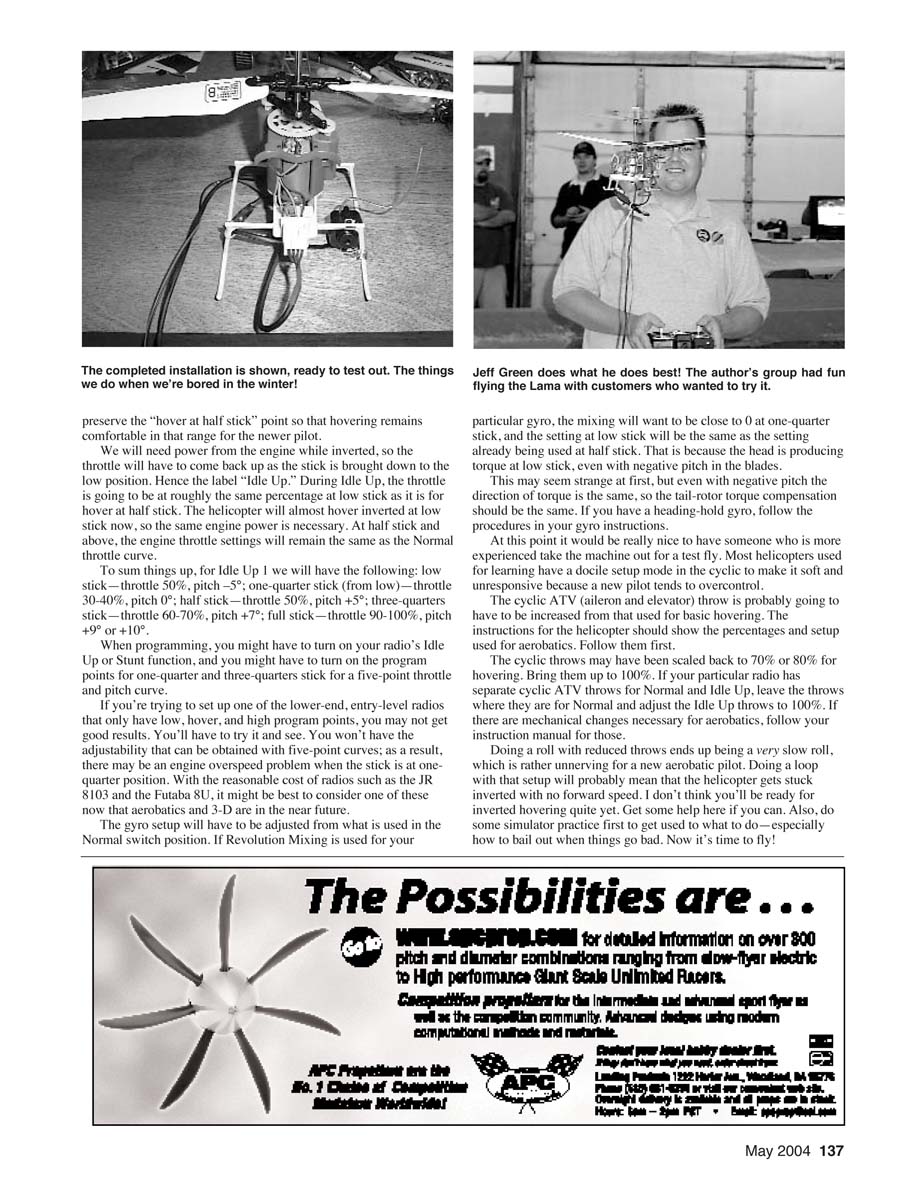
I took a few shots of the permanent installation on the Lama. I removed the connector junction by carefully splitting the molded shell. Inside was a small PC board with a 5-volt regulator. I unsoldered video, audio, and power connectors from the camera/transmitter and brought two small wires out. I put heat-shrink tubing over the whole thing.
The Lama has the tether connector inside that brings 9 volts in from the power supply. The gray and black wires bring 9 volts in; blue is positive and black is negative. With this setup, I no longer needed a separate 9-volt source for the camera. I added a 0.1-microfarad capacitor across the connections to help keep motor noise from the Lama from getting into the camera.
The camera has an antenna to transmit video to a remote receiver connected to a monitor. The setup can go quite a distance, through some walls, to get the signal to the receiver. You can spy over the cubicle into the next office or out into the hallway. I don’t think it’s going to be very stealthy, though.
Look for the camera on the Internet at www.man-ming.f2s.com/products/ccd.php for more information. It is the JMK-WS007A-P — a pinhole spy camera.
Conclusion
That’s it for this month. Keep the thumbs and brain nimble — fly your simulator!
MA
Transcribed from original scans by AI. Minor OCR errors may remain.

