
RADIO CONTROL HELICOPTERS
Author
Dan Williams 27 Treeline Dr., Liverpool NY 13090 E-mail: [email protected]
Winter has been brutal here in central New York so far. It's the end of January as I write, and it's not even half over. I like to play in the snow (I'm a snowmobile addict), but this is getting a little ridiculous. It will be June, after this issue is published, before it completely melts. It makes for long nights sitting in front of the simulator.
Doing your first loop
Last month I wrote about doing a basic aerobatic setup for your helicopter and the transmitter program and went through the basic mechanics of a roll. This month I'll take you through doing your first loop. Don't worry; this won't take long. If you need a refresher on the setup I detailed last time, dig up the May 2004 issue and reread it.
Be comfortable flying in Idle Up mode, where low stick is no longer low throttle. When you try to come out of forward flight in Idle Up, you may get an engine overspeed condition. As the helicopter's momentum tends to speed up the blades with negative pitch at less than one-quarter stick, it can carry the engine speed up along with it. It's just something to be aware of.
You probably want to switch back to Normal mode for returning to a hover. Also be comfortable flying at fairly high speed and altitude and able to maintain a straight track as you make a pass in front of you.
A loop requires much the same left-stick movements as a roll does. As the helicopter gets vertical pointing up, the left stick will be at approximately one-quarter (0 pitch). As the helicopter goes inverted, the left stick goes toward low stick, giving some negative pitch to assist the helicopter while inverted at the top of the loop. Once the helicopter comes down the backside of the loop, vertical pointing to the ground, the left stick will again be at roughly one-quarter (approximately 0 pitch). Rounding out the loop at the bottom will require the left stick to be roughly the same position as during forward flight: slightly less than half stick, or below hover point.
The right-stick movement can make or break the look of the loop. If you pull back too fast and too much, you'll risk doing a really small loop or a back flip. Apply smooth back elevator to get the helicopter to loop without making it so big that the model stops forward motion. If you make the loop so big that you stop the helicopter while vertical going up, use the rudder and do a stall turn — a good bail-out move when starting new. If the helicopter stops while inverted, continue applying back elevator to get it moving again. It can be unnerving; it has happened to me plenty of times. Once you're in that position, there's really nothing else to do except continue through and finish the loop.
If you're not using a heading-hold gyro or are not flying in heading-hold mode and the tail seems to want to do strange things while inverted, check the tail-rotor compensation. Make sure the tail-rotor compensation causes the tail pitch to increase again as the left stick approaches low stick (negative pitch). I used to get my helicopter inverted at the top of the loop and have it do a partial pirouette while up there — I even crashed once while learning loops.
Learning to manage the right stick while performing the loop will improve the look of the maneuver. After the helicopter starts to come out of the inverted portion, use the right stick to round out the last half of the loop. You'll find that as the helicopter slows in portions of the loop, you need less elevator to keep the maneuver looking good but still enough to keep the model moving. That's one of the bigger differences between flying an airplane and a helicopter: management of attitude control and airspeed.
If your model is moving forward fast enough when beginning the loop and has enough altitude, you could basically just yank back on the right stick without doing anything with the left stick. It won't be pretty, and the model will do a big "figure 9," but you can at least ease your mind about panicking and remembering what to do as long as the setup is correct. Your helicopter will come out of the loop significantly lower in altitude than when it entered, so altitude is your friend.
Please be careful with yanking the stick back, though. Use all the left-stick movements as well. I've seen loops go awry and end up in the ground (a true figure 9) if the setup on the helicopter is incorrect.
Go ahead and try some aerobatics. If you're uncomfortable with the stick mechanics, use your simulator. Get the stick movements committed to muscle memory so the reactions become instinctive. When panic sets in during your first real loops, your instincts will take over and you'll only have to worry about nerves. If you're not sure your machine is set up correctly and capable of these basic aerobatics, seek help — it's cheaper that way.
Gyros: a short history and impressions
A bunch of us have been flying CSM gyros since their beginning. Seeing Bob Johnston and the boys doing their thing with the CSM 360 was amazing — everyone wanted one. I still have a 360 kicking around. Some people had drifting issues, but others were fine. You learned to deal with it because of the awesome holding power in heading-hold mode. One felt "connected" with the gyro.
Then the CSM 540 came along. The setup programming was cool — you could play with parameters through the PC interface and the drift problem was eliminated. Opinions vary on whether it flew better or worse than the 360. I liked the 540 in my machines, but I don't fly competition so there might have been some issues for those who did.
We've flown JR and Futaba gyros as well. The Futaba GY-401 became a favorite of mine because of its nice feel, simplicity of setup, and lower cost compared to the GY-601. The GY-401 also had that "connected" feeling and was the only gyro to settle my gasser from the vibrations involved with a gasoline engine.
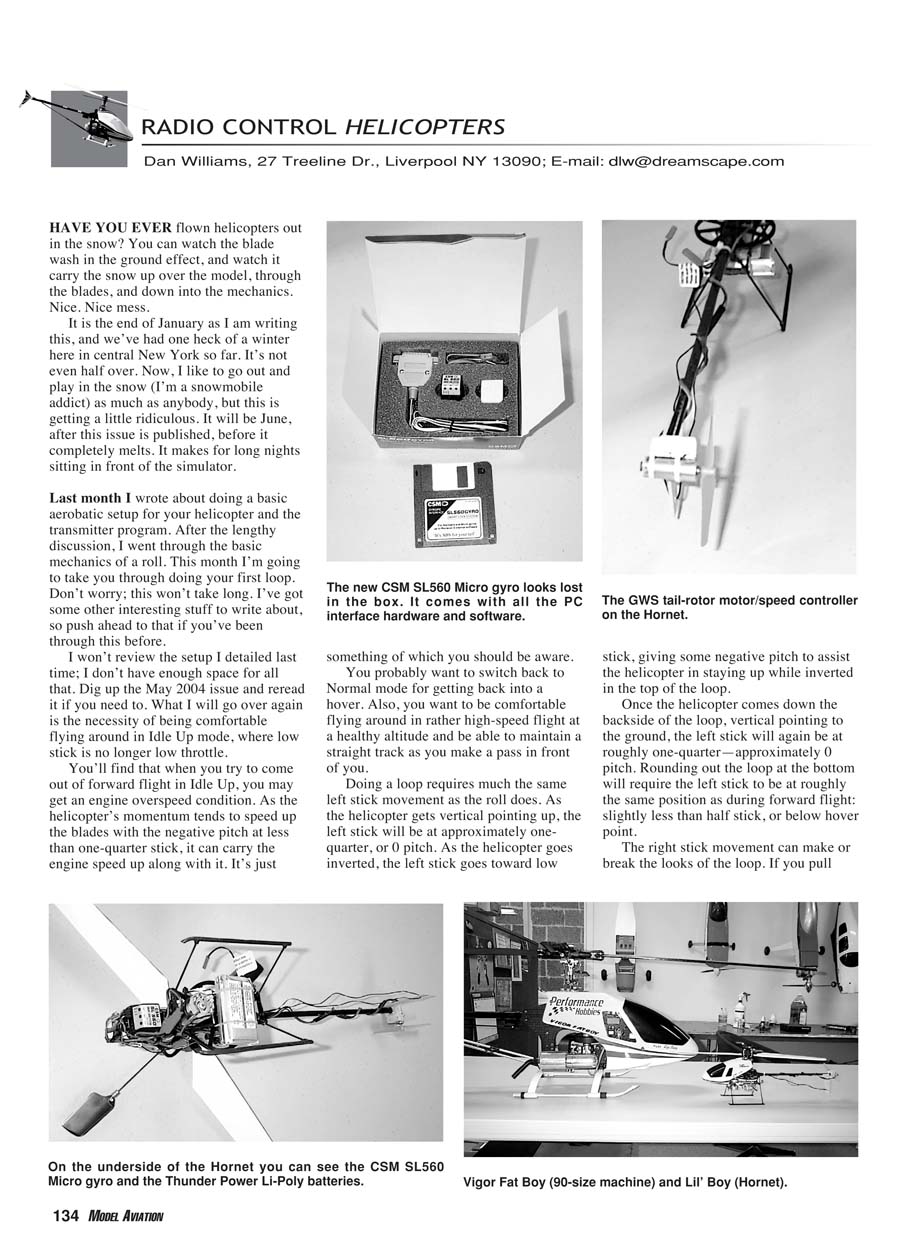
CSM SL560 Micro
Len Sabato recently let us try the new CSM SL560 Micro gyro. Too small to fit all the features of the CSM 560, you say? Nope. It's approximately a 1-inch cube and weighs 11 grams. It was placed in a Raptor which flew with a standard 560. A JR 8700G super servo was used for tail control and remained for the SL560 Micro trial.
Because of its small size, the gyro fit up inside the canopy instead of at the back of the helicopter in the standard gyro location. That's nice because it keeps the garbage away from the gyro. The CSM SL560 Micro has the same easy automatic setup routine as its big brother, takes about five minutes to run through, and is ready to fly.
The first flight was great — no trim changes were necessary, and the SL560 had a nice, solid feel. It had rock-solid holding power through tail slides, flips, loops, and rolls. It flew every bit as well as the Futaba GY-601 in larger machines and never had a tendency to drift or break loose. Later flights in temperature extremes and swings (a wintertime hazard in upstate New York) caused no drifting tendencies. It looks as though the "father of heading-hold" has done it again.
Len Sabato's site features an excellent piece about setup requirements for the helicopter as well as the gyro. The CSM SL560 and SL560 Micro come with a PC interface, but it wasn't necessary to use in either case — Colin Mill did his homework, and the default settings with the auto-setup routine work fine for most, except those who like to tinker.
Hornet tail modification and SL560 Micro install
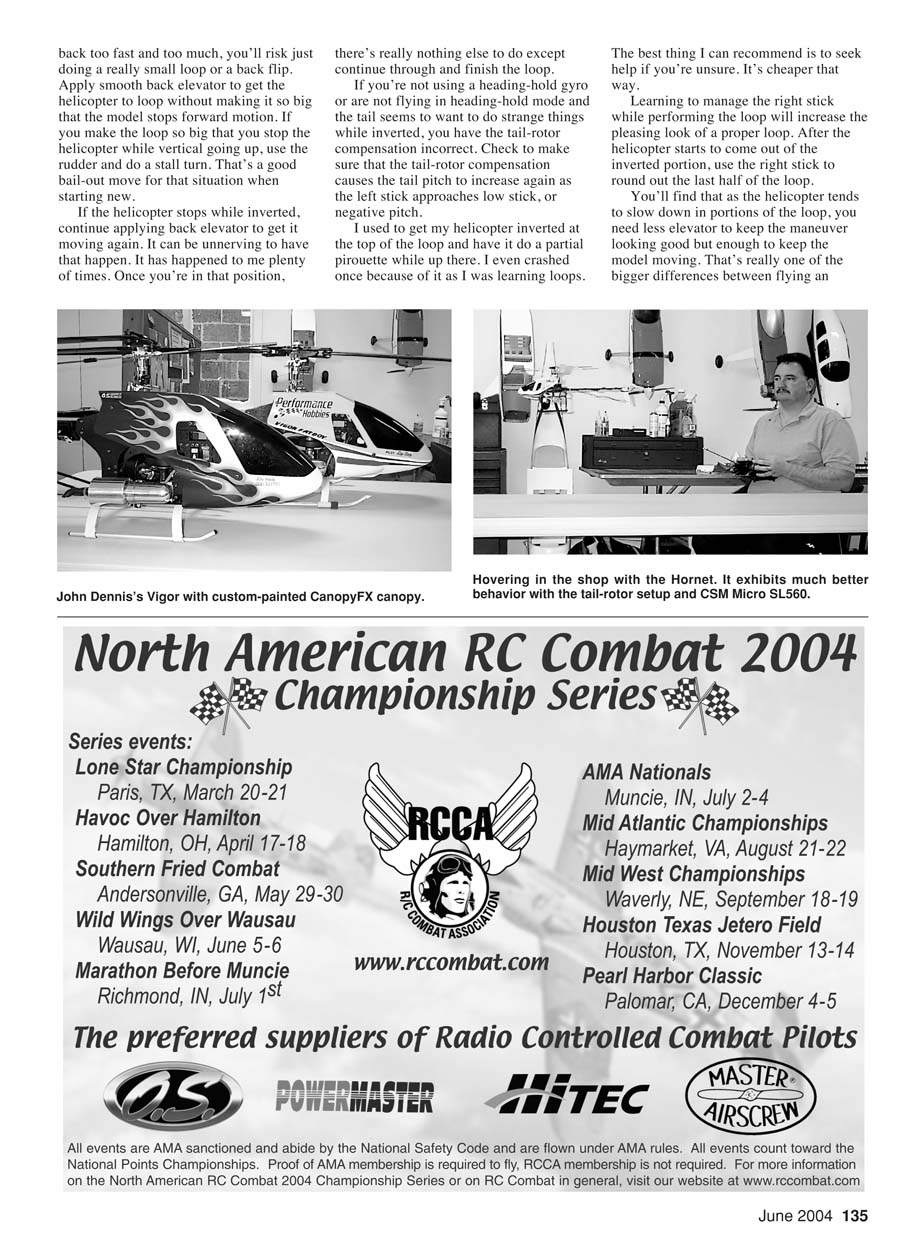
The next experiment was installing the CSM SL560 in a Hornet that had been causing fits — especially the tail. The original mechanical tail was a huge power drain and just wasn't effective. The best solution was to dump the mechanical tail completely and use a GWS motor and GWS speed controller to run the tail, letting the SL560 Micro drive the speed controller (an idea from Ron Osinski).
Modification steps:
- Remove the red power wire from the speed controller receiver connector and plug it directly into the main power source.
- Leave the remaining two wires (signal and ground) in the connector.
- Plug the connector into the servo port of the gyro.
On power-up, let the gyro stabilize for a moment. If you bump the rudder stick, the tail rotor starts up. Left rudder had to be held initially until head speed came up, but mixing some throttle to rudder eliminates that problem so both motors come up simultaneously.
The Hornet turned into a smooth, predictable helicopter with plenty of power. The original mechanical setup was dragging it down. It's kind of strange to hear the GWS motor buzzing from the gyro input. The changes worked well and the SL560 Micro performed flawlessly. With 11 grams of weight, it's perfect for this application.
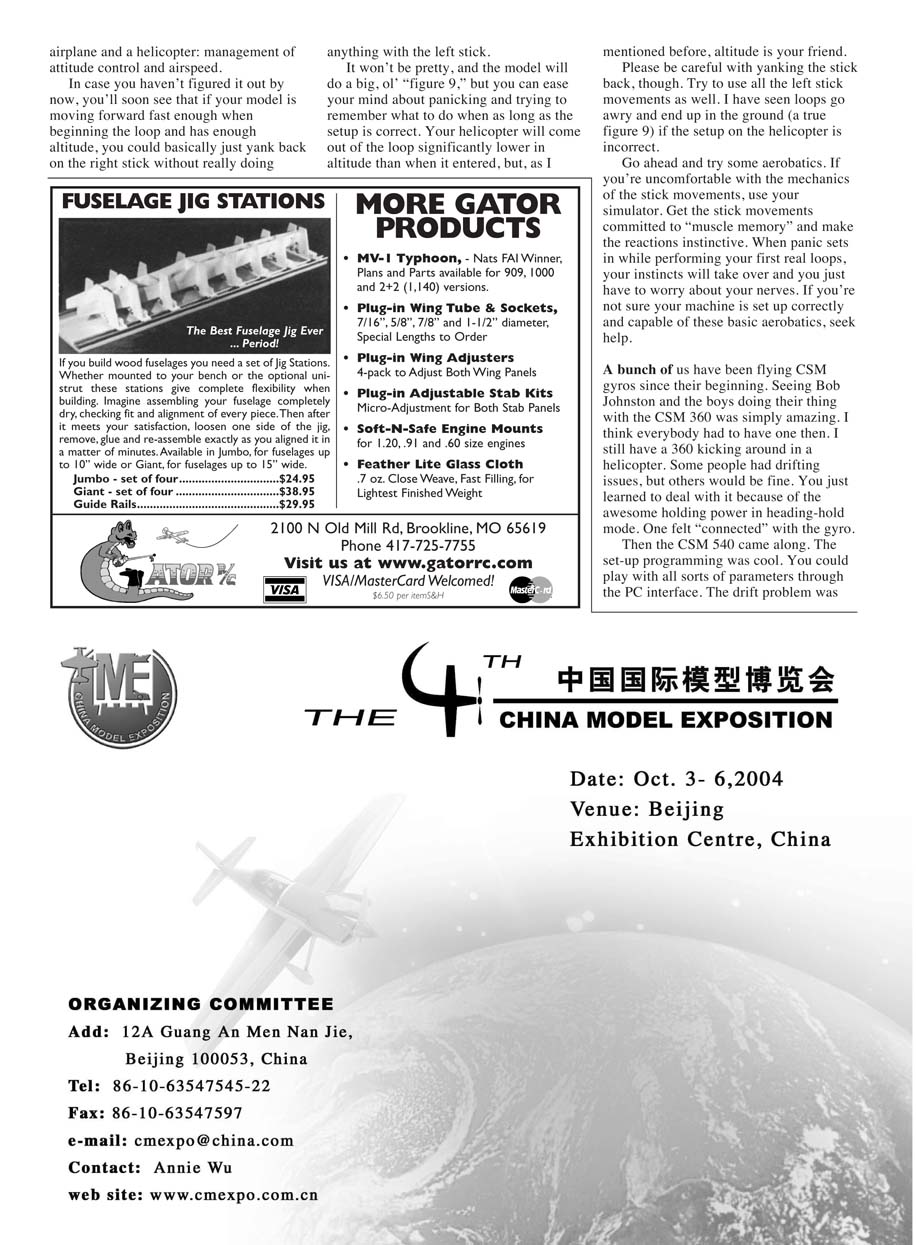
After the Hornet got a new lease on life, some upgrades were installed: a hollow main shaft, carbon-fiber radio tray, and Vigor-style canopy from DeeTee Enterprises.
Ray Stacy has offered his e-mail for anyone who wants to know more about the Hornet and setup: [email protected]. He's running Li-Poly batteries and all the latest cool stuff for small electric helicopters and provided pictures of the Hornet and the installation.
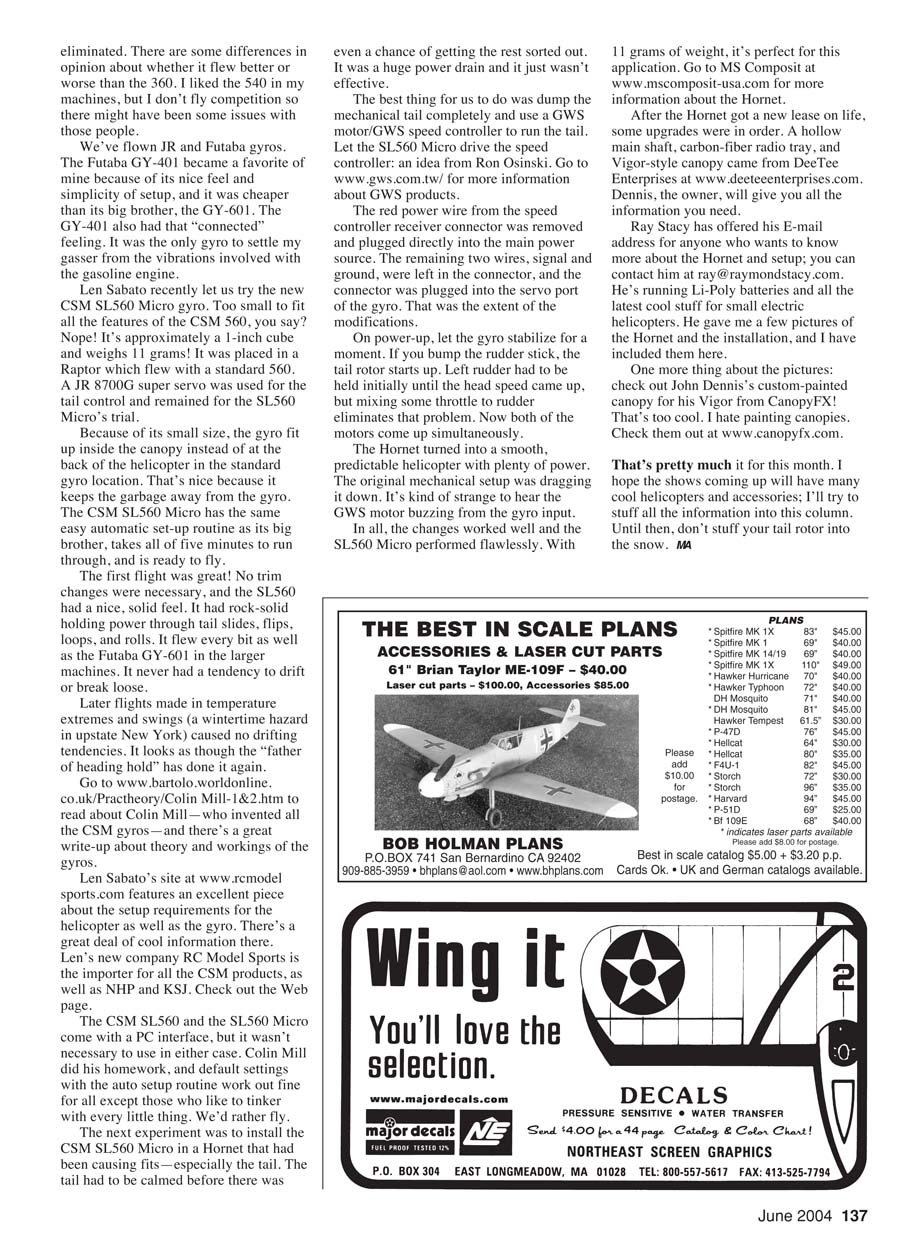
One more note about pictures: check out John Dennis's custom-painted canopy for his Vigor from CanopyFX — that's too cool. I hate painting canopies.
Resources
- Colin Mill article (history and theory of CSM gyros): www.bartolo.worldonline.co.uk/Prachtheory/Colin-Mill-1&2.htm
- Len Sabato / RC Model Sports: www.rcmodelssports.com
- GWS products: www.gws.com.tw/
- MS Composit (Hornet info): www.mscomposit-usa.com
- DeeTee Enterprises: www.deeteeenterprises.com
- CanopyFX: www.canopyfx.com
That's pretty much it for this month. I hope the shows coming up will have many cool helicopters and accessories; I'll try to stuff all the information into this column. Until then, don't stuff your tail rotor into the snow.
MA
Transcribed from original scans by AI. Minor OCR errors may remain.

