
Radio Control Helicopters
Mark Fadely [[email protected]]
Take helicopter photos like a pro
Hi everyone. It is the middle of winter and many of us are relegated to indoor flying. It is nice to know that the biggest indoor event of all is just around the corner: E-Fest in Champaign, Illinois, February 11–12, 2012.
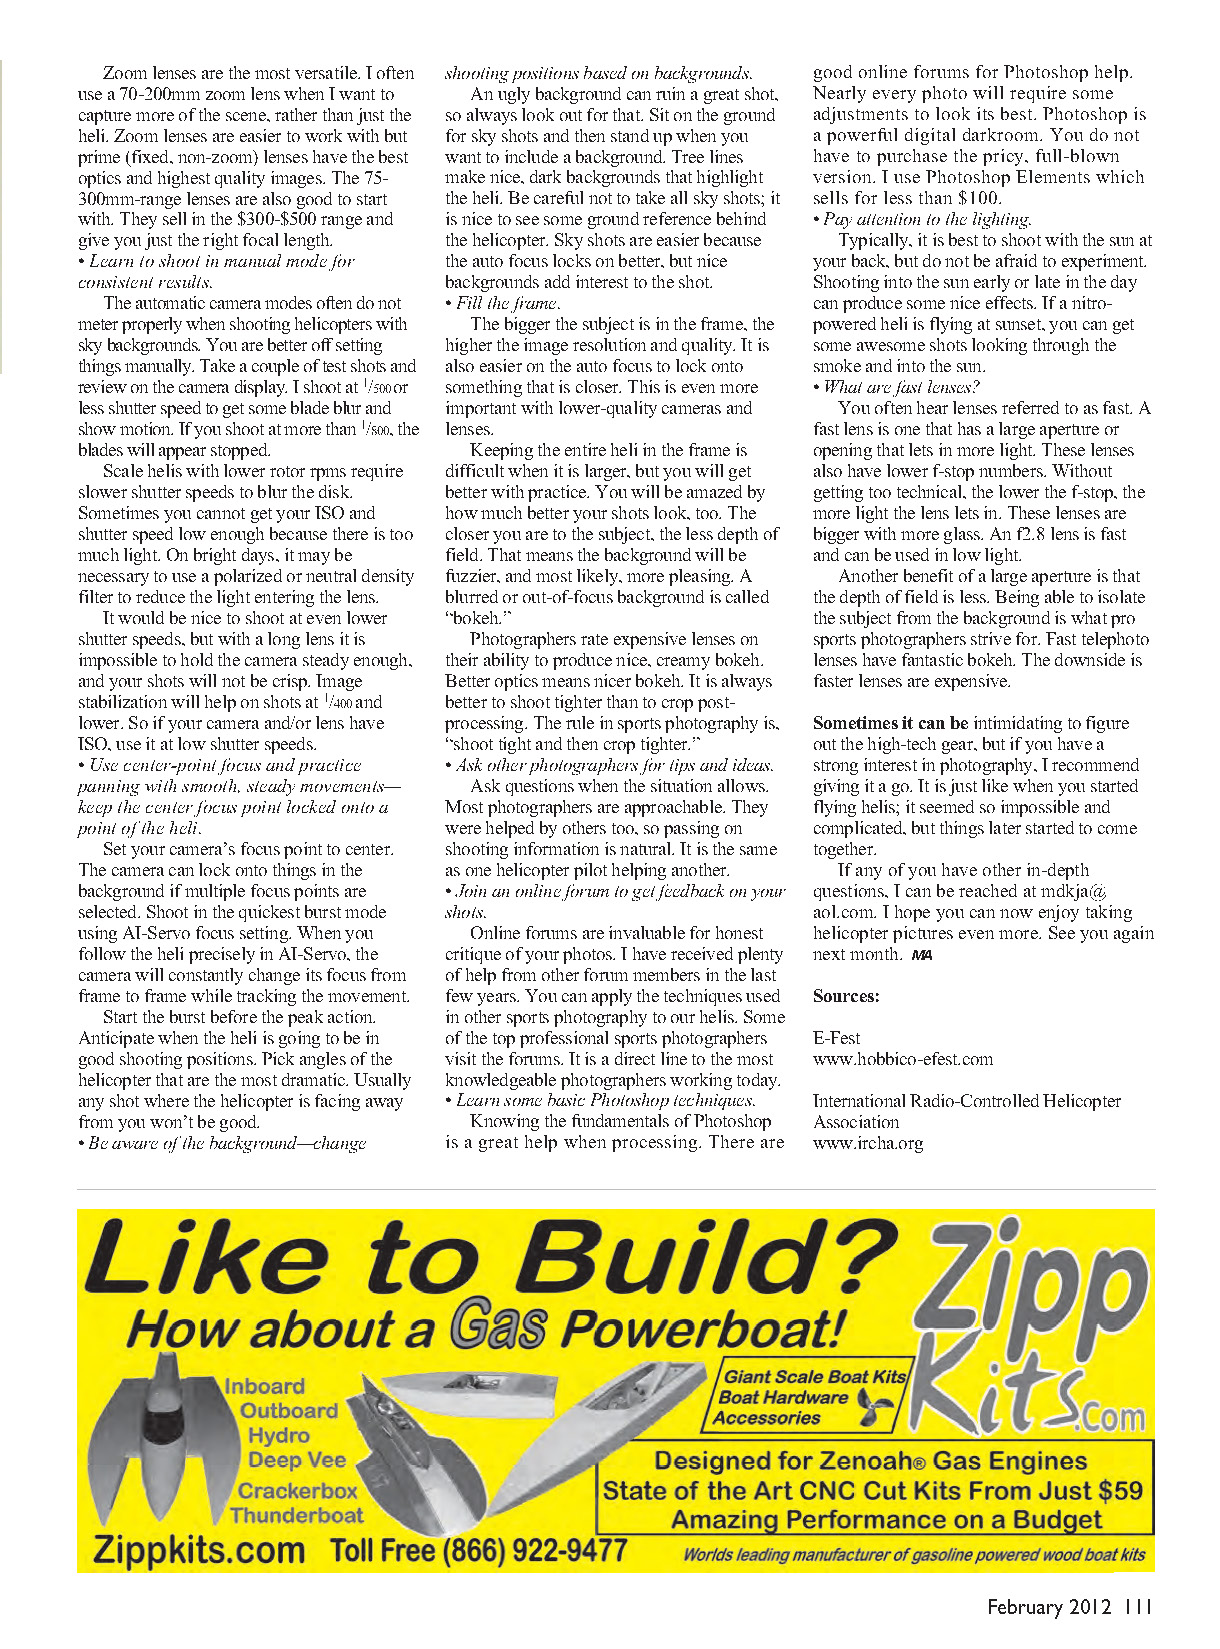
If you decide to come, make sure to look me up and say hello. This event is a great place to get all the latest information about electric-powered helicopters. The top professional pilots are always there showing off the newest equipment. Helicopters are limited to 450 size with a maximum of three-cell batteries. The flying takes place in the University of Illinois Track and Field Armory. The indoor arena is huge with 100-foot-high ceilings, making it a fantastic, warm, windless haven for pilots suffering from cabin fever. I hope to see you there.
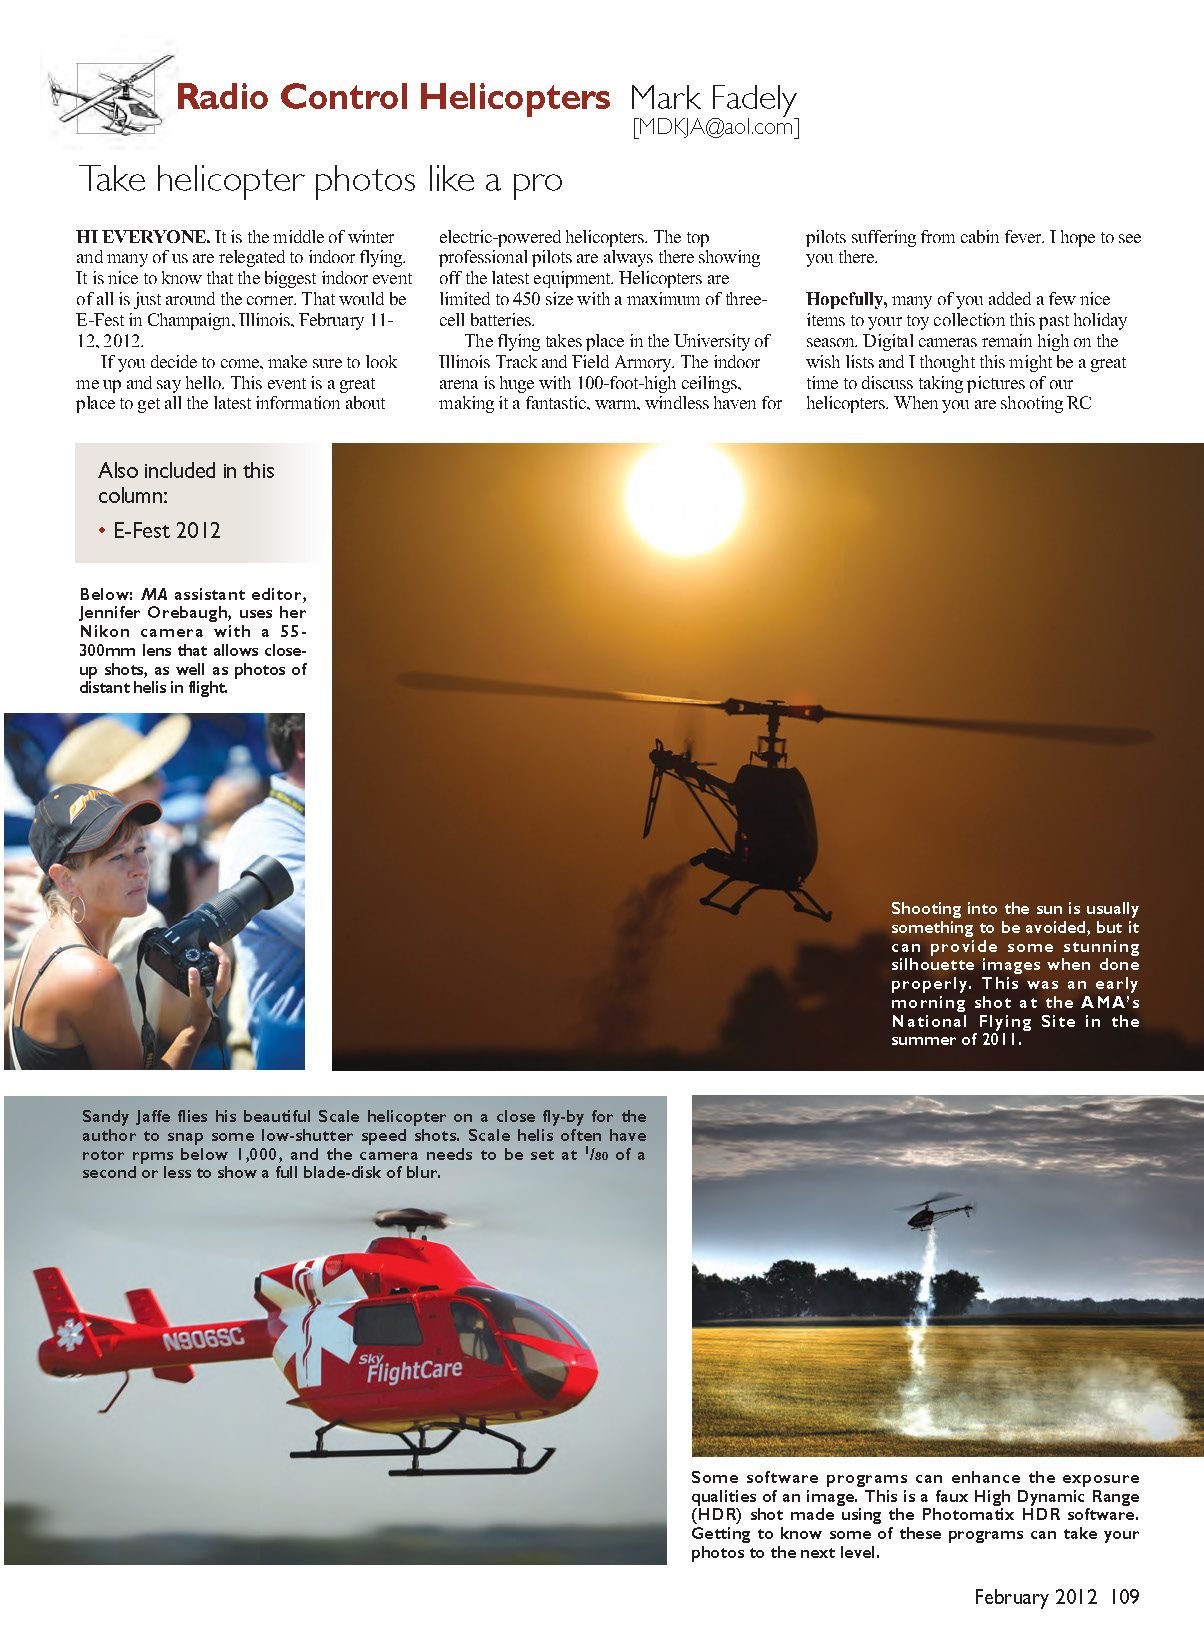
Hopefully many of you added a few nice items to your toy collection this past holiday season. Digital cameras remain high on wish lists and this is a good time to discuss taking pictures of our helicopters. RC helicopters are not easy subjects: their erratic flight paths make them challenging to capture. When I shoot at events, people often ask about equipment and techniques for good action shots. Good photographers helped me through the years, and I hope you find something here that will help you. Having good equipment makes producing great images easier, but you can still get decent results with inexpensive cameras. A mark of a good photographer is one who can exploit the strengths of his or her equipment while minimizing weaknesses.
A digital SLR (single-lens reflex) is strongly recommended for action photography. The main reason is shutter lag: the time between when the shutter is pressed and when the camera actually takes the picture. On most point-and-shoot pocket cameras this lag is long enough that the shot is missed or out of focus because of the helicopter’s movement. Digital SLRs have virtually no lag, so as soon as you press the shutter the picture is taken. SLRs also offer many adjustments and interchangeable lenses. A new entry-level SLR with a lens will cost roughly $1,000, and you can find great deals on used equipment. Your shots will improve dramatically when you learn the functions of your camera. If you only own a pocket camera, you can still use many of the same techniques as SLR users.
Here are some key points to becoming a heli photographer:
- Use a Digital SLR with a long lens for best results.
You will need a lens that is at least 200 mm; 300 mm is even better. Ninety percent of my action shots are with a 300 mm prime lens. The larger the focal length, the higher the magnification, which makes the helicopter appear closer. Zoom lenses are the most versatile — I often use a 70–200 mm zoom when I want to capture more of the scene rather than just the heli. Prime (fixed) lenses typically have better optics and higher image quality. The 75–300 mm range lenses are also good to start with; they sell in the $300–$500 range and give you the right focal length for many situations.
- Learn to shoot in manual mode for consistent results.
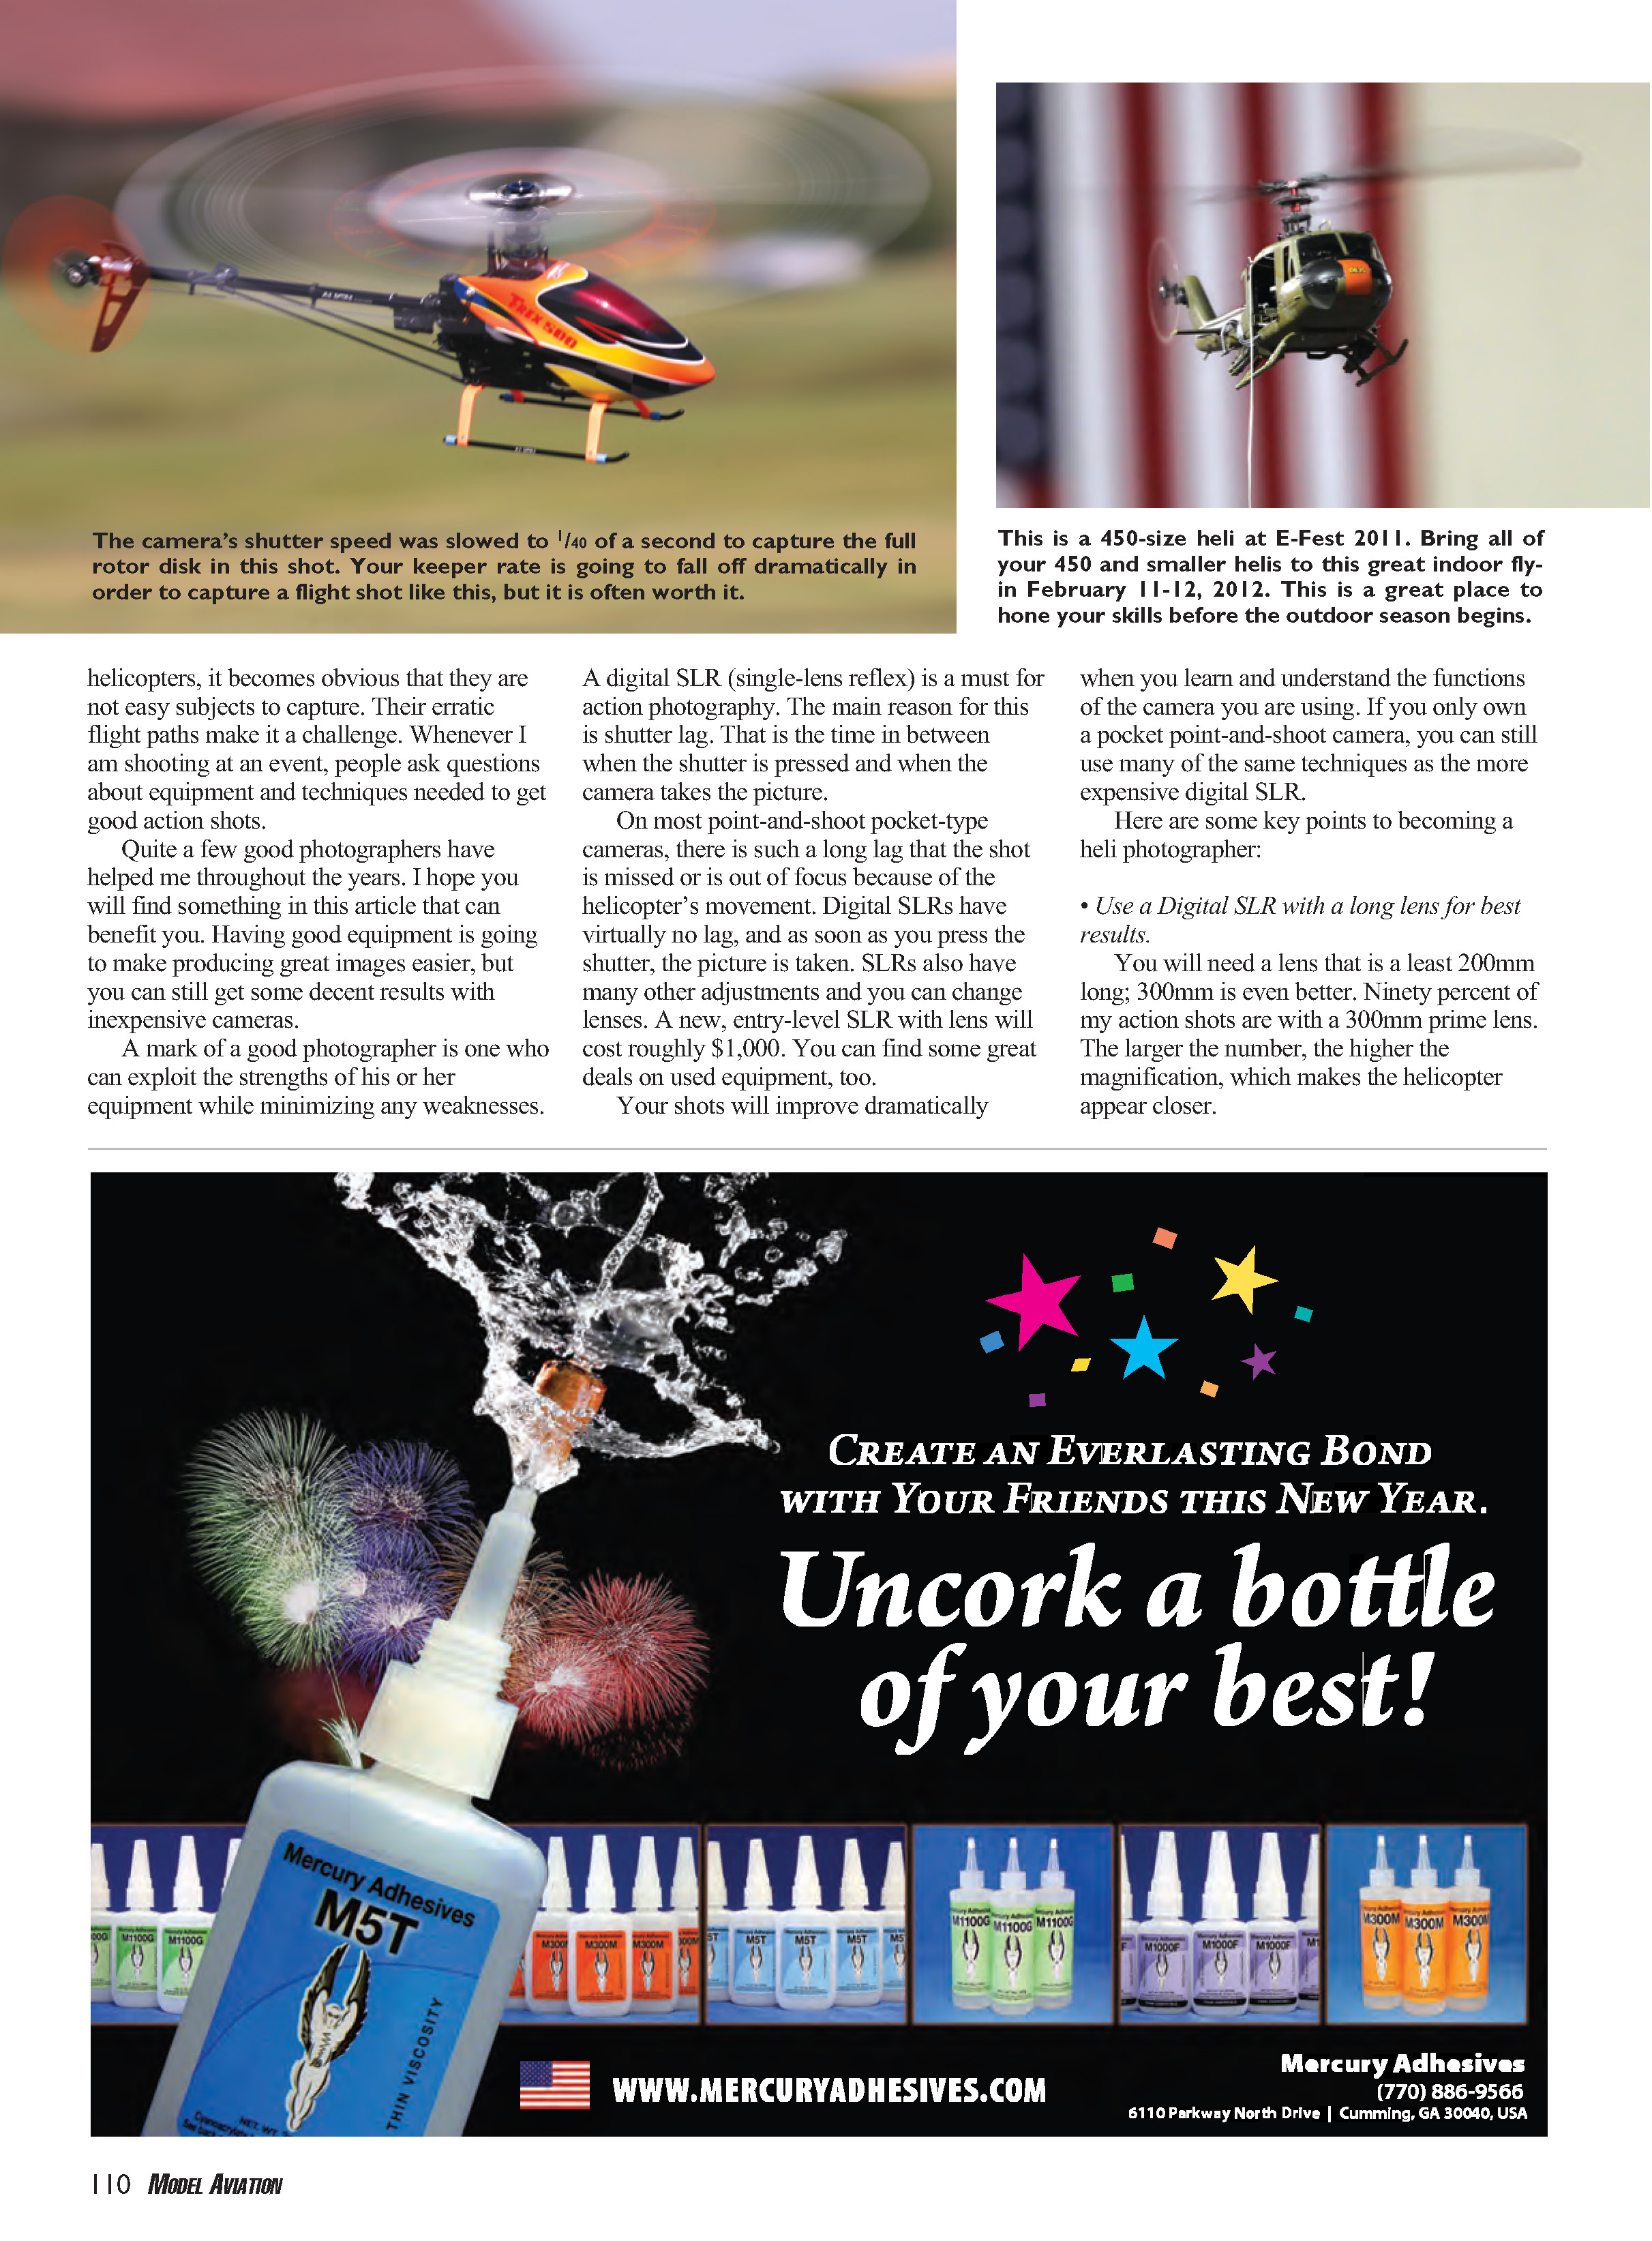
Automatic modes often mismeter when shooting helicopters against sky backgrounds. Set exposure manually and take a couple of test shots, then review the camera display. I shoot at about 1/500 s or slower to get some blade blur and show motion. If you shoot faster than about 1/800 s, the blades will appear stopped. Scale helis with lower rotor RPMs require slower shutter speeds to blur the rotor disk. On bright days you may need a polarized or neutral density (ND) filter to reduce light entering the lens. It would be nice to shoot at even lower shutter speeds, but with a long lens it is hard to hold the camera steady enough; image stabilization helps for shots at around 1/400 s and slower, so use IS if your lens or camera has it.
- Use center-point focus and practice panning with smooth, steady movements.
Set your camera’s focus point to the center to avoid the camera locking onto background elements when multiple focus points are active. Shoot in the quickest burst mode and use continuous focus (AI-Servo on Canon, AF-C on other brands). When you follow the heli precisely in continuous focus, the camera will continually adjust focus while tracking movement. Start the burst before the peak action — anticipate good shooting positions. Pick angles that are dramatic; shots where the helicopter is facing directly away from you are usually less interesting.
- Be aware of the background — change shooting positions based on backgrounds.
An ugly background can ruin a great shot. Sit on the ground for clear sky shots and stand up when you want some background. Tree lines make nice, dark backgrounds that highlight the heli. It’s good to include some ground reference rather than only sky shots. Sky shots are easier for autofocus, but attractive backgrounds add interest.
- Fill the frame.
The larger the subject appears in the frame, the higher the effective resolution and the easier it is for autofocus to lock. This is even more important with lower-quality cameras and lenses. Keeping the entire heli in frame is harder when shooting tight, but you’ll get better with practice. The closer you are to the subject, the shallower the depth of field, which makes the background fuzzier and usually more pleasing. A blurred or out-of-focus background is called “bokeh.” Photographers rate expensive lenses on their ability to produce creamy bokeh. It is always better to shoot tighter than to rely on cropping later; a rule in sports photography is “shoot tight and then crop tighter.”
- Ask other photographers for tips and ideas.
Most photographers are approachable and happy to share knowledge. They were helped by others, too, so passing on shooting information is natural — just like one helicopter pilot helping another.
- Join an online forum to get feedback on your shots.
Online forums are invaluable for honest critique. I’ve received plenty of help from forum members. You can apply techniques from other sports photography to helis. Some top professional sports photographers visit forums, making them a direct line to knowledgeable practitioners.
- Learn some basic Photoshop techniques.
Knowing fundamentals of Photoshop (or similar editors) helps when processing. Nearly every photo benefits from some adjustments. Photoshop Elements is a lower-cost alternative (under $100) if you don’t want the full version.
- Pay attention to the lighting.
Typically it’s best to shoot with the sun at your back, but shooting into the sun early or late in the day can produce dramatic effects. For example, a nitro-powered heli flying at sunset can yield awesome shots looking through the exhaust smoke into the sun.
- What are fast lenses?
A “fast” lens has a large maximum aperture (a low f-stop number) that lets in more light, allowing faster shutter speeds in low light. Fast lenses (e.g., f/2.8) are bigger and pricier, but they also give shallower depth of field for subject isolation and produce better bokeh. Fast telephoto lenses are prized by pro sports photographers for these reasons.
Sometimes high-tech gear can be intimidating, but if you have a strong interest in photography, give it a try. It’s like when you started flying helis: it seemed impossible at first, but things come together with practice.
If you have other in-depth questions, I can be reached at [email protected]. I hope you enjoy taking helicopter pictures even more. See you again next month. — MF
Sources
- E-Fest: www.hobbico-efest.com
- International Radio-Controlled Helicopter Association: www.ircha.org
Transcribed from original scans by AI. Minor OCR errors may remain.

