
RADIO CONTROL JETS
Jim Hiller 6090 Downs Rd., Champion OH 44481
Turbines for helicopters and turboprops
I have news about turbines—not just for jets, but for helicopters and turboprops as well. Two new turbine helicopter engines and two turboprop engines are now available.
JetCat introduced the first turbine helicopter engine. Now Wren Turbines Ltd. offers a version of its MW54 with a power takeoff for helicopter and turboprop use. JD Enterprises (JDE) is marketing a version of the MW54 with a power takeoff developed from the original Wren system.
Larry Wolfe of Jet Hangar Hobbies is distributing the Wren turbine products, a good fit with his ducted-fan models including the Almost Ready-to-Fly BAe Hawk. All Wren turbines are available as kits or preassembled units, with onboard starters as an option.
Wren products include:
- MW44 turbine — 7 lb thrust
- MW54 turbine — 12 lb thrust
- MW54 turboprop unit — adaptable to helicopter use
The Wren turboprop uses a second power shaft (located opposite the compressor) with its own turbine. That output shaft is geared down at approximately 14.5:1, allowing the turboprop to turn an 18 x 6 three-blade propeller at about 9,300 rpm. It is intended for large aircraft with roughly 100-inch wingspans.
Performance notes:
- Sound and throttle characteristics resemble a full-scale turboprop.
- Excellent full-throttle power with good throttle response from roughly one-third throttle upward.
- Acceleration from slow idle requires a few seconds to respond, as with any turbine engine.
For the latest on Wren turbines and turbine-capable kits from Jet Hangar Hobbies, see www.jethangar.com or call (562) 467-0260.
JDE turboprop and helicopter use
JDE is building its own JDE 54 turboprop turbine and will no longer sell Wren MW54 kits. See www.jdenterprise.net for details.
For helicopter modelers: the JDE/Wren-style turboprop output shaft is already geared down to a level similar to a two-stroke engine, making it a good candidate for helicopter installations (I saw this unit fitted in a Century helicopter at the Toledo show).
New turbines from Jesus Artes
Jesus Artes (built in Mexico for the American market) is entering production with:
- JF-50 Bee — 12 lb thrust
- JG-100 Eagle — 27 lb thrust
Both have received AMA approval. These turbines use the Intelligent Control System electronic control unit: compact, capable, and complete with onboard autostart. The fuel pump and overall support package are small and lightweight. For updates see www.artesjet.com.
Exhaust nozzles and detailing
Modern tailpipes with double-wall construction run cool enough to allow detailed painting without blistering. Here are techniques and tips to create realistic exhaust nozzles.
Research and reference
- Study full-scale photos and other modelers’ work to note turkey-feather patterns, rivet/screw locations, radial support panel lines, and discoloration patterns from heat and smoke.
- Choose a nozzle style you like and copy the details and coloration.
Base color options
- Metal foil tape
- Thin aluminum tape creates a metallic base and lets you add three-dimensional panel lines and rivet impressions quickly.
- Use a hobby punch to simulate rivets in the foil for added dimensionality.
- Paint
- Provides a wider selection of silver shades to match your reference.
- Apply panel lines and rivets the same way as on the rest of the airframe.
- If using paint, dimple the surface with a small punch before painting to simulate rivets.
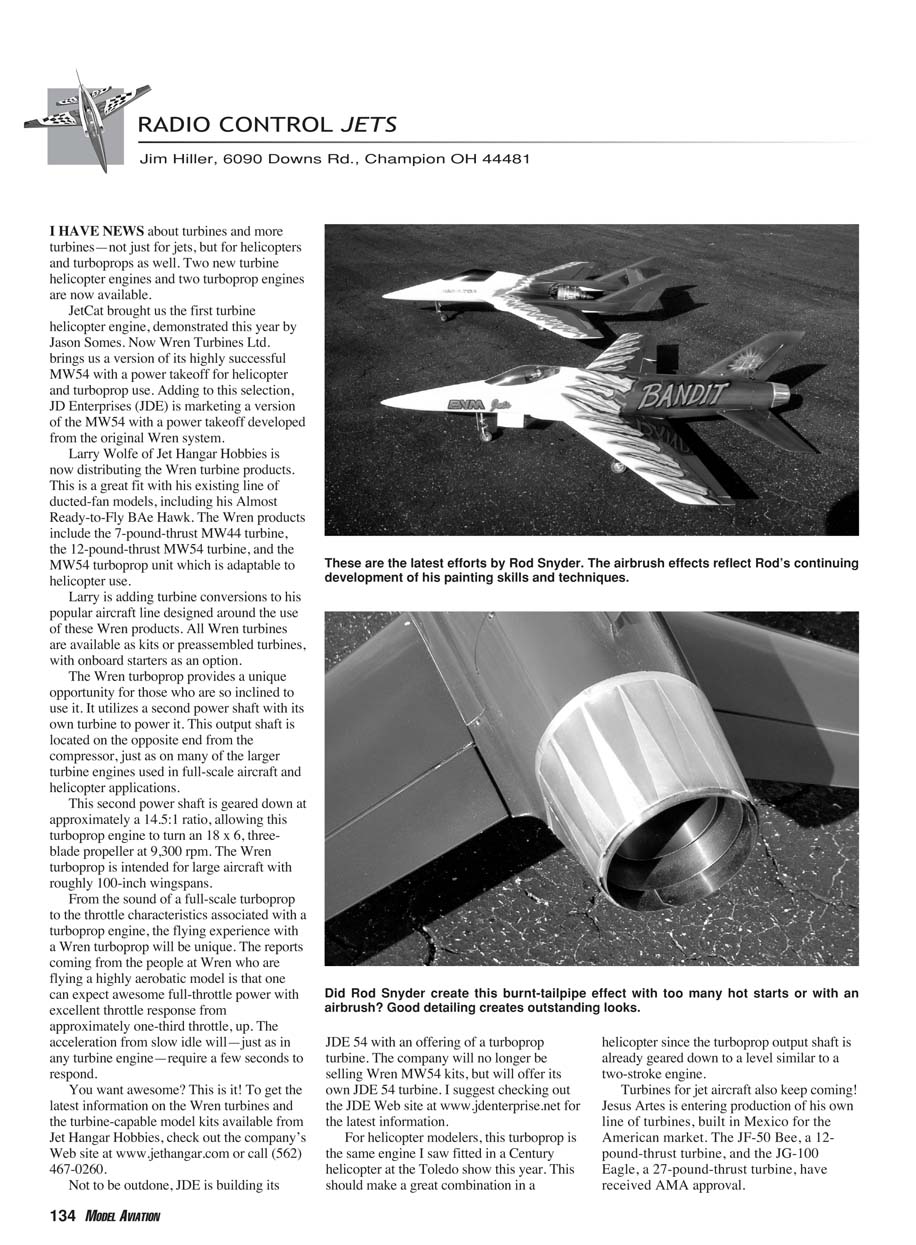
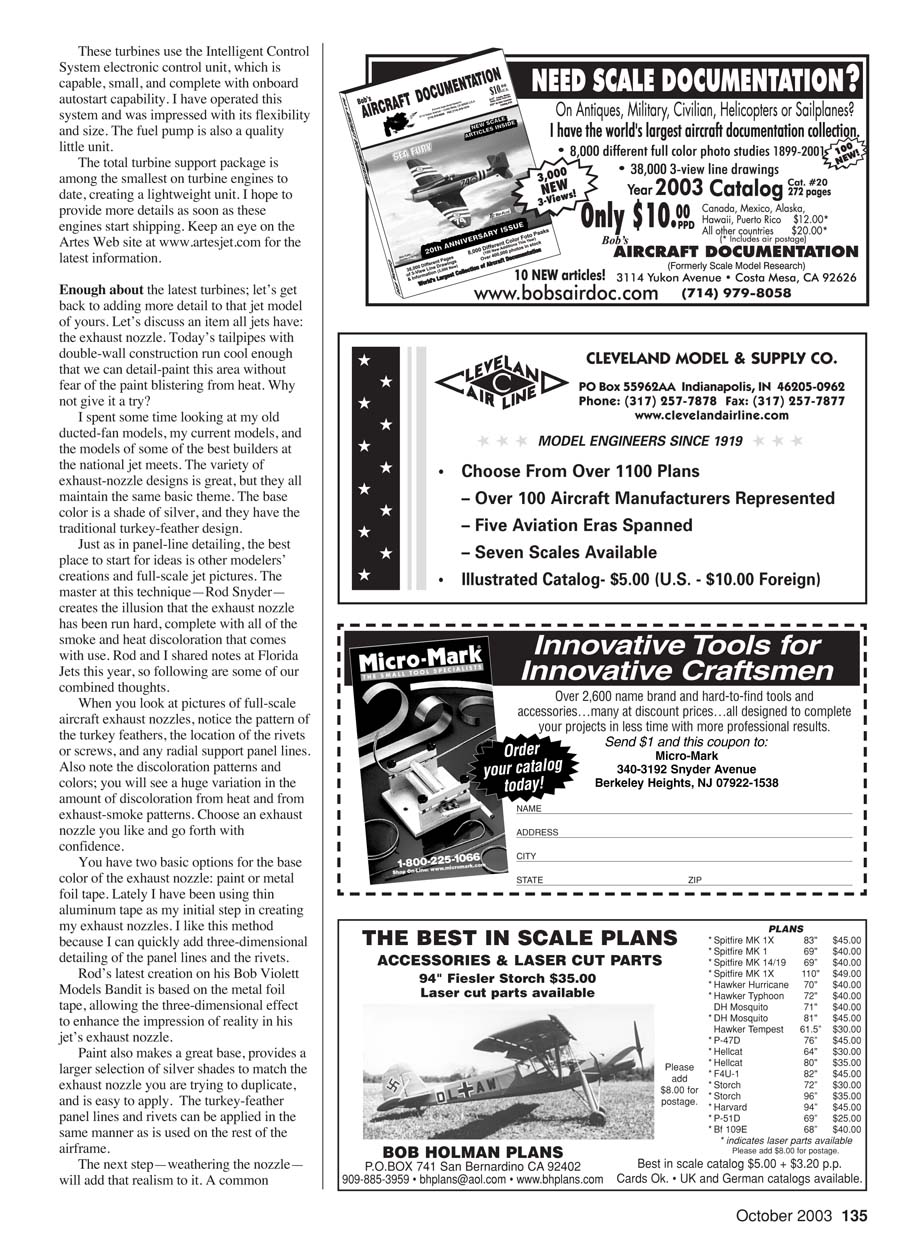
Rod Snyder’s work (e.g., his Bob Violett Models Bandit) shows how foil tape and three-dimensional detailing enhance realism.
Weathering: heat and smoke effects
Full-scale nozzles show two main discoloring effects:
- Heat discoloration: depending on base metal, metal can darken and show light blue or reddish tints.
- Smoke discoloration: typically reddish-brown through panel separations; varies by turbine.
Techniques:
- Use an airbrush to apply light tints of brown, orange, and blue for heat without hiding metallic finish.
- Apply smoke effects in the thin panel separations (mask main turkey panels and paint only the separating strips).
- Mix browns/tans with a bit of black for smoke tones—avoid pure black (rare in nature).
- Vary density fore-to-aft and add slightly more at the rear; follow up with a darkening pass around the back edge to emphasize the exit.
- If there’s an attachment ring at the front, mask it and spray a light pass shading back from it.
Additional methods:
- Powdered pigments add subtle color shifts.
- Prismacolor color pencils can pick out rivet heads and panel lines.
- Felt pens and silver pencils (Rod’s method) help draw feather lines and highlights—make sure lines blend at the edges to avoid a hand-drawn look.
Physical detailing and shape
- Many nozzles are built from concentric rings; add staggered gaps, varying ring widths, scalloped edges, or smooth circular finishes depending on your reference.
- Consider the mounting flange and transition to the aft fuselage: show paint chipping, heat staining, and patchwork repairs with subtle silver/bare-metal and light corrosion/soot effects.
Tools and alternatives
- No airbrush? Use a spray gun turned down to a low setting and careful masking—many show-quality nozzles were done this way.
- After completing detailing and weathering, seal the nozzle with a clear coat to prevent handling damage.
Final notes
A few hours of focused painting and weathering can greatly enhance the appearance of an existing model. Enough for now—let’s light the turbines and have some fun. Don’t forget the Superman gathering is only a few weeks away, so pack up and stop by.
Jim Hiller 6090 Downs Rd., Champion OH 44481
Transcribed from original scans by AI. Minor OCR errors may remain.

