
Do you have a plan for your test flights on a new jet?
Radio Control Jets — Jim Hiller [email protected]
It's the time of year when many of us are test-flying our new jets. Are you prepared for this first flight? For many it may be your first jet, or for others your first flight on a model of a different type of jet. This is the most important flight you can make on your new aircraft, so what's your plan?
I have been fortunate to have made many successful test flights on my own models and for others on their models. With this experience I have developed some standard routines to bring test flights to a successful ending. So what is my process?
I start with a thorough ground inspection to confirm that the airplane is actually ready to fly.
- Check the landing-gear system for air leaks — in the gear-down position and then for 10 minutes in the gear-up position. If it doesn't hold air pressure in the up position, it's not going to come down for landing. I have experienced landing-gear systems that did not hold air in the up position often enough that I require this check.
- While checking the gear, inspect the brake system.
- Aircraft setup: confirm the CG is correct, controls are set in the right direction, and control throws are correct.
My preference for control throws is to set the low rate for the recommended travel and high rates to exceed that travel by 20%–40%. I like the extra travel in case something is amiss once your model is airborne. You can always deal with sensitive controls, but your pilot workload tends to be overwhelming if you don't have enough control to deal with unexpected problems. You may have to use most of your elevator control to maintain level flight because the model is excessively nose-heavy or the incidence is wrong. If there's not enough trim to take care of the problem, you're faced with having to land the aircraft with inadequate elevator authority to flare for landing—or maybe not even enough control to set up a proper approach speed.
Now it's time for you to prepare as the pilot. Review all transmitter controls for position and direction, and check items such as dual-rate switches, flap control, brakes, and turbine shut-down procedures. I have an experienced caller with me whom I can trust to handle all transmitter controls should the pilot workload become too great. Many times I have required my caller to deal with flaps and landing gear while I concentrate on the basic flight controls just to keep the model under control on a test flight. These jet models tend to be complicated, heavy aircraft, and things happen fast in flight. The assistance of a qualified caller/co-pilot should always be sought.
Now that you have completed the preflight of the aircraft, fill the fuel tanks and fire this new puppy up. Don't get complacent — do a radio range check with the turbine not powered up and with it powered up to confirm no loss of range. While you are testrunning the turbine, poke around inside and confirm that you have no fuel leakage in the aircraft. Run the turbine to full power. Check for proper rpm of the turbine and look for any fuel bubbles in the system. If you are using a Bob Violett Models (BVM) Air Trap as a header tank, tap on the side of the bottle to release any air trapped in the bag. This is one of the unique quirks of this header-tank system. Do this and you will be rewarded with reliable operation.
So now all is ready for flight. By this point the pilot should have a fully prepared flight plan. I consider this an important part of achieving a successful test flight. A test flight goes through stages, and each should be completed to ensure that the airplane and the pilot are prepared for the final stage of the flight: a successful landing.
Stage 1: Review the field setup
What is the field situation? Is it a tight runway for the expected performance of the aircraft? Is it a narrow runway? Are there any obstacles on the takeoff or landing ends of the runway? Check for other aircraft that may be sharing the sky with you. If I am unfamiliar with the field, I take a moment to stand at the flight box and scan for visuals that will help me line up my flight path—particularly the landing approach.
Stage 2: Start the turbine and prepare for flight
I always back-taxi a new airplane. This is when I accurately trim the steering to ensure perfectly straight taxi trim.
Believe it or not, I have ended test flights at this stage when I have been unable to trim for a straight taxi. I do not want to deal with a 300-foot takeoff roll and speeds of more than 40 mph while fighting to keep the model on the runway. If you haven't flown a jet, you probably don't know just how hard this can be. Don't try it!
Stage 3: The takeoff
Align the airplane on the runway centerline and set the brakes. Confirm one last time that the dual-rate switches are in the right position, the timer is started, etc., then breathe deeply, spin up the turbine, and drive the jet straight down the runway. When adequate airspeed is reached, a smooth rotation to flight is the goal.
I prefer to retract the landing gear as soon as the model proves to be within adequate trim and control—preferably before reaching too great an airspeed. It's easier on the gear doors. Normally by the time I am turning back to the downwind leg I have throttled back to a comfortable cruise speed.
Test flights are not the time to be checking out your new jet's high-speed resistance to flutter; let's save that for later. Right now let's learn how the model handles.
With the airplane in the air, my goal is to achieve trimmed flight. I may call upon my caller/co-pilot at this time to move the trims if I am busy fighting a badly out-of-trim condition.
Immediately following the trimming stage of the flight I address basic handling. Do the basic flight controls feel right? Use the dual rates to select the most comfortable sensitivity.
Now you can enjoy the flight for a few minutes as you burn some of that precious fuel. Try some aerobatics, expand the speed envelope slightly, and get to know the model. Soon it is time to prepare for that last part of the flight: the landing.
It's time to answer some questions. What is this model like in slow flight? At a high altitude, I slow my new jet until it stalls. I am learning things such as how linear is the elevator response as the model slows? How slowly will it fly? At what angle of attack will it stall? How does it react when it stalls?
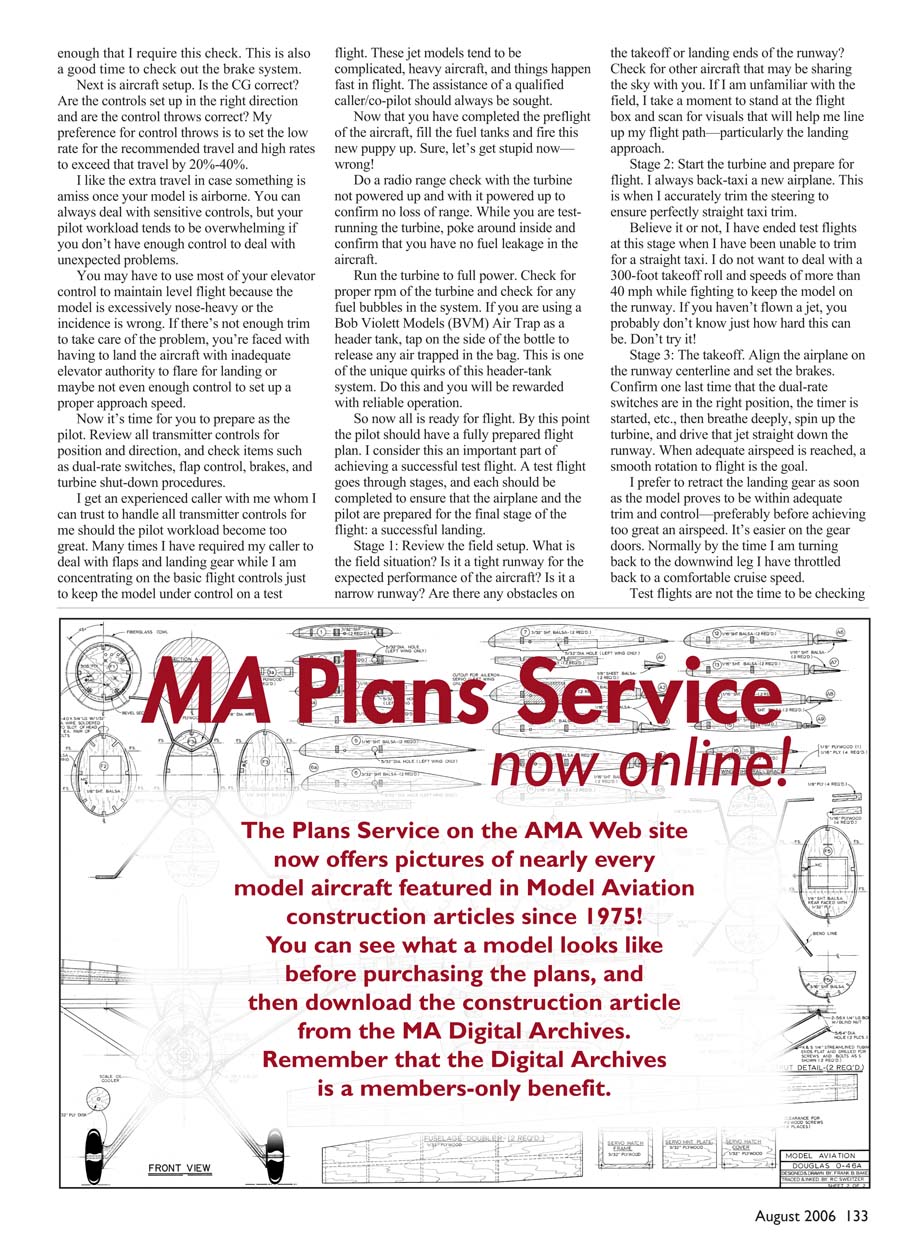
Most sport jets are of conventional layout, so surprises are minimal when I slow the model down and stall it. Normal concerns include whether it stalls straight forward or drops a wing. At what elevator position, angle of attack, and speed does the stall occur? When you get into some scale jet models with their unusual wing, fuselage, and empennage layouts, both slow flight and the actual stall can become interesting—or just plain wild.
A jet such as a T-33 with its straight wing and normal tail tends to behave normally. My BVM T-33 is typical of this design. It stalls at a relatively flat angle of attack and tends to roll off on the wing but recovers quickly with the expected altitude loss.
Trying to stall an F-18 Hornet is completely different. Most F-18s are linear in elevator response until they reach a moderate angle of attack, then something happens. Small additional elevator movements result in a large angle-of-attack increase. It also creates much drag and lift at this high angle of attack. Sink increases rapidly, and with a turbine's slow throttle-up time, the model loses quite a bit of altitude. If I did this near the ground during landing, the model would balloon up, followed by a dramatic loss of airspeed, and then a rather hard plop to the ground.
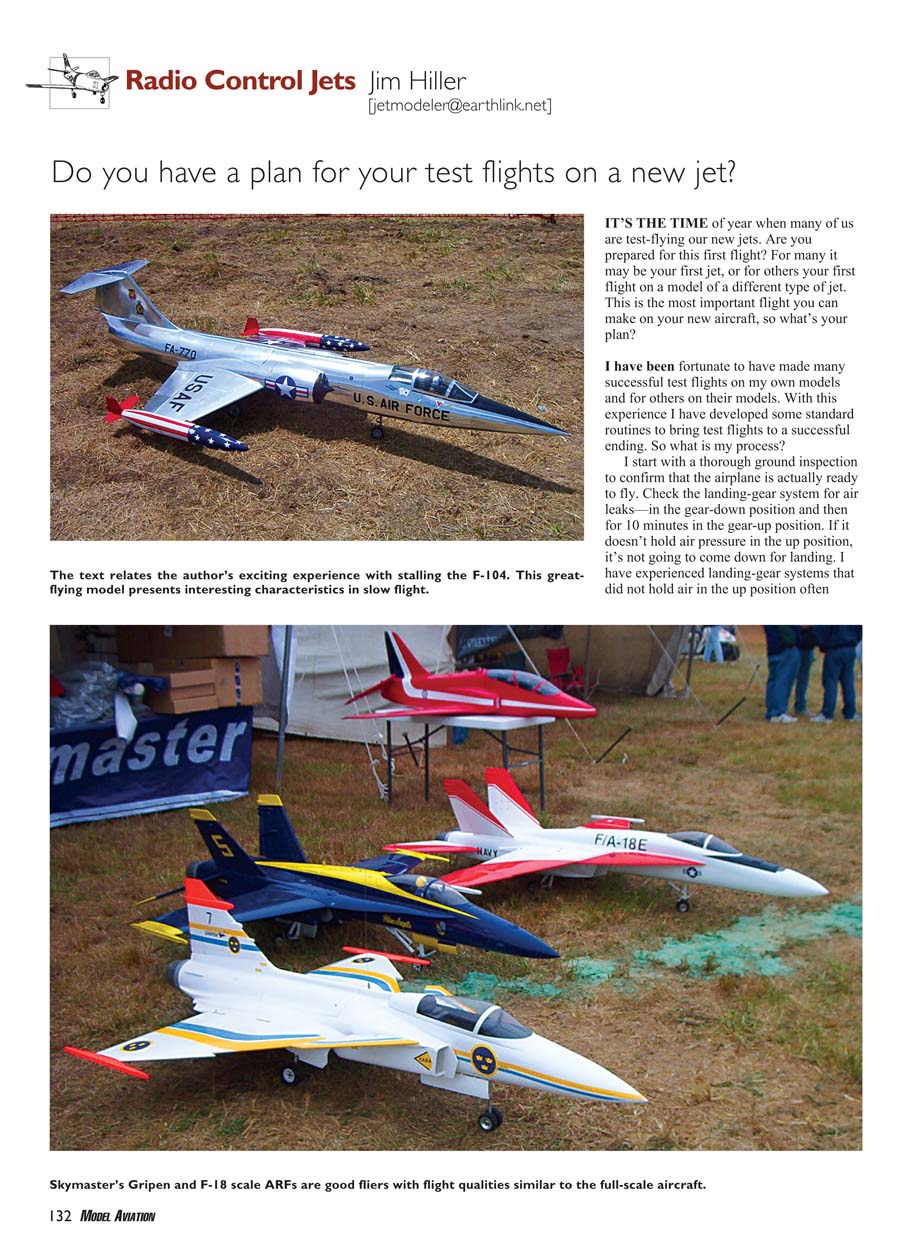
The most exciting experience I have ever had stalling a jet model goes to the F-104. An F-104 has a low-aspect-ratio wing with a T-tail elevator location. That wing will slow down nicely. Low-aspect-ratio wings are comfortable at increasing angles of attack, but then surprise—the tail dropped out from under me and I was left with the aircraft's nose pointing straight up with no airspeed, no control, and no ideas.
I had to wait for the airplane to fall over into a dive and then be patient while airspeed built up. Failure to wait for airspeed would only result in a secondary stall and even greater altitude loss. I am told that this phenomenon is the result of turbulence off the wing striking the horizontal stabilizer and blanking it out. My course of action was to find out how far I could pull the elevator without stalling, and then go no further. Too exciting to mess with!
Now I understand my airplane's slow flight, so it's time to set up the landing configuration—gear down and flaps down. I establish a slow cruise speed, lower the gear to check that all three are down and locked, and then slowly extend the flaps. I prepare myself to respond to any pitch changes with flap extension.
If I am uncomfortable with the pitch-trim changes with flap application I will not use them on the first landing. Once on the ground I can program in some flap-elevator mixing, saving my first flapped landing until I get this mixing set up.
Finally, I am prepared for the most complicated maneuver in aviation: the landing. This is why I will travel some distance to a large flying site for test flights—ease of pilot workload when executing that first landing. Later, when I have the model dialed in and I am familiar with it, I can fly it out of shorter runways.
I hope this can help you prepare to test-fly your new jet. Our models tend to be the most difficult we ever deal with because of their complexity, weight, and landing speeds. Take your time, get it right, and seek the assistance of modelers who are experienced with your type of aircraft prior to that first flight.
Best of luck, and I look forward to flying with you at a jet meet this summer.
MA
Transcribed from original scans by AI. Minor OCR errors may remain.

