
Getting back up to speed
Jim Hiller [[email protected]]
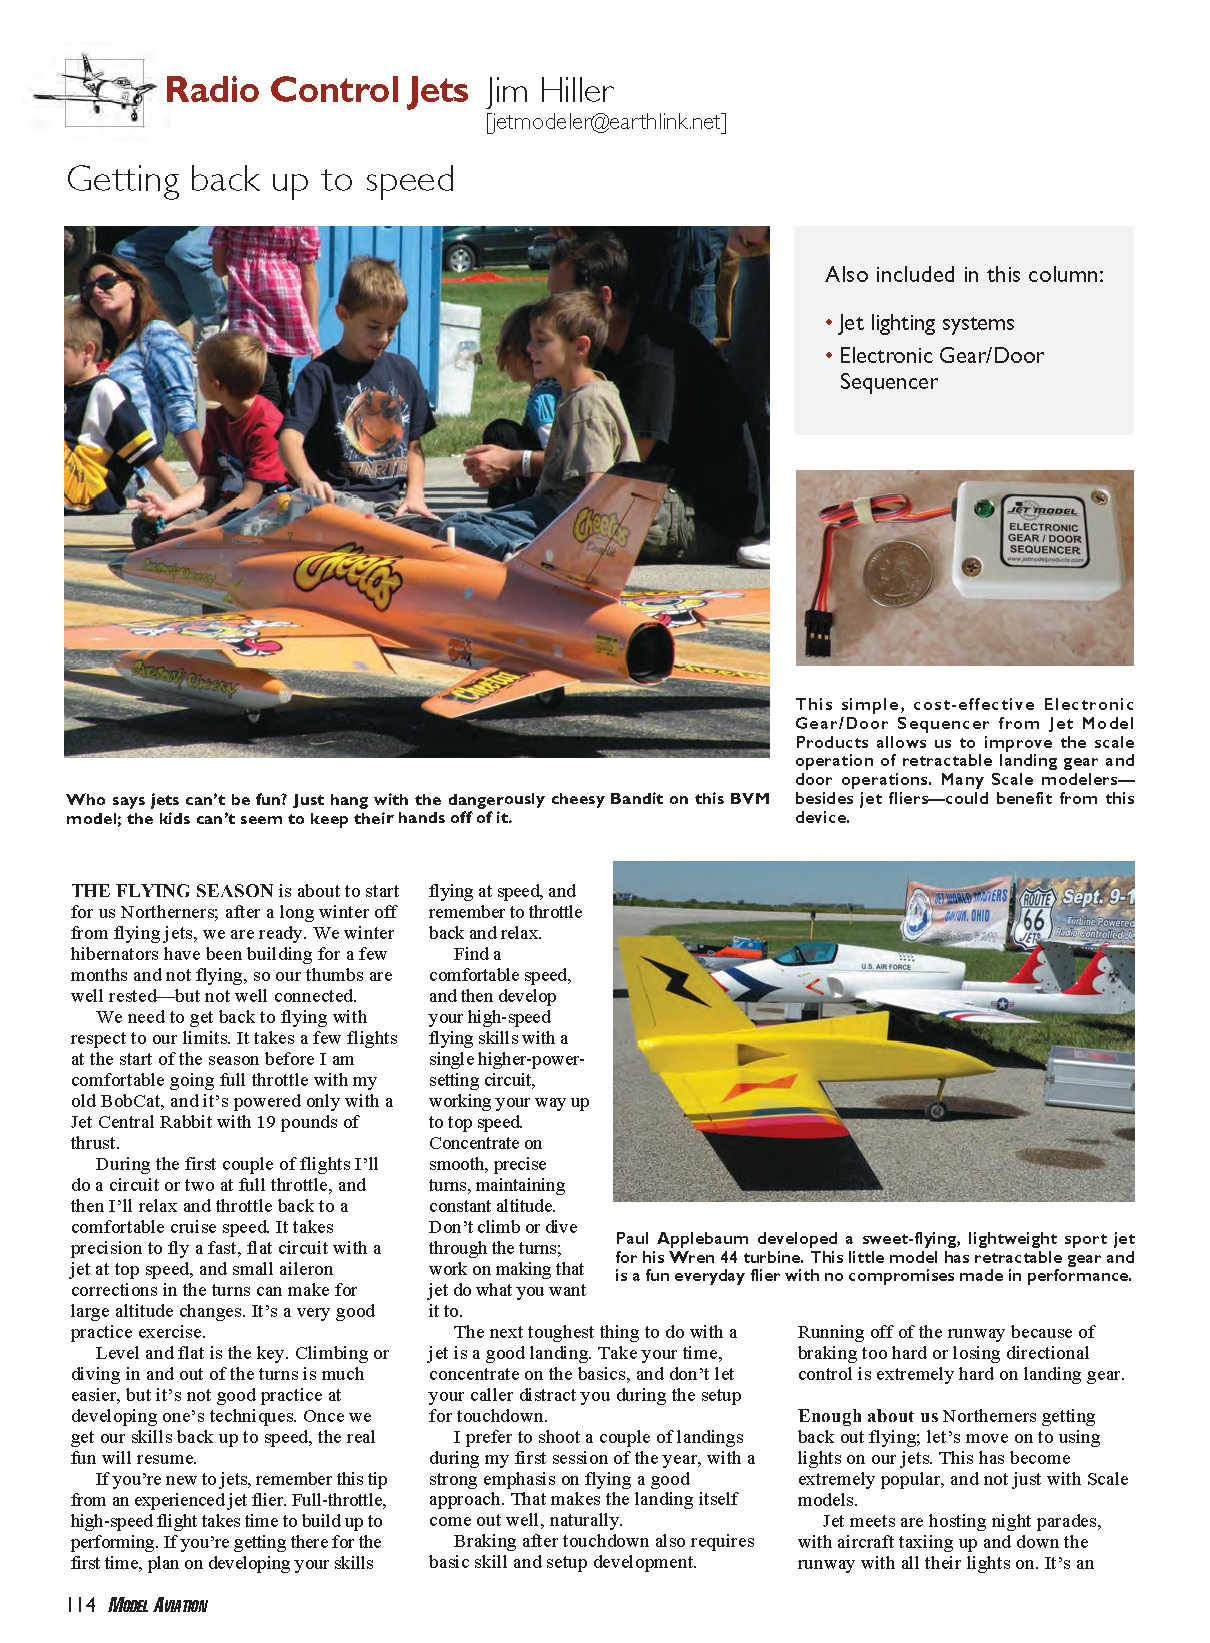
The flying season is about to start for us Northerners. After a long winter off from flying jets, we are ready. We winter hibernators have been building for a few months and not flying, so our thumbs are well rested—but not well connected.
Season warm-up
We need to get back to flying within our limits. It takes a few flights at the start of the season before I am comfortable going full throttle with my old BobCat, which is powered only with a Jet Central Rabbit with 19 pounds of thrust.
During the first couple of flights I’ll do a circuit or two at full throttle, and then relax and throttle back to a comfortable cruise speed. It takes precision to fly a fast, flat circuit with a jet at top speed; small aileron corrections in the turns can make for large altitude changes. It’s a very good practice exercise.
Level and flat is the key. Climbing or diving in and out of the turns is easier, but it’s not good practice for developing technique. Once we get our skills back up to speed, the real fun will resume.
If you’re new to jets, remember this tip from an experienced jet flier: full-throttle, high-speed flight takes time to build up to. If you’re getting there for the first time, plan on developing your skills flying at speed, and remember to throttle back and relax.
Find a comfortable speed, then develop your high-speed flying skills with a single higher-power-setting circuit, working your way up to top speed. Concentrate on smooth, precise turns while maintaining constant altitude. Don’t climb or dive through the turns; work on making that jet do what you want it to.
Landing practice and braking
The next toughest thing to do with a jet is a good landing. Take your time, concentrate on the basics, and don’t let your caller distract you during the setup for touchdown. I prefer to shoot a couple of landings during my first session of the year, with a strong emphasis on flying a good approach. That makes the landing itself come out well, naturally.
Braking after touchdown also requires basic skill and setup development. Running off the runway because of braking too hard or losing directional control is extremely hard on landing gear.
Lighting and electronics
Using lights on our jets has become extremely popular, and not just with scale models. Jet meets are hosting night parades, with aircraft taxiing up and down the runway with all their lights on. It’s an impressive sight and sound, and these nighttime shows are becoming a popular part of jet events for both pilots and spectators.
I resisted the urge to put lights on my models—until now. I now have my first set in preparation for my next project. Lights look good and can help you maintain the orientation of your aircraft. Some camouflage-painted jets can be difficult to fly; it’s easy to get disoriented because camouflage colors can hide the model in flight—particularly the wings in a turn.
The latest bright daylight-visible LEDs, along with the necessary circuitry, are available from many sources and they help us fly our jets. Lighting packages are available from the usual jet suppliers, and the variety is great. Some generic sets can be installed in any model, and some sets have been developed for specific aircraft.
A look around the field reveals lights from Details 4 Scale (set up well for specific scale subjects), Dreamworks Model Products, and ElectroDynamics. I selected a system from ElectroDynamics.
ElectroDynamics EDR-117 system
Andy Low of ElectroDynamics is a strong supporter of model meets throughout the Midwest. He attends many jet gatherings and has developed a diverse product line around our jet needs. I have experience with Andy’s electrical products in my models; there is nothing better than having him available to discuss our needs and product solutions.
I acquired the EDR-117 package with daylight-visible LEDs. The package includes:
- one green LED
- one red LED
- one flashing white LED
- a separate bright LED for the landing light
- a four-lead Y connector
- an EDR-117 Programmable RC Switch Light Controller
The LEDs come prewired with 48-inch wire lengths and connectors, which are plenty long for most installations and can be unplugged for wing removal.
Power and accessories
In addition to the light package I picked up an A123 two-cell battery for power and an ED-Nano B6AC Pro battery charger that can accommodate the A123 battery. ElectroDynamics has a diverse electronics product line for one-stop shopping, with a nice selection of electrical solutions.
The EDR-117 Programmable RC Switch is a nice addition because it allows the landing light to be set up to turn on from a receiver signal. A good approach is to “Y” from the landing gear retract channel or the flap channel to control the landing light. A second output comes on with power application to the EDR-117 unit, so the basic navigation lights are turned on with a simple switch.
Each of the two outputs from the EDR-117 switch can power up to five LEDs (a total of 10 lights), leaving plenty of room for future growth. Additional lights are available, complete with wires and connectors, at reasonable prices so you can add lights later.
Gear-door sequencer
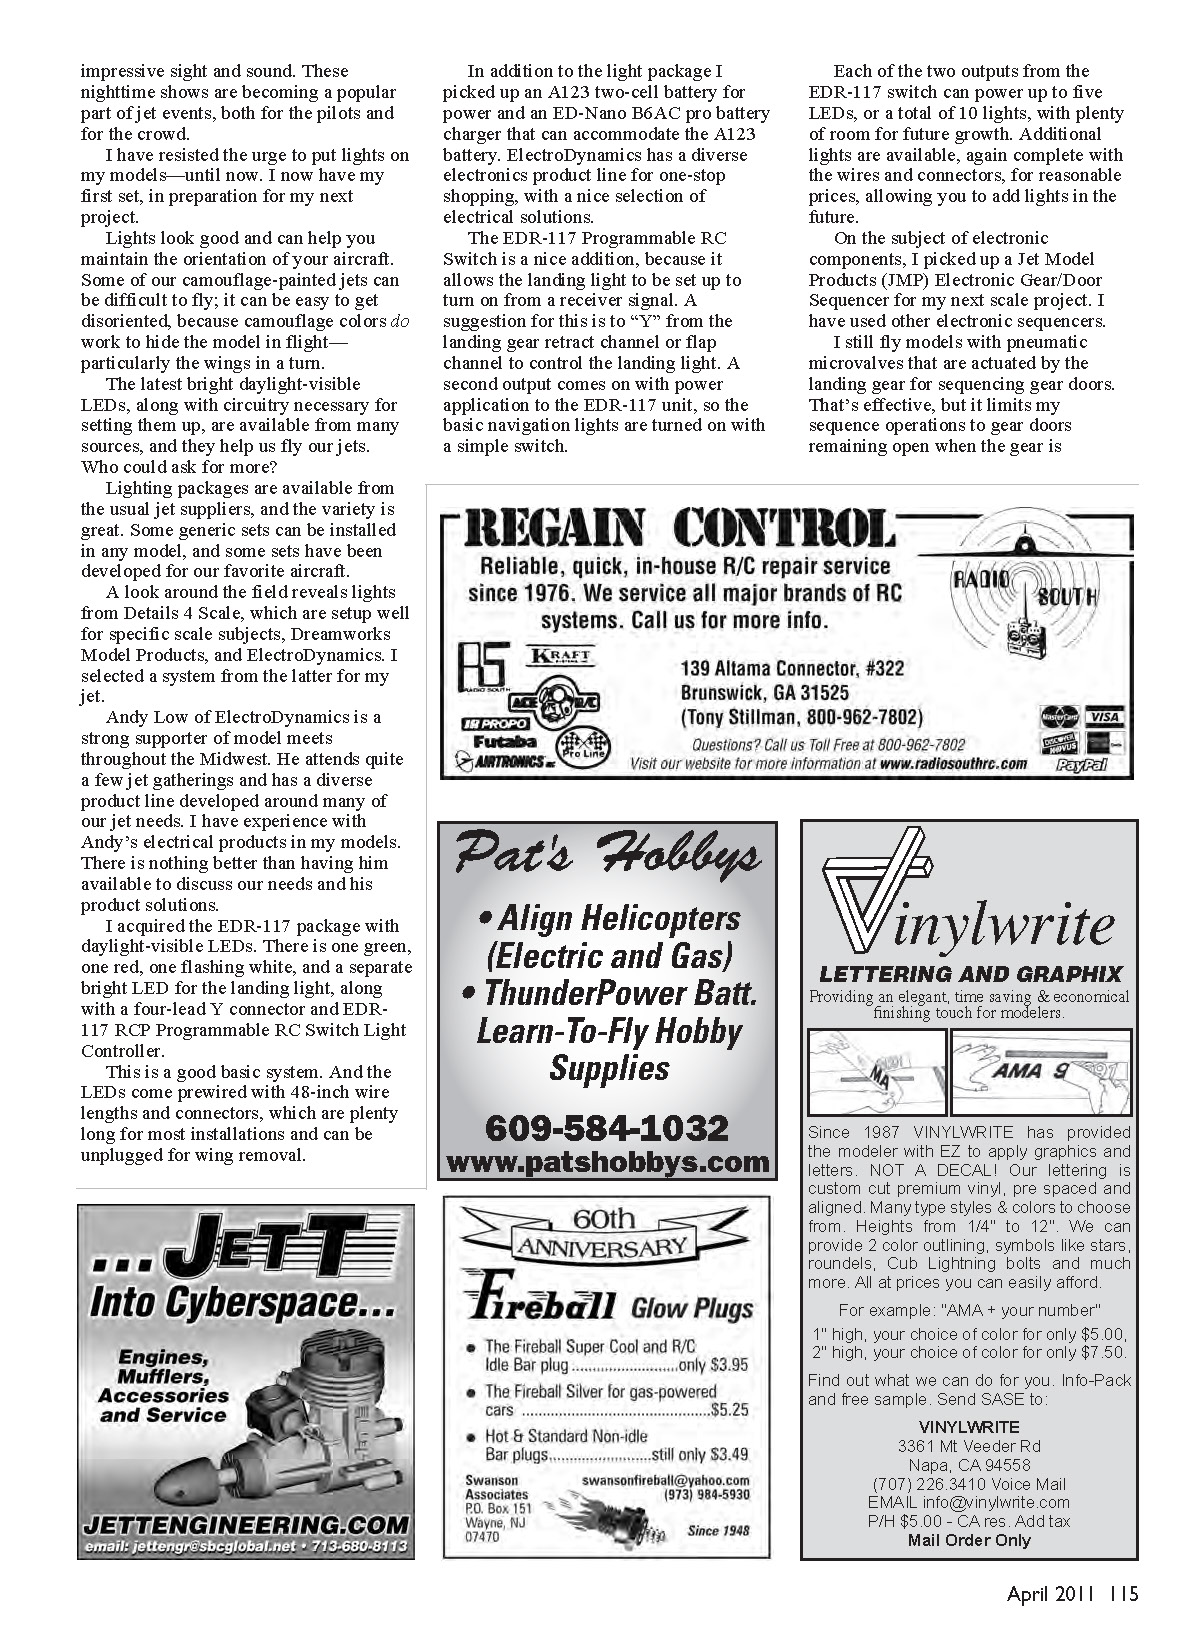
On the subject of electronic components, I picked up a Jet Model Products (JMP) Electronic Gear/Door Sequencer for my next scale project. I have used other electronic sequencers in the past.
I still fly models with pneumatic microvalves actuated by the landing gear for sequencing gear doors. That’s effective, but it limits sequence operations to gear doors remaining open when the gear is down. A gear-door sequencer allows operations to close the gear doors after the landing gear is extended, which is typical of full-scale gear-door operations.
The Electronic Gear/Door Sequencer divides the landing gear channel into two outputs: one for the landing gear retract servo and one for the gear-door actuation servo. The air valve from each of these servos cycles either the pneumatic retract gear or the air cylinders on the doors.
JMP sequencer features and operation
The JMP unit is simple to operate, with an easy programming process. A DIP switch located inside the case can be set up in one of four ways.
Basically, two sequence functions are available:
- The gear door is closed following landing gear extension.
- The gear door is opened following landing gear extension.
A second choice is the timing: choose a three- or five-second delay following the landing gear motion for the gear door closing. This covers most aeromodeling needs, keeps setup simple, and provides the desired sequencing.
My experience has been that three seconds is adequate for most scale models. It allows the retract sequence to be completed within a reasonable time and flight distance so that gear and door operations can be viewed while the model is in flight. The five-second delay is preferable with some heavier landing gear. In competition with a jet, five seconds can be a long distance; if gear operations are to be completed following takeoff but before the first turn, that can be a long way out.
Another feature of the JMP Electronic Gear/Door Sequencer is a fail-safe to prevent accidental gear retraction. If the unit is turned on with the landing gear switch in the down position, the servos will hold in the down position. The gear and door servos become active only after the transmitter retract switch is cycled to the down position. That can prevent an embarrassing moment and repairs to damaged and scraped gear doors.
Paul's sport craft
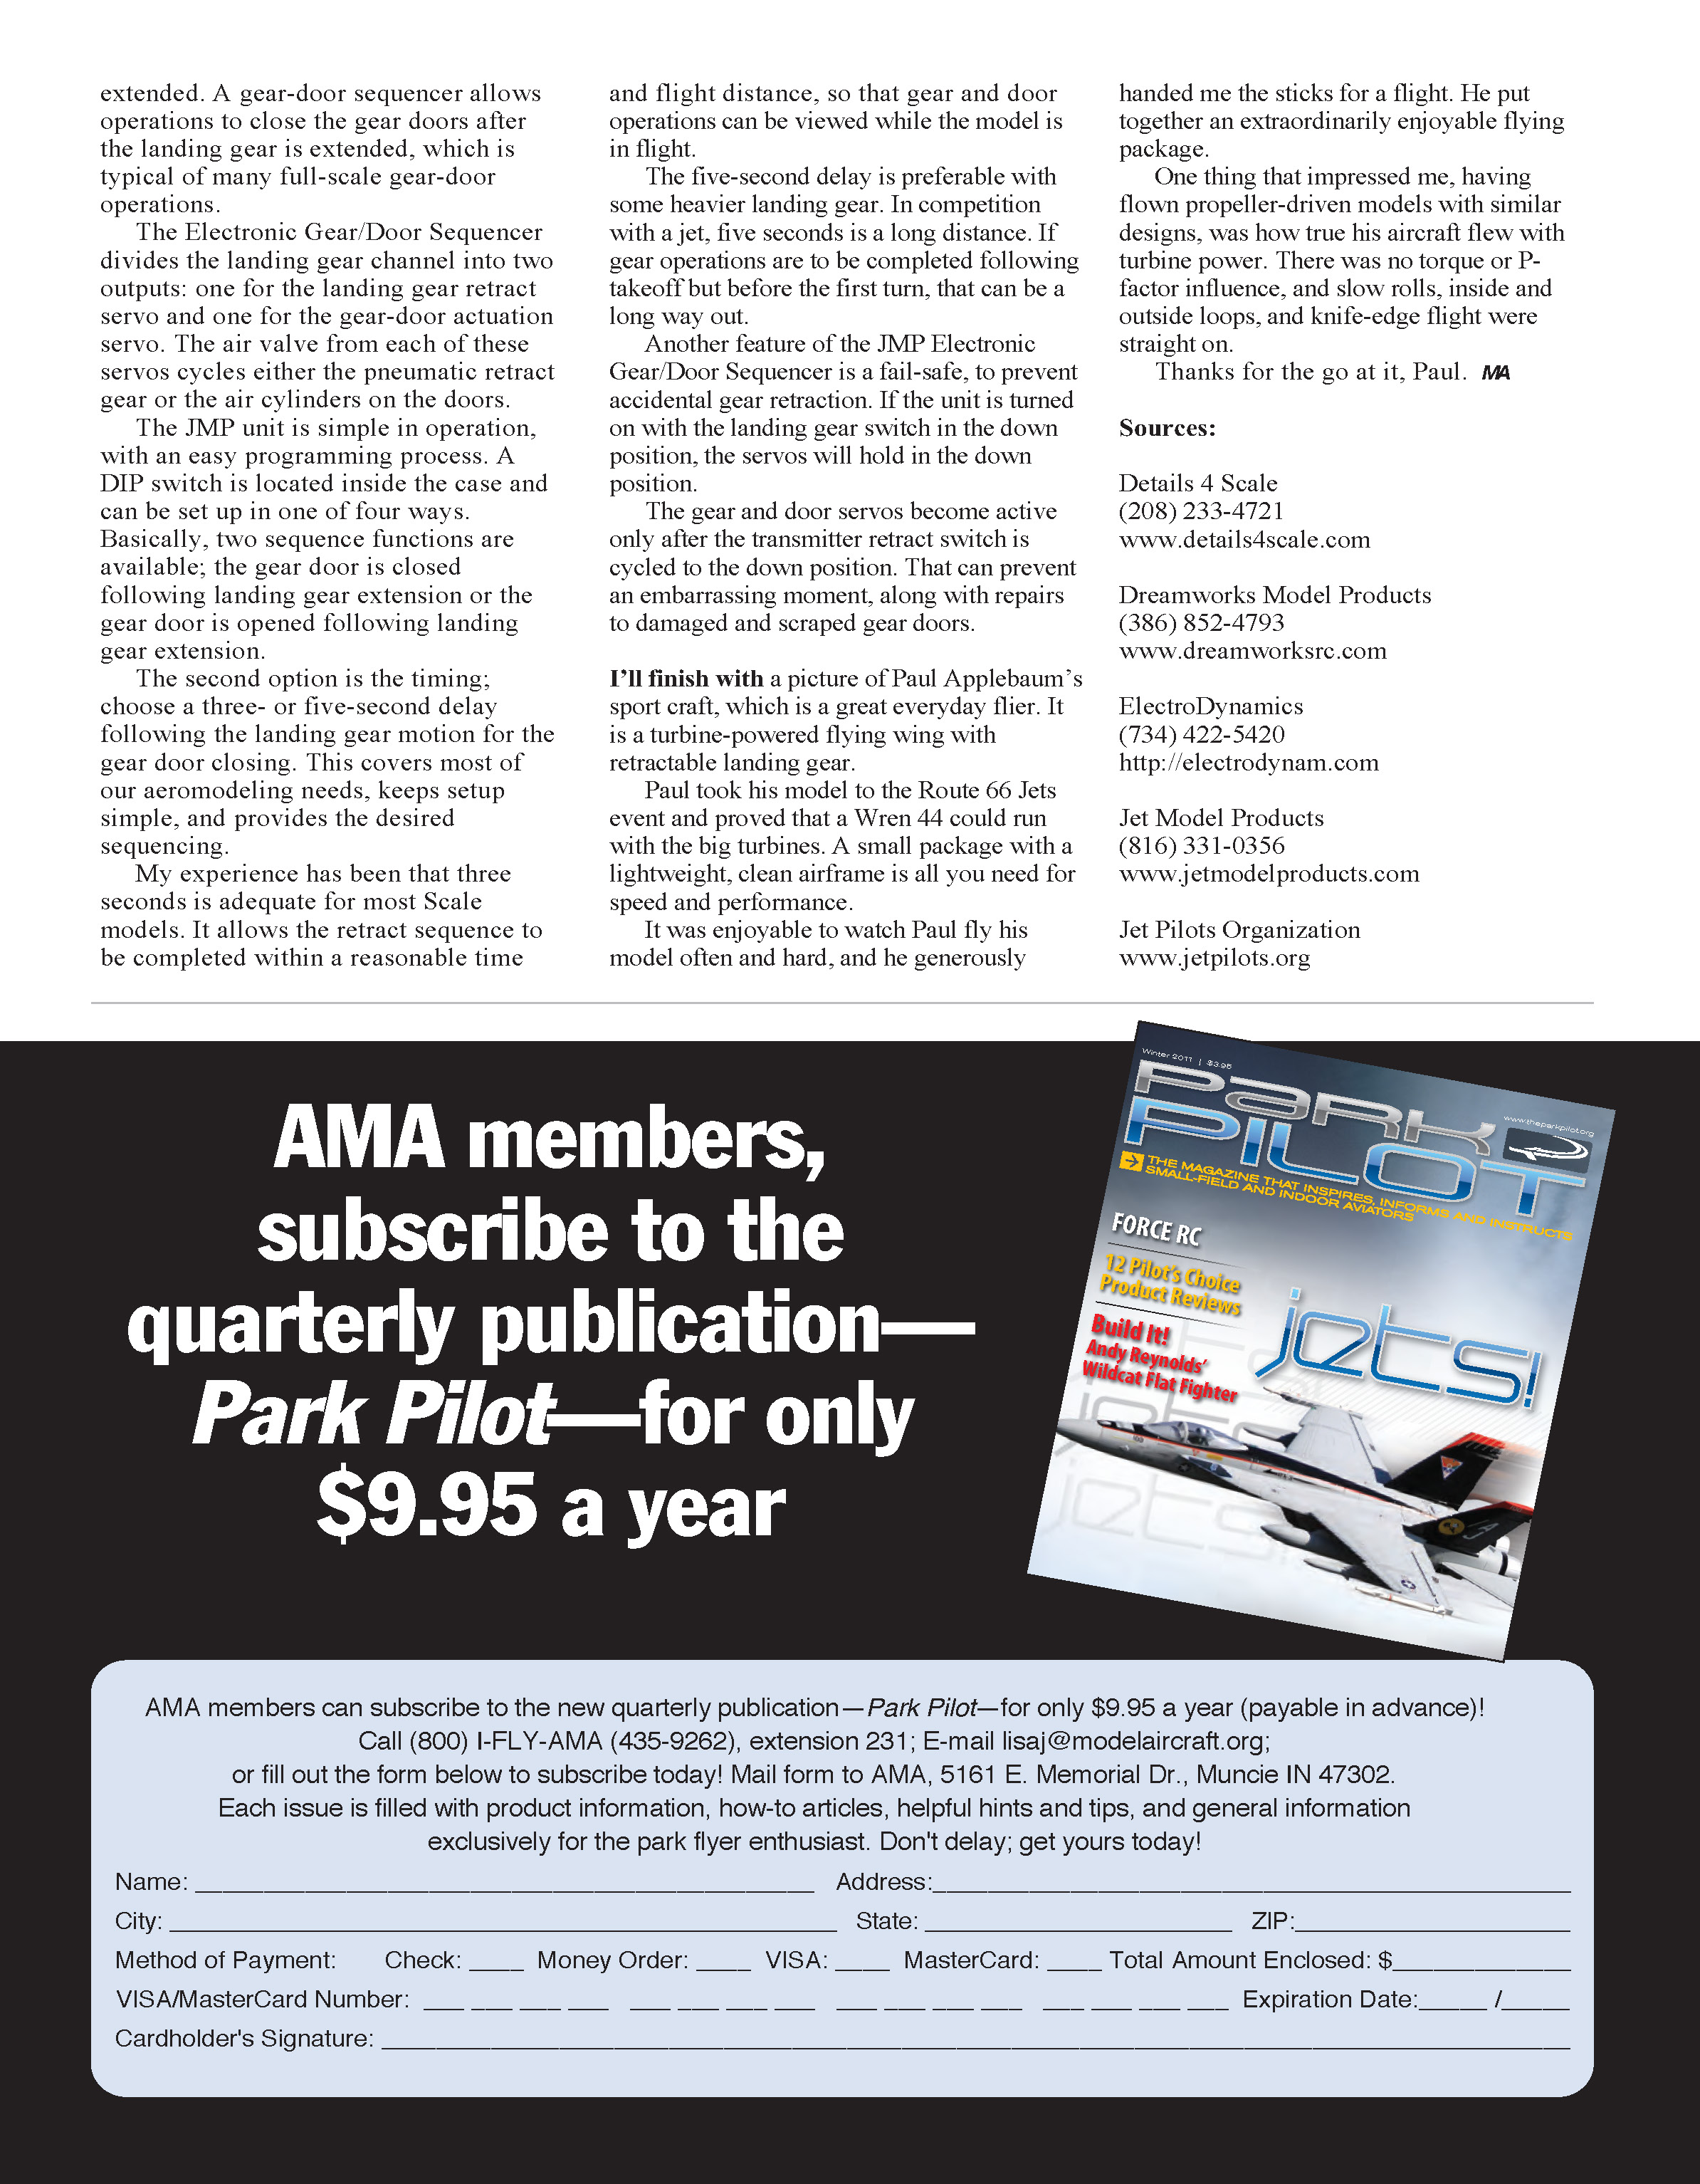
I’ll finish with a picture (and description) of Paul Applebaum’s sport craft, which is a great everyday flier. It is a turbine-powered flying wing with retractable landing gear.
Paul took his model to the Route 66 Jets event and proved that a Wren 44 could run with the big turbines. A small package with a lightweight, clean airframe is all you need for speed and performance.
It was enjoyable to watch Paul fly his model often and hard, and he generously handed me the sticks for a flight. He put together an extraordinarily enjoyable flying package.
One thing that impressed me, having flown propeller-driven models with similar designs, was how true his aircraft flew with turbine power. There was no torque or P-factor influence, and slow rolls, inside and outside loops, and knife-edge flight were straight on. Thanks for the go at it, Paul.
MA
Sources:
- Details 4 Scale (208) 233-4721 www.details4scale.com
- Dreamworks Model Products (386) 852-4793 www.dreamworksrc.com
- ElectroDynamics (734) 422-5420 http://electrodynam.com
- Jet Model Products (816) 331-0356 www.jetmodelproducts.com
- Jet Pilots Organization www.jetpilots.org
Transcribed from original scans by AI. Minor OCR errors may remain.

