
RADIO CONTROL PYLON RACING - 2003/09
Duane Gall, 1267 S. Beeler Ct., Denver CO 80231; E-mail: [email protected]
Pit-gear Makeover
We're halfway through racing season, and it's time to seek a fresh start in better, more organized pit gear. So let's get moving! The poster boy for this little makeover exercise is up-and-comer John Z. Williams. John is one of the best pilots I've ever seen, and he always brings fast equipment.
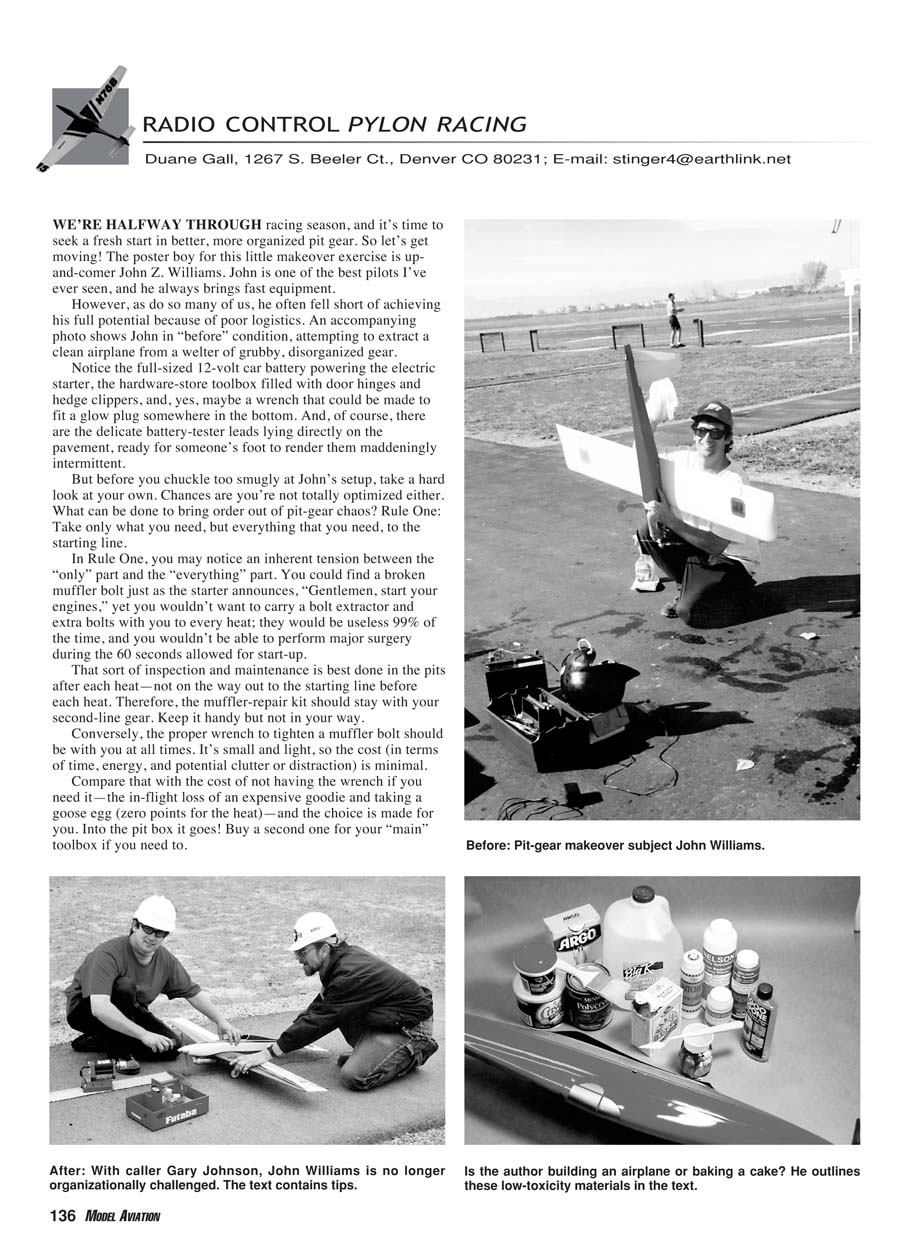
However, as do so many of us, he often fell short of achieving his full potential because of poor logistics. An accompanying photo shows John in "before" condition, attempting to extract a clean airplane from a welter of grubby, disorganized gear.
Notice the full-sized 12-volt car battery powering the electric starter, the hardware-store toolbox filled with door hinges and hedge clippers, and, yes, maybe a wrench that could be made to fit a glow plug somewhere in the bottom. And, of course, there are the delicate battery-tester leads lying directly on the pavement, ready for someone's foot to render them maddeningly intermittent.
But before you chuckle too smugly at John's setup, take a hard look at your own. Chances are you're not totally optimized either. What can be done to bring order out of pit-gear chaos?
Rule One: Take only what you need — but everything that you need, to the starting line
In Rule One, you may notice an inherent tension between the "only" part and the "everything" part. You could find a broken muffler bolt just as the starter announces, "Gentlemen, start your engines," yet you wouldn't want to carry a bolt extractor and extra bolts with you to every heat; they would be useless 99% of the time, and you wouldn't be able to perform major surgery during the 60 seconds allowed for start-up. That sort of inspection and maintenance is best done in the pits after each heat—not on the way out to the starting line before each heat. Therefore, the muffler-repair kit should stay with your second-line gear. Keep it handy but not in your way. Conversely, the proper wrench to tighten a muffler bolt should be with you at all times. It's small and light, so the cost (in terms of time, energy, and potential clutter or distraction) is minimal. Compare that with the cost of not having the wrench if you need it—the in-flight loss of an expensive goodie and taking a goose egg (zero points for the heat)—and the choice is made for you. Into the pit box it goes! Buy a second one for your "main" toolbox if you need to.
Ditto for an extra glow plug and matching wrench of every type you typically fly. If you run Sport Quickie (AMA event 424) with a Thunder Tiger engine and Quickie 500 (AMA event 428) with a Nelson or Jett, this doubles the number of glow plugs and wrenches you'll need room for. But it's better than showing up at the starting line with a dead Nelson plug and only a K&B Standard Long to replace it. Ditto again for an extra propeller and the proper wrench(es) to tighten it.
Rule Two: No rummaging!
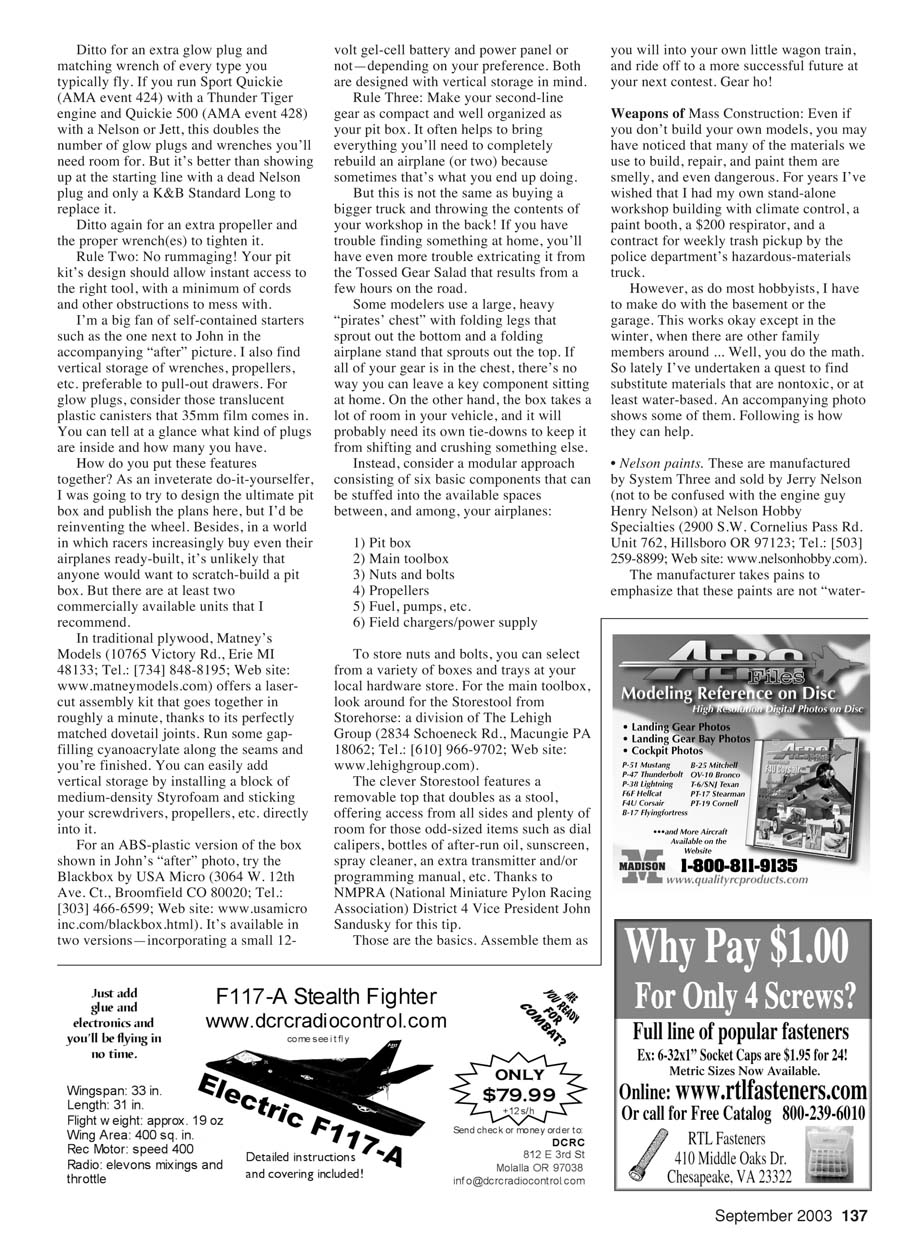
Your pit kit's design should allow instant access to the right tool, with a minimum of cords and other obstructions to mess with. I'm a big fan of self-contained starters such as the one next to John in the accompanying "after" picture. I also find vertical storage of wrenches, propellers, etc., preferable to pull-out drawers. For glow plugs, consider those translucent plastic canisters that 35mm film comes in. You can tell at a glance what kind of plugs are inside and how many you have.
How do you put these features together? As an inveterate do-it-yourselfer, I was going to try to design the ultimate pit box and publish the plans here, but I'd be reinventing the wheel. Besides, in a world in which racers increasingly buy even their airplanes ready-built, there are lots of pit boxes to pick from. If you build your own, keep the lid hinged so it doesn't get in the way when you're down on your knees. Provide vertical-slotted storage for wrenches and propellers, and a shallow shelf for the starter so cords can be routed neatly. Use foam dividers for small items like glow plugs and prop wrenches. Label everything.
If you prefer a commercial unit, two recommended options:
- Matney's Models (10765 Victory Rd., Erie MI 48133; Tel.: [734] 848-8195; Web site: www.matneymodels.com) offers a laser-cut plywood assembly kit with dovetail joints. Run some gap-filling cyanoacrylate along the seams and you're finished. You can add vertical storage by installing a block of medium-density Styrofoam and sticking screwdrivers, propellers, etc. into it.
- Blackbox by USA Micro (3064 W. 12th Ave. Ct., Broomfield CO 80020; Tel.: [303] 466-6599; Web site: www.usamicroinc.com/blackbox.html) is an ABS-plastic box available in two versions — with or without a small 12-volt gel-cell battery and power panel — designed with vertical storage in mind.
Rule Three: Make your second-line gear compact and organized
Make your second-line gear as compact and well organized as your pit box. It often helps to bring everything you'll need to completely rebuild an airplane (or two) because sometimes that's what you end up doing. But this is not the same as buying a bigger truck and throwing the contents of your workshop in the back! If you have trouble finding something at home, you'll have even more trouble extricating it from the Tossed Gear Salad that results from a few hours on the road.
Some modelers use a large, heavy "pirate's chest" with folding legs that sprouts out the bottom and a folding airplane stand that sprouts out the top. If all of your gear is in the chest, there's no way you can leave a key component sitting at home. On the other hand, the box takes a lot of room in your vehicle, and it will probably need its own tie-downs to keep it from shifting and crushing something else.
Instead, consider a modular approach consisting of six basic components that can be stuffed into the available spaces between, and among, your airplanes:
- Pit box
- Main toolbox
- Nuts and bolts
- Propellers
- Fuel, pumps, etc.
- Field chargers / power supply
To store nuts and bolts, you can select from a variety of boxes and trays at your local hardware store. For the main toolbox, look around for the Storetool from Storehouse: a division of The Lehigh Group (2834 Schoeneck Rd., Macungie PA 18062; Tel.: [610] 966-9702; Web site: www.lehighgroup.com).
The clever Storetool features a removable top that doubles as a stool, offering access from all sides and plenty of room for those odd-sized items such as dial calipers, bottles of after-run oil, sunscreen, spray cleaner, an extra transmitter and/or programming manual, etc. Thanks to NMPRA (National Miniature Pylon Racing Association) District 4 Vice President John Sandusky for this tip.
Those are the basics. Assemble them as you will into your own little wagon train, and ride off to a more successful future at your next contest. Gear ho!
Weapons of Mass Construction
Even if you don't build your own models, you may have noticed that many of the materials we use to build, repair, and paint them are smelly, and even dangerous. For years I've wished that I had my own stand-alone workshop building with climate control, a paint booth, a $200 respirator, and a contract for weekly trash pickup by the police department's hazardous-materials truck.
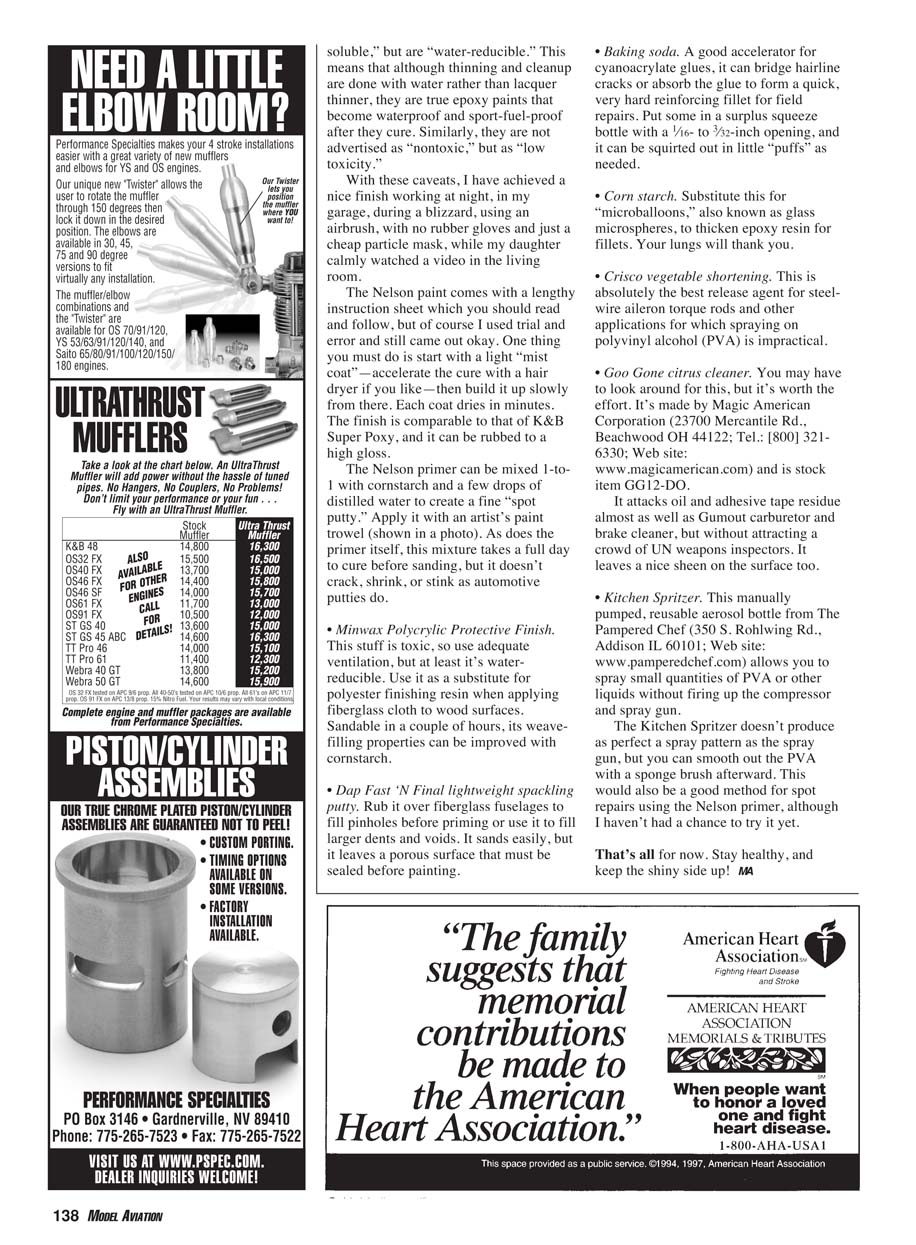
However, as do most hobbyists, I have to make do with the basement or the garage. This works okay except in the winter, when there are other family members around ... Well, you do the math. So lately I've undertaken an attempt to find substitute materials that are nontoxic, or at least water-based or water-reducible. An accompanying photo shows some of them. Following is how they can help.
Nelson paints. These are manufactured by System Three and sold by Jerry Nelson at Nelson Hobby Specialties (2900 S.W. Cornelius Pass Rd. Unit 762, Hillsboro OR 97123; Tel.: [503] 259-8899; Web site: www.nelsonhobby.com). The manufacturer takes pains to emphasize that these paints are not simply water-based: they are water-reducible epoxy-type finishes that become waterproof and sport-fuel-proof after they cure. They are not advertised as "nontoxic," but as "low toxicity."
With these caveats, I have achieved a nice finish working at night, in my garage, during a blizzard, using an airbrush, with no rubber gloves and just a cheap particle mask, while my daughter calmly watched a video in the living room.
The Nelson paint comes with a lengthy instruction sheet which you should read and follow, but of course I used trial and error and still came out okay. One thing you must do is start with a light "mist coat" — accelerate the cure with a hair dryer if you like — then build it up slowly from there. Each coat dries in minutes. The finish is comparable to that of K&B Super Epoxy, and it can be rubbed to a high gloss.
The Nelson primer can be mixed 1-to-1 with cornstarch and a few drops of distilled water to create a fine "spot putty." Apply it with an artist's paint trowel. As does the primer itself, this mixture takes a full day to cure before sanding, but it doesn't crack, shrink, or stink as automotive putties do.
Other useful, lower-toxicity substitutes and shop tips:
- Minwax Polycrylic Protective Finish. This stuff is toxic, so use adequate ventilation, but at least it's water-reducible. Use it as a substitute for polyester finishing resin when applying fiberglass cloth to wood surfaces. Sandable in a couple of hours, its weave-filling properties can be improved with cornstarch.
- Dap Fast 'N Final lightweight spackling putty. Rub it over fiberglass fuselages to fill pinholes before priming or use it to fill larger dents and voids. It sands easily, but it leaves a porous surface that must be sealed before painting.
- Baking soda. A good accelerator for cyanoacrylate glues; it can bridge hairline cracks or absorb the glue to form a quick, very hard reinforcing fillet for field repairs. Put some in a surplus squeeze bottle with a 1/16- to 3/32-inch opening, and it can be squirted out in little "puffs" as needed.
- Corn starch. Substitute this for "microballoons" (glass microspheres) to thicken epoxy resin for fillets. Your lungs will thank you.
- Crisco vegetable shortening. This is absolutely the best release agent for steel-wire aileron torque rods and other applications for which spraying or polyvinyl alcohol (PVA) is impractical.
- Goo Gone citrus cleaner. You may have to look around for this, but it's worth the effort. It's made by Magic American Corporation (23700 Mercantile Rd., Beachwood OH 44122; Tel.: [800] 321-6330; Web site: www.magicamerican.com) and is stock item GC12-DO. It attacks oil and adhesive-tape residue almost as well as carburetor and brake cleaner, but without the fumes. It leaves a nice sheen on the surface too.
- Kitchen Spritzer. This manually pumped, reusable aerosol bottle from The Pampered Chef (350 S. Rohlwing Rd., Addison IL 60101; Web site: www.pamperedchef.com) allows you to spray small quantities of PVA or other liquids without firing up the compressor and spray gun. The Kitchen Spritzer doesn't produce as perfect a spray pattern as the spray gun, but you can smooth out the PVA with a sponge brush afterward. This would also be a good method for spot repairs using the Nelson primer.
That's all for now. Stay healthy, and keep the shiny side up!
MA
Transcribed from original scans by AI. Minor OCR errors may remain.

