
RADIO CONTROL SCALE
Stan Alexander 3709 Valley Ridge Dr., Nashville, TN 37211 E-mail: [email protected]
Rudder use on scale airplanes
Last month I wrote about the takeoff and maneuvers of a Boeing PT-17 Stearman. I mentioned the differences in the aircraft's maneuvers and why they can vary from one takeoff or maneuver to another.
It seems that the rudder is the most misunderstood control surface on a scale airplane. Most modelers have the speed control down, although there are some who still want to zip around at Mach 2. Watch the rudder on takeoff or landing, and on many models you will never see it move.
Many of us who started flying with four-channel models never learned to use the rudder properly in turns, aerobatic maneuvers, or during takeoff and landing. One thing is for sure: if you don't have air flowing over the rudder during takeoff, most models will take off across the runway no matter what you do.
Let's further examine why modelers aren't using the rudder. Many have never flown a three-channel model during their radio-control experience. Many modelers think that the stick on the left side of the transmitter is just a throttle; it isn't.
Put a good three-channel trainer to work and see what the rudder can do for a scale model. You might be surprised. When you go out to fly and consciously think about using the rudder in turns or while taking off and landing your aircraft, you might be surprised to see how your flying skills improve.
Many light civil aircraft need rudder input to make turns coordinated with ailerons. Now you can just flip a switch on the transmitter and the two control surfaces will work together, although it's more fun to do it yourself and see just how much input is enough.
Getting that fine-tuned balance of aileron/rudder in a turn takes practice, and at this time of the year I know that many of us need to get out and practice, myself included. The Piper J-3 Cub almost has to have some rudder in a turn to look like it's flying.
Three-channel trainer example
One model that has been a lot of fun for me through the years is a simple Seniorita. The 63-inch-wingspan airplane is approximately 15 years old now and is still flying on its Enya .19 TV engine. It isn't a powerhouse, but it is a three-channel model and it's relaxing to fly from time to time. Several friends have taken their first flights with the Seniorita, and my son learned to fly and crash with it. But what it taught me more than anything was the use of the rudder and how a three-channel model makes turns and handles near the ground.
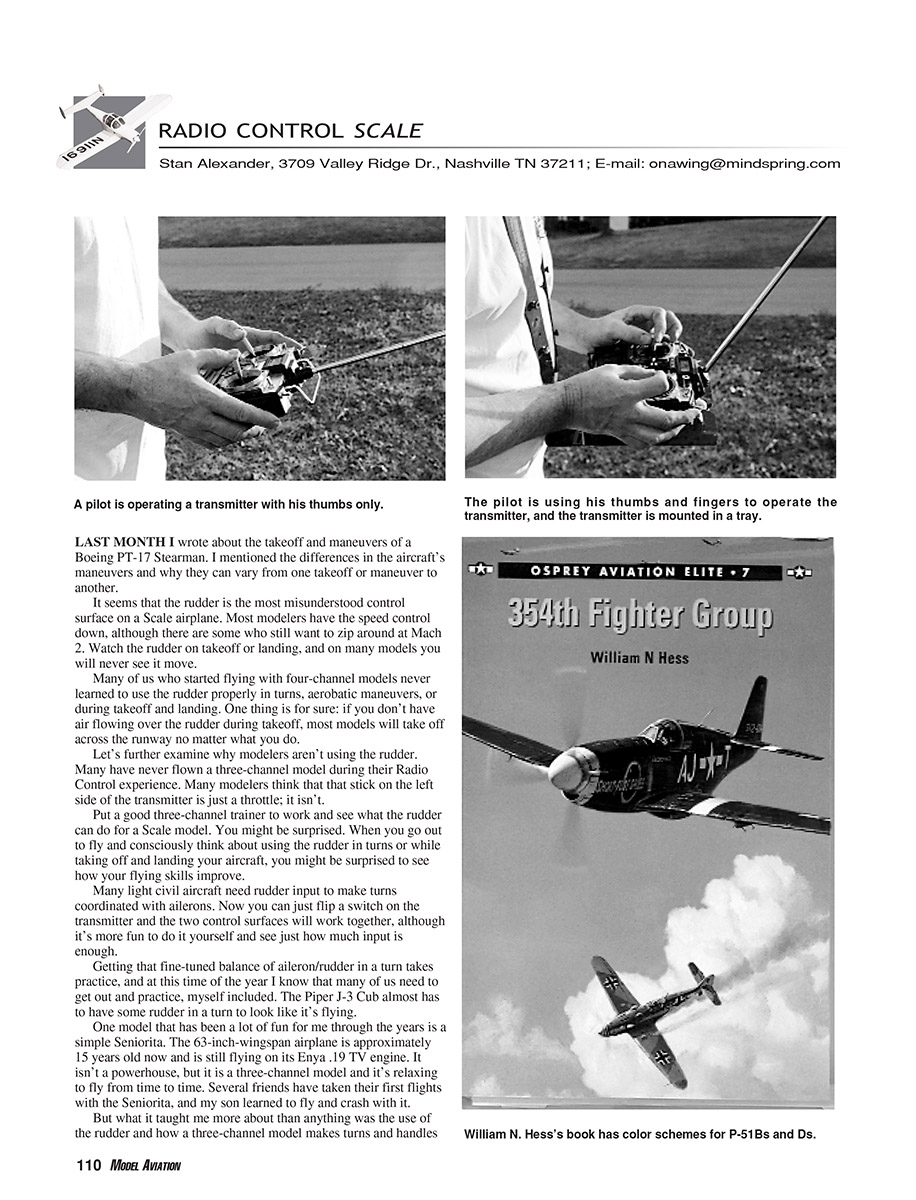
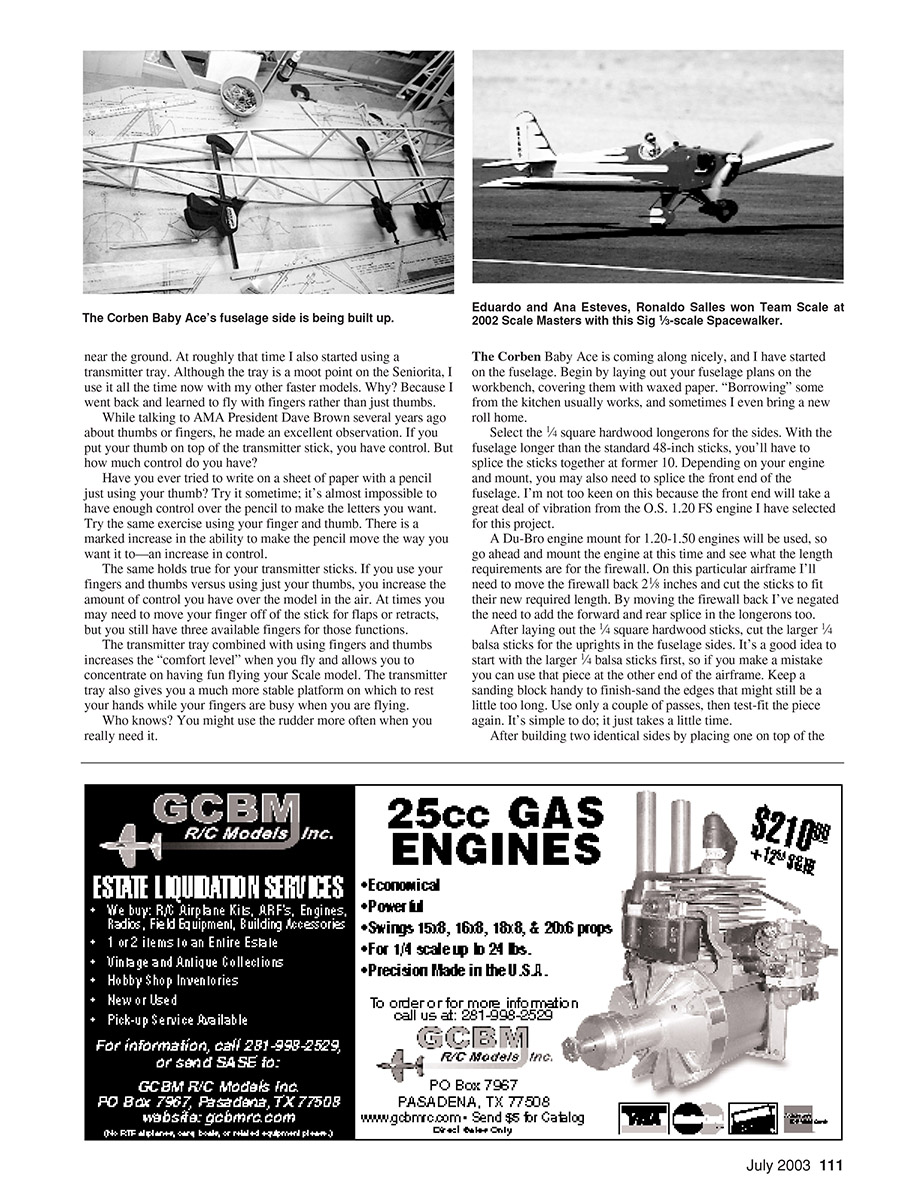
At roughly that time I also started using a transmitter tray. Although the tray is a moot point on the Seniorita, I use it all the time now with my other faster models. Why? Because I went back and learned to fly with fingers rather than just thumbs.
Thumbs versus fingers
While talking to AMA President Dave Brown several years ago about thumbs or fingers, he made an excellent observation. If you put your thumb on top of the transmitter stick, you have control. But how much control do you have? Have you ever tried to write on a sheet of paper with a pencil just using your thumb? Try it sometime; it's almost impossible to have enough control over the pencil to make the letters you want. Try the same exercise using your finger and thumb. There is a marked increase in the ability to make the pencil move the way you want it to—an increase in control. The same holds true for your transmitter sticks.
If you use your fingers and thumbs versus using just your thumbs, you increase the amount of control you have over the model in the air. At times you may need to move your finger off of the stick for flaps or retracts, but you still have three available fingers for those functions. The transmitter tray combined with using fingers and thumbs increases the "comfort level" when you fly and allows you to concentrate on having fun flying your scale model. The transmitter tray also gives you a much more stable platform on which to rest your hands while your fingers are busy when you are flying.
Who knows? You might use the rudder more often when you really need it.
Building the Corben Baby Ace
The Corben Baby Ace is coming along nicely, and I have started on the fuselage. Begin by laying out your fuselage plans on the workbench, covering them with waxed paper. "Borrowing" some from the kitchen usually works, and sometimes I even bring a new roll home.
Select the 1/4-inch square hardwood longerons for the sides. With the fuselage longer than the standard 48-inch sticks, you'll have to splice the sticks together at former 10. Depending on your engine and mount, you may also need to splice the front end of the fuselage. I'm not too keen on this because the front end will take a great deal of vibration from the O.S. 1.20 FS engine I have selected for this project.
A Du-Bro engine mount for 1.20–1.50 engines will be used, so go ahead and mount the engine at this time and see what the length requirements are for the firewall. On this particular airframe I'll need to move the firewall back 2-1/2 inches and cut the sticks to fit their new required length. By moving the firewall back I've negated the need to add the forward and rear splice in the longerons too.
After laying out the 1/4-inch square hardwood sticks, cut the larger 1/4-inch balsa sticks for the uprights in the fuselage sides. It's a good idea to start with the larger 1/4-inch balsa sticks first, so if you make a mistake you can use that piece at the other end of the airframe. Keep a sanding block handy to finish-sand the edges that might still be a little too long. Use only a couple of passes, then test-fit the piece again. It's simple to do; it just takes a little time.
After building two identical sides by placing one on top of the other, put in the crossmembers and the firewall and engine mount. This will complete the basic framework of the fuselage. The next step is to attach the rigging and struts for the parasol-mounted wing.
If you have your cowling picked out, it's a good time to test-fit it. Fiberglass-part manufacturers seem to be disappearing like snow on a summer day. I've really had a time looking for fiberglass parts lately. Precision Fiberglass is gone. Fiberglass Master is gone too, it seems.
Bookshelf
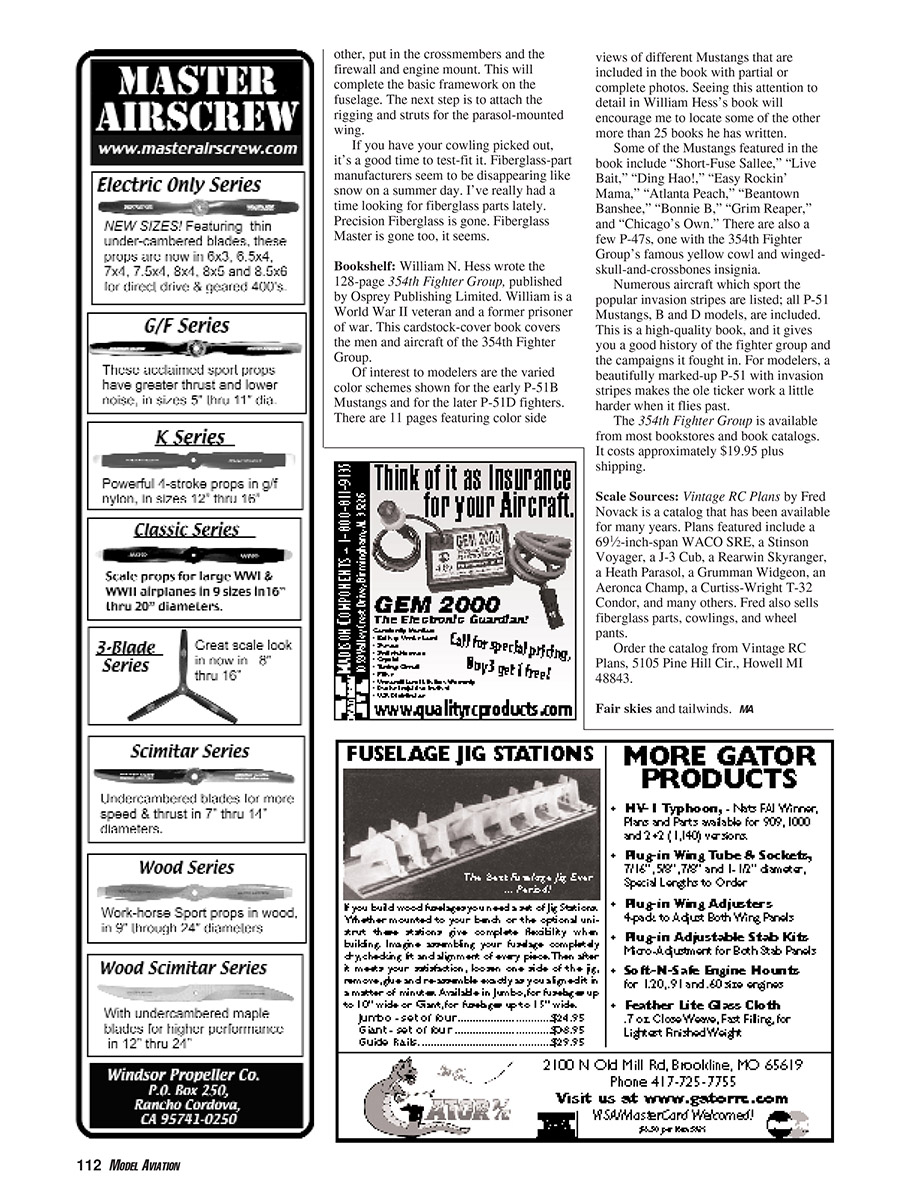
William N. Hess wrote the 128-page 354th Fighter Group, published by Osprey Publishing Limited. William is a World War II veteran and a former prisoner of war. This cardstock-cover book covers the men and aircraft of the 354th Fighter Group.
Of interest to modelers are the varied color schemes shown for the early P-51B Mustangs and for the later P-51D fighters. There are 11 pages featuring color side views of different Mustangs that are included in the book with partial or complete photos. Seeing this attention to detail in William Hess's book will encourage me to locate some of the other more than 25 books he has written.
Some of the Mustangs featured in the book include:
- Short-Fuse Sallee
- Live Bait
- Ding Hao!
- Easy Rockin' Mama
- Atlanta Peach
- Beantown Banshee
- Bonnie B
- Grim Reaper
- Chicago's Own
There are also a few P-47s, one with the 354th Fighter Group's famous yellow cowl and winged-skull-and-crossbones insignia.
Numerous aircraft that sport the popular invasion stripes are listed; all P-51 Mustangs, B and D models, are included. This is a high-quality book, and it gives you a good history of the fighter group and the campaigns it fought in. For modelers, a beautifully marked-up P-51 with invasion stripes makes the ole ticker work a little harder when it flies past.
The 354th Fighter Group is available from most bookstores and book catalogs. It costs approximately $19.95 plus shipping.
Scale sources
Vintage RC Plans by Fred Novack is a catalog that has been available for many years. Plans featured include:
- 69-1/2-inch-span WACO SRE
- Stinson Voyager
- J-3 Cub
- Rearwin Skyranger
- Heath Parasol
- Grumman Widgeon
- Aeronca Champ
- Curtiss-Wright T-32 Condor
- and many others
Fred also sells fiberglass parts, cowlings, and wheel pants.
Order the catalog from Vintage RC Plans, 5105 Pine Hill Cir., Howell, MI 48843.
Fair skies and tailwinds. MA
Transcribed from original scans by AI. Minor OCR errors may remain.

