

Refinishing the Great Planes ElectriFly Fokker Dr.I
Stan Alexander <[email protected]>
As I write this in early November, the US FAI Scale team has been selected for the Scale World Championships that will take place July 10–19 in Poland. This year the RC (F4C) team will be:
- Dave Johnson
- Jack Buckley
- Al Kretz
If you have ever thought of going to Europe, or Poland specifically, for a vacation, this would be the chance of a lifetime for a scale modeler. Contact Lisa Johnson at AMA Headquarters for more information about the team, team manager, etc.
The US Scale Masters Championships was contested October 11–14. I’ll have more information about this competition next month, but the big winner, once again, was veteran scale competitor Dennis Crooks with his big Yellow Aircraft P-38 "California Cutie." This is probably the longest-surviving competition P-38 I can remember. Congratulations, Dennis!
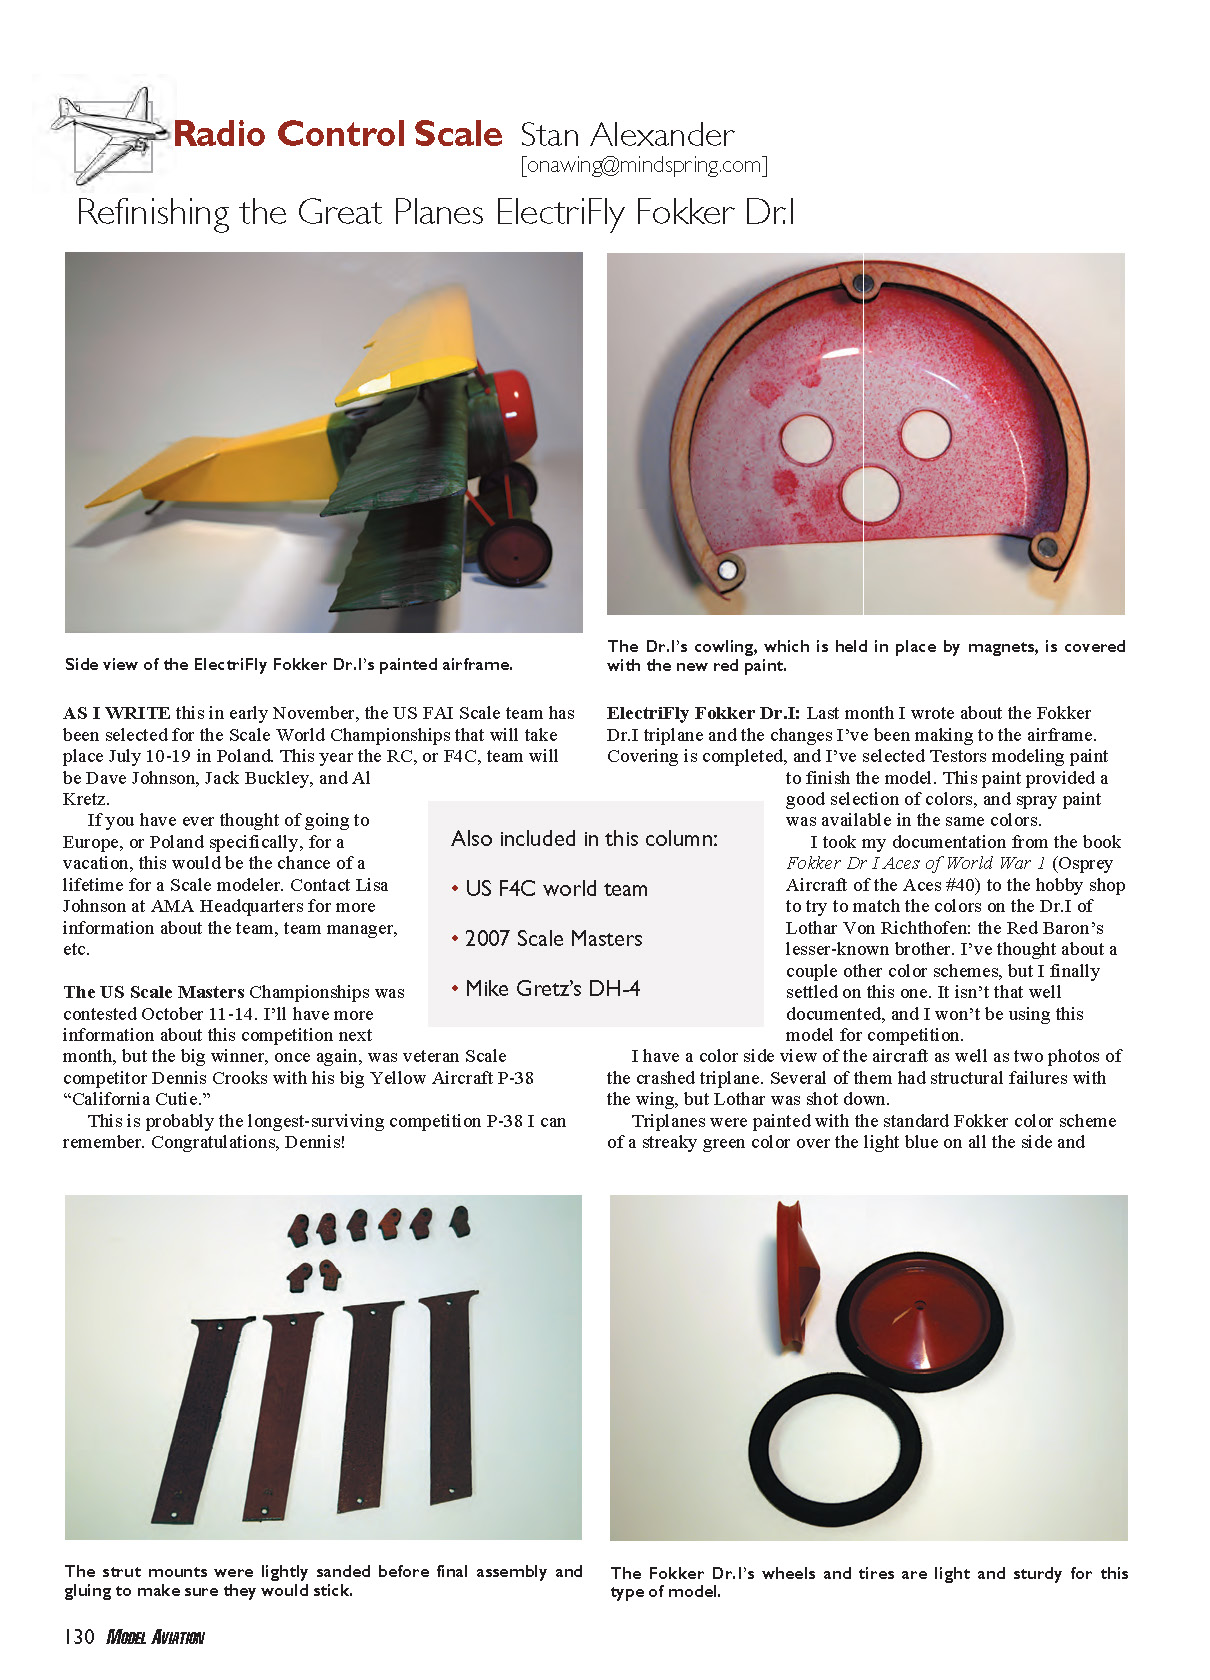
ElectriFly Fokker Dr.I I wrote last month about the Fokker Dr.I triplane and the changes I’ve been making to the airframe. Covering is completed, and I’ve selected Testors modeling paint to finish the model. This paint provided a good selection of colors, and spray paint was available in the same colors.
I used the book Fokker Dr I Aces of World War 1 (Osprey Aircraft of the Aces #40) to match the colors on the Dr.I of Lothar von Richthofen (the Red Baron’s lesser-known brother). I considered a couple other color schemes, but I finally settled on this one. It isn’t that well documented, and I won’t be using this model for competition.
I have a color side view of the aircraft as well as two photos of the crashed triplane. Several of those aircraft had structural failures with the wing, but Lothar was shot down.
Triplanes were painted with the standard Fokker color scheme of a streaky green over a light blue on all the side and upper surfaces. The undersides of most aircraft of the time were left a light or sky blue. Crews and pilots personalized the airplanes when they were sent to the front; those markings were used as much for individual identification as anything. The Red Baron’s Jasta 11 was called the Flying Circus because of the group’s bright, multicolored aircraft. Depending on what you read, theories about the name vary. Some say Jasta 11 was called the Flying Circus because German command moved the unit to whatever hot spot received the most action. Baron von Richthofen’s own aircraft were not all red; several had red elements, but the entire aircraft wasn’t that color. He had several triplanes—not just the one we see in all the photos or drawings.
Why did I choose this color combination? It’s multicolored and shows up better in the air than an all-red airplane or an all-streaky-green model.
Painting preparations
- Use a tack rag to clean the part you are about to paint.
- Locate all the hinge and panel holes and punch them through before painting; they will be hard to find afterward.
- Start by painting the bottom of the wings and all control surfaces light blue. Make even passes across the surface.
- When using spray paint, don’t squeeze the button right at the point you begin painting; start spraying roughly a foot before the surface to get an even flow.
After the wings (all three) and other surfaces are coated, paint the fuselage light blue.
Creating the streaky green effect I wanted to duplicate the streaky-paint look of the full-scale Fokker. Using a rag occurred to me, but I decided instead to try foam insulation packing from an electronic product. Keep bits of foam like that for projects—they often come in handy.
I cut the foam into a square approximately 1/2 inch wide and 2 inches long. That provides a similar stroke to the brush used on the full-scale aircraft. (If you were painting a 1/4-scale model you could use a 2-inch paintbrush.)
Begin painting the streaky green at the leading edge (LE). Pour paint into an epoxy-mixing cup so it’s easier to apply. Dab paint onto the square tip of the foam and press most of it out—too much paint makes a mess. Dab the foam at the LE to make a starting point for the upper-surface streaks, then make full strokes from the LE to the trailing edge (TE) in each pass. If you start in the middle of a rib, the paint will show that; the full-scale Fokker’s paint appears to have gone from LE to TE in one long stroke.
After the paint dried I noticed the covering had crinkled on all the open bays on the fuselage and flying surfaces. I wasn’t sure if the fabric would take a heat gun, but it did. Apply heat sparingly to correct wrinkles.
Masking and additional colors Don’t use masking tape or any other tape on this covering with Testors enamel—the tape will pull the paint off. To mask different surfaces I used sheets of notebook paper and wore a latex glove on my paint hand to press the paper down.
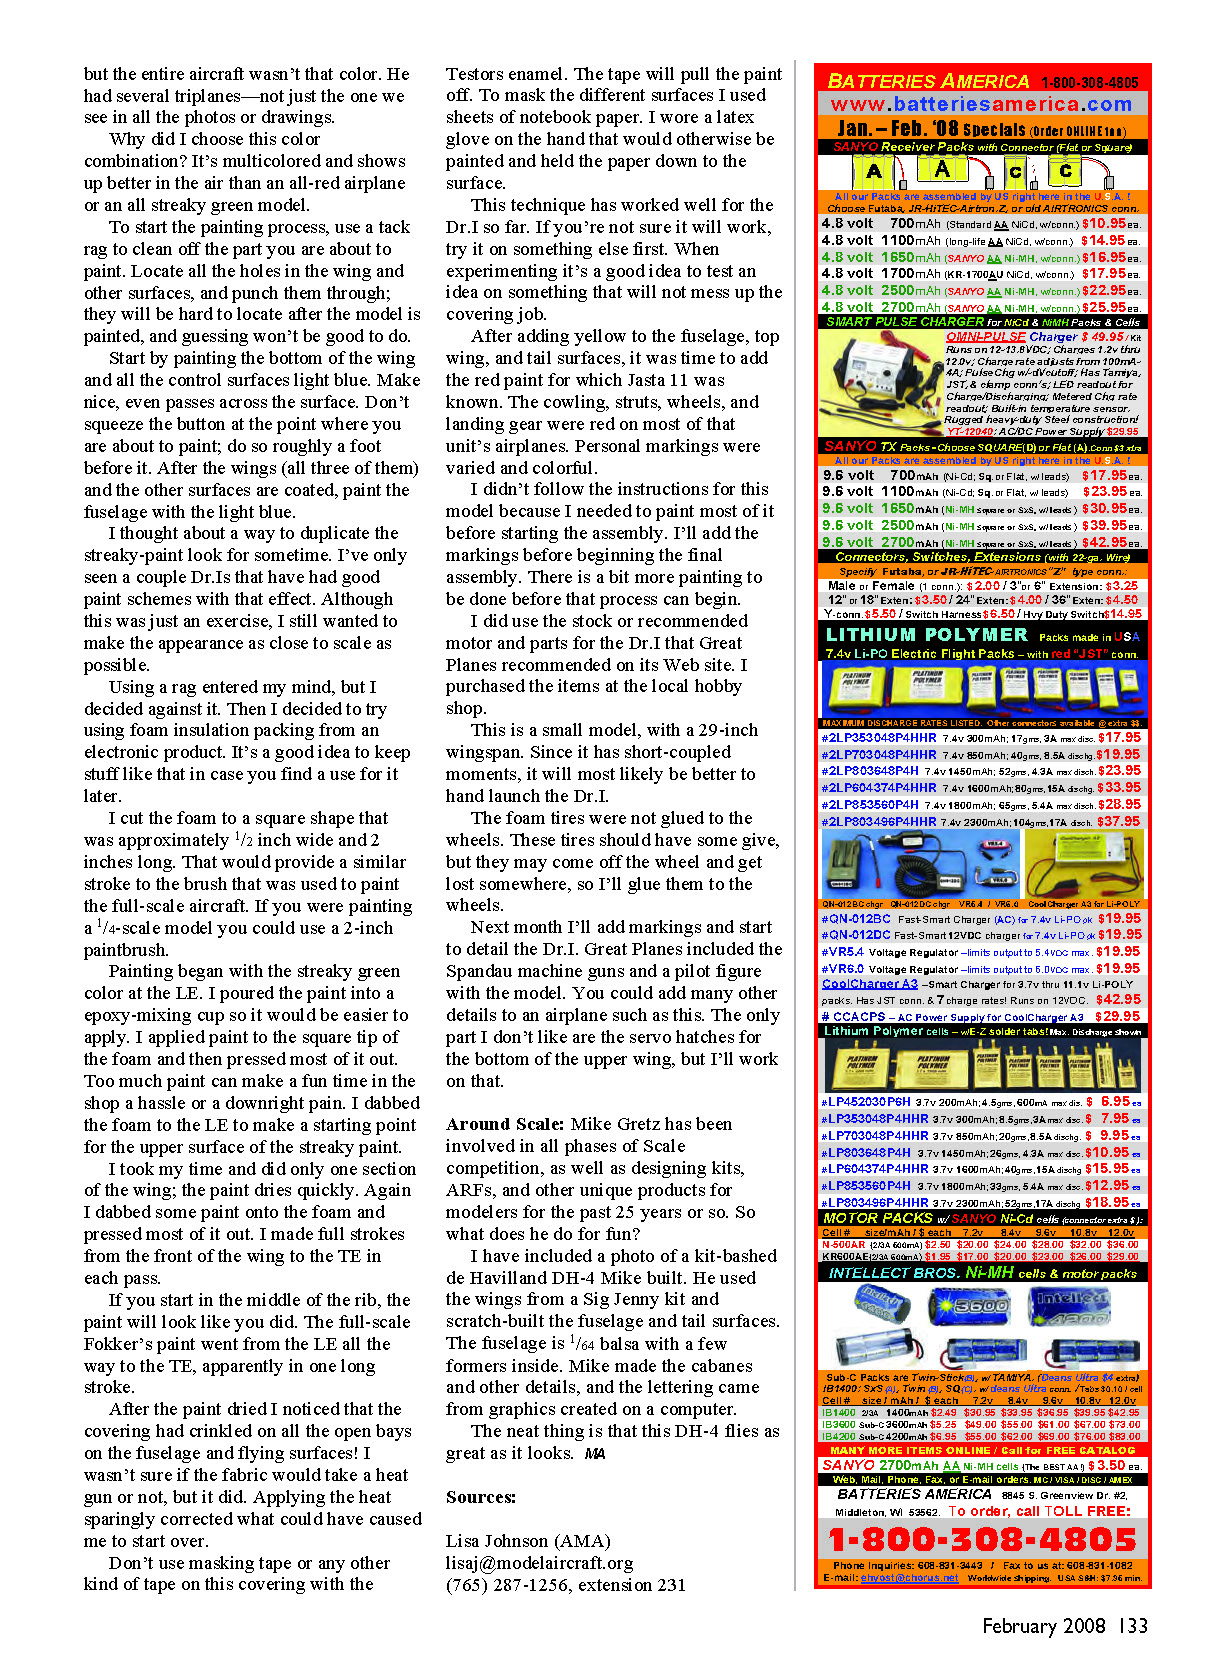
After adding yellow to the fuselage, top wing, and tail surfaces, it was time to add the red paint for which Jasta 11 was known. The cowling, struts, wheels, and landing gear were red on most of the unit’s airplanes. Personal markings were varied and colorful.
Assembly and hardware I didn’t follow the kit’s instructions because I needed to paint most of it before assembly. I’ll add the markings before final assembly; there is more painting to do before that begins.
I used the stock motor and parts Great Planes recommended on its website, purchased at the local hobby shop.
This is a small model, with a 29-inch wingspan. Since it has short-coupled moments, it will most likely be better to hand-launch the Dr.I.
The foam tires were not glued to the wheels. These tires should have some give, but they may come off and get lost, so I’ll glue them to the wheels.
Next month I’ll add markings and start to detail the Dr.I. Great Planes included Spandau machine guns and a pilot figure with the model. You can add many other details to an airplane such as this. The only part I don’t like are the servo hatches on the bottom of the upper wing, but I’ll work on that.
Around Scale
Mike Gretz has been involved in all phases of scale competition, as well as designing kits, ARFs, and other unique products for modelers for the past 25 years or so. So what does he do for fun?
I have included a photo of a kit-bashed de Havilland DH-4 Mike built. He used the wings from a Sig Jenny kit and scratch-built the fuselage and tail surfaces. The fuselage is 1/64 balsa with a few formers inside. Mike made the cabanes and other details, and the lettering came from graphics created on a computer.
The neat thing is that this DH-4 flies as great as it looks.
Sources
- Lisa Johnson (AMA)
Email: [email protected] Phone: (765) 287-1256, ext. 231
Transcribed from original scans by AI. Minor OCR errors may remain.

