
RADIO CONTROL SCALE AEROBATICS
Mike Hurley 11542 Decatur Ct., Westminster CO 80234 E-mail: [email protected]
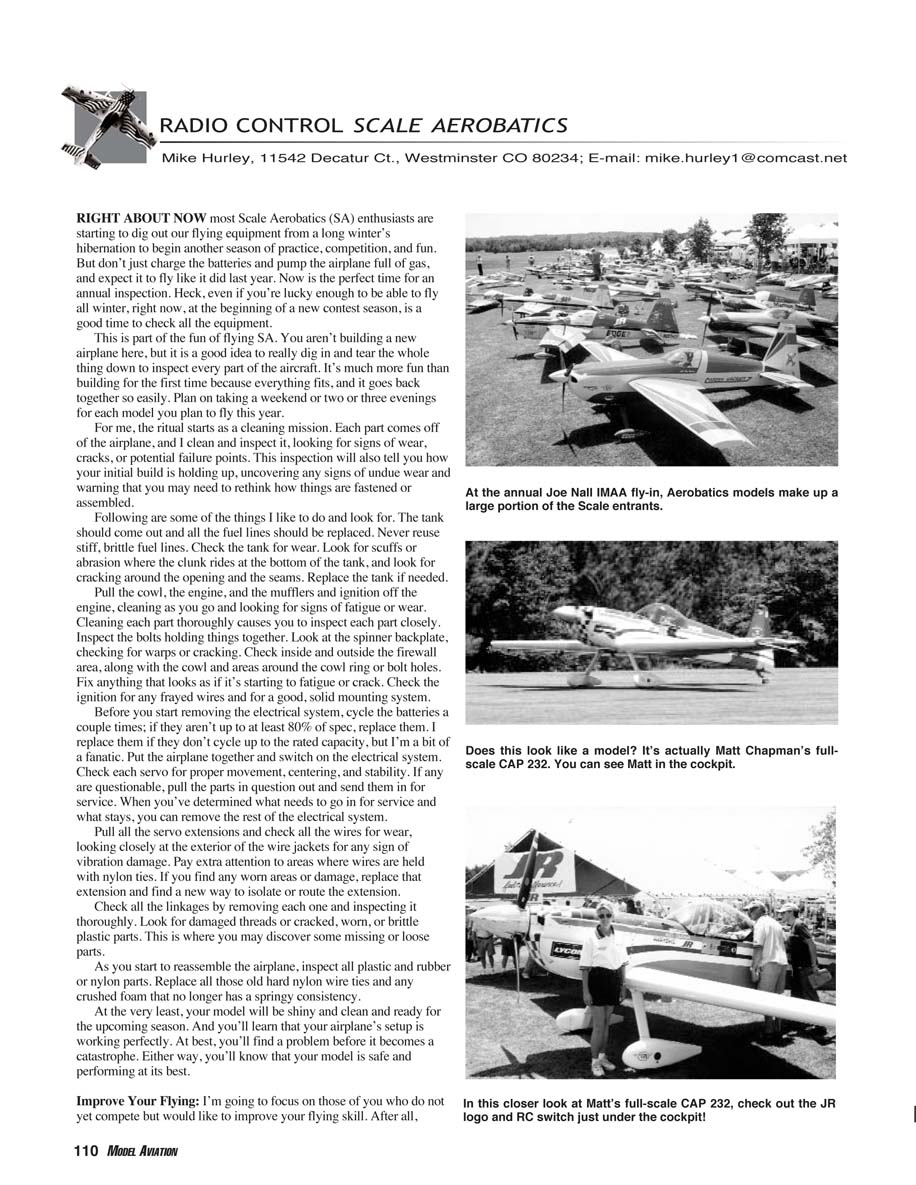
RIGHT ABOUT NOW most Scale Aerobatics (SA) enthusiasts are starting to dig out our flying equipment from a long winter’s hibernation to begin another season of practice, competition, and fun. But don’t just charge the batteries and pump the airplane full of gas and expect it to fly like it did last year. Now is the perfect time for an annual inspection. Heck, even if you’re lucky enough to be able to fly all winter, right now, at the beginning of a new contest season, is a good time to check all the equipment.
This is part of the fun of flying SA. You aren’t building a new airplane here, but it is a good idea to really dig in and tear the whole thing down to inspect every part of the aircraft. It’s much more fun than building for the first time because everything fits, and it goes back together so easily. Plan on taking a weekend or two or three evenings for each model you plan to fly this year.
For me, the ritual starts as a cleaning mission. Each part comes off the airplane, and I clean and inspect it, looking for signs of wear, cracks, or potential failure points. This inspection will also tell you how your initial build is holding up, uncovering any signs of undue wear and warning that you may need to rethink how things are fastened or assembled.
Annual inspection checklist
- Fuel tank and lines
- Remove the tank and replace all fuel lines. Never reuse stiff, brittle fuel lines.
- Check the tank for wear: scuffs or abrasion where the clunk rides, and cracking around the opening and seams. Replace the tank if needed.
- Engine, cowl, mufflers, ignition
- Pull the cowl, engine, mufflers, and ignition off the engine. Clean each part thoroughly while inspecting for fatigue or wear.
- Inspect bolts, the spinner backplate (for warps or cracking), the firewall area, the cowl, cowl ring, and bolt holes. Fix anything showing fatigue or cracking.
- Check the ignition for frayed wires and ensure a solid mounting system.
- Electrical system and batteries
- Before removing the electrical system, cycle the batteries a couple of times. If they aren’t up to at least 80% of spec, replace them. Replace if they don’t cycle up to the rated capacity.
- Reassemble the airplane and switch on the electrical system. Check each servo for proper movement, centering, and stability. Send any questionable servos in for service.
- Wiring and extensions
- Pull all servo extensions and inspect wires for wear. Look closely at the exterior of the wire jackets for vibration damage.
- Pay extra attention to areas where wires are held with nylon ties. Replace damaged extensions and find better routing or isolation for them.
- Linkages and mechanicals
- Remove and inspect each linkage thoroughly. Look for damaged threads, cracked, worn, or brittle plastic parts. This is also where you may discover missing or loose parts.
- Small parts and finishes
- Inspect all plastic, rubber, and nylon parts. Replace old hard nylon wire ties and any crushed foam that no longer has springy consistency.
At the very least, your model will be shiny, clean, and ready for the upcoming season. You’ll learn that your airplane’s setup is working perfectly. At best, you’ll find a problem before it becomes a catastrophe. Either way, you’ll know your model is safe and performing at its best.
Improve Your Flying
I’m going to focus on those of you who do not yet compete but would like to improve your flying skill. After all, flying skill is what the Aerobatics part of SA is all about. We all like to wring it out a bit and show our stuff, but after a while we tend to get to a certain level and then stagnate, flying the same maneuvers without much improvement.
When I moved to the East Coast I had almost two seasons as a new pilot under my belt. I had my local heroes—pilots who could bore holes in the sky like I could not believe! Those guys were the hotshots of the club, and I really looked up to them.
My time on the East Coast lent itself very well to RC, and I became involved in the International Miniature Aerobatic Club (IMAC). As the years went by, I progressed through the classes and became more proficient and disciplined. After roughly four years it was time to move back home to Colorado, and I was excited to see the old gang and continue flying in competition.
My flying had changed a lot, and I fully expected that most of the pilots from home had also improved. It was quite an eye-opening experience to see my old heroes not only flying the same old maneuvers, but flying them with the same airplanes and the same mistakes they had been making for years! If there was any change, it was most likely that they didn't fly as well as they had four or five years earlier.
Before anyone gets upset, I'm not writing about specific people, but about modelers in general. We get to a certain comfort level and don't push to go any further. Without any motivation or goal, we tend to get to a point and think we are content.
There's a surefire way to push yourself beyond that point and become a much better flier than you ever thought possible: begin a regimen of practicing the IMAC sequences. You don't have to go to a contest and actually compete, but when you start to see so much improvement I'd bet you'd enjoy that part of the experience too.
You’ll start to realize that the loop you've been doing for years looks like an oblong corkscrew, your roll won't maintain altitude, and you can't even fly a straight and level line. A perfect straight line transitioned into another straight line is one of the hardest things to learn!
Starting a practice schedule of learning the IMAC Basic or Sportsman sequences will make you a better flier so fast that your friends won't believe the improvements. You'll see a difference every week you practice. But remember that you have to practice as if you want to compete—like you will be scored. In other words, yes, there will be a test! Each season new maneuvers will be presented to you that offer new challenges while giving you time to perfect them before you move to the next sequences. Soon you'll be learning new ways to fly interesting figures like nobody in your club.
I like to say that a flier can actually reach the point of RC piloting Zen. Most of us know how to position the sticks to execute most any figure, but we tend to move the sticks into position and time the exit to neutralize the sticks. We are really only positioning the sticks and watching the airplane fly, only partially participating in the act.
You reach Zen when you can actually fly the airplane through the figure, correcting heading, altitude, and positioning as it moves through the air. You become one with the airplane and it becomes, in essence, an extension of yourself. Sound corny? Then you aren't there yet. But when you get there, you'll be nodding your head as you read this and understand your personal RC-flying chi.
MH
Transcribed from original scans by AI. Minor OCR errors may remain.

