
RADIO CONTROL SCALE AEROBATICS
Mike Hurley
11542 Decatur Ct., Westminster CO 80234 E-mail: [email protected]
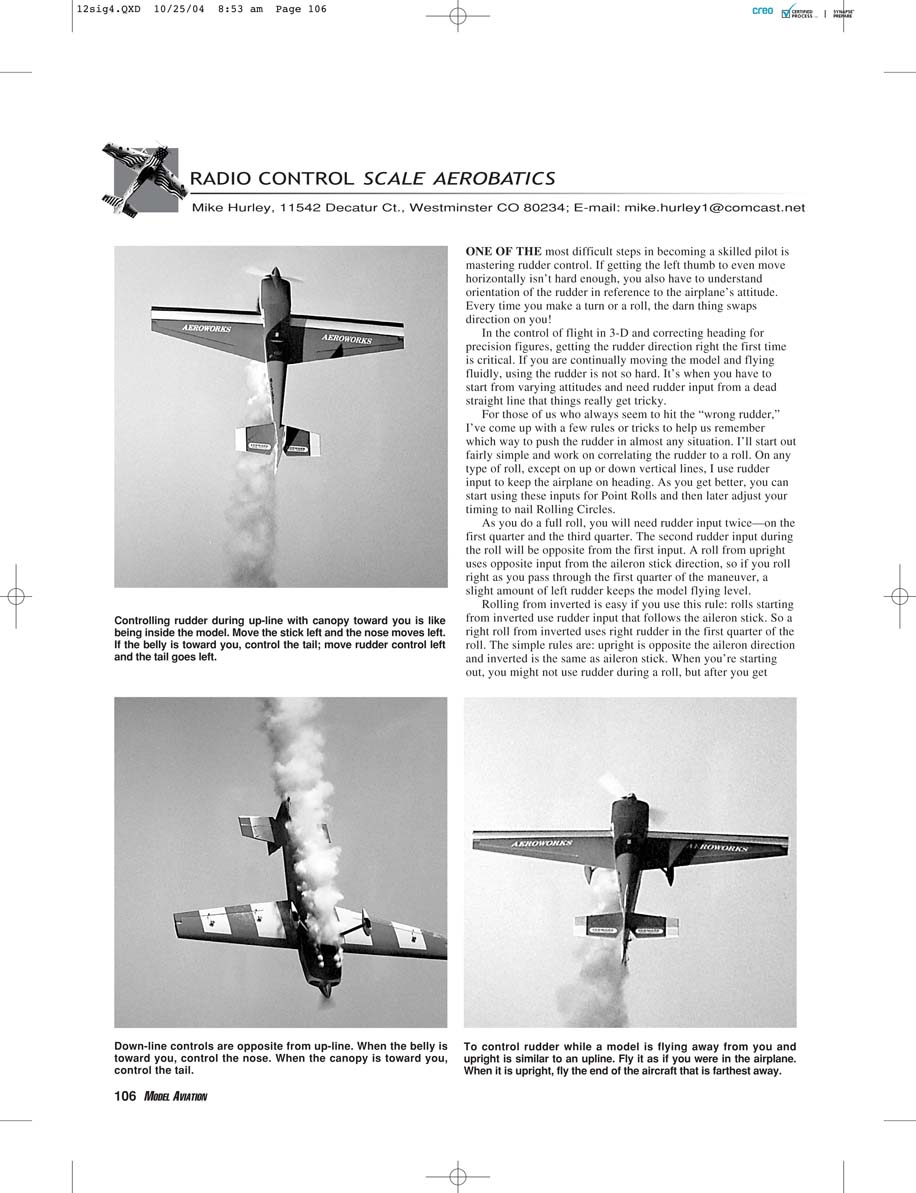
One of the most difficult steps in becoming a skilled pilot is mastering rudder control. If getting the left thumb to even move horizontally isn't hard enough, you also have to understand the orientation of the rudder in reference to the airplane's attitude. Every time you make a turn or a roll, the darn thing seems to swap direction on you!
In 3-D flight and when correcting heading for precision figures, getting the rudder direction right the first time is critical. If you are continually moving the model and flying fluidly, using the rudder is not so hard. It's when you have to start from varying attitudes and need rudder input from a dead straight line that things really get tricky.
For those of us who always seem to hit the "wrong rudder," I've come up with a few rules and tricks to help remember which way to push the rudder in almost any situation. I'll start fairly simple and then correlate rudder to a roll. On any type of roll, except on up or down vertical lines, I use rudder input to keep the airplane on heading. As you get better, you can start using these inputs for point rolls and then later adjust your timing to nail rolling circles.
Rudder and Rolls
As you do a full roll you will need rudder input twice — on the first quarter and the third quarter. The second rudder input during the roll will be opposite the first input.
- Rolls starting from upright: use rudder input opposite the aileron stick direction.
- Example: if you roll right as you pass through the first quarter of the maneuver, a slight left rudder keeps the model flying level.
- Rolls starting from inverted: use rudder input that follows the aileron stick.
- Example: a right roll from inverted uses right rudder in the first quarter of the roll.
When you're starting out you might not use rudder during a roll, but after you get more comfortable these rules will help you make consistent corrections.
Down-Lines and Orientation
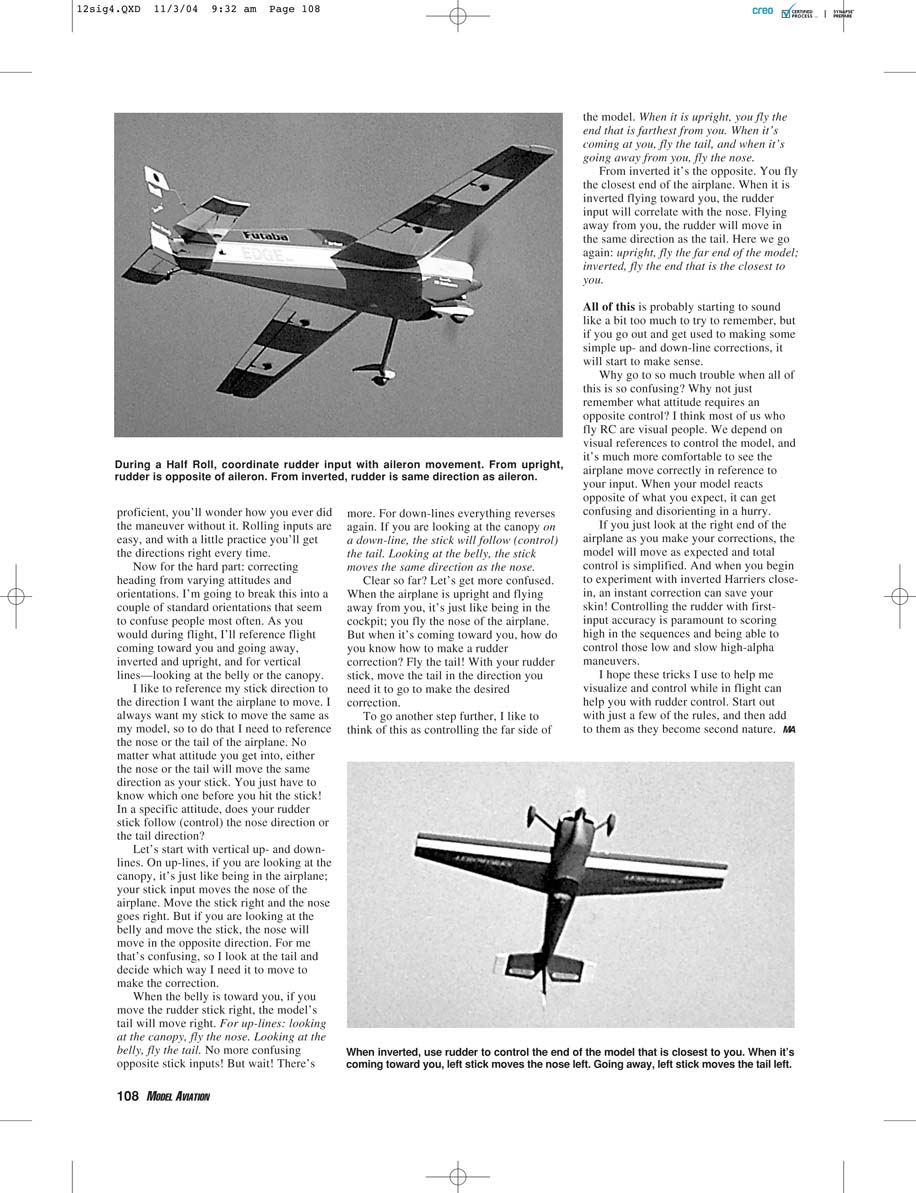
For down-lines everything reverses again. If you are looking at the canopy on a down-line, the stick will follow (control) the tail. If you are looking at the belly, the stick moves the same direction as the nose.
When the airplane is upright and flying away from you, it's just like being in the cockpit: you fly the nose of the airplane. But when it's coming toward you, how do you know how to make a rudder correction? Fly the tail. With your rudder stick, move the tail in the direction you need it to go to make the desired correction.
To simplify this, think of controlling the far side of the model:
- Upright: fly the end that is farthest from you.
- When upright and flying away, fly the nose.
- When upright and coming toward you, fly the tail.
- Inverted: fly the end that is closest to you.
- When inverted and coming toward you, the rudder input will correlate with the nose.
- When inverted and flying away from you, the rudder will move in the same direction as the tail.
Repeat: upright — fly the far end of the model; inverted — fly the closest end of the model.
Tips and Practice
All of this may sound like a lot to remember, but if you go out and practice simple up- and down-line corrections it will start to make sense. Why go to so much trouble when it seems confusing? Because most of us who fly RC are visual people. We depend on visual references to control the model, and it's much more comfortable to see the airplane move correctly in reference to your input. When your model reacts opposite of what you expect, it can get confusing and disorienting quickly.
If you just look at the right end of the airplane as you make your corrections, the model will move as expected and total control is simplified. And when you begin to experiment with inverted Harriers closer in, an instant correction can save your skin! Controlling the rudder with first-input accuracy is paramount to scoring high in sequences and being able to control those low-and-slow, high-alpha maneuvers.
I hope these tricks I use to help visualize and control while in flight can help you with rudder control. Start with just a few of the rules, then add to them as they become second nature.
MA
Transcribed from original scans by AI. Minor OCR errors may remain.

