
RADIO CONTROL SCALE AEROBATICS
Mike Hurley, 11542 Decatur Ct., Westminster CO 80234; E-mail: [email protected]
WHAT IF, from the beginning, you learned to fly RC with the radio upside-down? Then two years later someone said you needed to turn it over and fly right-side up? It would probably be tough because you learned all of the habits the wrong way.
Flying an airplane that is not fully trimmed is almost as bad. You get into the habit of correcting for poor flying characteristics and end up chasing the model around the sky during the whole flight. Then when you move to a new airplane, you have to start over and learn how to compensate for its different set of problems.
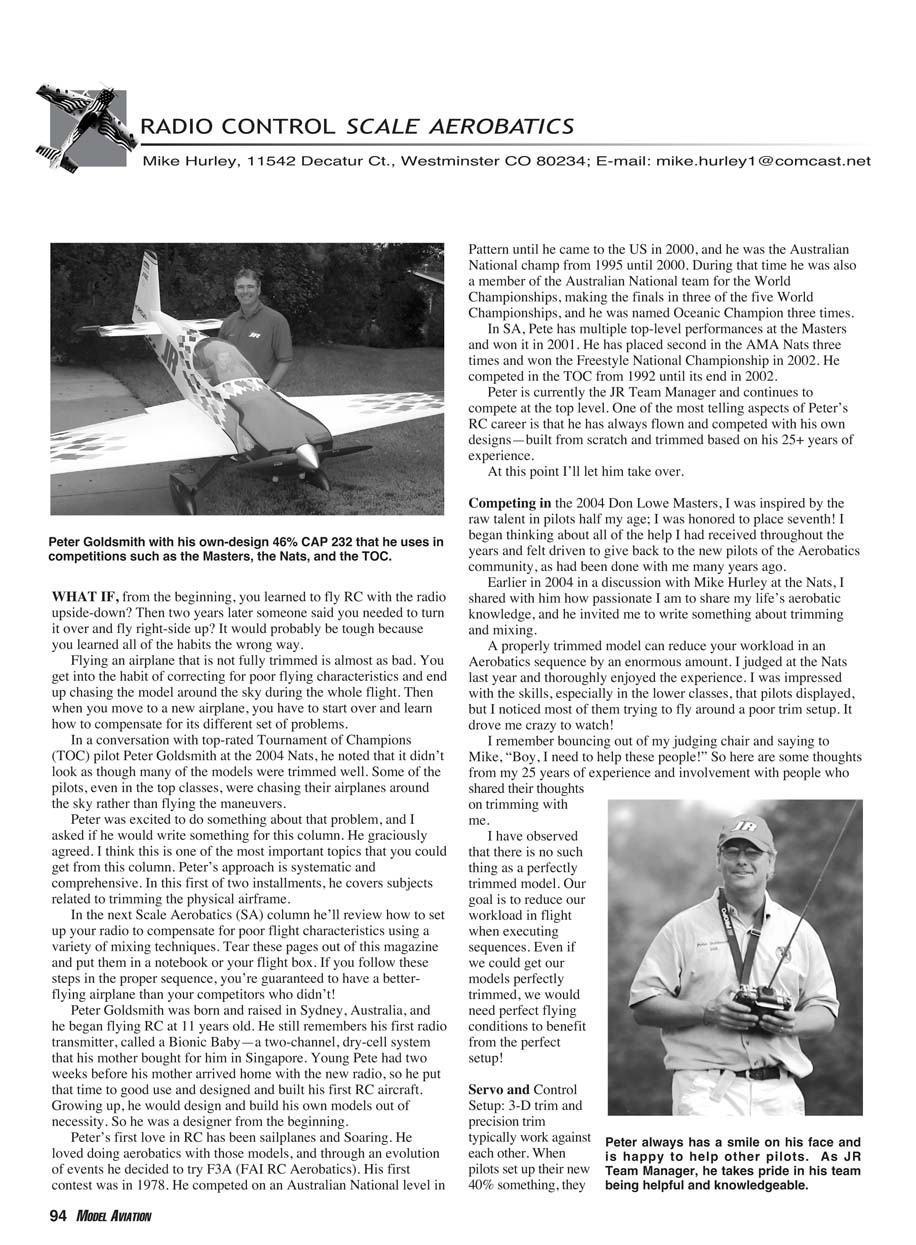
In a conversation with top-rated Tournament of Champions (TOC) pilot Peter Goldsmith at the 2004 Nats, he noted that it didn't look as though many of the models were trimmed well. Some of the pilots, even in the top classes, were chasing their airplanes around the sky rather than flying the maneuvers.
Peter was excited to do something about that problem, and I asked if he would write something for this column. He graciously agreed. I think this is one of the most important topics that you could get from this column. Peter's approach is systematic and comprehensive. In this first of two installments, he covers subjects related to trimming the physical airframe.
In the next Scale Aerobatics (SA) column he'll review how to set up your radio to compensate for poor flight characteristics using a variety of mixing techniques. Tear these pages out of this magazine and put them in a notebook or your flight box. If you follow these steps in the proper sequence, you're guaranteed to have a better-flying airplane than your competitors who didn't!
Peter Goldsmith was born and raised in Sydney, Australia, and he began flying RC at 11 years old. He still remembers his first radio transmitter, called a Bionic Baby — a two-channel, dry-cell system that his mother bought for him in Singapore. Young Pete had two weeks before his mother arrived home with the new radio, so he put that time to good use and designed and built his first RC aircraft. Growing up, he would design and build his own models out of necessity. So he was a designer from the beginning.
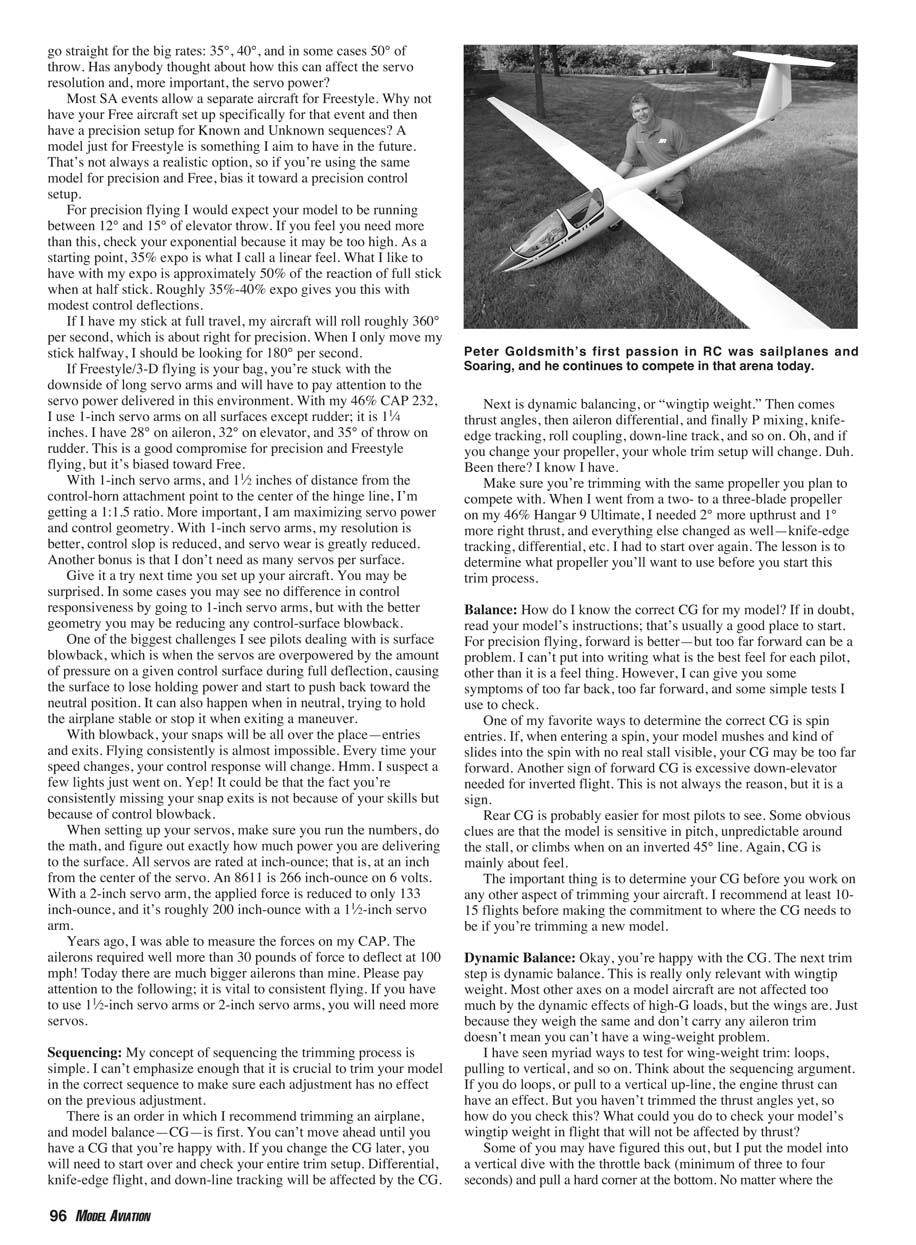
Peter's first love in RC has been sailplanes and soaring. He loved doing aerobatics with those models, and through an evolution of events he decided to try F3A (FAI RC Aerobatics). His first contest was in 1978. He competed on an Australian national level in Pattern until he came to the US in 2000, and he was the Australian national champ from 1995 until 2000. During that time he was also a member of the Australian national team for the World Championships, making the finals in three of the five World Championships, and he was named Oceanic Champion three times.
In SA, Pete has multiple top-level performances at the Masters and won it in 2001. He has placed second in the AMA Nats three times and won the Freestyle National Championship in 2002. He competed in the TOC from 1992 until its end in 2002.
Peter is currently the JR Team Manager and continues to compete at the top level. One of the most telling aspects of Peter's RC career is that he has always flown and competed with his own designs—built from scratch and trimmed based on his 25+ years of experience.
At this point I'll let him take over.
Competing in the 2004 Don Lowe Masters, I was inspired by the raw talent in pilots half my age; I was honored to place seventh! I began thinking about all of the help I had received throughout the years and felt driven to give back to the new pilots of the aerobatics community, as had been done with me many years ago.
Earlier in 2004 in a discussion with Mike Hurley at the Nats, I shared with him how passionate I am to share my life's aerobatic knowledge, and he invited me to write something about trimming and mixing.
A properly trimmed model can reduce your workload in an aerobatics sequence by an enormous amount. I judged at the Nats last year and thoroughly enjoyed the experience. I was impressed with the skills, especially in the lower classes, that pilots displayed, but I noticed most of them trying to fly around a poor trim setup. It drove me crazy to watch!
I remember bouncing out of my judging chair and saying to Mike, "Boy, I need to help these people!" So here are some thoughts from my 25 years of experience and involvement with people who shared their thoughts on trimming with me.
I have observed that there is no such thing as a perfectly trimmed model. Our goal is to reduce our workload in flight when executing sequences. Even if we could get our models perfectly trimmed, we would need perfect flying conditions to benefit from the perfect setup!
Servo and Control Setup
3-D trim and precision trim typically work against each other. When pilots set up their new 40%-something models, they go straight for the big rates: 35°, 40°, and in some cases 50° of throw. Has anybody thought about how this can affect the servo resolution and, more important, the servo power?
Most SA events allow a separate aircraft for Freestyle. Why not have your Freestyle aircraft set up specifically for that event and then have a precision setup for Known and Unknown sequences? A model just for Freestyle is something I aim to have in the future. That's not always a realistic option, so if you're using the same model for precision and Free, bias it toward a precision control setup.
For precision flying I would expect your model to be running between 12° and 15° of elevator throw. If you feel you need more than this, check your exponential because it may be too high. As a starting point, 35% expo is what I call a linear feel. What I like to have with my expo is approximately 50% of the reaction of full stick when at half stick. Roughly 35%–40% expo gives you this with modest control deflections.
If I have my stick at full travel, my aircraft will roll roughly 360° per second, which is about right for precision. When I only move my stick halfway, I should be looking for 180° per second.
If Freestyle/3-D flying is your bag, you're stuck with the downside of long servo arms and will have to pay attention to the servo power delivered in this environment. With my 46% CAP 232, I use 1-inch servo arms on all surfaces except the rudder; the rudder arm is 1 1/4 inches. I have:
- 28° aileron throw
- 32° elevator throw
- 35° rudder throw
This is a good compromise for precision and Freestyle flying, but it's biased toward Free.
With 1-inch servo arms and 1 1/8 inches of distance from the control-horn attachment point to the center of the hinge line, I'm getting about a 1:1.5 ratio. More important, I am maximizing servo power and control geometry. With 1-inch servo arms, my resolution is better, control slop is reduced, and servo wear is greatly reduced. Another bonus is that I don't need as many servos per surface.
Give it a try next time you set up your aircraft. You may be surprised. In some cases you may see no difference in control responsiveness by going to 1-inch servo arms, but with the better geometry you may be reducing any control-surface blowback.
One of the biggest challenges I see pilots dealing with is surface blowback, which is when the servos are overpowered by the amount of pressure on a given control surface during full deflection, causing the surface to lose holding power and start to push back toward the neutral position. It can also happen when in neutral, trying to hold the airplane stable or stop it when exiting a maneuver.
With blowback, your snaps will be all over the place—entries and exits. Flying consistently is almost impossible. Every time your speed changes, your control response will change. It could be that the fact you're consistently missing your snap exits is not because of your skills but because of control blowback.
When setting up your servos, make sure you run the numbers, do the math, and figure out exactly how much power you are delivering to the surface. All servos are rated in inch-ounces; that rating is at one inch from the center of the servo. An 8611 is 266 inch-ounces on 6 volts. With a 2-inch servo arm, the applied force is reduced to only 133 inch-ounces, and it's roughly 200 inch-ounces with a 1 1/2-inch servo arm.
Years ago, I was able to measure the forces on my CAP. The ailerons required well more than 30 pounds of force to deflect at 100 mph! Today there are much bigger ailerons than mine. Please pay attention to the following; it is vital to consistent flying. If you have to use 1 1/2-inch or 2-inch servo arms, you will need more servos.
Sequencing
My concept of sequencing the trimming process is simple. I can't emphasize enough that it is crucial to trim your model in the correct sequence to make sure each adjustment has no effect on the previous adjustment.
There is an order in which I recommend trimming an airplane. The sequence I use is:
- Model balance (CG)
- Dynamic balancing (wingtip weight)
- Thrust angles
- Aileron differential
- P mixing (aileron-to-rudder)
- Knife-edge tracking
- Roll coupling checks
- Down-line tracking
- Final checks and fine-tuning
If you change the CG later, you will need to start over and check your entire trim setup. Differential, knife-edge flight, and down-line tracking will be affected by the CG.
Also: if you change your propeller, your whole trim setup will change. Make sure you're trimming with the same propeller you plan to compete with. When I went from a two- to a three-blade prop on my 46% Hangar 9 Ultimate, I needed 2° more upthrust and 1° more right thrust, and everything else changed—knife-edge tracking, differential, etc. I had to start over again. Determine the propeller you'll want to use before you start this trim process.
Balance
How do I know the correct CG for my model? If in doubt, read your model's instructions; that's usually a good place to start. For precision flying, a slightly forward CG is better—but too far forward can be a problem. CG is largely a "feel" thing, but there are symptoms of being too far forward or too far back and simple tests you can use.
One of my favorite ways to determine the correct CG is spin entries. If, when entering a spin, your model mushes and kind of slides into the spin with no real stall visible, your CG may be too far forward. Another sign of forward CG is excessive down-elevator needed for inverted flight. This is not always the reason, but it is a sign.
Rear CG is probably easier to see. Some obvious clues are that the model is sensitive in pitch, unpredictable around the stall, or climbs when on an inverted 45° line. Again, CG is mainly about feel.
The important thing is to determine your CG before you work on any other aspect of trimming your aircraft. I recommend at least 10–15 flights before making the commitment to where the CG needs to be if you're trimming a new model.
Dynamic Balance
Okay, you're happy with the CG. The next trim step is dynamic balance. This is really only relevant to wingtip weight. Most other axes on a model aircraft are not affected too much by the dynamic effects of high-G loads, but the wings are. Just because the wings weigh the same and don't carry any aileron trim doesn't mean you can't have a wing-weight problem.
I have seen myriad ways to test for wing-weight trim: loops, pulling to vertical, and so on. Think about the sequencing argument. If you do loops, or pull to a vertical up-line, the engine thrust can have an effect. But you haven't trimmed the thrust angles yet, so how do you check this? What could you do to check your model's wingtip weight in flight that will not be affected by thrust?
My method:
- Put the model into a vertical dive with the throttle back (minimum of three to four seconds).
- Pull a hard corner at the bottom. No matter where the wings are in roll during the dive, when you pull to level the wings must be level.
- Use elevator only through the corner; avoid aileron input while trimming.
- If one wing consistently drops, add weight to the opposite wingtip.
Perhaps for the trimming process you can increase the aileron stick tension to ensure that you don't accidentally input a bit of aileron with the elevator and that the ailerons track correctly when you pull the stick back.
Don't be quick to make a decision. Have patience and have a friend observe the proceedings. Do many pullouts and make absolutely sure before you move on to the next step of trimming.
Thrust Angles
It's time to put aesthetics aside and get that thrust correct. I see many spinners lining up perfectly to the cowl these days. One of the biggest deterrents to adjusting for the correct thrust angles is that once the model is built and you make an adjustment, the spinner won't line up anymore. Again, when building your model, pay attention to the instructions. Chances are that somebody has figured it out or is pretty close.
I like to test-fly the model before I paint the cowl. Once I am happy with thrust, I can make the appropriate cosmetic changes to complete the model before painting. For all the money you spend traveling and time you spend practicing, put good model trim ahead of aesthetics!
Setting up the correct thrust angles is fairly simple to identify but harder to adjust. Now that you know your model's wingtip weight is correct, you should be able to pull to accurate vertical up-lines with confidence.
The most important issue is making sure your aircraft's wings are level. Don't guess; be absolutely sure of this before pulling to a vertical. I have seen people add unnecessary right thrust because the wings were not level when pulling corners, leaving an inside wing down (normal human behavior), and the model would lean to the left. I like to fly directly overhead, into the wind, where I can clearly see the wings, and then pull to a vertical up-line.
Up you go. The first 100 feet is good. The next 100 feet is good. Now your aircraft is moving through 500 feet and still tracking well. Your model is higher than 1,000 feet now and still straight. If you work at it, the best you can hope for is 1,000 or so feet—plenty for most figures.
Speed will have a huge effect on thrust angle on a vertical up-line. Entry speed, compared to speed under load after climbing to 100 feet, will be as much as 30–40 mph slower. My goal is to trim as best as I can for the first 1,000 feet. If I go for 2,000 feet, I typically end up with too much right thrust at the start of the climb and not enough at the finish. Play the numbers, look at the figures we fly, and set up your model accordingly.
A practical tip for making adjustments:
- After many pullups, if you see the model drifting left around 500 feet, apply right rudder trim until the airplane tracks straight in the vertical.
- Bring the model in to land and measure the rudder deflection with a protractor (how many degrees of rudder were required to keep the vertical straight).
- Divide that number by two. That is approximately the number of degrees of right thrust to add to the motor. (If you needed left rudder, apply the same equation in reverse.)
Next month Peter will continue this trimming sequence with steps for getting your airplane set up for competition with radio mixing. There's more to it than you may think, so don't miss it.
MA
Transcribed from original scans by AI. Minor OCR errors may remain.

