


Conquer the vertical snap
John Glezellis [[email protected]]
Introduction
With the 2010 flying season in full swing, it's time to address snap rolls, and in particular, vertical snaps. Performing a typical snap roll from horizontal, upright, level flight is different from performing a vertical snap; you might find that a model can quickly lose airspeed and easily lose heading. As with all aerobatic maneuvers, proper flight setup and technique are essential.
Since this column is devoted to scale aerobatics, I will discuss Maneuver 6 from the 2010 Advanced International Miniature Aerobatic Club (IMAC) Advanced class and highlight one major part of it: the vertical snap. Maneuver Six is a stall turn that starts from upright, has a positive snap roll on the up-line, and has a full roll on the down-line.
Keys to success
If you have been an avid reader of my columns, you might notice that I stress proper airplane setup and programming. That is because setup and programming, not to mention control inputs, are all critical elements to your success in aerobatics.
A positive snap roll is a stalled maneuver that is initiated when you apply up-elevator and same-direction rudder and aileron input. Depending on the model's power-to-weight ratio, you might need to use a lot of throttle when performing the snap roll on a vertical up-line. You might also need to change rudder deflection and/or elevator deflection, depending on the variables.
If your model gets too "deep" in the snap and changes heading on the z-axis (the airplane travels quite a bit in the direction in which you snapped), you might need to decrease rudder rate. If you feel that your aircraft is "tumbling" through the snap, you might need to decrease elevator rate.
When performing a positive snap roll, I pull hard on the elevator to initiate the break and stall the model. Immediately following, I release elevator while adding aileron and rudder input.
Get to know your model and what inputs it prefers to obtain the correct control rates so it can offer the best presentation of a given maneuver.
Flight mode and programming
I use a program in my JR 12X radio called "Snap Flight Mode." Before I perform the snap roll, I flip a switch that has the rates necessary to do the maneuver.
My 37.5% Yak-54 has all of the following values located on one switch (JR calls it "Flight Mode"):
- Aileron deflection: 40° with 55% exponential
- Elevator deflection: 20° with 35% exponential
- Rudder deflection: 35° with 40% exponential
The rates for your airplane might differ, but those numbers should serve as a starting point.
Some radio manufacturers call a flight mode a "flight condition." There are a few minor differences; please consult the instruction manual that was supplied with your radio system and aircraft.
Also, please keep in mind that the values above are for a JR radio, on which typical exponential is positive (+). Exponential should have a negative (-) value on Futaba radios to soften the stick feel around center.
In flight I prefer to have a fast-snapping rotation rate. I use maximum, or almost maximum, rate on aileron. Since my Yak has a huge rudder, I found that only 35° of deflection was needed, so I used that.
Not all aircraft perform the snap roll in the same fashion. Although you might be able to “bury the sticks” to perform a snap roll on a sport model, it is impossible on a giant-scale aerobat with “3-D size” control surfaces. Notice, though, that some airplanes might increase in rotation speed depending on rudder input. I once owned a 43% CAP 232 that would perform a faster snap roll when rudder input was increased.
Performing the maneuver
Now that you know more about the vertical snap roll and how to avoid some common errors, let’s take a look at the positive snap roll on an up-line.
- Enter while traveling parallel to the runway; increase the throttle so that it has a setting between 75% and 100% power. It is difficult to clearly define how much throttle is needed on a given model, because airplanes have different power-to-weight ratios. Simply put, the more power the aircraft has, the less power will be needed to establish a vertical up-line.
- As the model approaches the end of the maneuvering area, get ready to pull gradually to a vertical up-line.
- After the radius is complete and the aircraft is traveling straight up, leave a line that is approximately three seconds in length. Then initiate the snap roll, which can be performed in the direction you prefer.
- Once complete, make sure there is a line of equal length from the first. Decrease power and let the airplane decrease in speed.
- As it stops, apply enough rudder to pivot it 180°.
- When the model is flying straight down, perform a roll, in either direction, that is centered on the down-line. Then pull to an upright, level exit.
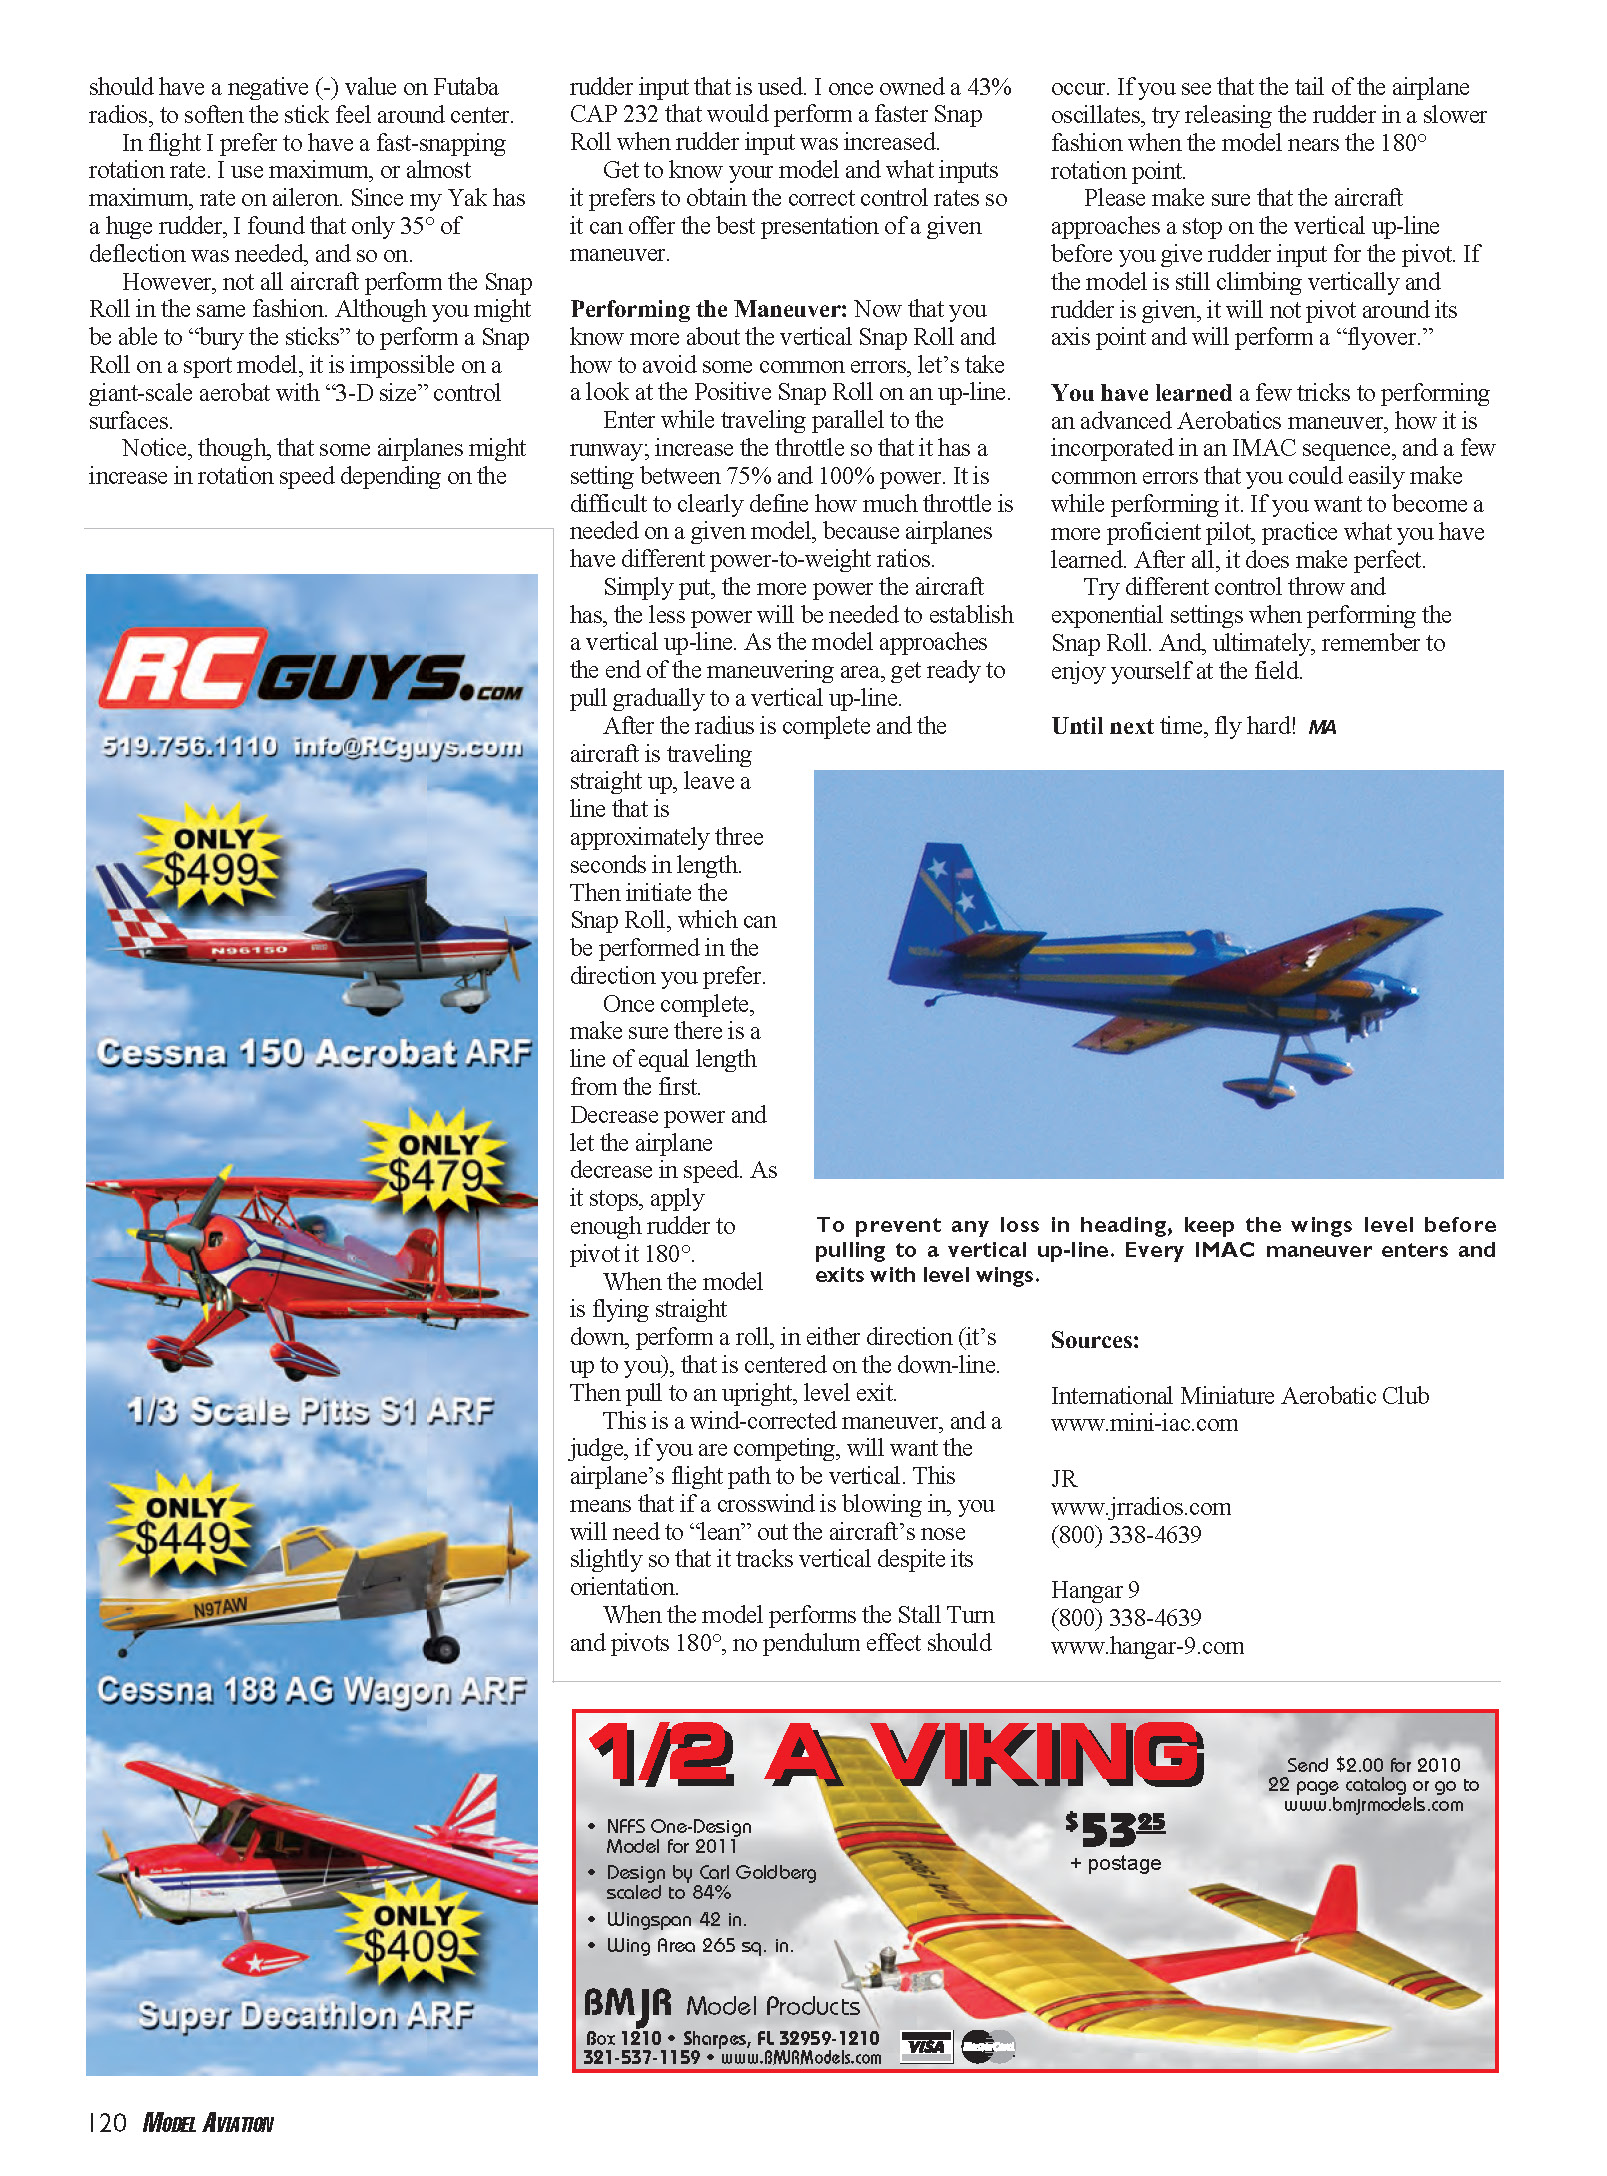
This is a wind-corrected maneuver, and a judge, if you are competing, will want the airplane’s flight path to be vertical. This means that if a crosswind is blowing in, you will need to “lean” the aircraft’s nose slightly so that it tracks vertical despite its orientation.
When the model performs the stall turn and pivots 180°, no pendulum effect should occur. If you see that the tail of the airplane oscillates, try releasing the rudder in a slower fashion when the model nears the 180° rotation point.
Please make sure that the aircraft approaches a stop on the vertical up-line before you give rudder input for the pivot. If the model is still climbing vertically and rudder is given, it will not pivot around its axis point and will perform a “flyover.”
Final tips
You have learned a few tricks to performing an advanced aerobatics maneuver, how it is incorporated in an IMAC sequence, and a few common errors that you could easily make while performing it. If you want to become a more proficient pilot, practice what you have learned.
Try different control throw and exponential settings when performing the snap roll. And, ultimately, remember to enjoy yourself at the field.
Until next time, fly hard!
John Glezellis
Transcribed from original scans by AI. Minor OCR errors may remain.

